Ombre Pink and White Nails Tutorial for the Barbie Movie

The Barbie movie is all the rage at the moment, so, in true spirit, I’ve been doing a lot of pink nail designs recently.
Here, I’m going to show you ombre pink and white nails. If ombre makes you feel a bit nervous, there is no need to be because I am going to show you a super easy technique that absolutely anyone can do.
Let’s get started!
Tools and materials:
- Gel polish
- UV light
- Top coat
- Sponge
1. Apply base
Start by applying pink gel polish to your nails as a base. Proceed to cure for a minute.
2. Apply top coat
Next, apply a matte top coat and then cure.
3. Apply polish on sponge
Apply pink and white gel polish on the sponge. One color at the bottom and the other at the top.
4. Stamp on nails
Then stamp the polish on your nails. I find it helpful to hold the sponge with tweezers when I’m stamping.
You want the pink to be on the bottom of your nails and the white to be on the top.
Once done, cure your nails for a minute.
5. Apply top coat
Finish up by applying a top coat.
Ombre pink and white nails
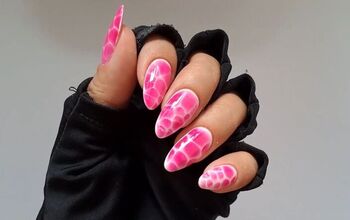
Here are the finished nails. This sponge method was such an easy way to create an ombre design - you can’t go wrong with it.
I also really like the subtle textured effect that the sponge creates. The white and the pink complement each other perfectly, and all in all, this is a great look.
For more nail inspiration, head on over to Cute and Easy Black and White Nail Design for 2023.
Enjoyed the project?
The author may collect a small share of sales from the links on this page.


Comments
Join the conversation