Easy Pink Barbie-inspired Nails Tutorial

Watch me as I create these super beautiful, pink, Barbie-inspired nail set.
They’re perfect for when you want an extra girly flair. Just follow along with my step-by-step tutorial for these hot pink nails.
Tools and materials:
- Acrylic nail stand
- Barbie pink gel polish
- Light pink gel polish
- Mixing palette
- White gel polish
- Flat polygel brush
- Lint free nail wipe
- Acetone
- Matte top coat
- Glossy top coat
- Silver chrome gel paint
- Skinny bristle brush
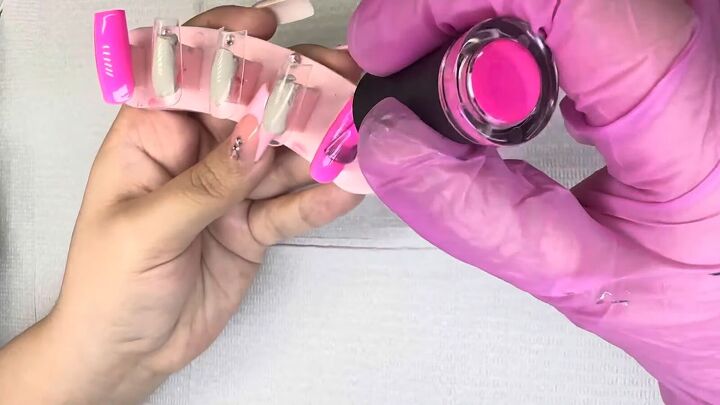
1. Paint the thumb and pinky nails Barbie pink
Paint the thumb and pinky nails with a Barbir pink gel color.
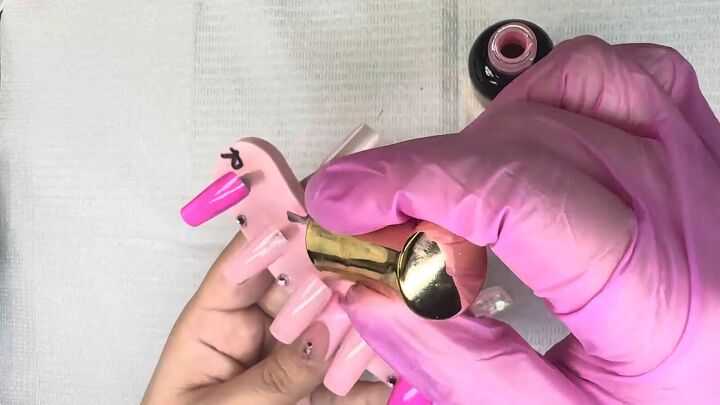
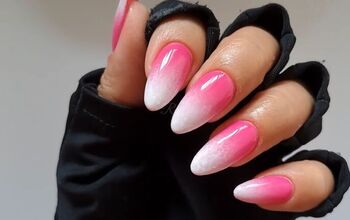
2. Paint the pointer, index and ring finger nails light pink
Apply 2 layers of a light pink gel as the base for the pointer, index and ring finger nails.
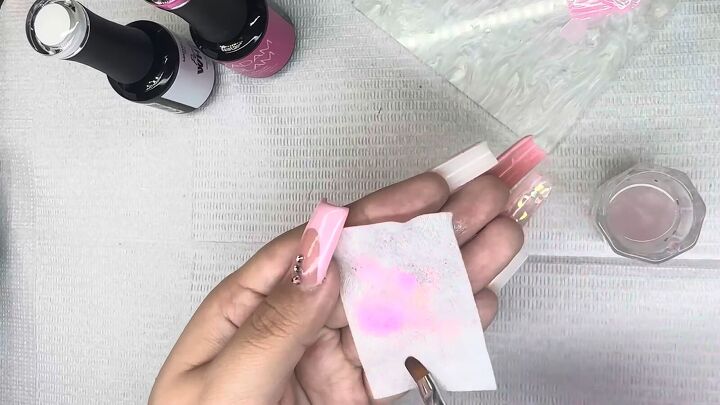
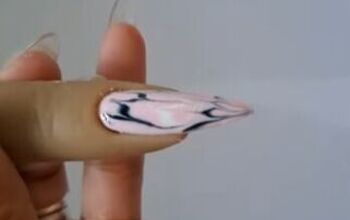
3. Make an ombre effect
Put a bit of white gel polish as well as the Barbie pink polish on a mixing palette.
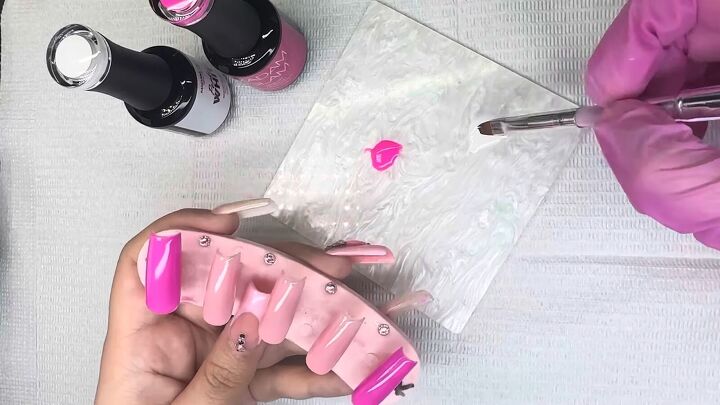
With a flat polygel brush, paint a thin strip of white gel polish on top on the sides of the pointer and ring finger nails.

Then wipe off the excess white onto the palette and dip the brush into the Barbie pink shade.
Apply it to the other side of those 2 nails.
Next, mix some of the white and pink on the mixing palette and apply it on those nails, on top of each stripe of color.

You can dip in the solid pink or white to touch up as needed.
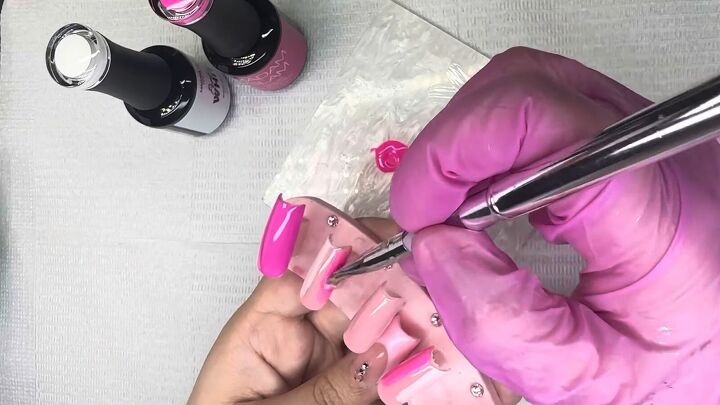
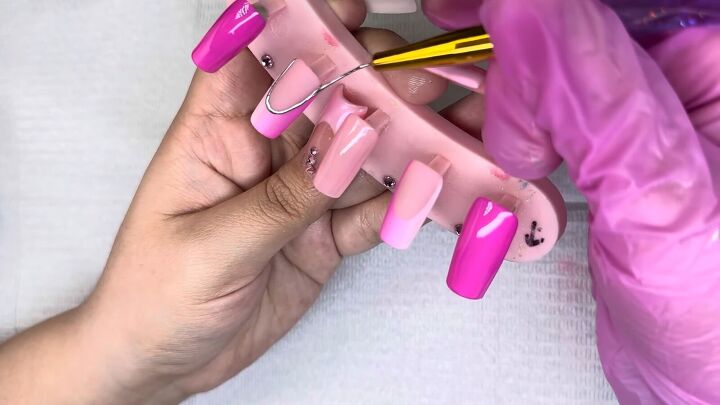
4. Make smile lines
Clean your brush by dipping it in acetone and wiping it on a lint free wipe.
Then, with the brush dipped in a small amount of acetone, create smile lines on one of the ombre nails.

Simply wipe off the polish until you achieve the shape of the smile line that you like.

Repeat on the other ombre nail.

5. Apply a matte top coat
Paint a matte top coat on those French tip, ombre nails.
6. Apply a glossy top coat to the other nails
Paint a glossy top coat to the other 3 nails.
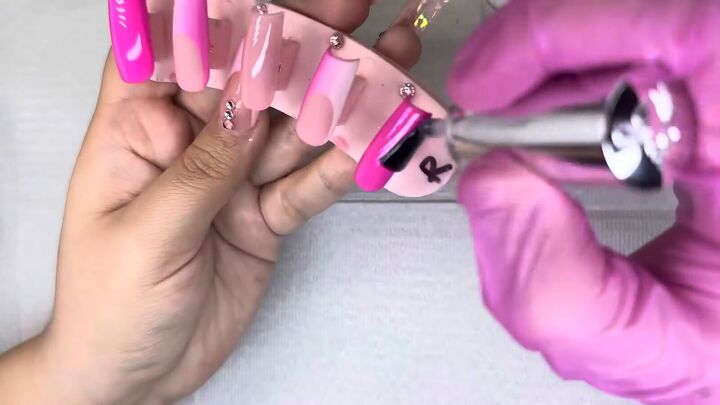
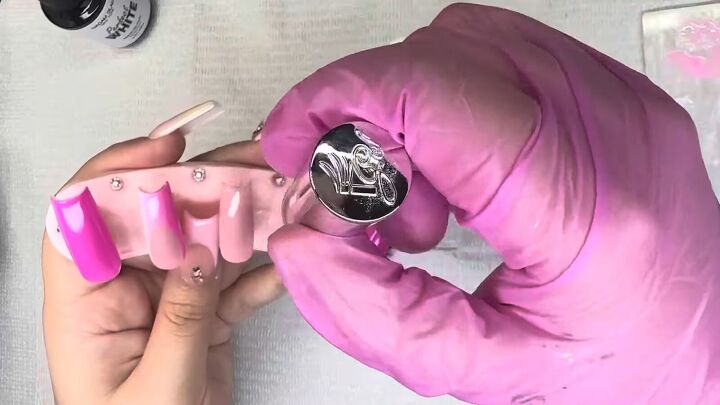
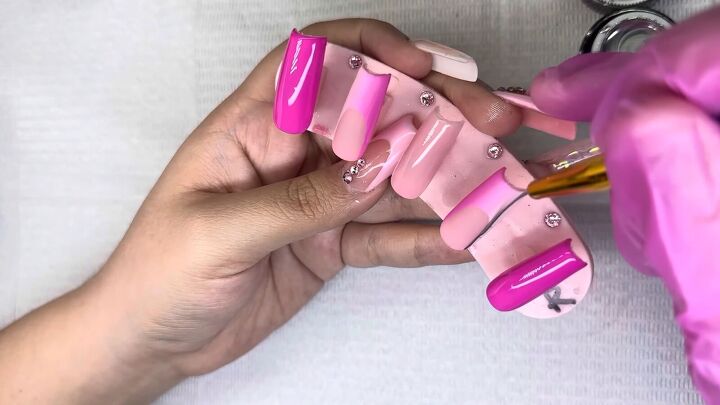
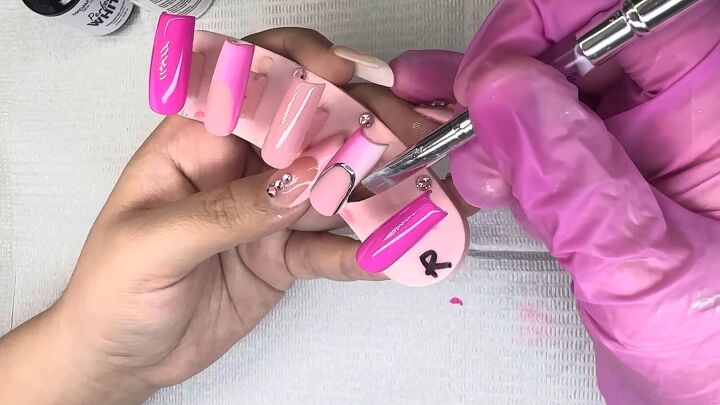
7. Outline the smile lines with silver chrome
Open your silver chrome gel paint and make sure it’s well mixed. Then dip a skinny bristle brush in the chrome.
Use it to outline the smile line of one of the ombre nails.
Don’t be discouraged if the chrome paint is sticky. Just work with it slowly and gradually.
Touch up with acetone as needed.
Then do the same for the other ombre nail.
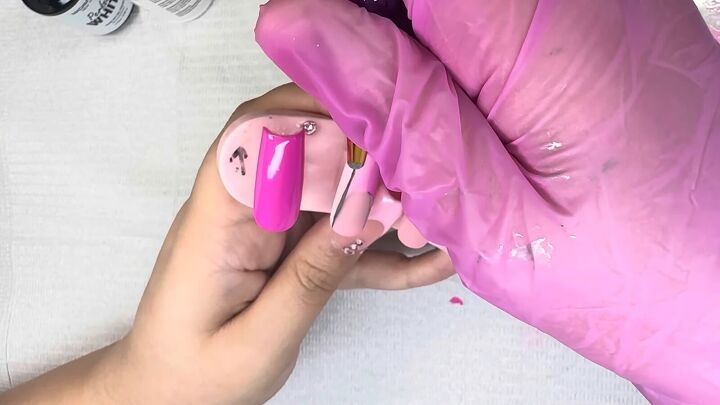
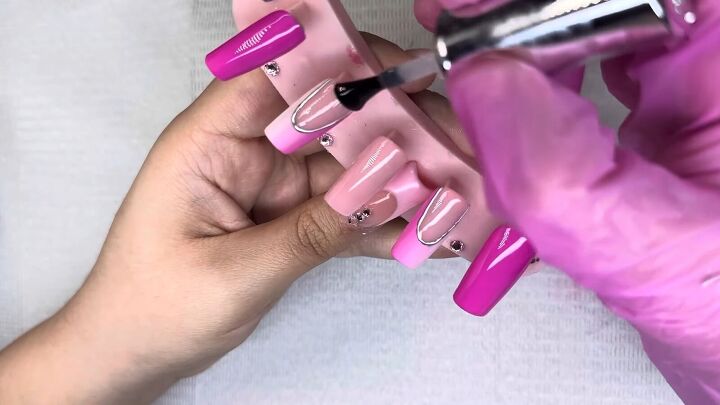
8. Apply glossy top coat above the smile lines
Paint glossy polish above each of the smile lines for an interesting contrast in finishes.
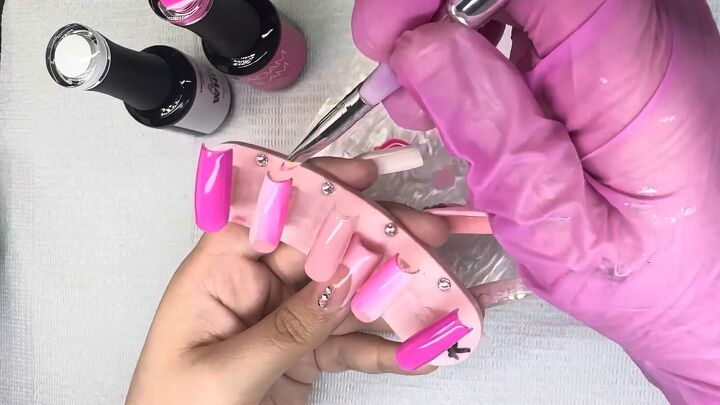
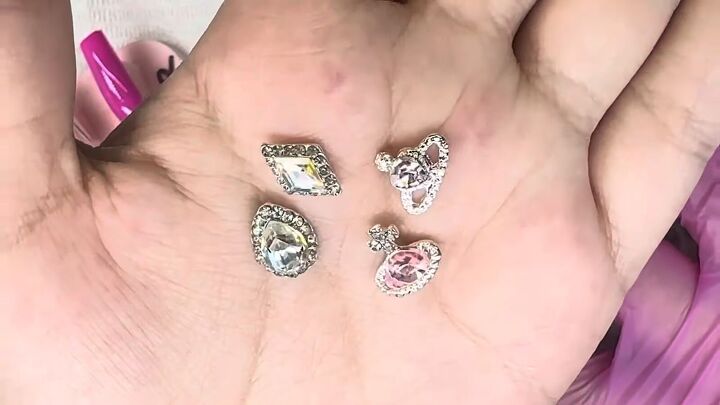
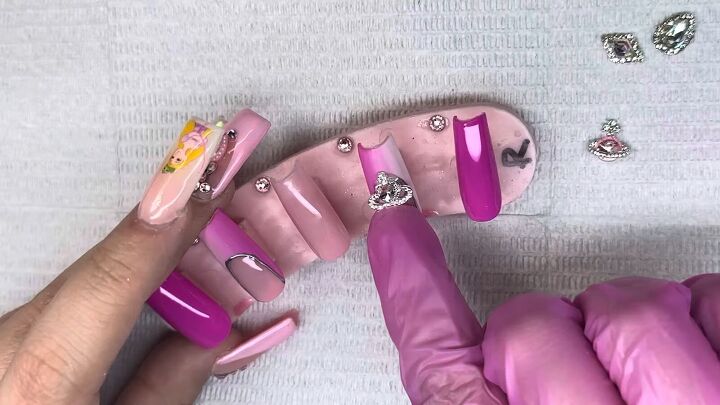
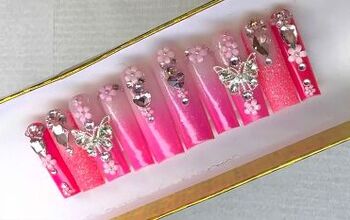
9. Apply rhinestones
I picked some of my blingiest rhinestones for these Barbie pink nails.
Apply glue where you want the first rhinestone to stick. Then lay the rhinestone on carefully with your fingers.
Then hover over it with a UV flashlight to flash cure it.
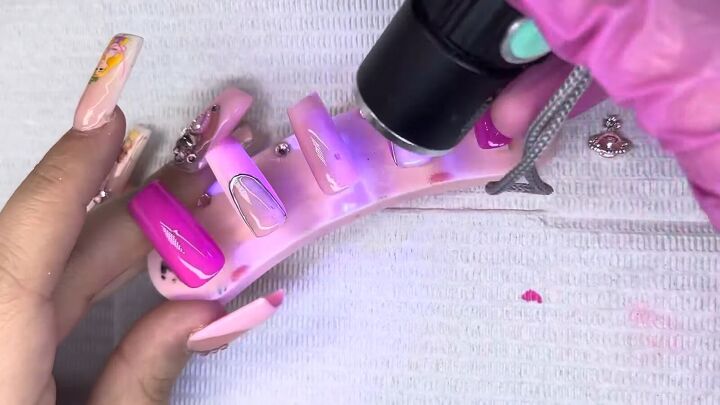

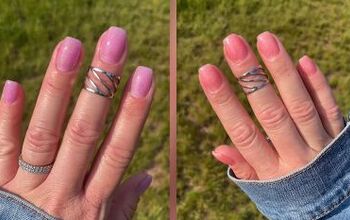
Once you’re done applying the rhinestones, cure all the nails for a full 2 minutes under a regular nail lamp. Here is the final result:


DIY pink Barbie nails
I hope you loved these Barbie inspired pink nails! If so, leave a comment.
For another cute set, try these quick and easy ombre gel nails.
The author may collect a small share of sales from the links on this page.


Comments
Join the conversation