Easy Pink Black and White Nails Tutorial

In this short nail art tutorial, I’m going to show you how to create a gorgeous design with pink, black, and white nails.
Follow along as I take you through step by step!
Tools and materials:
- Nail polish (pink, black, and white)
- Nail pen
- Top coat
1. Paint base
Start by painting your nails pink. I advise going in with a second layer to get a nice thick coverage.
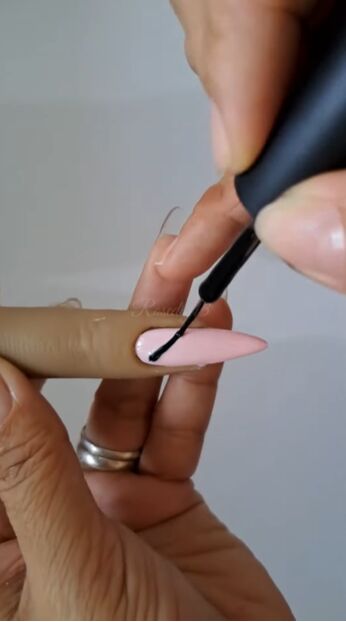
2. Paint black line
Once the base has dried, paint a diagonal line with the black nail polish.
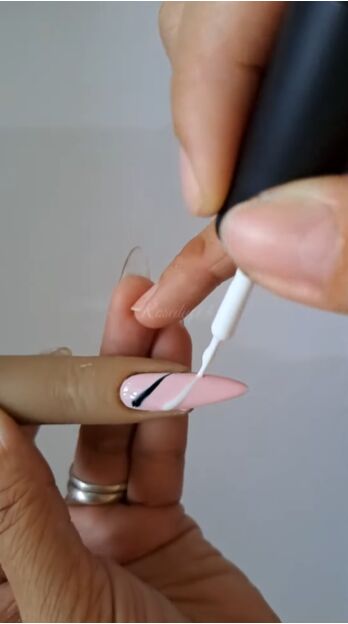
3. Paint white line
Leave a small gap, and then paint a diagonal line with the white nail polish. Then paint another black line.
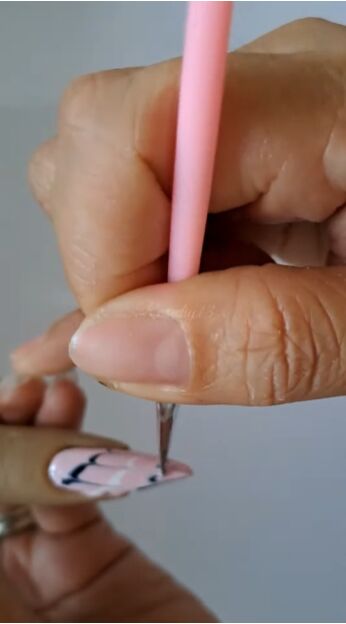
4. Blend colors
Take your nail pen and draw three spaced-out lines going from the bottom of your nail to the top.
This will cause the black and white polish to blend into one another while still maintaining the original diagonal lines.

In between the three lines you’ve just drawn, draw two more lines, this time going from the top of your nail to the bottom.
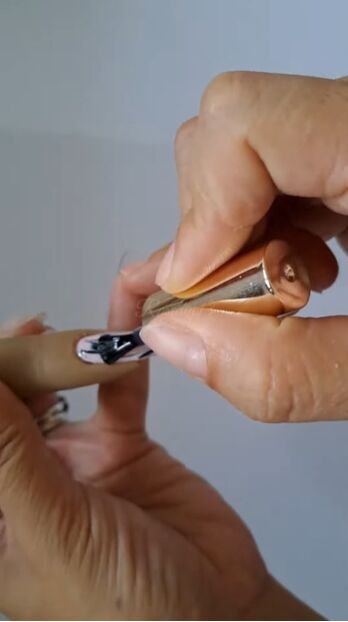
5. Add top coat
Finish off by adding a clear top coat.
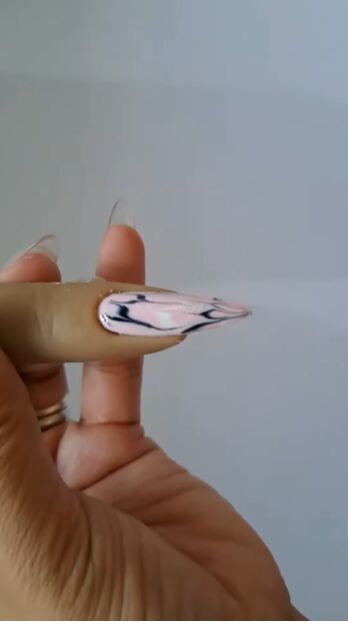
Easy pink, black and white nails
Here we have the finished pink, black, and white nails. I love this design with the black and white lines bleeding into one another.
For another cute nail tutorial, check out Easy Red and White Swirl Nail Art Tutorial.
What would you like to see next? Leave a comment down below.
The author may collect a small share of sales from the links on this page.


Comments
Join the conversation