Easy Pink Barbie-inspired Nails Tutorial

If bright pink and colorful nails are your thing, then this tutorial is for you! Calling all Barbie/90s lovers out there!
Come join me and watch how to recreate these pink barbie nails, inspired by Greta Gerwig’s upcoming Barbie movie!
Tools and materials:
- Pink dip powder
- Clear dip powder
- Clear gel base coat
- Clear gel top coat
- Chunky nail glitter
- Dip cups and liners
- Dip liquids
- Builder gel
- Stamping set and plate
- Efile with accessories
- Protective gear
- Orange wood stick
- Cuticle tool
- Nail brush
- Manicure hand rest
- Magenta, blue and yellow nail polish
- Toothpicks or dotting tools
- Nail curing lamp
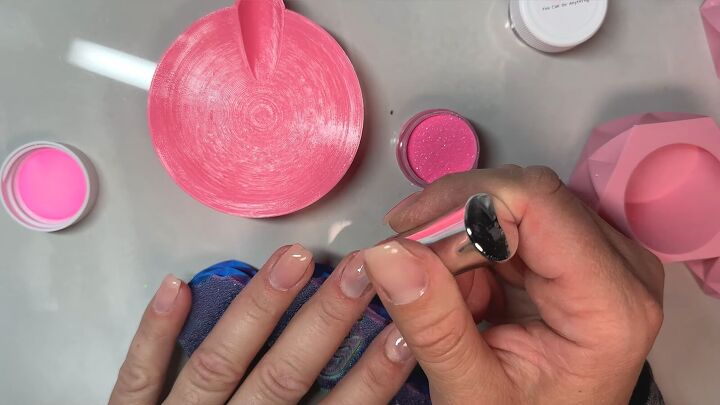
1. Prep your nails
Shape and clean up your nails and cuticles. Then apply a clear base coat on your first nail.
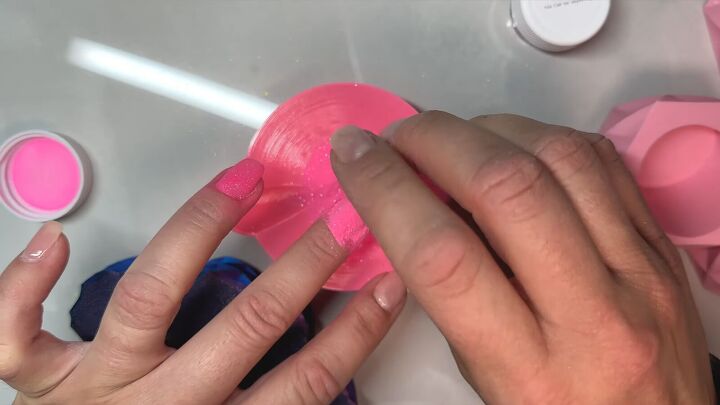
2. Pour the pink dip powder
Pour the pink dip powder over the painted nail, above a dip cup.

Gently tap off any excess powder into the dip cup and use an orange wood stick to remove the powder from the nail bed.
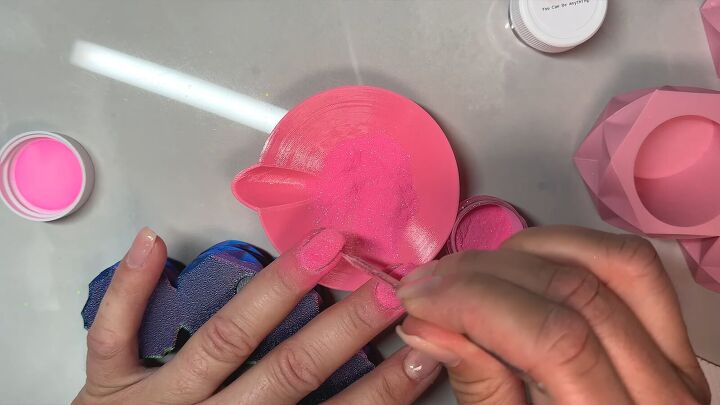
Use a small nail brush to help remove the excess powder as well.
Repeat for each nail that you’d like to be pink.
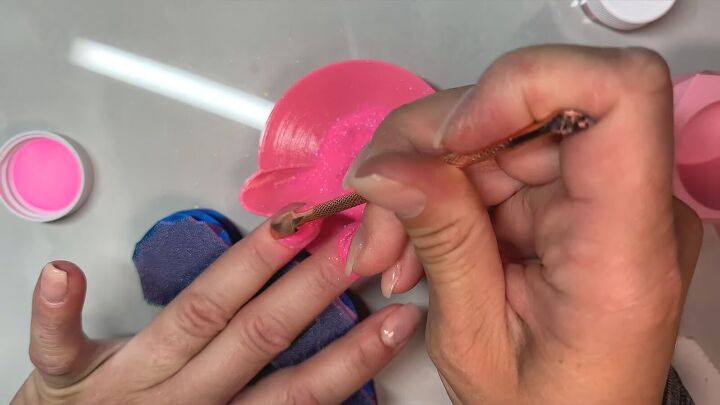
3. Apply a clear coat
Next, paint a clear coat of polish on top of the nails that already received the pink powder.
As you can see, I’m working on the nails in groups of a few at a time.

4. Apply a 2nd layer of pink powder
For vibrant color, apply a 2nd layer of pink on top of the clear coat you just added.
Continue to clean up as you go.
5. Paint a clear coat and apply clear dip powder
After 2 layers of pink, paint another clear layer.
Then, apply clear dip powder to encapsulate the nails.
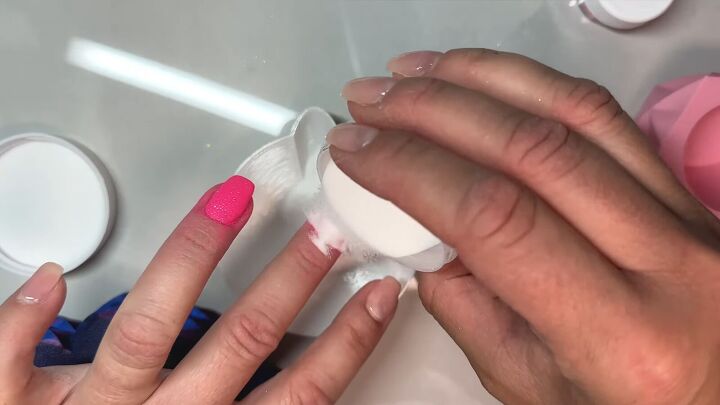
For some reason, the clear dip powder really gets into the cuticles, so do a good cleaning job after this step.
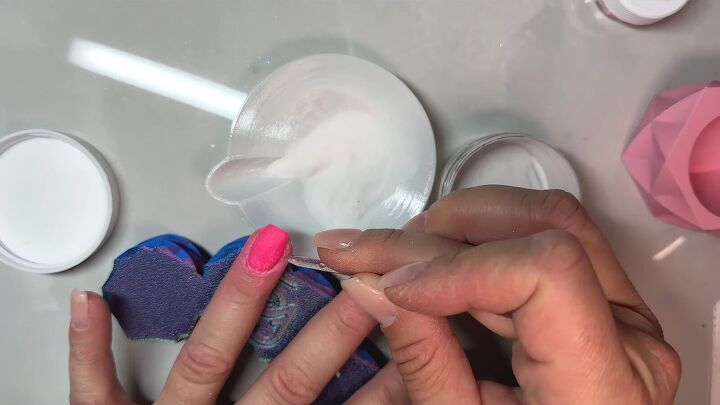
6. Apply clear polish and dip into chunky glitter
On any bare nails that are left, paint a clear layer of polish.
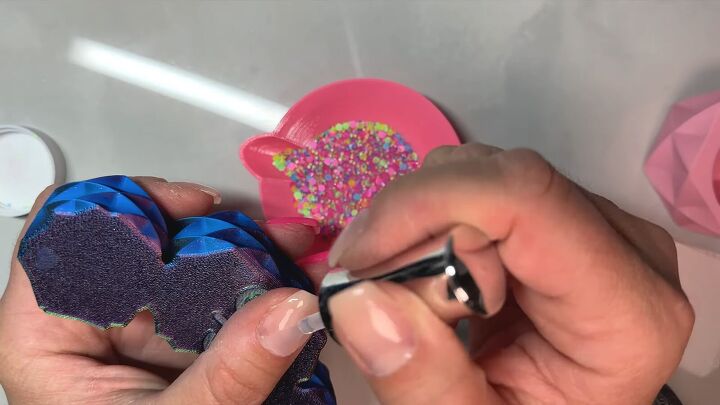
After pouring some chunky glitter into a dip cup, dip the clear nails into the glitter.
Lay the nail as flat as possible to ensure that the glitter adheres to much of the nail.

Then gently dab on the nail to secure the glitter.

Pull off any glitter from the skin and cuticles with the stick. Then fill in any holes by adding extra clear gel in the empty spots and placing individual pieces.
Repeat on any nails that don’t have the pink powder.
7. Encapsulate the glitter nails
Paint a clear layer on top of the glitter nails.

Now apply the clear powder a few times so that the glitter nails are really encapsulated.
Then, shake off the excess and clean around the nail.

Before using the stamp tool, make sure your nails are completely hardened, buffed and filed!
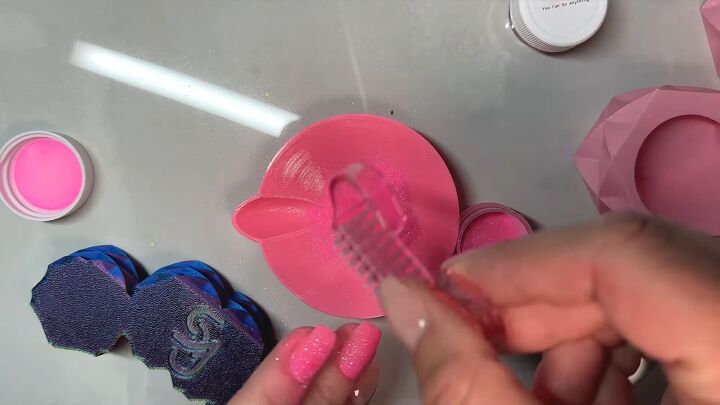
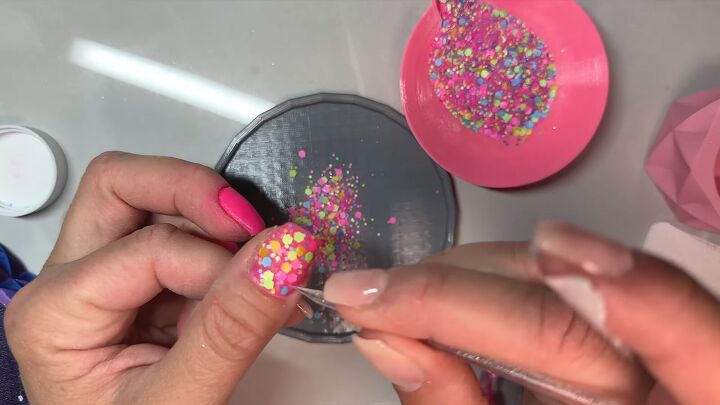
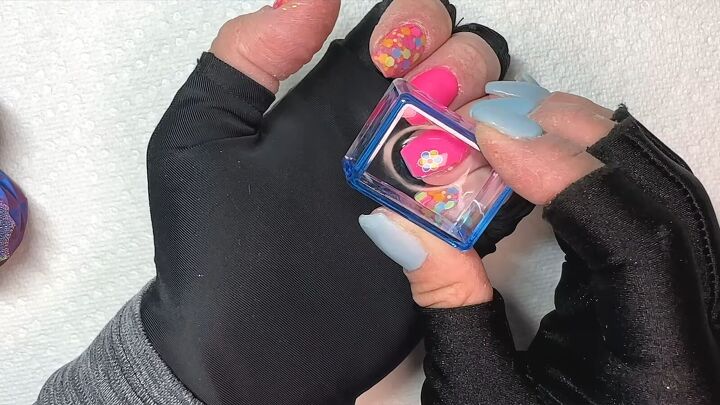
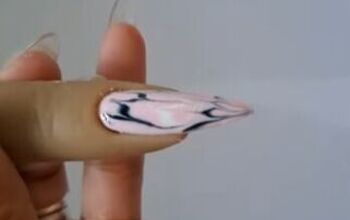
8. Prepare your reverse stamp
If you struggle with regular stamping, this technique might be for you.
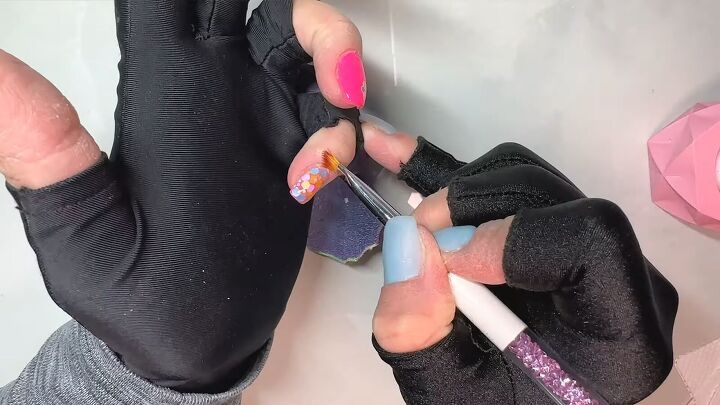
Pick up a flower from your stamp (not shown) and place it on the stamper.

Then use toothpicks or dotting tools to paint in the flower with magenta, yellow and blue polish.

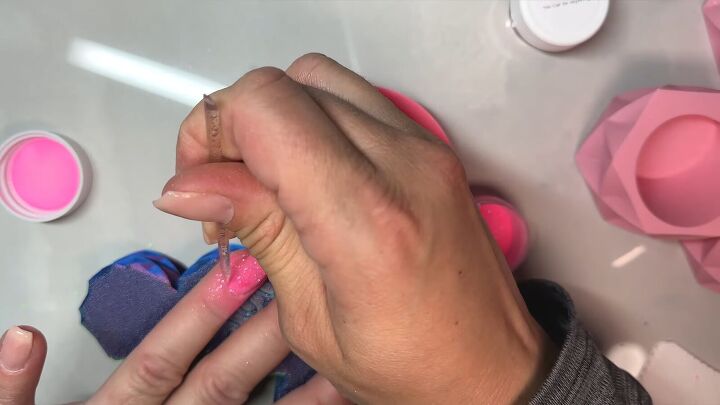
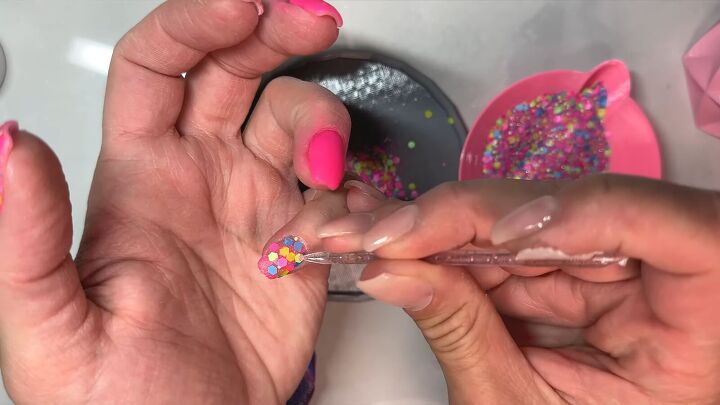
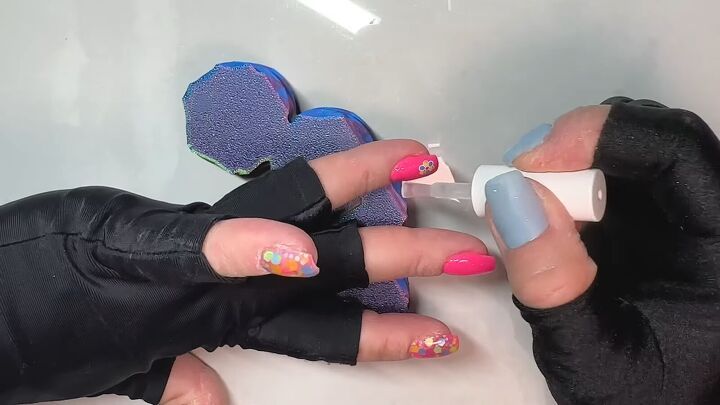
9. Paint clear polish and apply the stamp
Paint clear gel polish on the nail you want to stamp. Then cure the nail for about 30 seconds so that it’s still slightly tacky.
Then press your stamp on the nail.
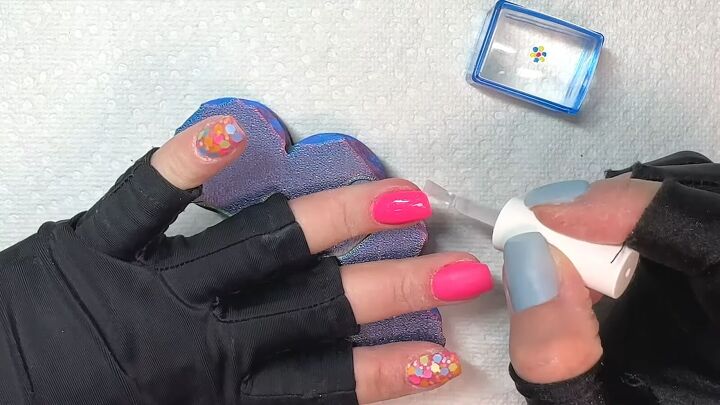
10. Encapsulate all nails with gel
After your finished stamping, encapsulate all nails, especially the ones you stamped, with a clear gel base before applying a clear gel top coat.
Make sure to cap the edges of the nails to prevent peeling.
Then carefully clean up around the nails with a small paintbrush and acetone.
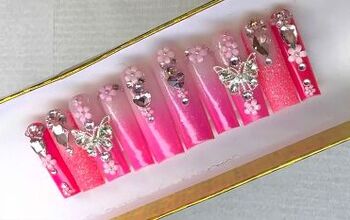
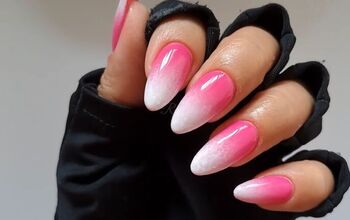
Here is the final look of these Barbie-inspired nails:
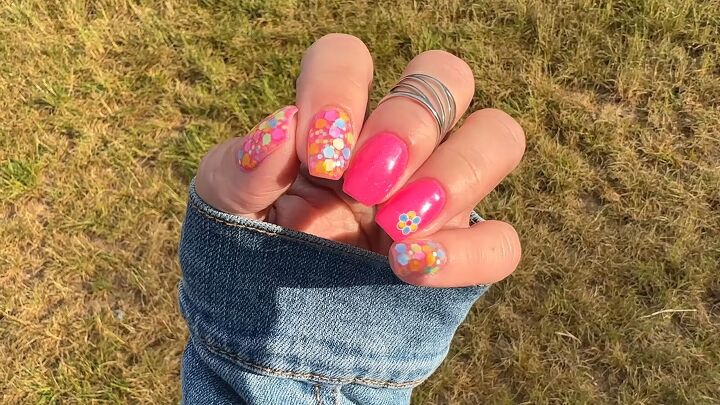
DIY Barbie pink nails
If you’re a 90s girl or you’re just getting pumped for the upcoming Greta Gerwig Barbie flick, then these pink Barbie nails are just for you!
Will you be seeing the movie? Comment down below.
Try these Bridgerton inspired nails with me next!
The author may collect a small share of sales from the links on this page.


Comments
Join the conversation