How to DIY Cute and Easy Yellow Summer Nails

If you want some beautiful summer yellow nails, then follow this tutorial, and learn how to make my bright, glittery summer nail design!
Of course, you can use any colors, glitter, or bling that you like, but I think these yellow-themed nails scream summer!
Tools and materials:
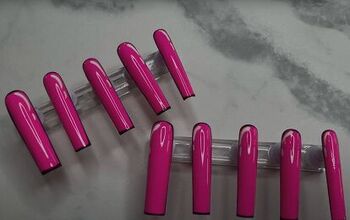
- Nude pink gel polish
- Deeper pink gel polish
- Yellow/orange gel polish
- White gel polish
- Clear base and top coat
- Builder gel
- Decorative glitter
- Decorative rhinestones
- Nail glue dryer spray
- Glitter applicator tool
- UV lamp
- False nails (optional)
1. Base coat
Apply clear base coat to your nails.
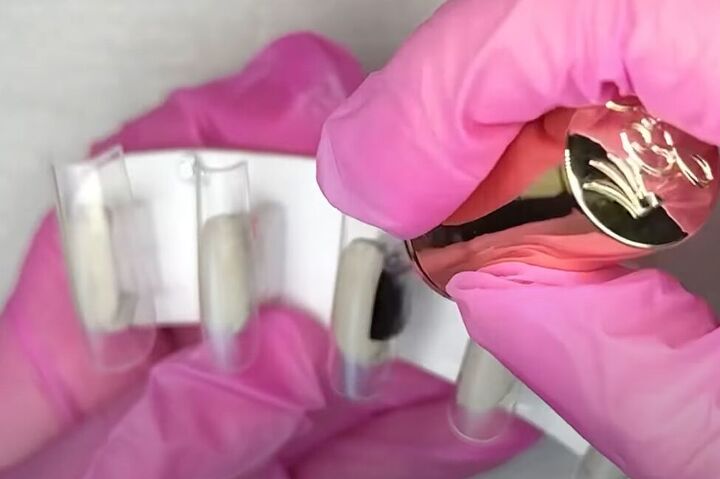
2. Add gel polish color
Apply a thin layer of nude pink gel polish to your nails.
Cure your nails under a UV lamp.
I found the nude pink a little too light for my liking, so I applied a second coat of polish using a deeper pink tone.
Cure again under your UV lamp.
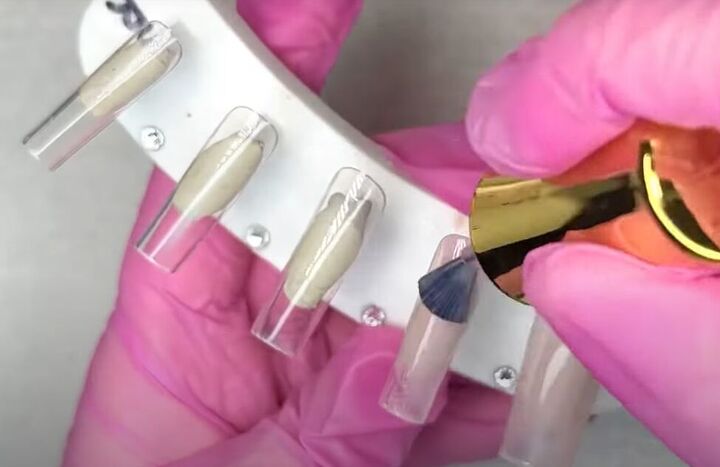
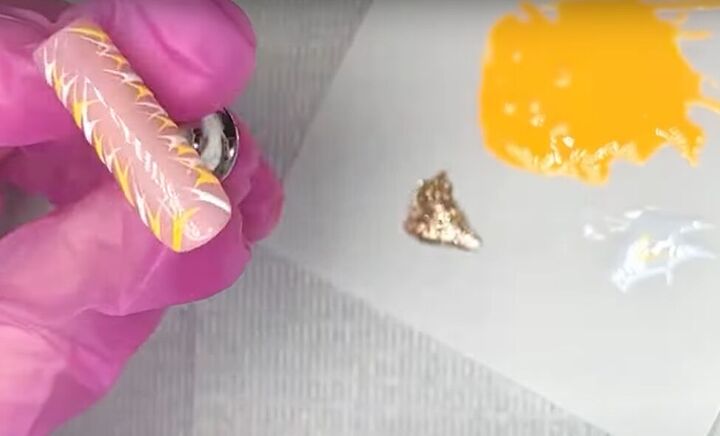
3. Add glitter
To prepare your glitter shapes, you may want to gently fold each glitter piece so that it lies flat against your nail.
Apply a coat of clear base coat to your nail.
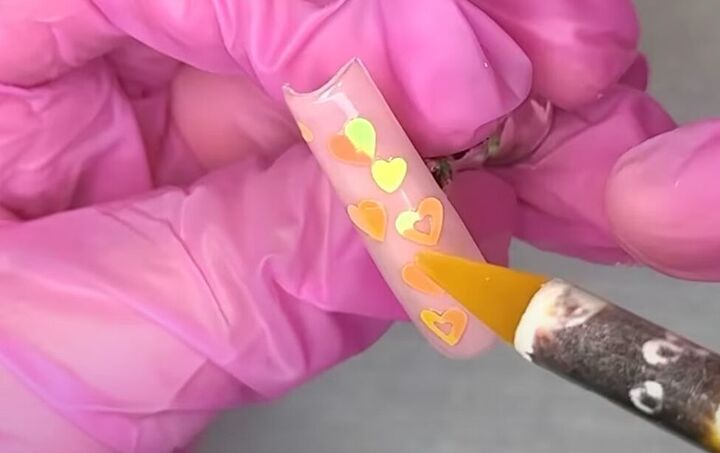
Use a stick tool to place your glitter pieces on top of your uncured base coat.
Be generous with your glitter!
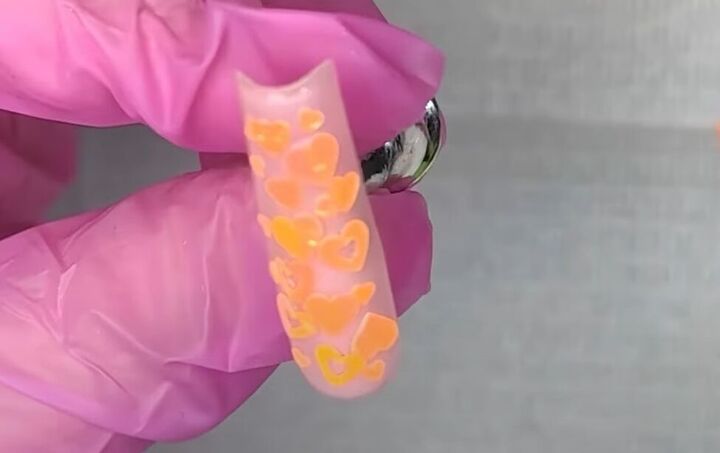
Cure your nail under your UV lamp.
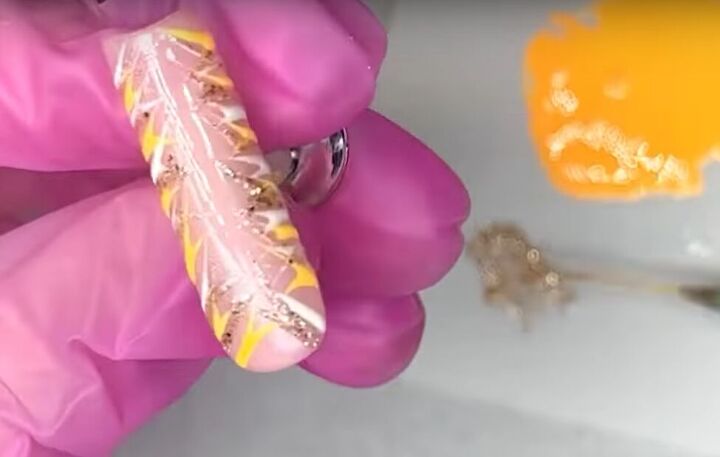
Apply a generous coat of builder gel over your cured nail.
Make sure that your glitter, and the sides of your nails are fully coated, but not lumpy.
Tip: I add a bit of base coat to my builder gel to make it a little easier to apply.
Cure again under your UV lamp.
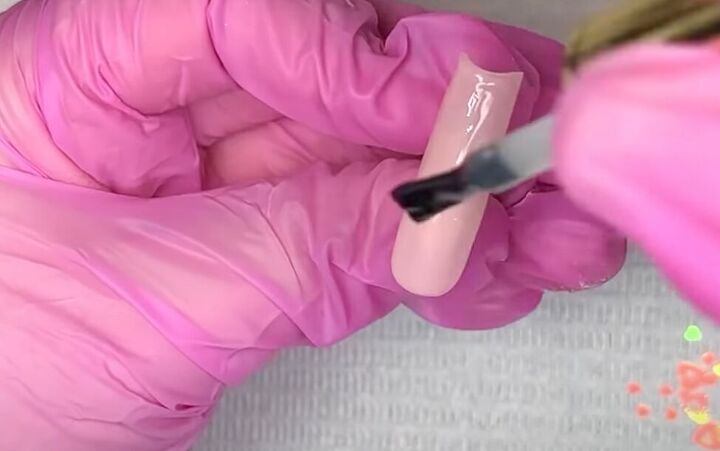
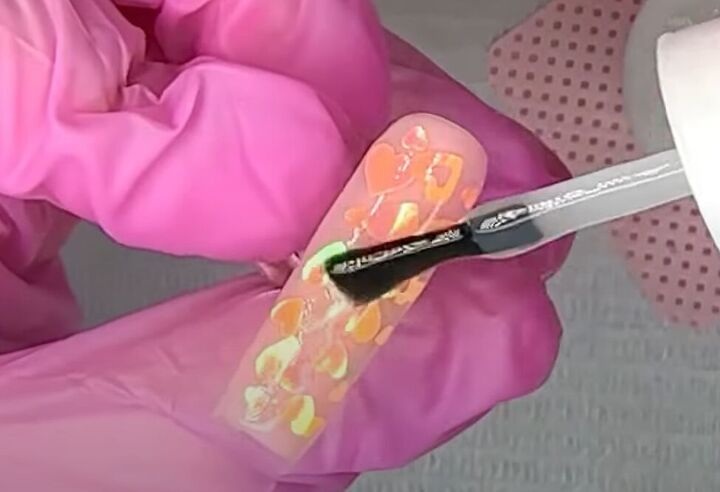
4. Add more color
You could stop there, but I want even more!
I mixed some orange and white gel polish together to get a shade just a bit lighter than my glitter hearts.
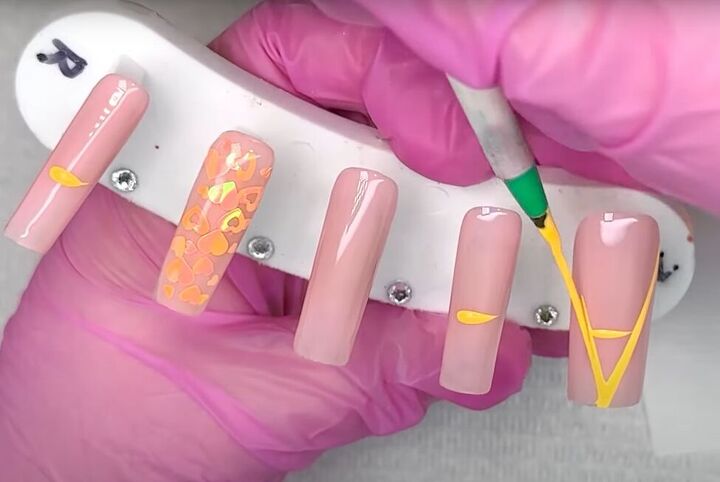
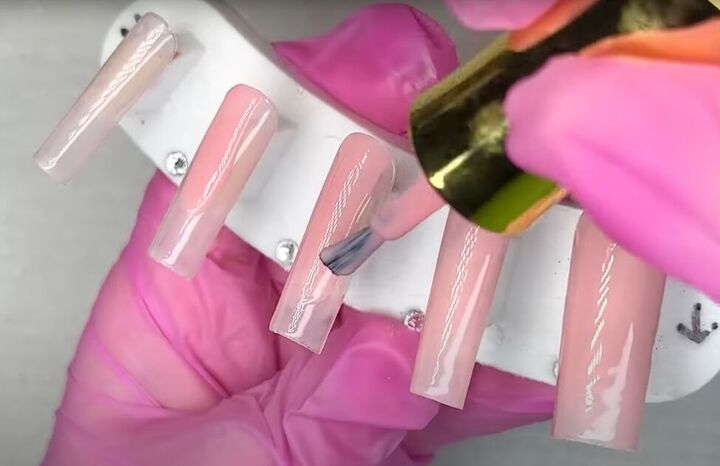
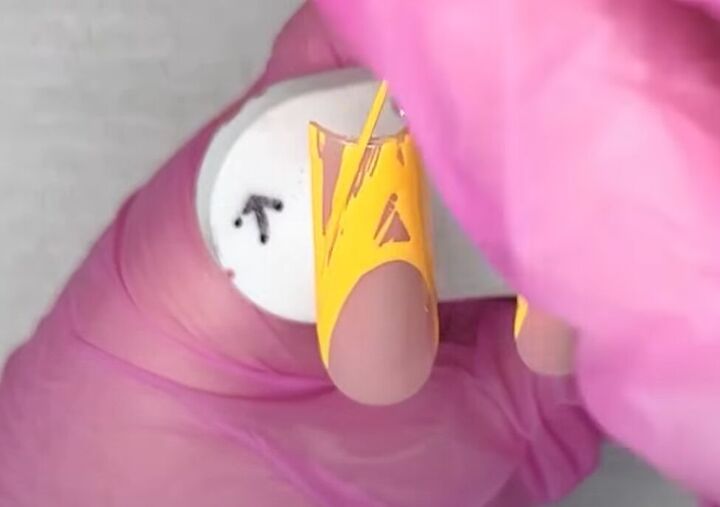
5. Create French tips with the “A” method
Using your colored polish, create a letter “A” on your nail, with the point of the “A” at the tip of your nail.

Then, round out the corners of your “A”.
Fill in the sides.
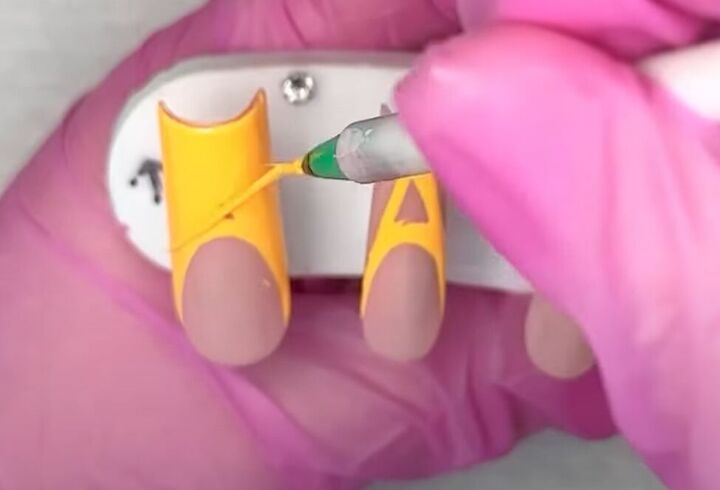
And fill in the middle of the “A”.
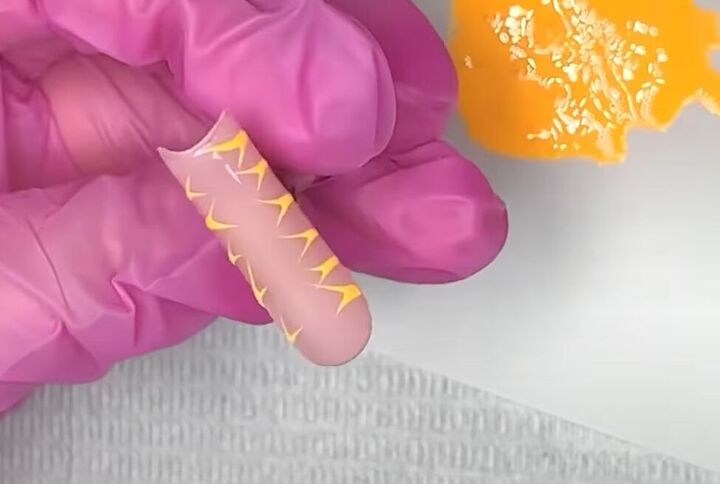
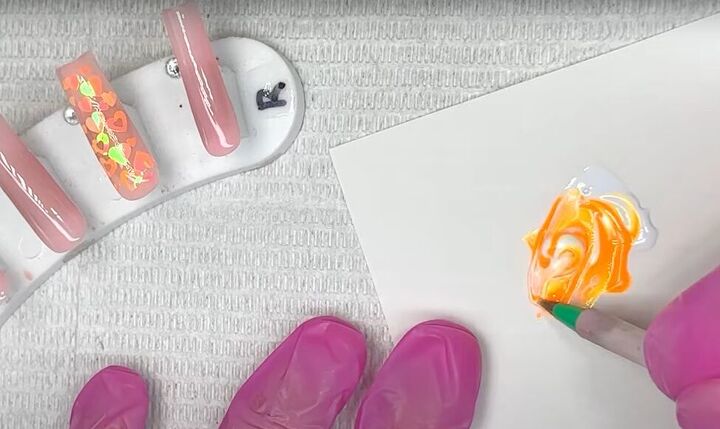
6. Create a tiger-stripe design
For my last nail, I made small dash marks along both sides of my nail in a tiger-stripe design, using the light orange gel polish.
Then I added some white dashes between the orange ones.
Finally, I filled in the spaces with gold glitter dashes.
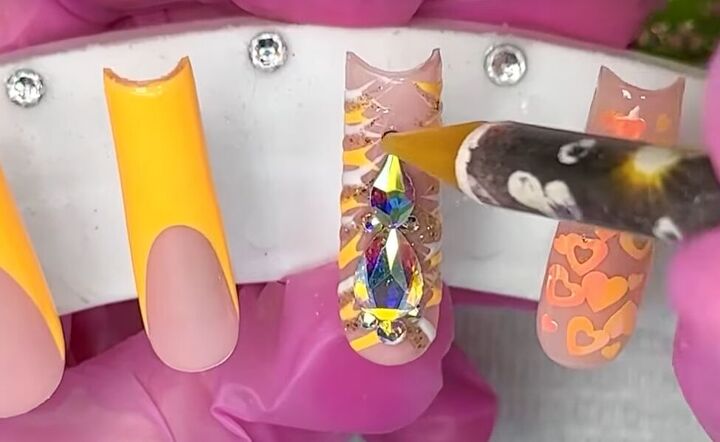
Add some clear base coat to your tiger-striped nail, and apply some rhinestone bling down the middle.
Apply some nail glue dryer spray to the rhinestoned nail.
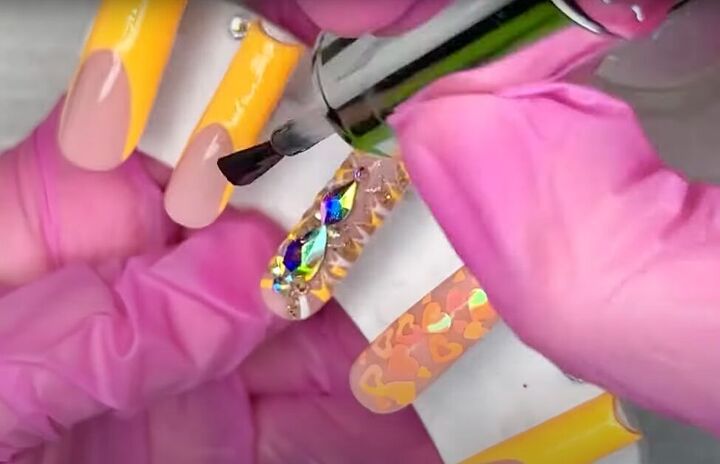
7. Top coat
Apply clear top coat on all your nails.
Cure under your UV lamp.
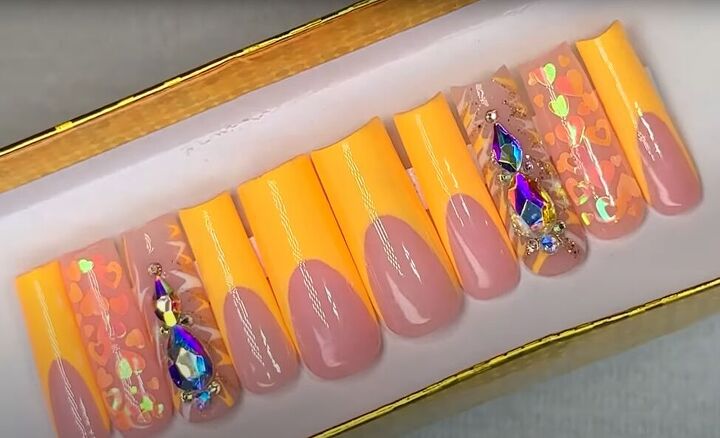
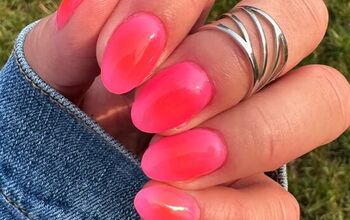
DIY yellow summer nails
Here is the whole set, glammed up and ready for summer!
If you decide to try this summer nail design, leave a comment to let me know how it turned out!
Next, check out my Easy Swimming Pool Nail Design Tutorial.
The author may collect a small share of sales from the links on this page.


Comments
Join the conversation