Easy Swimming Pool Nail Design Tutorial

Hi everyone. In this tutorial, we’re replicating a TikTok nail trend.
Let's get started!
Tools and materials:
- Blue gel polish
- White sheer gel polish
- Dotting tool
- Base coat
- Top coat

These swimming pool nails are super cool and have a really pretty water effect, so we’re going to recreate them.

1. Apply blue polish for the first layer
Apply a layer of deep blue nail polish over all of the nails.

2. Apply a white polish over the blue
Take a milky white sheer shade and apply a layer over all of the nails you’re going to do the water effect on.
Once you’re done applying that, don’t cure it just yet. Leave it tacky for now.

3. Dot base coat onto the nails
Apply a bit of base coat to some mixing paper. Using the large side of a dotting tool, dip it into the base coat and create dots of it on the nail.
The cool thing about this effect is that the longer it sits the better it looks.
Also if you do the dots in different sizes, when they start spreading, it gives that cool water effect.

4. Clean up the edges
Once you’re happy with the way the water droplets look, clean up the sides where there’s any spill-over so everything is nice and sharp.
Then, cure under a lamp.

6. Apply top coat
Apply a no-wipe top coat and cure.

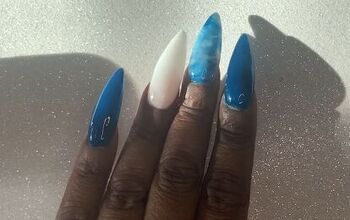
Swimming pool nails
Here are the finished swimming pool nails! Let me know what you think of this blue nail art design in the comments below.
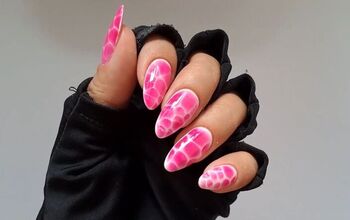
Next, check out my post on How to DIY Cute Pink Ombre Nails at Home.
The author may collect a small share of sales from the links on this page.


Comments
Join the conversation