Easy Nail Art Design on Nude Pink Nails

In this tutorial, I’m going to show you one of my favorite foil nail art designs on nude pink nails. Let’s get started!
Tools and materials:
- Baby pink base coat
- Black nail polish
- Foil
- Glossy top coat
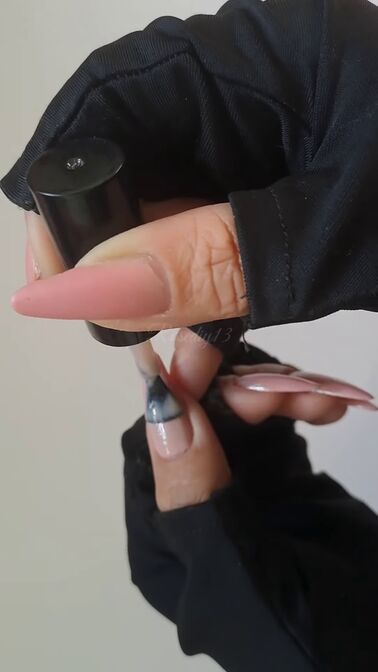
1. Apply a base coat to the nail
I’m using a baby pink gel polish for the base coat and covering the entire nail.
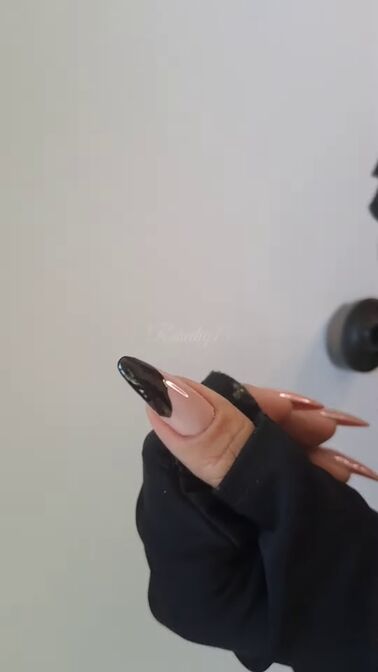
2. Apply the black nail polish to the nail
Cover half of the nail in black polish. The design should be at a diagonal line from the middle of the nail to the top.
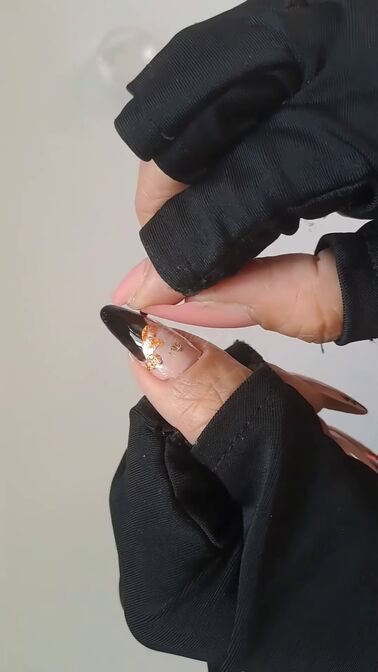
3. Apply foil to the diagonal line
Tear tiny pieces from a larger foil sheet and place them around the nail in whatever design you want.
You should use the still-wet polish to help it stick, so don’t cure it before this step. I used the foil to line the edge of the black polish.
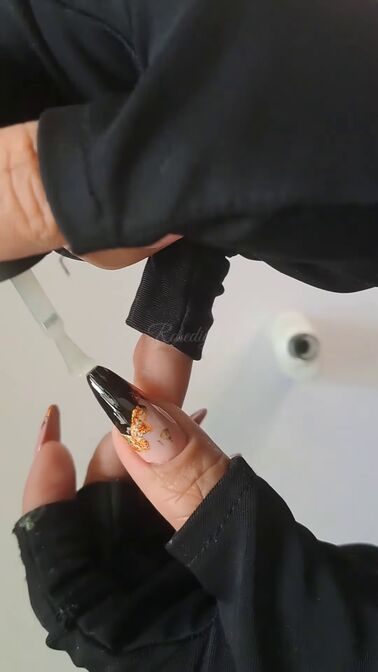
3. Apply top coat to the nail
Apply a glossy top coat over both the nail and the foil.
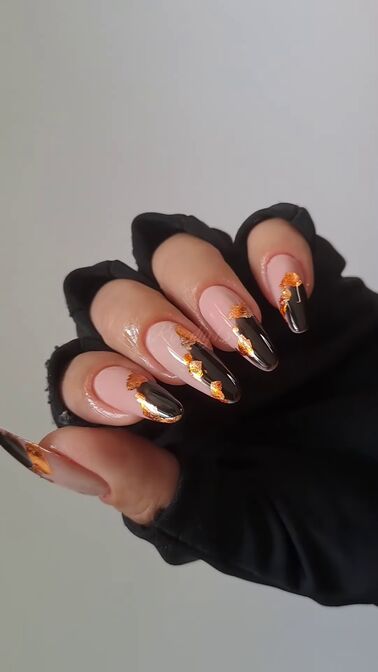
Nail art design on nude pink nails
Here’s the finished pink nude nails! This is a super fun brown and pink nail design, but have fun with it and mix and match colors.
Let me know what you think about these nails down below.
Check out my post on How to DIY Cute Rabbit Nail Art.
The author may collect a small share of sales from the links on this page.


Comments
Join the conversation