How to DIY Cute Rabbit Nail Art

In this tutorial, I’m going to show you how to do rabbit nail art. Let's get started!
Tools and materials:
- Base coat
- White nail polish
- Pink nail polish
- Black nail polish
- Dotting tool
- Top coat
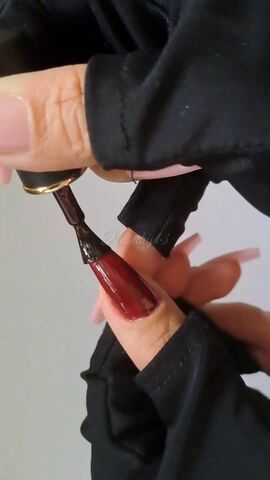
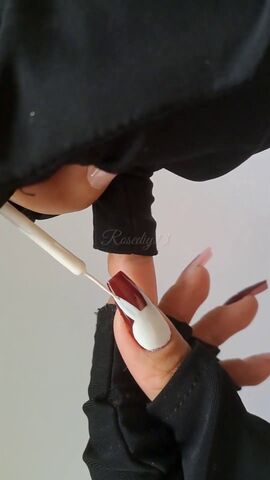
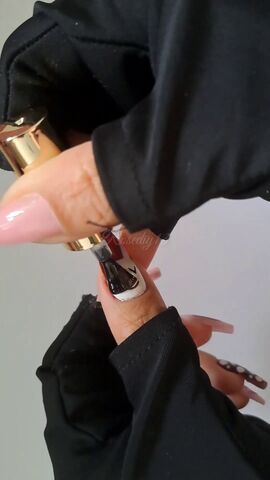
1. Apply the base nail polish
For the base, I’m using a deep red color and covering the entire nail with it.
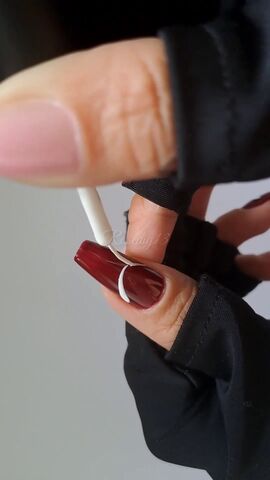
2. Draw a curve around your nail
Following the natural curvature of your nail, use a thin brush to draw a curve around the center using white nail polish.
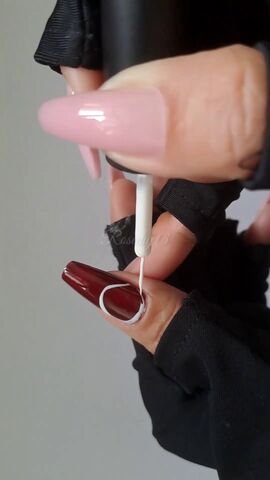
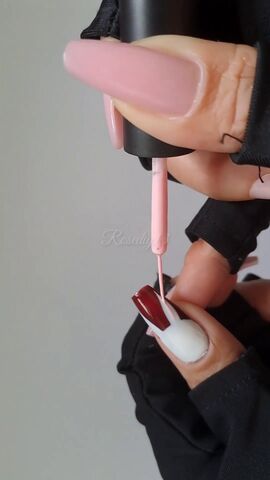
3. Complete the circle
Turn the curve into a circular shape by drawing another line that starts from the ends of the previous one and follows along the nail bed.
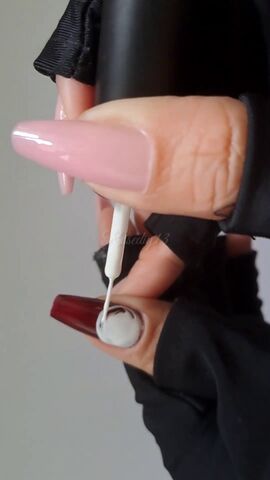
4. Fill it in
Fill in the outline of the white circle. This is the rabbit’s head.
5. Add ears
Draw the ear pointing towards the edge of the nail and fill it in with white. Do the same with the second ear.
6. Add pink to the ears
Add a pink line to the center of the ear.
If you’re using a light pink like I am, use multiple strokes to add thickness and allow the color to appear bolder, but don’t fill in the entire ear.

7. Draw the eyes
For the eyes, draw two black V’s with a thin brush.
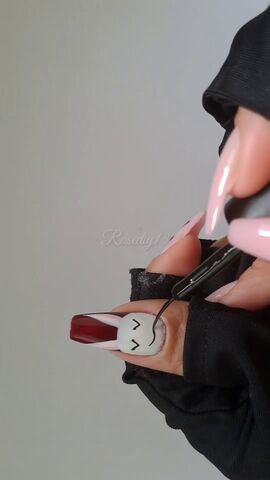
8. Draw the smile
Using the same brush and color, draw a smile.
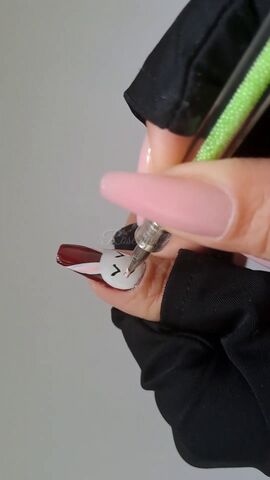
9. Add blush
To finish the bunny’s face, use a dotting tool with the same pink you used in the ear to add blush on both sides of the mouth. Let it dry.
10. Apply a top coat
Apply a glossy top coat.
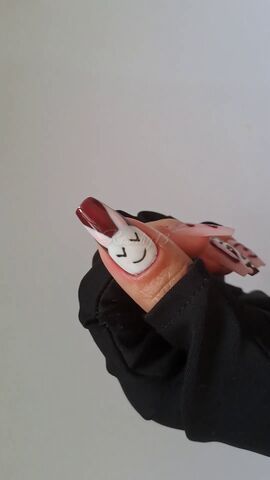
DIY rabbit nail art
Here’s the finished rabbit nail art! Let me know what you think about this cute design down below.
Check out my post on how to Make Your Nails Grow Overnight With One Common Kitchen Ingredient.
The author may collect a small share of sales from the links on this page.


Comments
Join the conversation