Looking For Creepy Halloween Nail Art? Try These DIY Teeth Nails

Halloween is just around the corner, so in this tutorial, we’re doing some extreme nail art. These teeth nails will be the creepiest nail art you’ve ever seen and they’re so simple to do. Whether you’re looking for something to do tonight or just browsing for some Halloween nail inspo, you’re not going to want to miss this tutorial. Let’s get started.
Tools and materials:
- Base coat
- Polygel
- Gel polish
- Top coat
- Acrylic/resin teeth
- Acrylic powders
- Nail drill
- Paintbrush

1. Apply base coat
Apply a glossy gel base coat to your nails and cure under a UV lamp for 30 seconds.
2. Mix acrylic powders and poly gel
To make the appearance of gums, mix red, pink, and white acrylic powders with some poly gel.
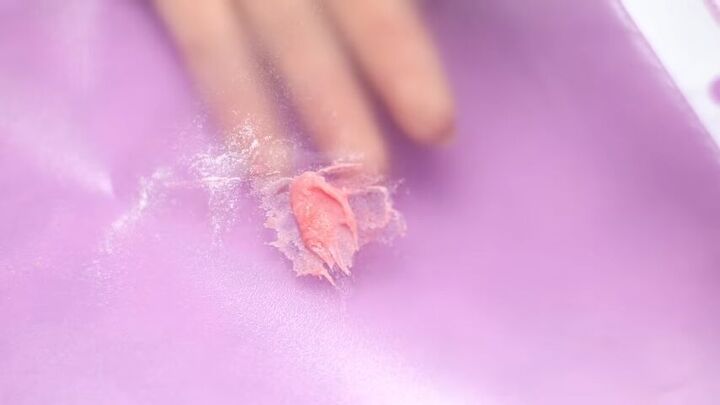
Mix well until it comes out looking like this.
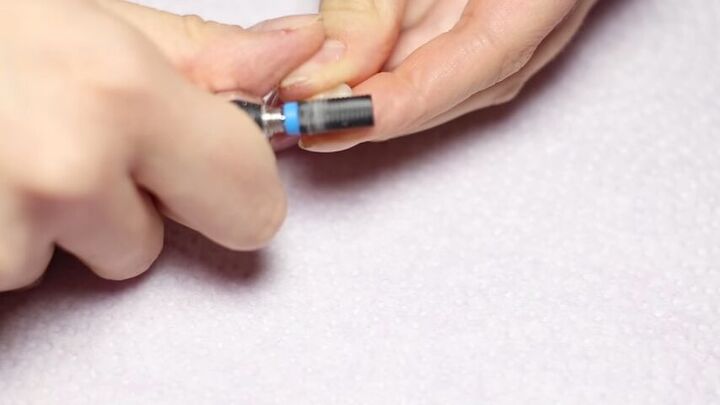
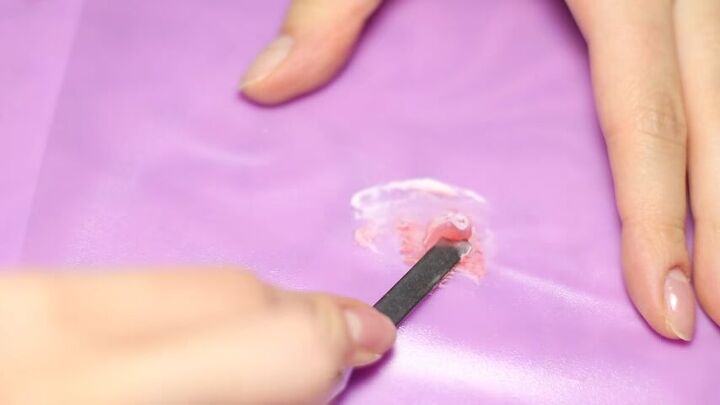
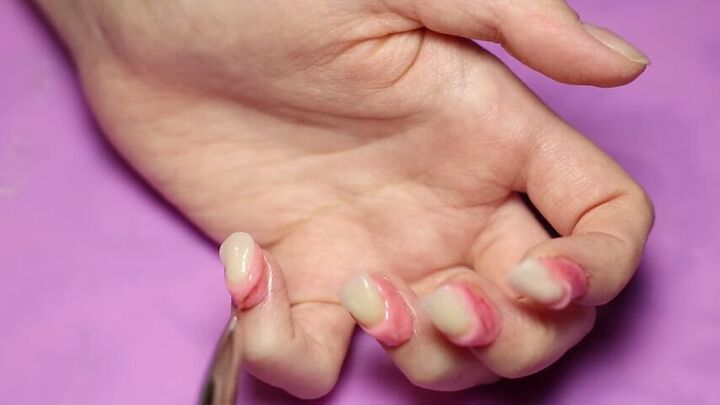
3. File the tooth with a nail drill
For the teeth, use upper anterior acrylic resin teeth for dentures. To make sure they’re the right fit for your nails and they fit on naturally, use a medium-sized nail drill to file it down.
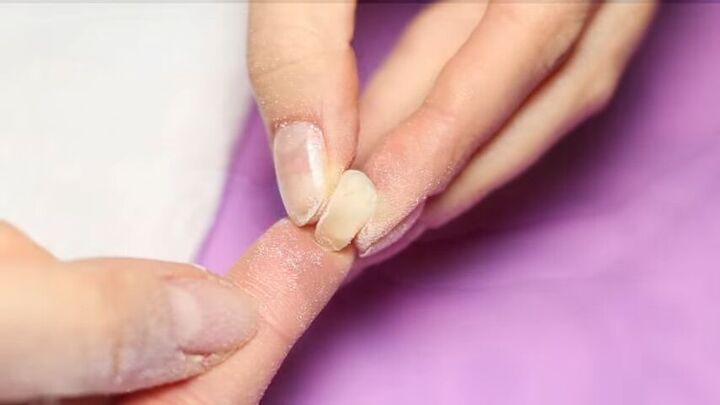
Here’s what the finished tooth should look like. It should be both flat and curved enough to fit on your nail.
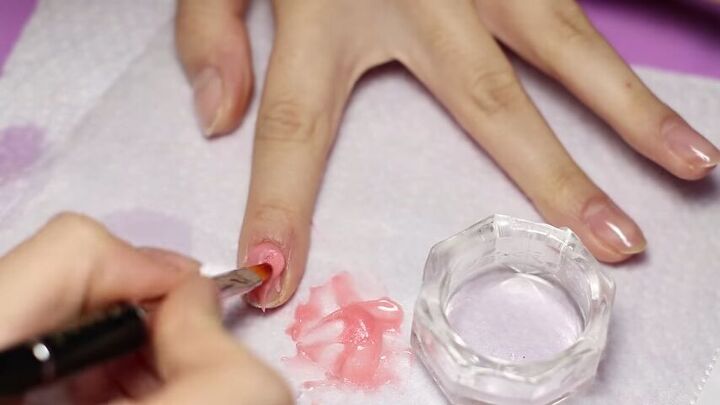
4. Mold the gel to your nail
Soak a paintbrush in isopropyl alcohol (gel nail cleaner) and then use it to apply the gum-like gel to your nail. The alcohol should make it easier to shape and mold to your nail.
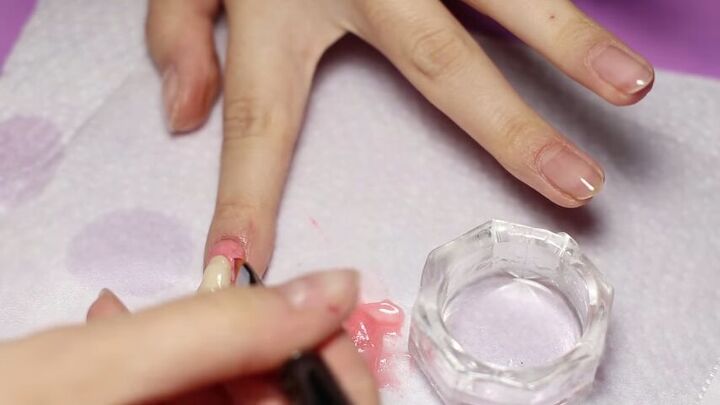
5. Apply the tooth
To apply the tooth, just press it into the gel then use the paintbrush to bury the tooth into the “gums” so it sits more naturally. Cure for 30 seconds.
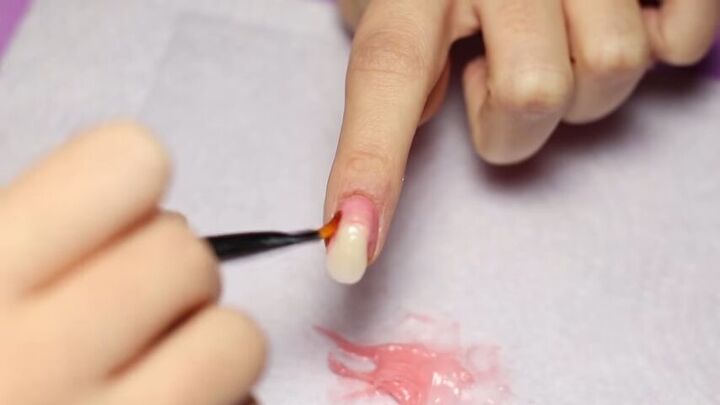
6. Create the free gingiva
Now, we’re creating “free gingiva” which is the tissue that surrounds the tooth and tends to be a lighter color than the gums. You can create this with a lighter pink poly gel mixture and mold it directly over the tooth to create a little pocket in which the tooth sits. This is necessary to create a more realistic tooth.
Use the paintbrush to create a more pronounced pocket and add some depth to act as the gingival margin. Cure for 30 seconds.
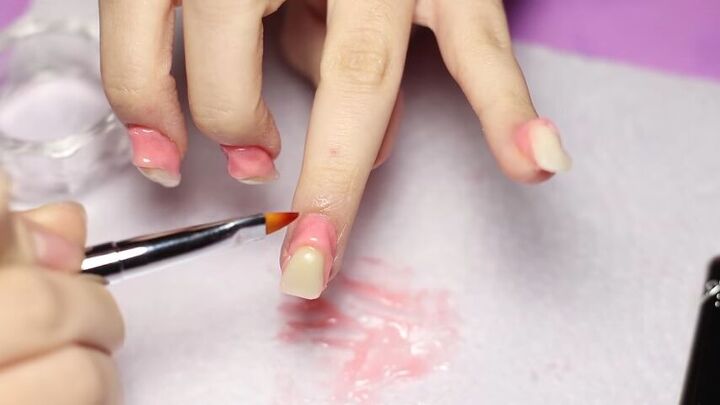
7. Add detail
You can mix clear polish with red, white, pink, and purple nail polish to add more detail to the gums. Cure for 30 seconds.
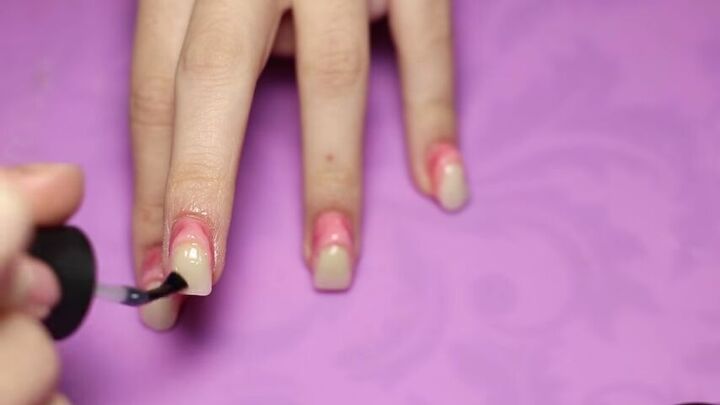
8. Add a top coat
Finally, add a top coat over both the tooth and the poly gel gum mixture. Cure for 30 seconds and you’re done!
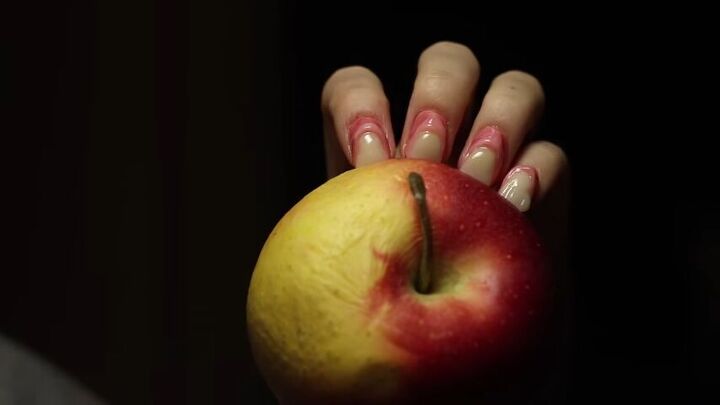
DIY teeth nails for Halloween
Here are the finished Halloween nails. This horror nail art is perfect for a Halloween party, a creepy addition to your costume, or just a festive look for the entire month. Let me know how you plan on styling these nails down below!
The author may collect a small share of sales from the links on this page.


Comments
Join the conversation
Yuck! Eww! That's about the creepiest thing I've seen lately! I love it! You are brilliant! Thanks for sharing!