How to Do DIY Bubble Nail Art 3 Different Ways

If you’re looking for a way to switch up your normal nail looks, you have to try bubble nail art. It’s easier to do than you think, and it’s so cool and unique, you’re bound to get compliments.
In this tutorial, I’m going to show you how to do bubble nail art with three different DIY bubble nail art methods and six different bubble nail art designs. Let’s get started!
Tools and materials:
- Gel polish
- Top coat
- Straw
- Soap
- Nail art powder
- Cuticle oil
- UV/LED lamp
- Acetone
- Tissue
How to do bubble nail art with gel polish
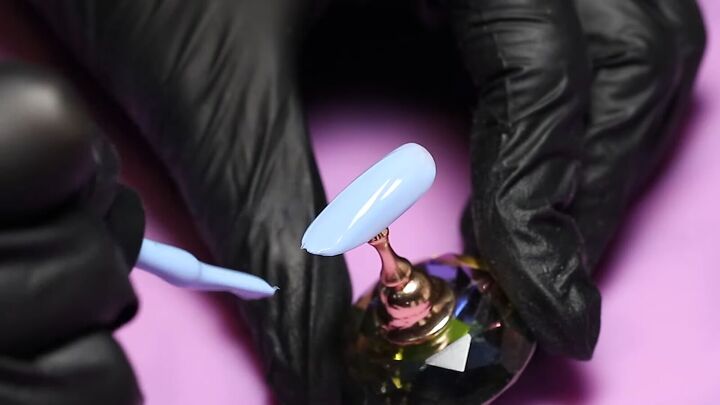
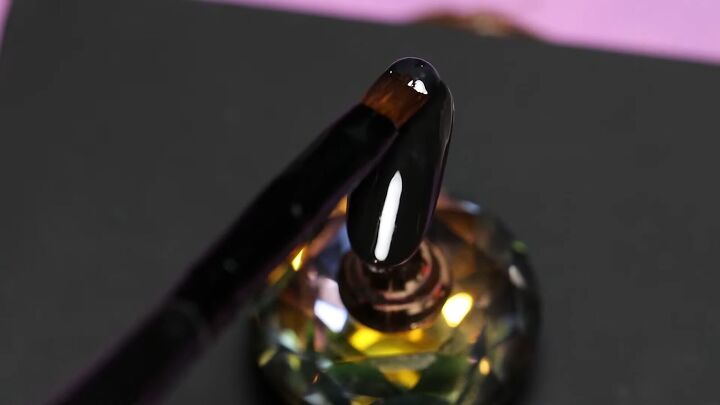
1. Apply the base
Apply the base color of your choice then cure for 30 seconds.
Apply a thin, second layer of gel polish.
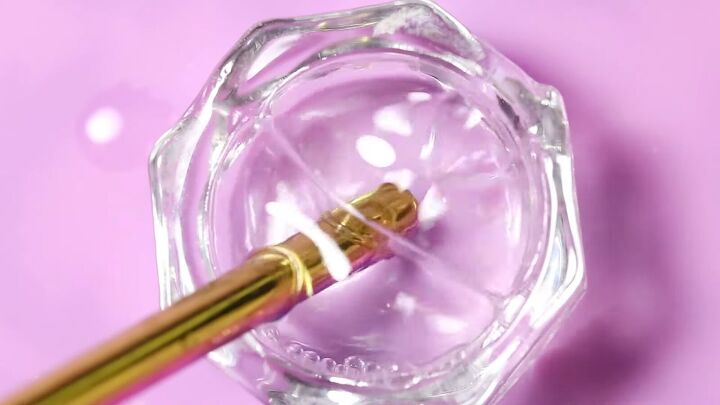
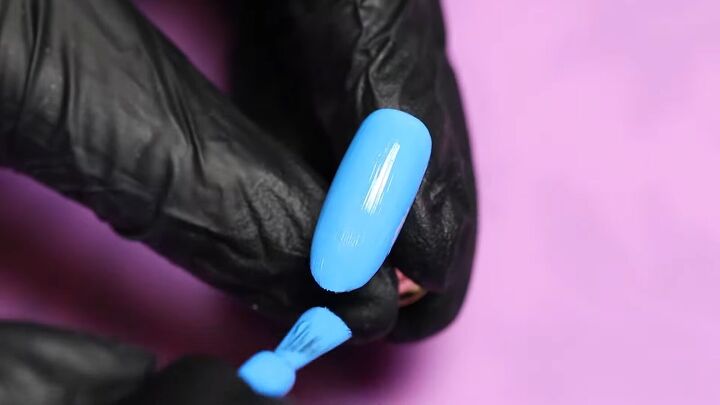
2. Make bubbles
Now it's time to make some bubbles! I’m using a straw and some soap and water. You can also give the container a good shake. Whatever works best for you.
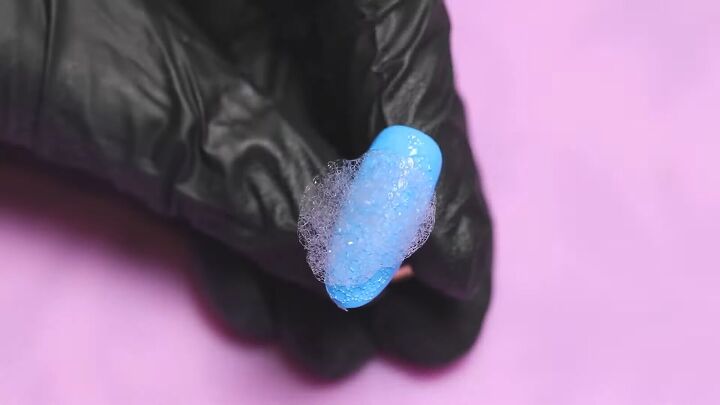
3. Apply and cure
Apply bubbles over wet gel polish and cure under a UV lamp.
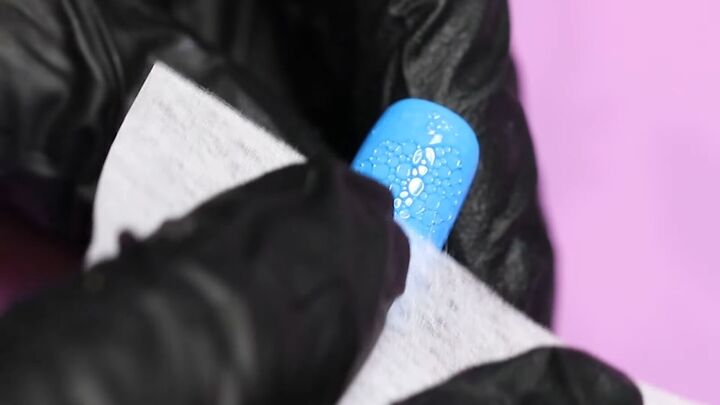
4. Remove excess
Wipe off the excess bubbles.
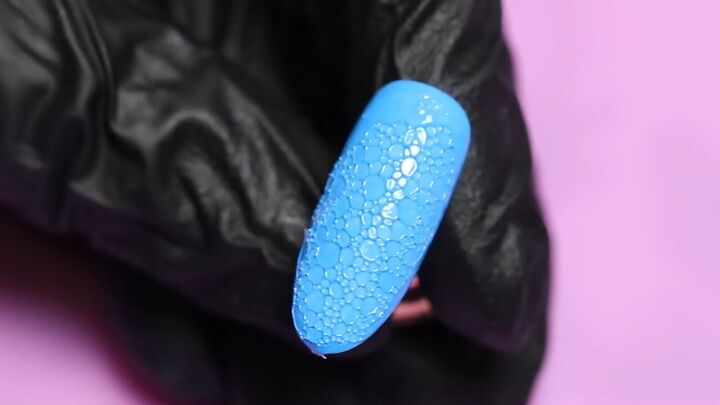
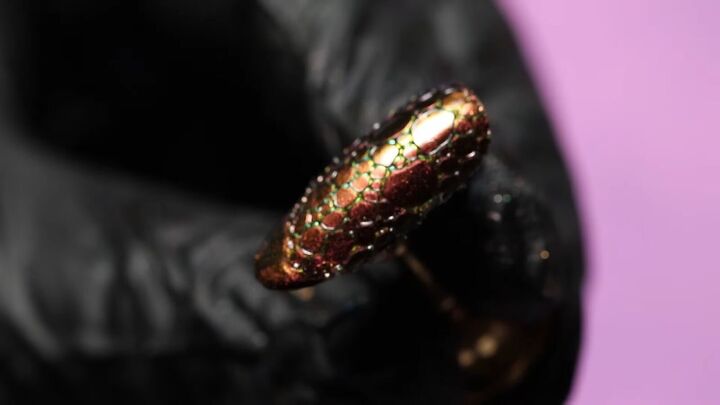
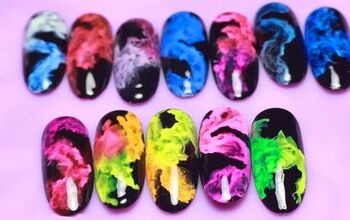
Here’s the finished design!
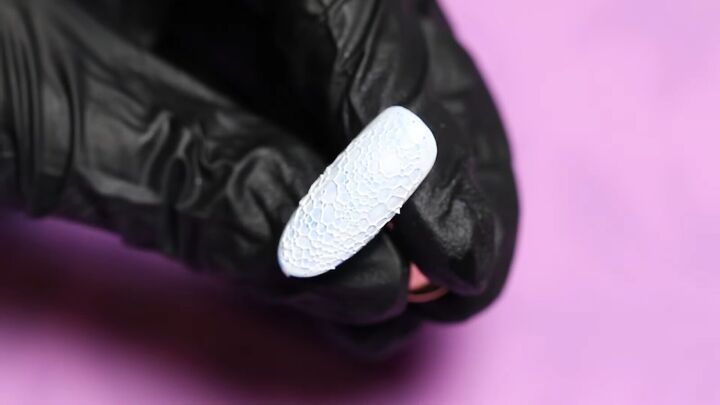
Here's a similar design using white gel polish.
How to do bubble nails with nail art powder and top coat
1. Base coat and top coat
After your base coat, apply a no-wipe top coat and cure.
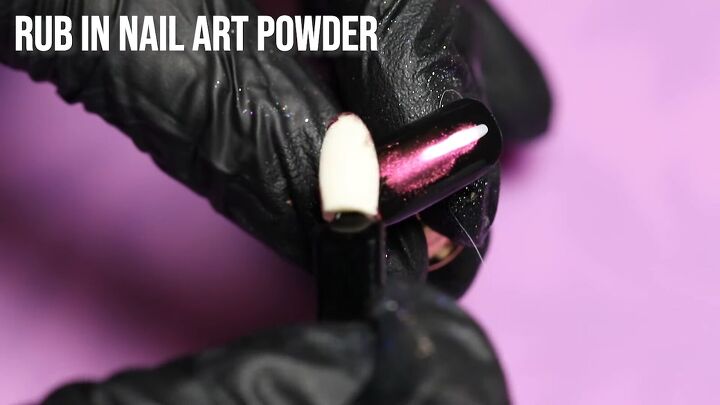
2. Apply nail art powder
Apply nail art powder and rub it in with your brush or finger.
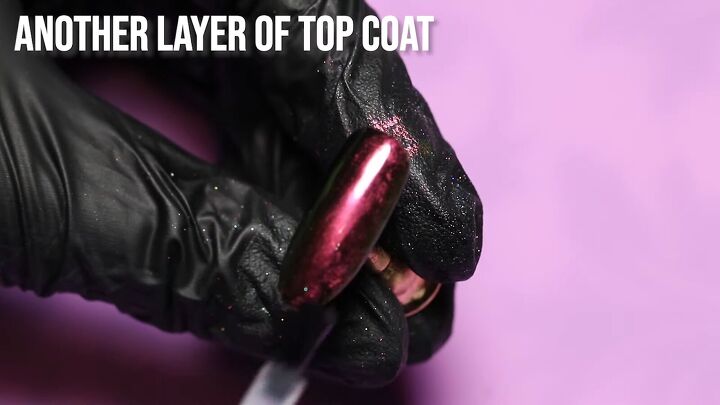
3. Top coat
Apply another layer of top coat.
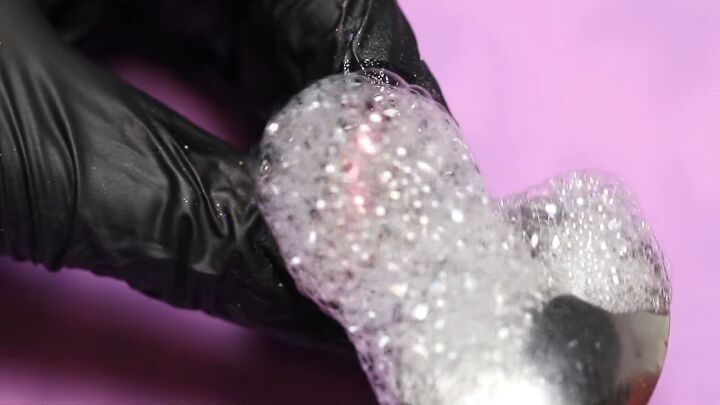
4. Make the bubble nail art design
Apply bubbles and cure under a UV lamp for 30 seconds.
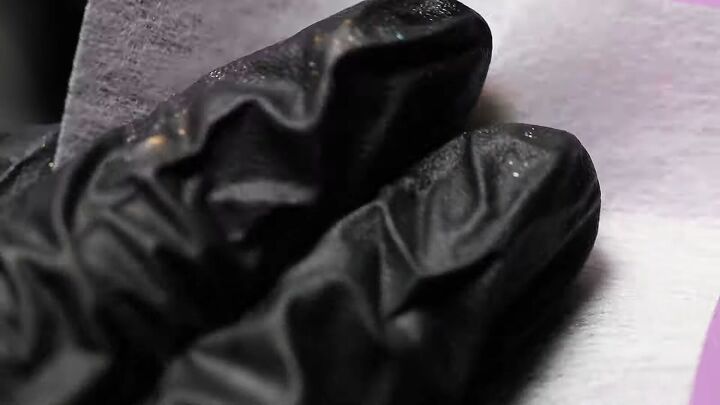
Wipe off the excess bubbles.
Here’s the finished design!
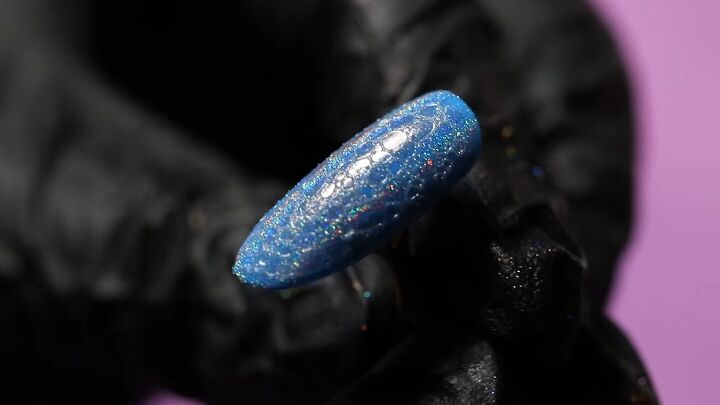
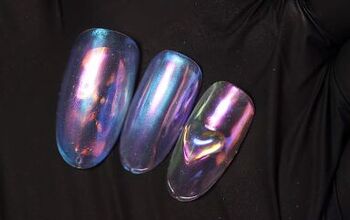
Here's a similar design in blue
Here's another with white.
How to do bubble nail art with top coat and cuticle oil
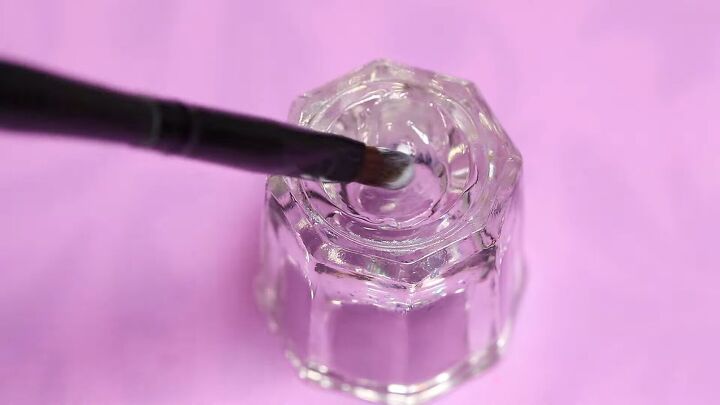
1. Mix
Mix top coat and cuticle oil.
2. Apply
Cover the black base with the mixture.
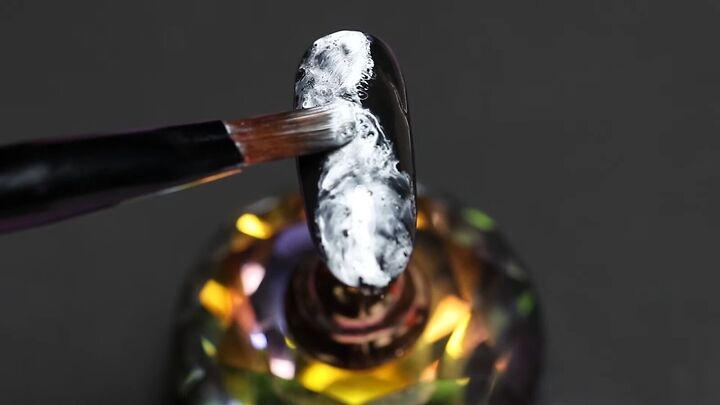
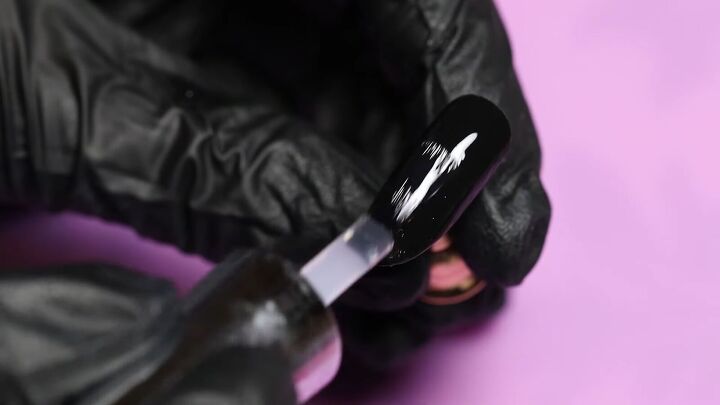
3. Add white polish
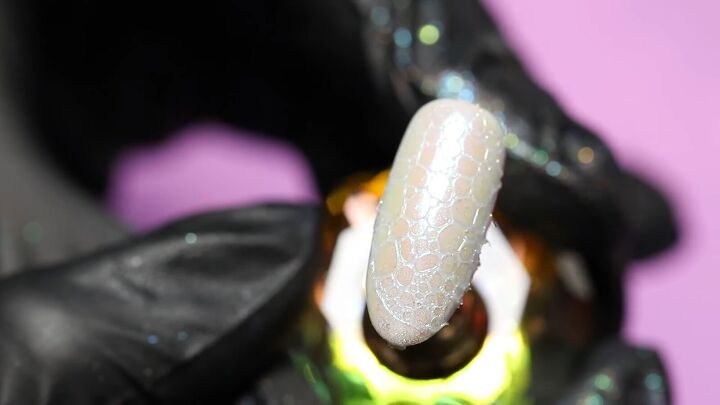
Paint a smokey design with white polish a bit messily.
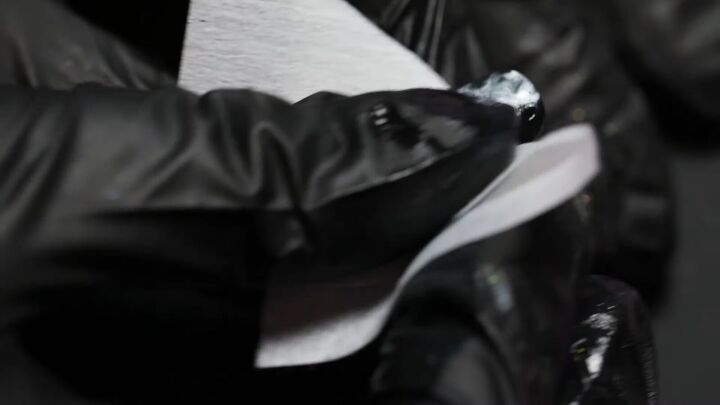
4. Clean with acetone
Clean with acetone really well.
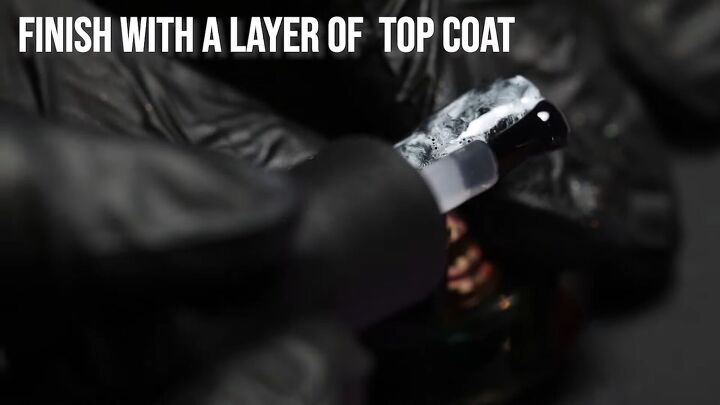
5. Top coat
You should see tiny bubbles in the design. Finish with a layer of top coat.
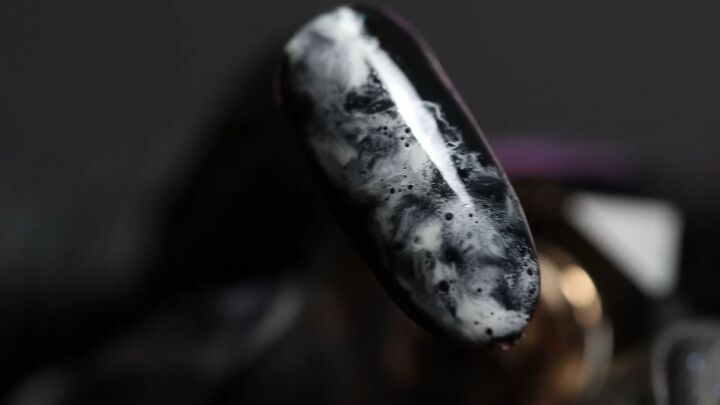
Here’s the finished design!
Bubble nail art tutorial
I hope you enjoyed this bubble nail art tutorial! Now that you know how to do bubble nail art, let me know down below which method you want to try.
The author may collect a small share of sales from the links on this page.


Comments
Join the conversation
Wow! They are all beautiful. I like the last one with black base and smoky white on top. Looks amazing!