5 Cute Pink and White Gel Nail Art Designs - Perfect For Beginners

Whether you’re a long-time manicure pro or you just got your first gel nail kit, you’re probably looking for new designs you can do at home.
Fortunately, I’ve got five super easy gel nail art designs for that that even an absolute beginner can do. I'm creating pink and white gel nail art designs, but you can choose whatever colors your heart desires.
Follow this tutorial and your nails are going to be something to flaunt!
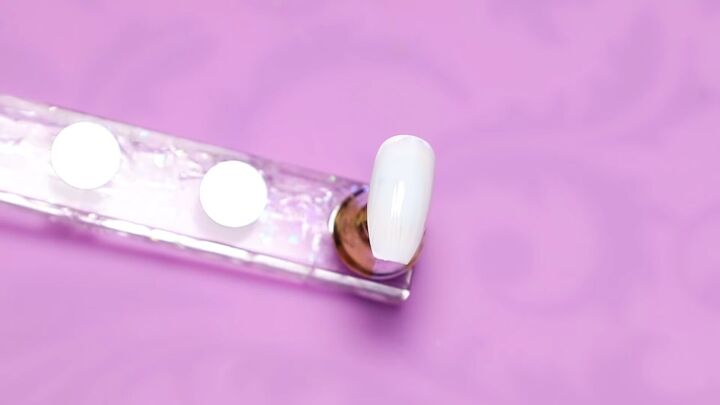
Tools and materials:
- Gel nail polish
- Nail lamp
- Top coat
- Dotting pen tool
!. Pink and white cheetah spots
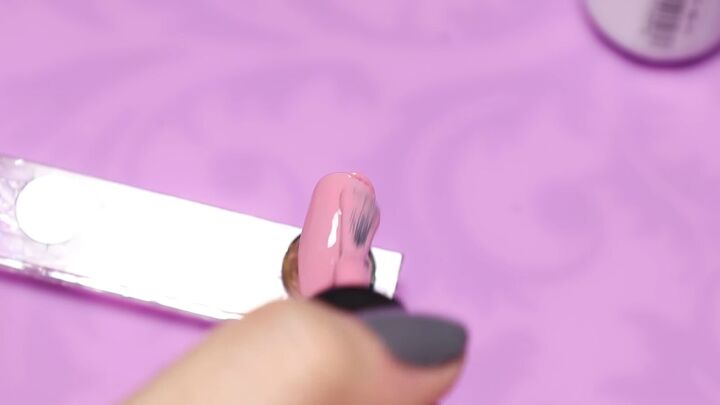
Apply a pink gel to your nail and then cure it under a UV or LED lamp.
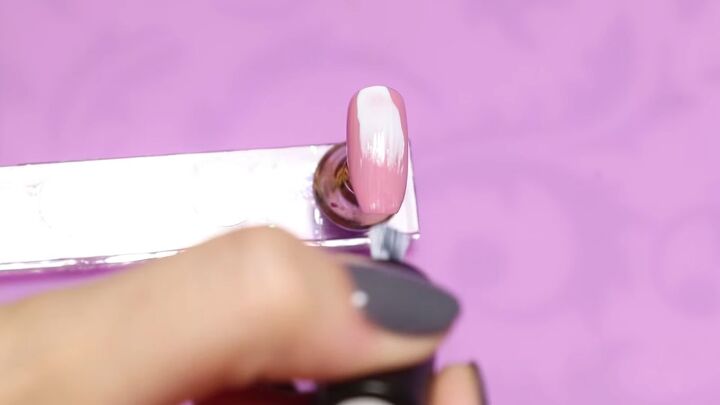
Cover the pink with white gel polish, but don’t cure this layer just yet.
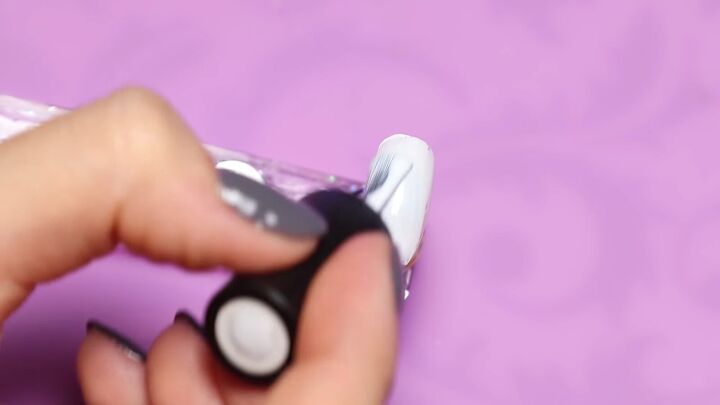
Pour a bit of the top coat onto a safe surface and use a dotting tool to lightly cover the nail.
The pink underneath the white should slowly begin to peek through where you dotted the top coat. Cure.
Finally, lightly coat the nail with the top coat.
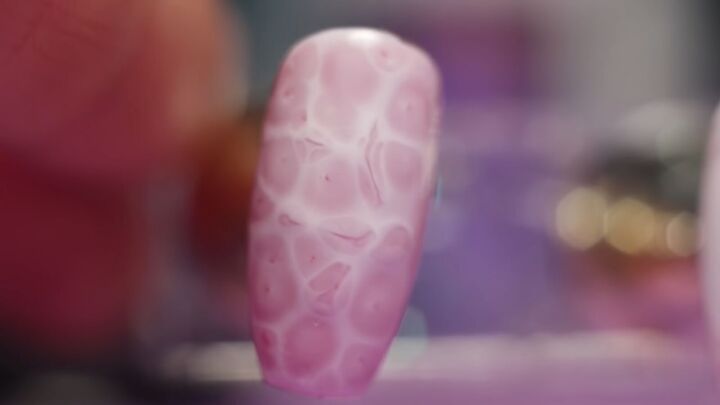
Here’s the finished look!
2. Glitter ombre
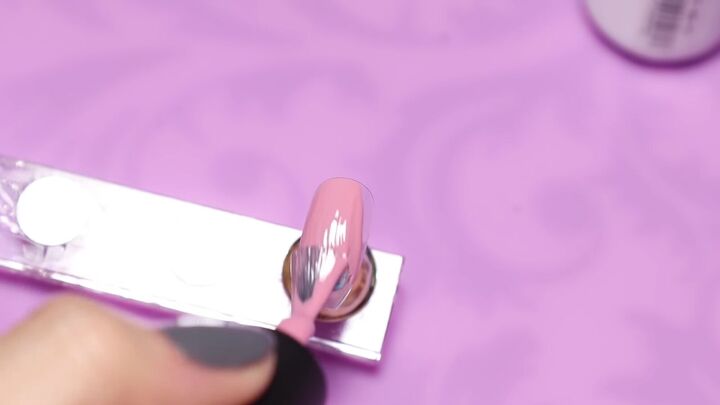
Coat the nail with a pink gel and then cure.
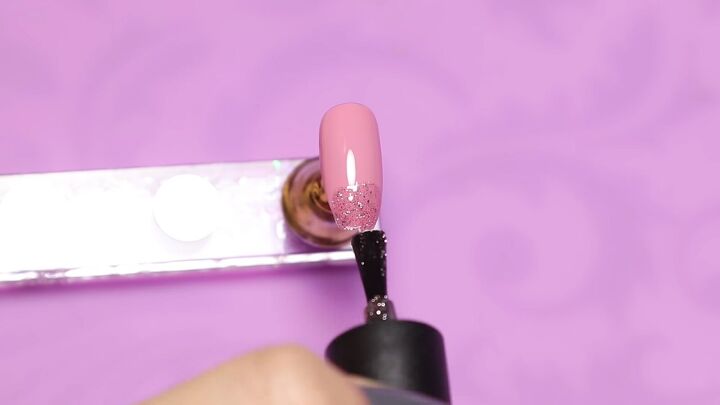
Apply a glittery gel only to the top third of the nail.
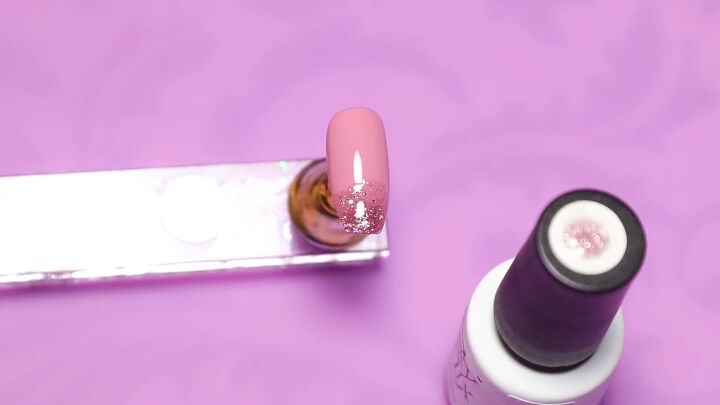
Then, apply another layer of the same gel just over the tip of your nail. This will add a darker tip.

Use a thin brush to blend the two layers together and clean up the lines, then cure.

Here’s the finished look!
3. Mixed marble
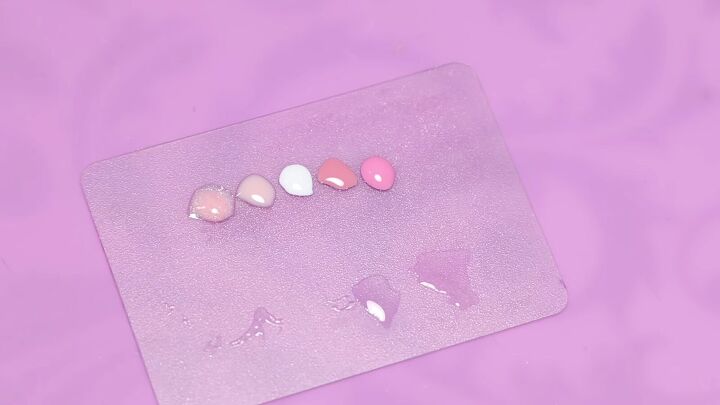
Set out three colors on a safe surface. I went with the same white and pink from the previous nails, and three additional colors. These are the ones I chose.
I also used the glitter gel that’s unpictured here.
Apply the first color as a base coat, cure, and then apply that same color again. Don’t cure after the second layer.
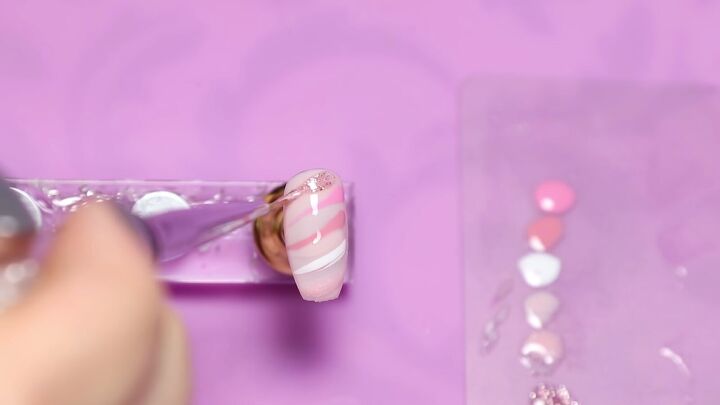
Alternate between all of the colors in your palette and draw lines diagonally across the nail to create a striped pattern.
Gently overlap and mix them together by continuing to overlay your colors.

As you paint over the existing stripes, it should break them up and add a bit of texture.
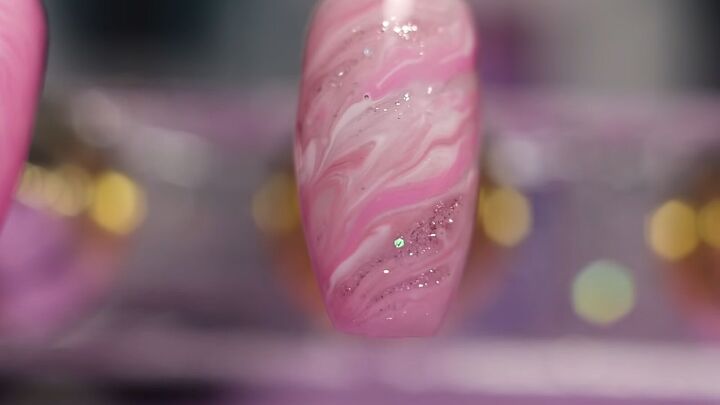
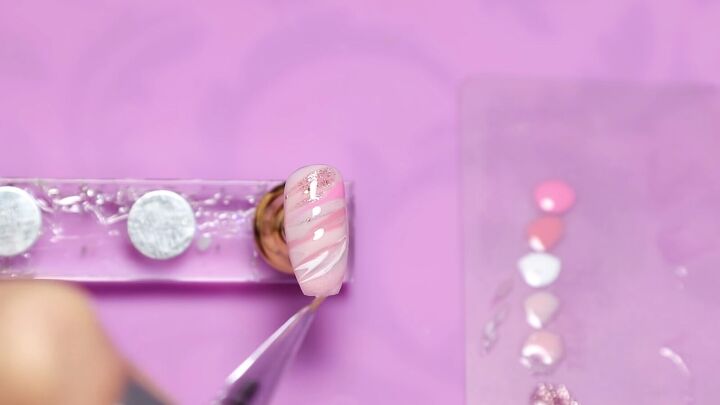
Here’s the final look!
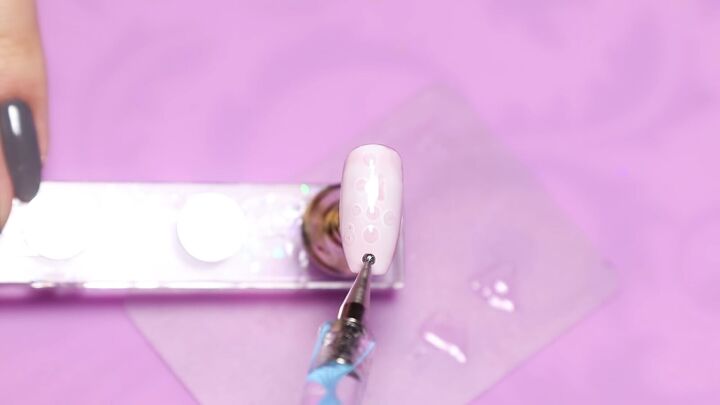
4. Pink and white spiral
Apply a white base and cure.
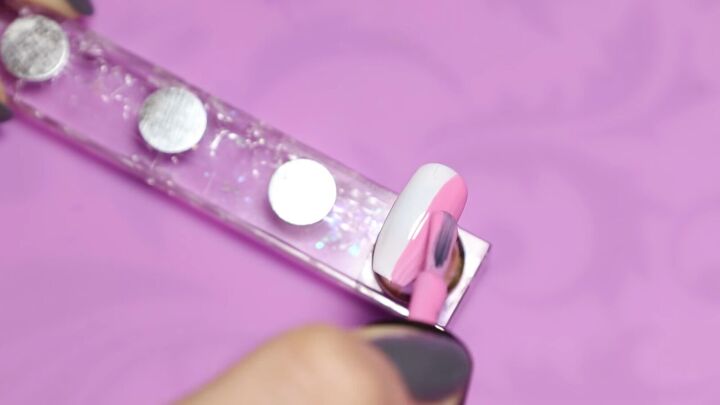
Paint half of the nail pink.

Apply another layer of the white gel, and then using the dotting tool, lightly etch a spiral into the nail. Go over it several times for maximum effect.
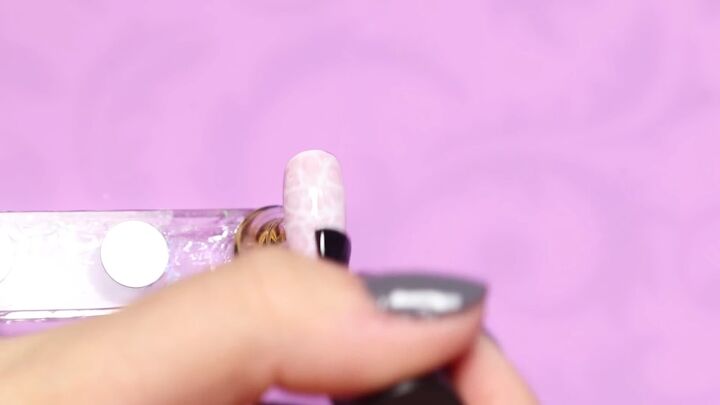
As you swirl, the pink should begin blending with the white and vice versa.
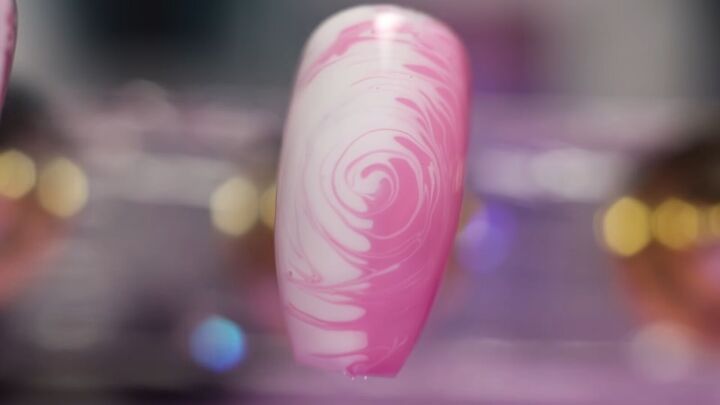
Here’s the finished look!
5. Smoky pink
Apply a white base and cure.

Apply a thin layer of the top coat, but don’t cure yet.
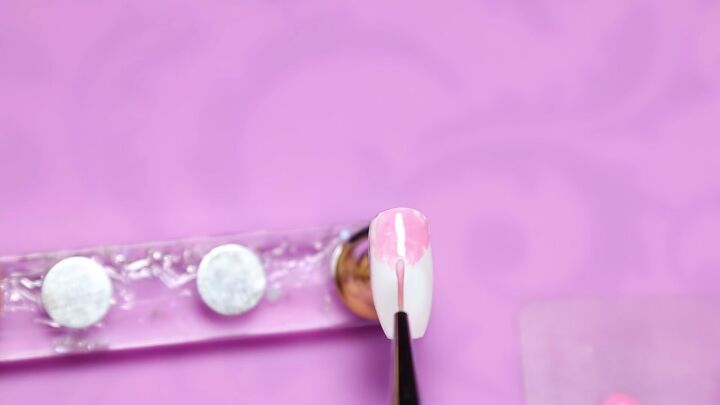
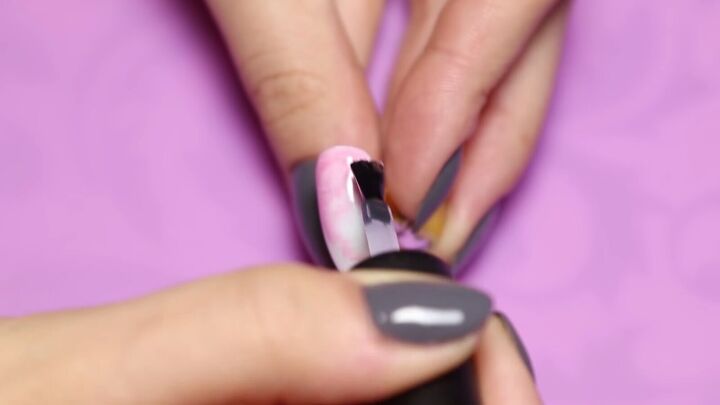
With a thin brush, apply pink to the top third of the nail. Don’t worry about doing it perfectly; it should appear a bit messy.
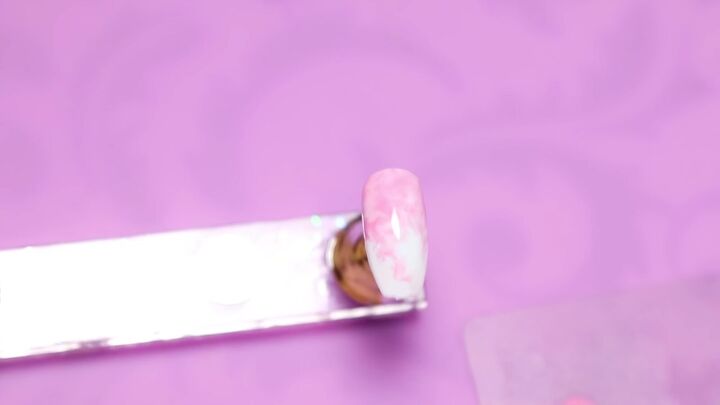
Blend the pink down into the white. Again, messy is key here. The white should show through the pink and, combined with the clear topcoat, should give the pink a smoky look.
Once the design looks how you want it, apply a matte top coat.
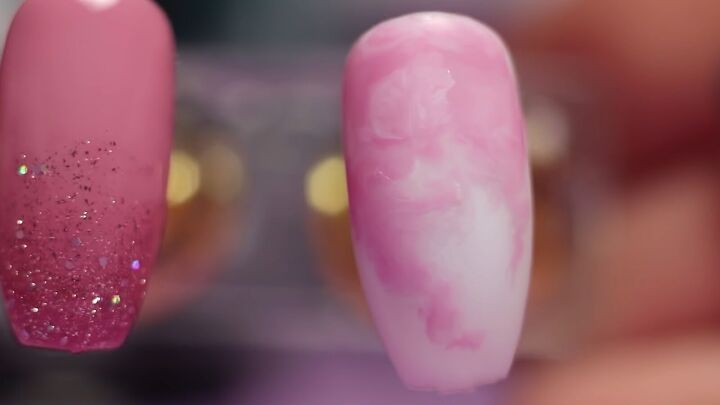
Here’s the finished look!
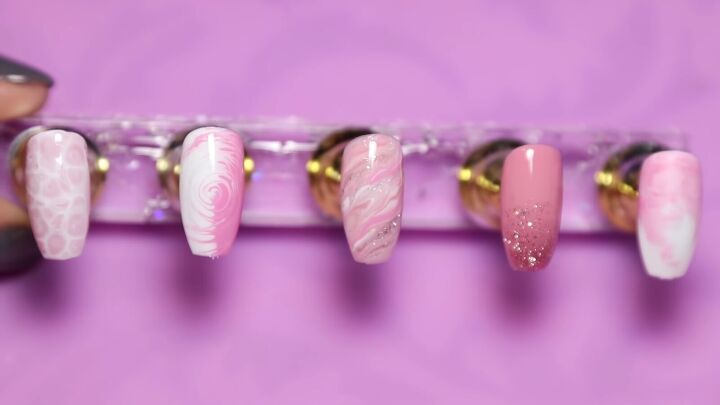
Pink and white gel nail art tutorial
That’s it! Here’s the final look for all of the easy nail art designs I shared today. You can create them directly on your nails with gel polish or paint them first on fake nails before gluing them on, as I did.
If you enjoyed this gel nail art tutorial, let me know which pink and white nail art designs were your favorites in the comments below!
The author may collect a small share of sales from the links on this page.


Comments
Join the conversation