Quick and Easy Christmas Tree Nail Art Tutorial

This festive nail tutorial takes just a few minutes and you don’t need to be an expert artist for cute results.
You can use gels or regular polish for this Christmas tree nail art.
Let’s get started!
Tools and materials:
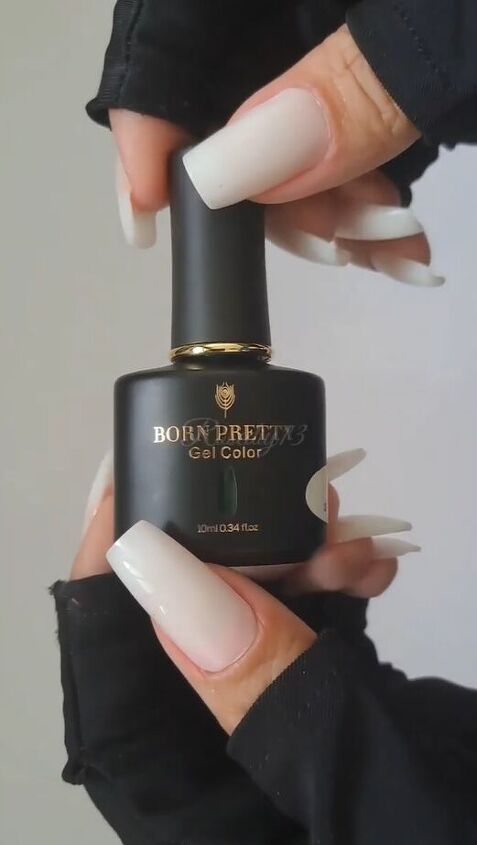
- Milky white, green, red, yellow/sparkle polish
- Detail brush
- UV/LED lamp and protective gloves for gel polish
1. Paint your base color
Paint a light base color on all of your nails. I chose milky white. For gel polish, cure under the UV/LED lamp for at least 30 seconds.
If using regular polish, make sure your nails are dry before continuing.
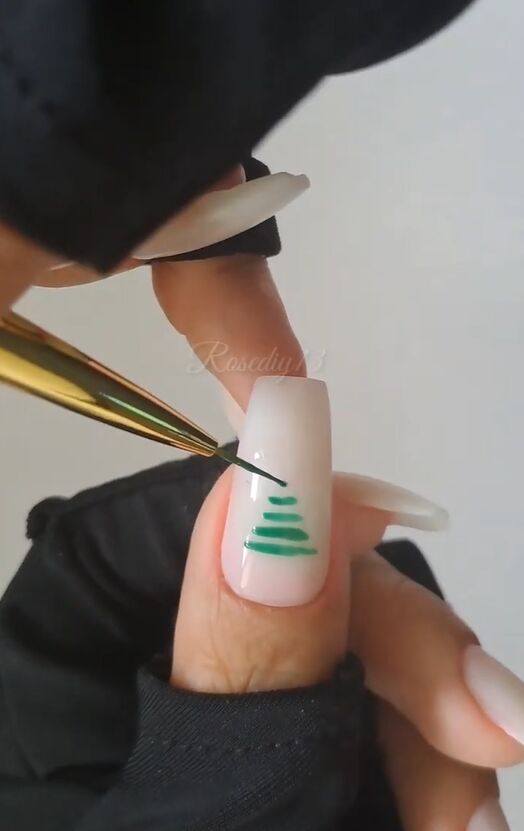
2. Paint rungs
Dip a detail brush in green polish. Starting just above the nail bed, paint 5 horizontal lines, with each line decreasing in length, roughly centered above the rung before it.
The smallest should be a dot, to create the pointed top of the tree.
3. Connect the sides and fill in
With the detail brush dipped in green, connect the lines on the sides, leaving the smallest amount outside, like eaves.
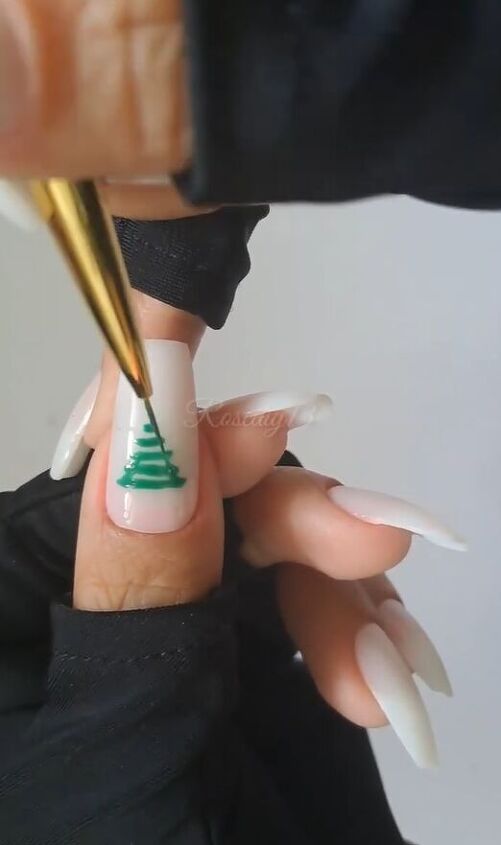
Loosely fill in between the horizontal lines.
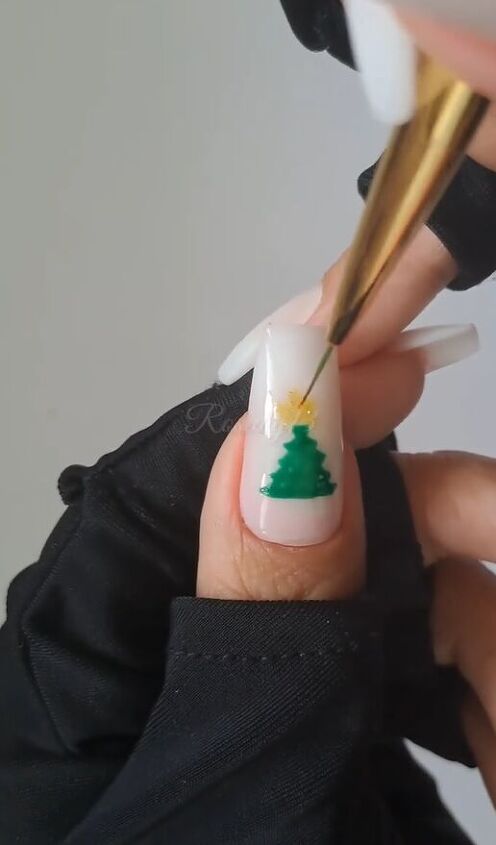
4. Make a star
Clean the brush and dip it in a yellow/sparkle color. Paint a 5-pointed star at the top.
You can adjust the tips of the star after getting the initial shape.
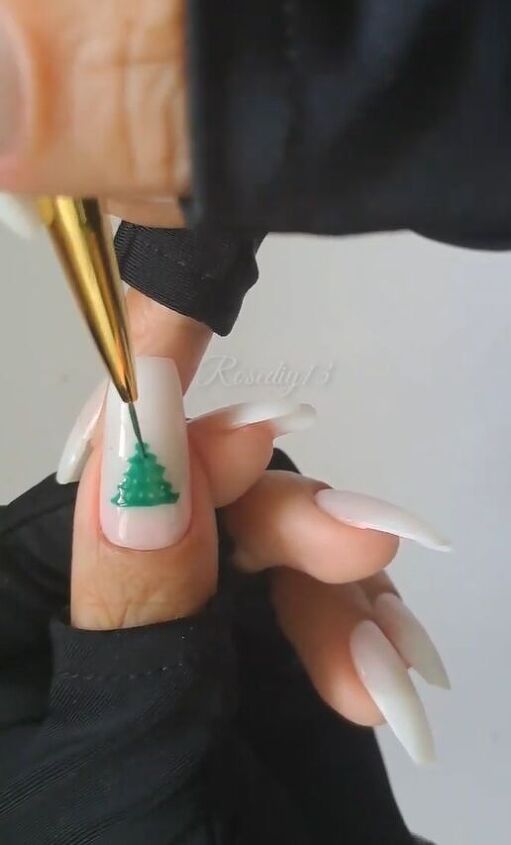
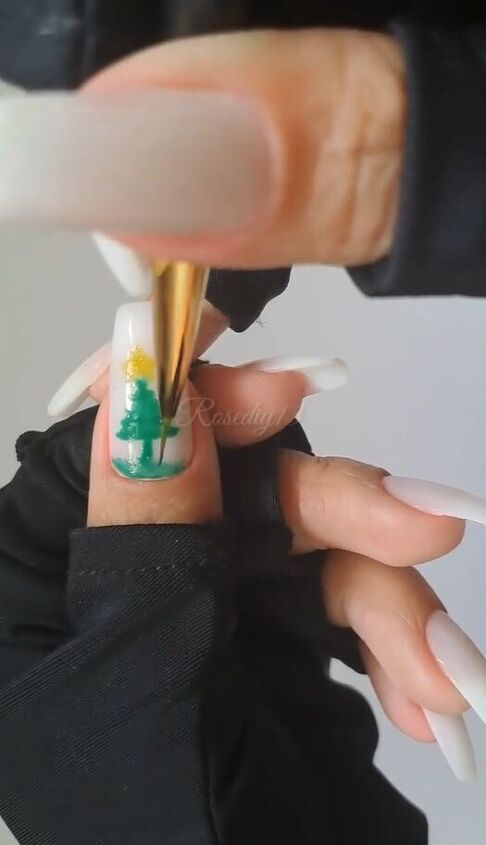
5. Paint the trunk and base
Clean your detail brush, then use it to paint a green trunk and a base that follows your cuticle.
6. Decorate your Christmas tree
Use your detail brush dipped in red and yellow to dot the tree, like ornaments.
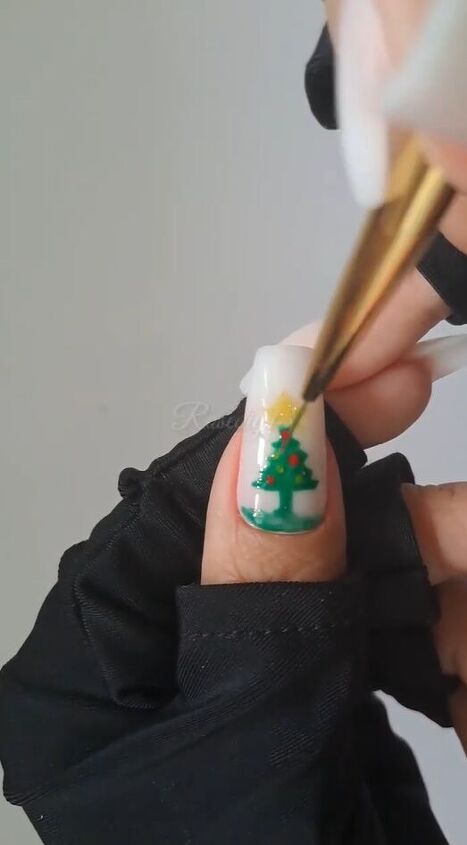
For regular polish, allow the nails to dry, or cure them if using gel polish. Repeat this pattern on as many nails as you’d like!
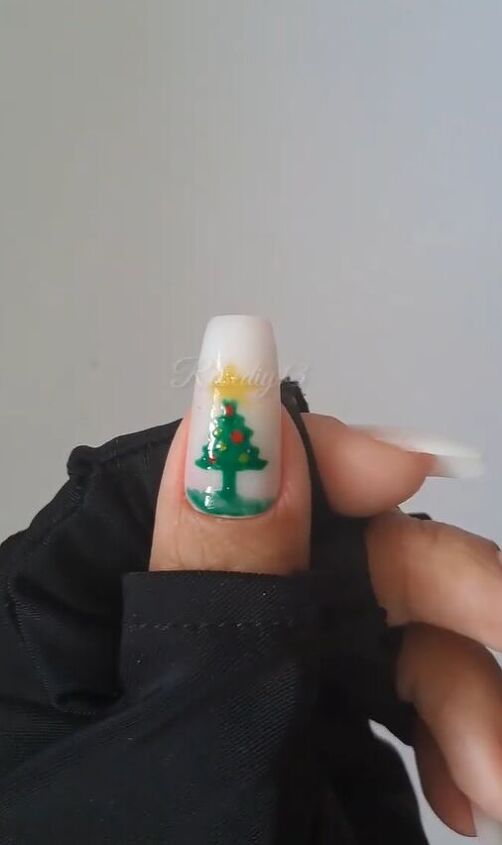
Christmas tree nail art
This Christmas tree nail art is easy enough for beginners and is a small dose of holiday fun!
Next, learn How to Make Strong Fake Nails Out of Masking Tape & Nail Glue.
The author may collect a small share of sales from the links on this page.


Comments
Join the conversation