Cute and Easy Flower Nail Art Tutorial

Hi everyone. Today, I’ve got an easy flower nail art design to share with you.
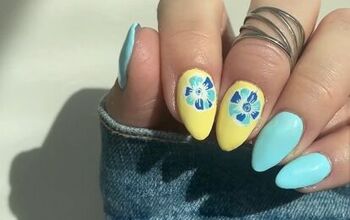
This look is so simple to pull off, but incredibly pretty. Start by applying a base coat in a pale color (I opted for white) and then I’ll show you the rest of the design.
Tools and materials:
- White base coat
- Fine nail brush
- Coral paint gel
- Pearl rhinestones
- Tweezers
- Nail art glue
- Top coat
- Cuticle oil
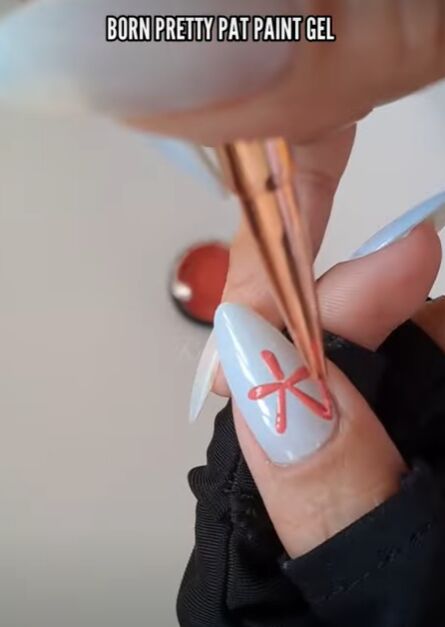
1. Create a flower
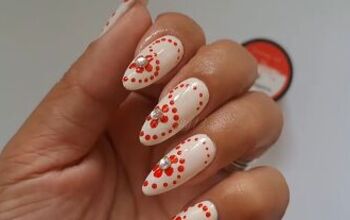
Using a fine nail brush and a coral paint gel, I painted five slim oval shapes.

I then went over the ovals, widening them slightly to form the petals of a flower.
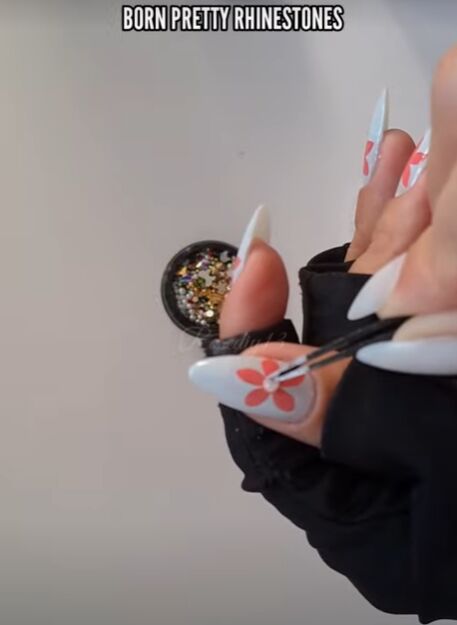
2. Add pearl rhinestone
Then, I took pearl rhinestones and added them to the center of the petals using a pair of tweezers and a small dab of nail art glue.
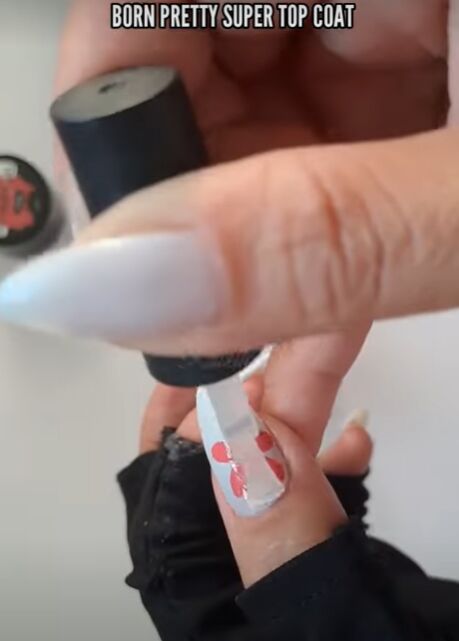
3. Apply a top coat to the nails

4. Apply cuticle oil
I finished off this easy flower nail art by applying a small amount of cuticle oil to each of my cuticles.
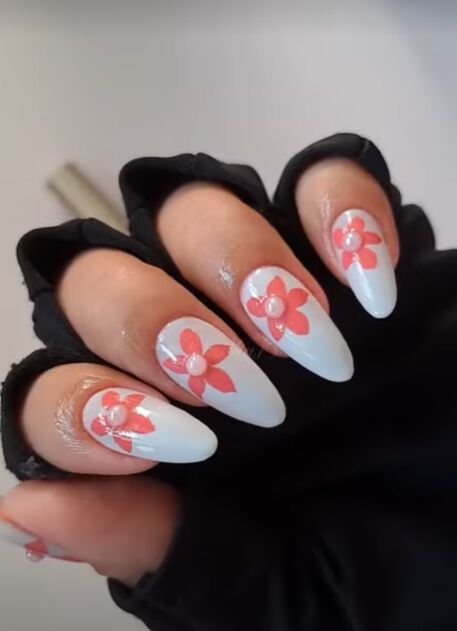
Easy flower nail art
And voila! Your flower nail design is complete. How cute is this look?! Let me know your thoughts in the comments below.
For another simple nail design, check out my post on How to DIY Cute Pink and Gold Nails.
The author may collect a small share of sales from the links on this page.


Comments
Join the conversation