Nail Stamping Tutorial: How to Do Easy Flower Nail Art

Today, we are doing a really fun flower manicure with some cute pastel gels.
We're going to do reverse stamping. I love reverse stamping because, once you pick up your initial image, all that is left to do is fill in the blanks.
It’s much easier than you might think. Let’s get started!
Tools and materials:
- Cream gel
- Gel base
- Nail polish
- Isopropyl alcohol
- UV light
- Stamps
- Stamping plates
- Toothpick
- Gel top coat
1. Apply gel base
First, apply a gel base to your nails. Whenever you're using a cream gel, it's really good to have a gel base on before you apply the cream gel.
This is because it helps it apply much nicer than if you tried to apply it right on your nails.
Note: If you don't own any cream gels and don't want to buy any, you could just a regular nail polish instead!
2. Prime brush
Before using a cream gel, you want to make sure that you prime your brush.
This means you run it through a gel base or a gel top to get your bristles softened up on your brush. Make sure that when you go to apply the cream gels that they apply nice and smooth.
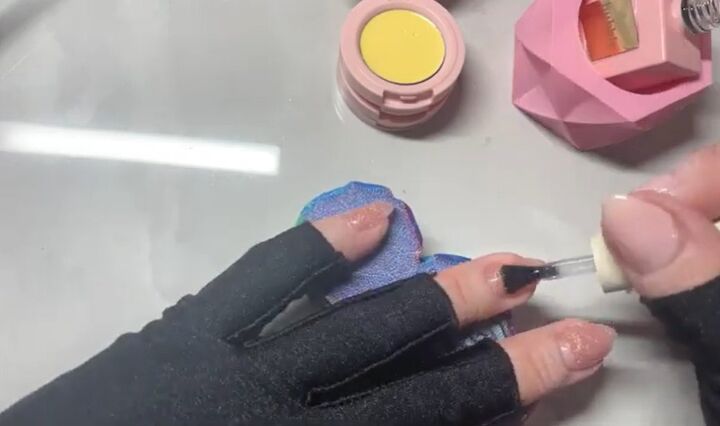
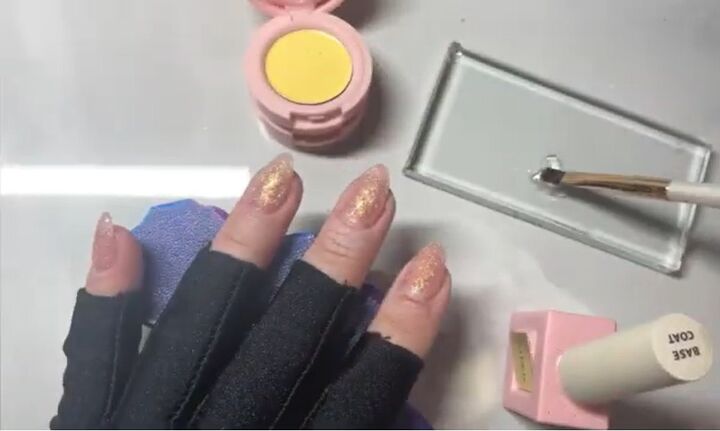
3. Apply cream gel
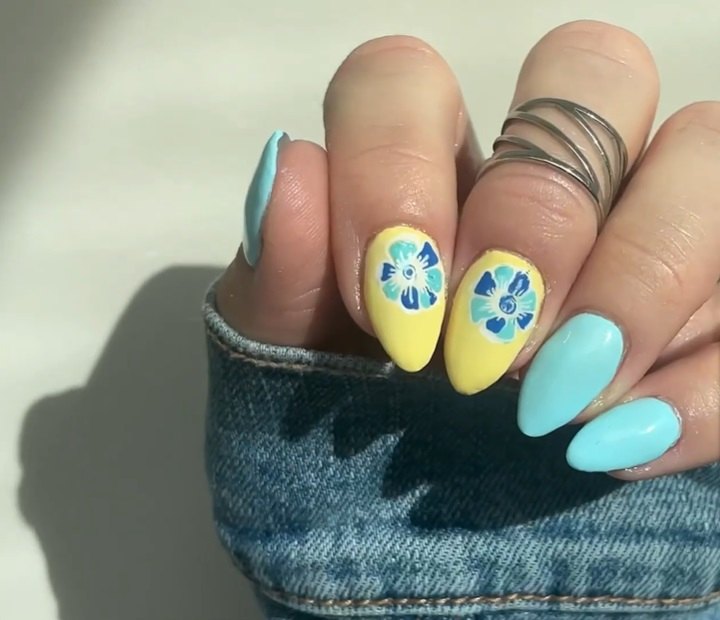
Now you can go in with the cream gel, I went for a gorgeous pastel yellow and blue.
Apply by gliding the polish over really gently. If any gel gets on your fingers, you can clean it up with isopropyl alcohol.
Whenever you're using gels in general, you want to make sure that you're not putting a ton on your nails. If your nails are too thick, it's going to be harder for the light to fully cure them.
Once done, cure your nails under UV light.
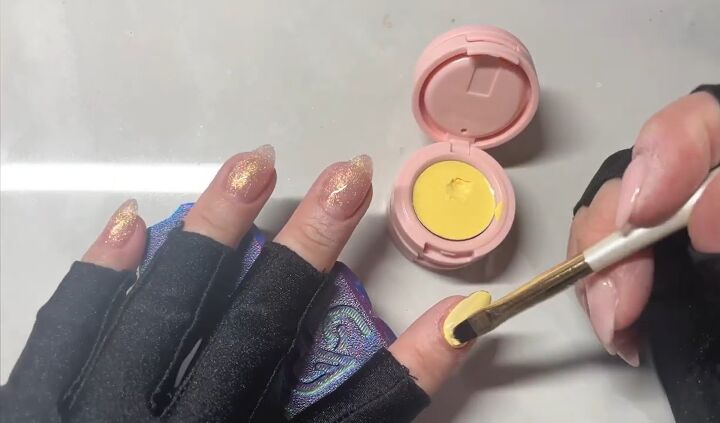
4. Pick up the stamp
To stamp, first, paint over the stencil that you want with white nail polish.
Then, scrape away any excess and pick up the stamp up on your stamping plate. I went for a floral design that is perfect for spring.
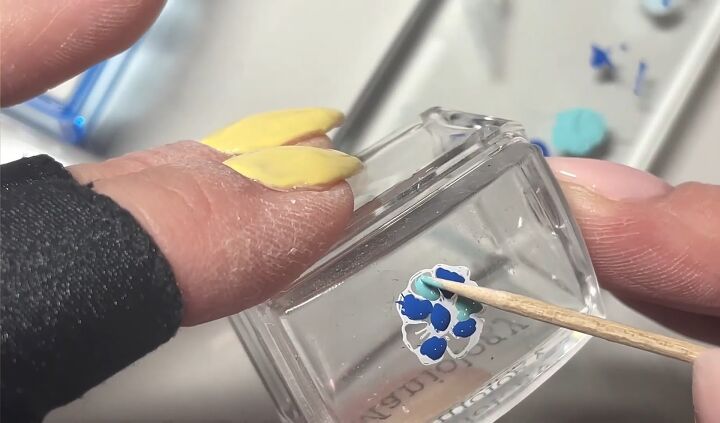
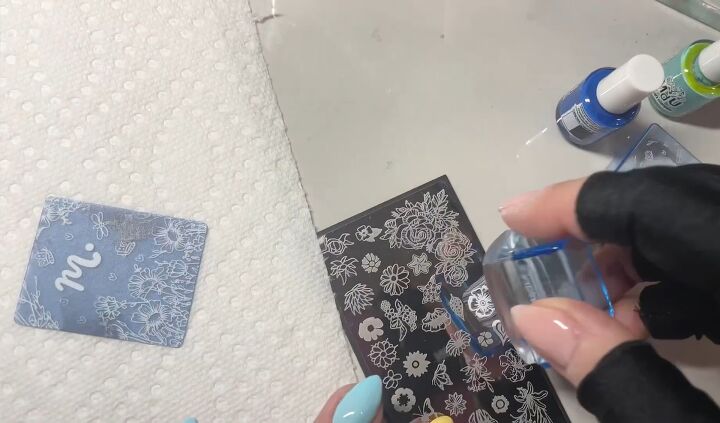
5. Fill stamp in
Now fill the stamp in with a toothpick or other fine tool. These tools will allow you to get into tiny areas and make your design look neat and precise.
The key to reverse stamping is just getting your initial image to pick up. So if you can get your initial image to pick up, you just go and fill in the little blank areas, the open spaces.
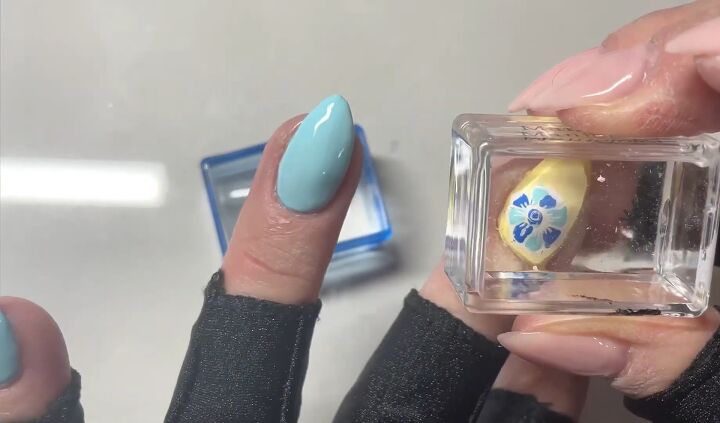
Another pro is that you just let the stamps dry and you put them on with either gel base when you have gel base on, or you can use another type of sticky base.
You want to let your stamp sit there for a while and completely dry before you press it onto your nails.
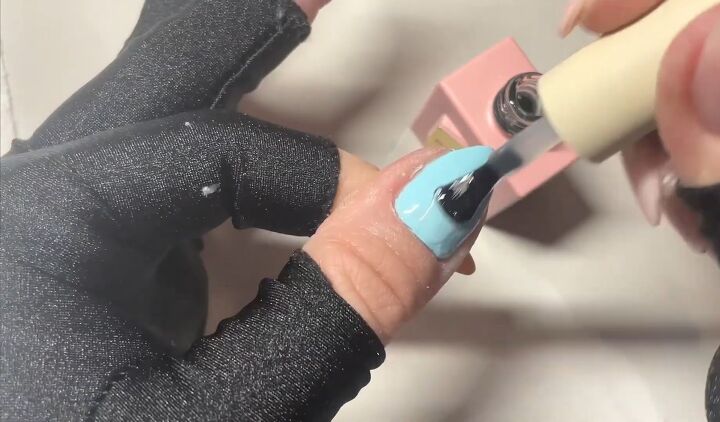
6. Apply top coat
I will only be applying stamps on the nails that I painted yellow, so while the stamps are drying, I am going to apply a gel top coat to the blue nails.
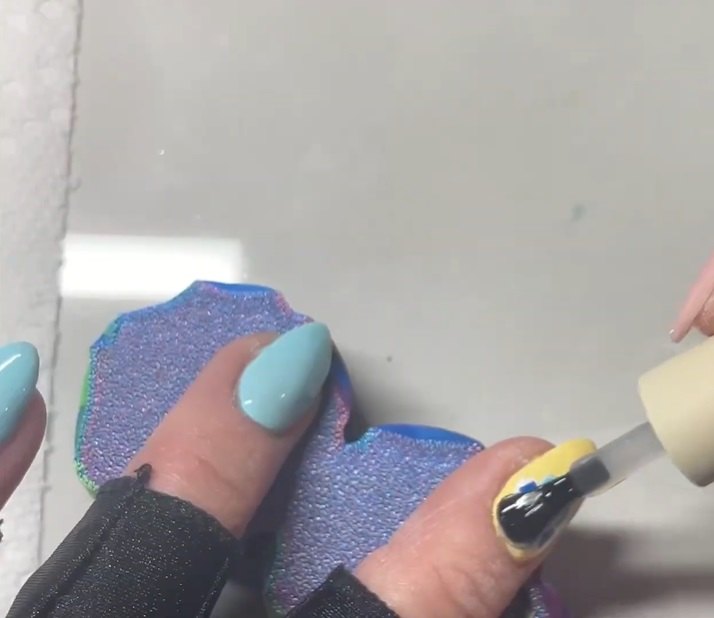
7. Apply the stamps
Make sure the stamps are dry before you go and press them on. You don't want anything sticking to your stamp when you go to press your nails.
If they’re not totally dry then part of it can get stuck and then you have a missing part of your stamped nail design.
8. Apply gel base and top coat
The last thing to do is to finish off the stamped nails.
Whenever I'm doing stamped nails over gels, I like to make sure that I do a layer of gel base over the stamp.
I've seen people skip the gel base over the stamp but, if you're someone who likes to wear your manicures for a long time, you definitely want to do the gel base under the gel top coat, and then your manicures are going to last even longer.
Stamping nails: Easy flower nail art
Here are the finished nails. Just look at the detail on the flower stamp itself and how neatly I was able to fill in the petals with a toothpick. And the colors I went for are just to die for!
If you haven’t come across reverse stamping before, then I hope you’ve found this tutorial to be a helpful introduction to how to use nail stamps.
For more nail art, check out How to DIY Glazed Pink Hailey Bieber Nails at Home.
What would you like to see next? Leave a comment!
The author may collect a small share of sales from the links on this page.


Comments
Join the conversation