How to DIY Cute Floral Spring Nails

Spring is right around the corner for many of us! So what’s a more fitting way to welcome in the new season than with some cute, floral spring nails?
Follow along with this step-by-step tutorial to learn how to create these floral foil nails.
Tools and materials:
- Acrylic nail set and stand
- Maroon gel polish
- Cream gel polish
- Green gel polish
- Paper towel
- Gel cleanser
- Buffing block
- Nail file
- Foil gel
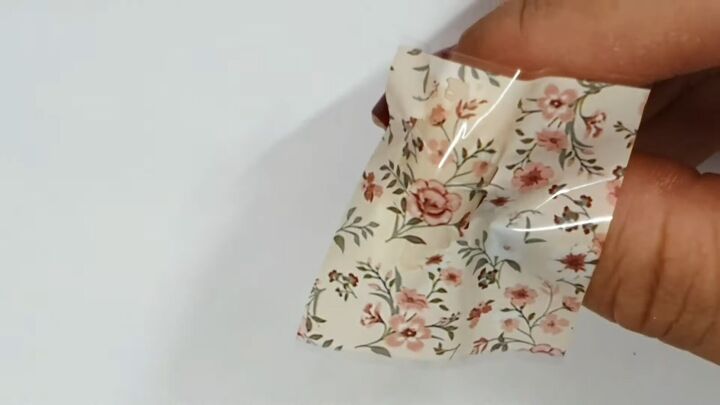
- Floral transfer foil
- Striping tape
- Nail clippers
- Matte and glossy top coat
- UV or LED nail lamp
- Nail glitter
- Glitter brush
- Nail crystals
Nail design 1
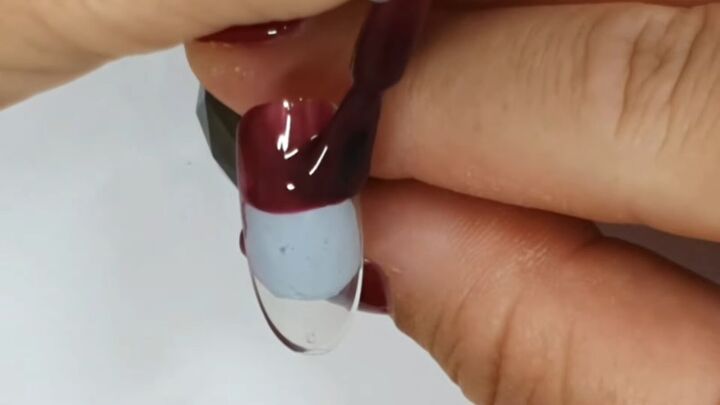
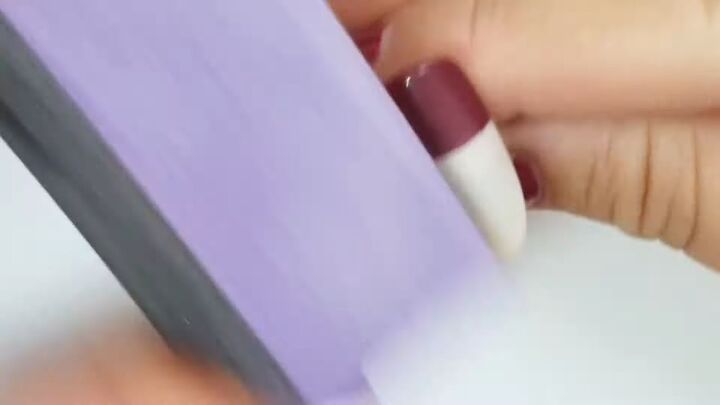
1. Paint maroon at the cuticle end
Start by painting about a third of the nail with a maroon shade of gel polish, at the cuticle end. Apply 2 coats.
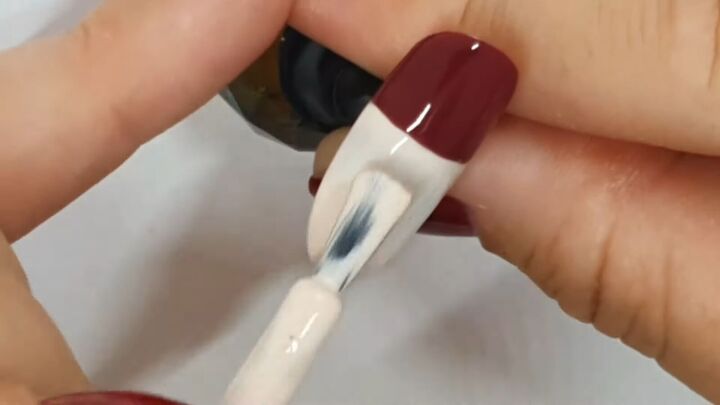
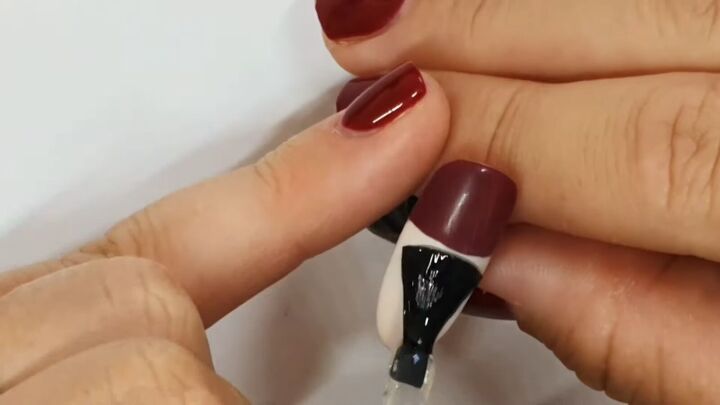
2. Paint cream on the rest of the nail
Now, paint the other ⅔ of the nail with 1 coat of a cream gel polish.
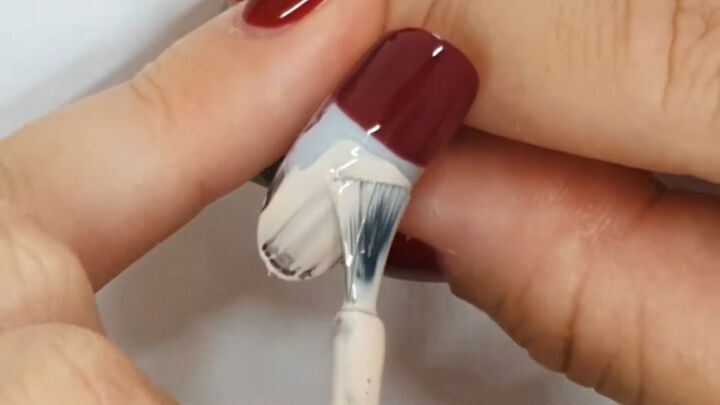
Meet the maroon color in a line. It doesn’t need to be perfectly straight because we will cover it with striping tape later.
3. Wipe and buff
Allow the nail to dry, or cure under a nail lamp. Wipe with a gel cleanser on a paper towel to remove the tacky layer of your final base coat.
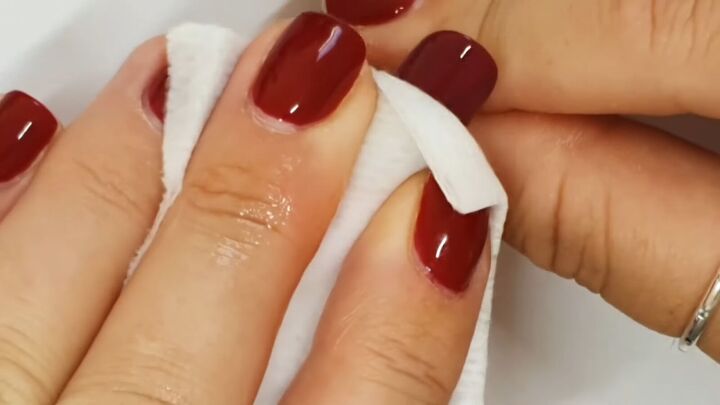
Then smooth the nail with a buffing block.
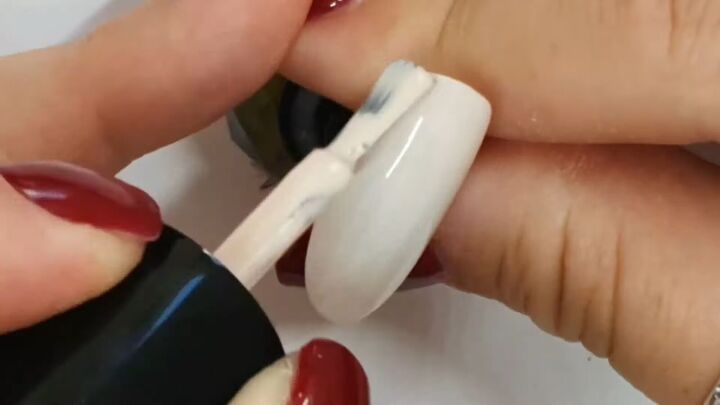
4. Apply foil gel
Paint a coat of foil gel on the cream portion of the nail.
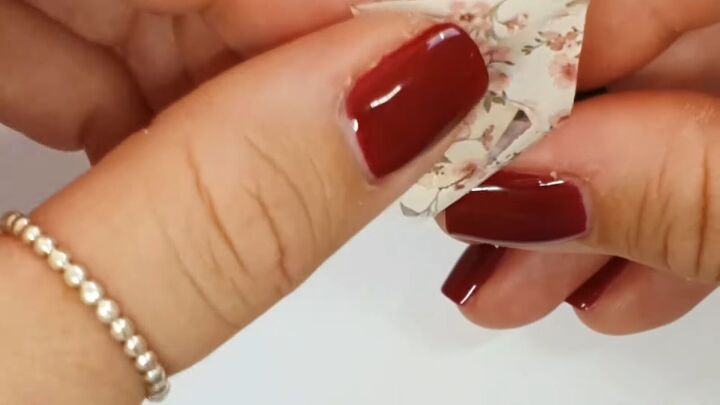
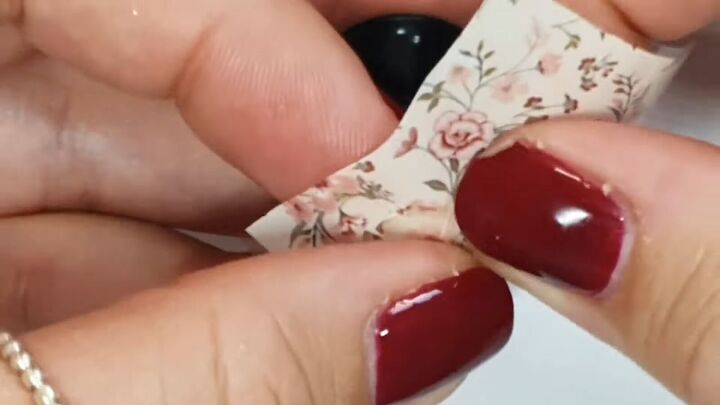
5. Attach the floral foil
Next, grab a piece of floral foil and press it on the area where you applied the foil gel.
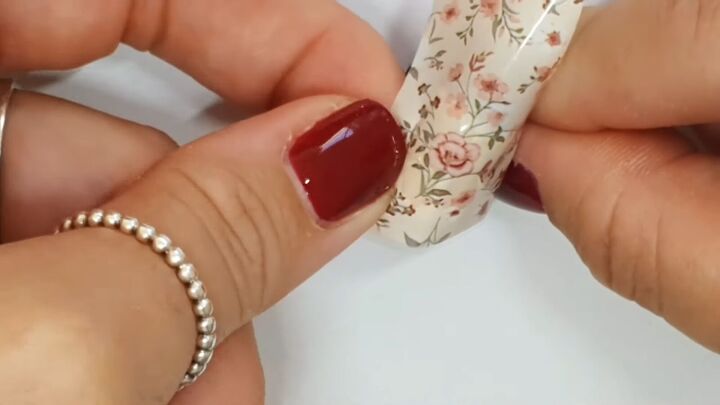
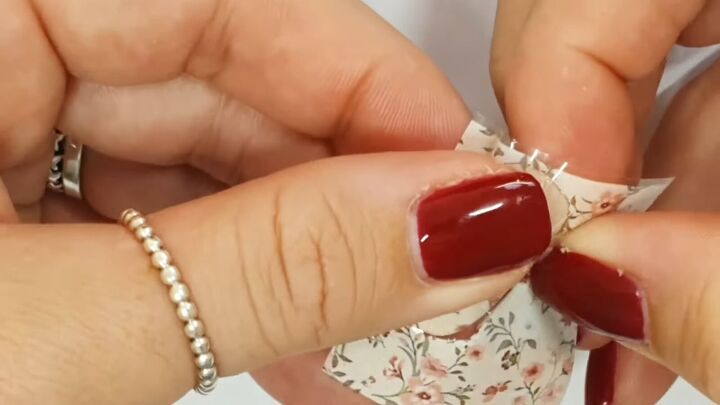
Press onto the foil to allow it to transfer using a dry paper towel.
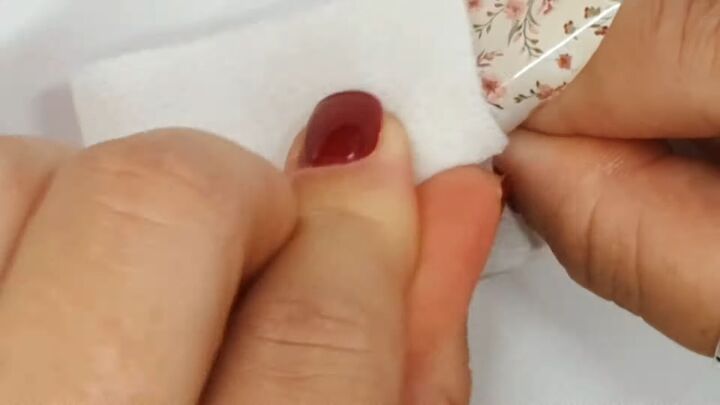
Then, peel away the excess foil.
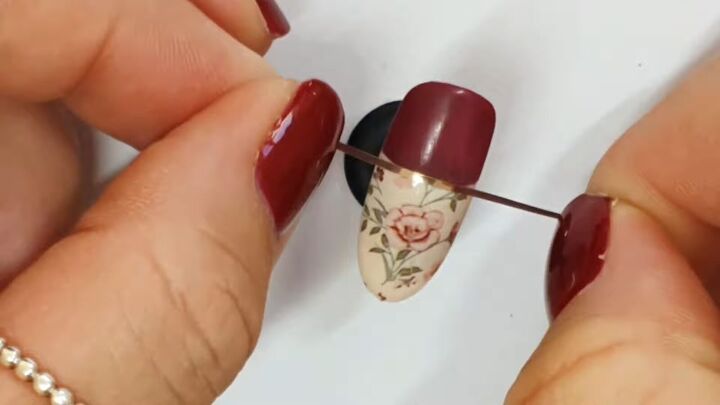
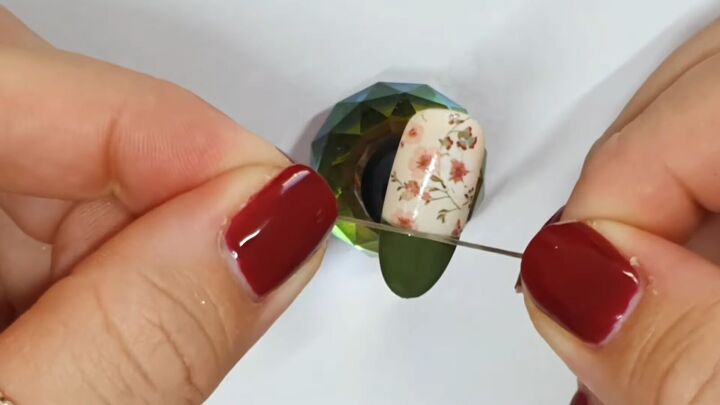
6. Add striping tape
Hold a piece of striping tape on either side and apply it onto the connection between the two halves of the nail.
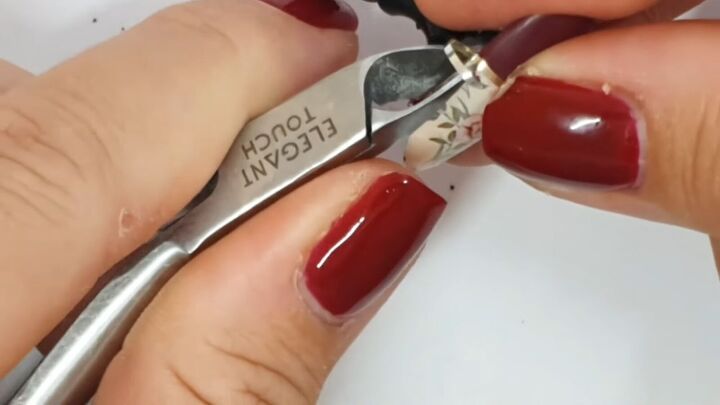
Then, cut away the excess tape with nail clippers.
7. Apply a clear top coat
Next, secure everything in place with a matte top coat.
Nail design 2
1. Paint another nail entirely cream
Paint another nail entirely with the cream gel polish, then cure it for 2 minutes.
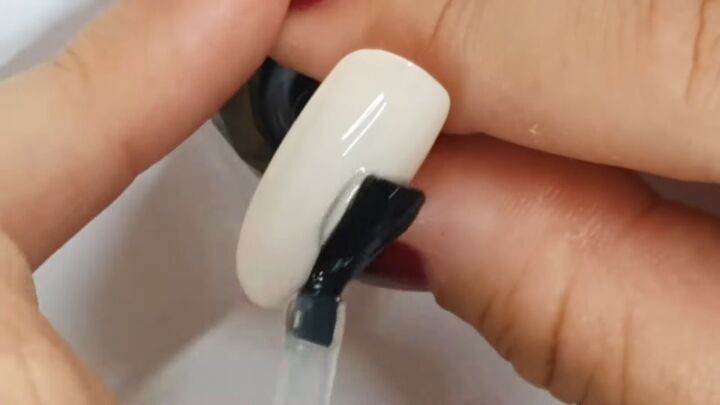
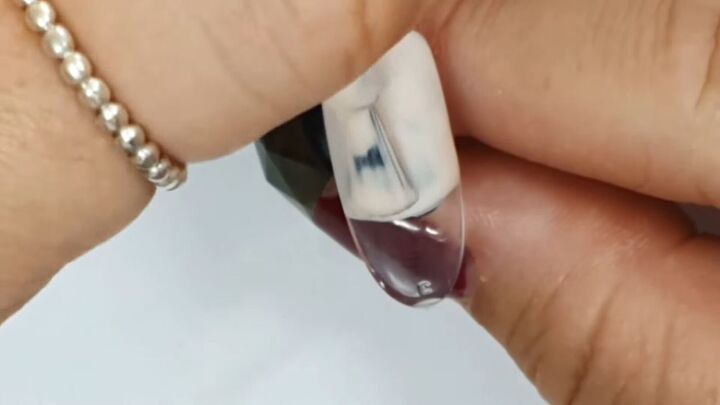
2. Apply foil gel
Then add a layer of foil gel to the entire nail.
3. Add the floral foil
Cover the entire nail with the floral foil, pressing it in place in the same way that you did with the first nail.
Rub it on with your fingers to iron out any creases.
4. Apply a top coat
Finish off the nail by applying a clear top coat.

Nail design 3
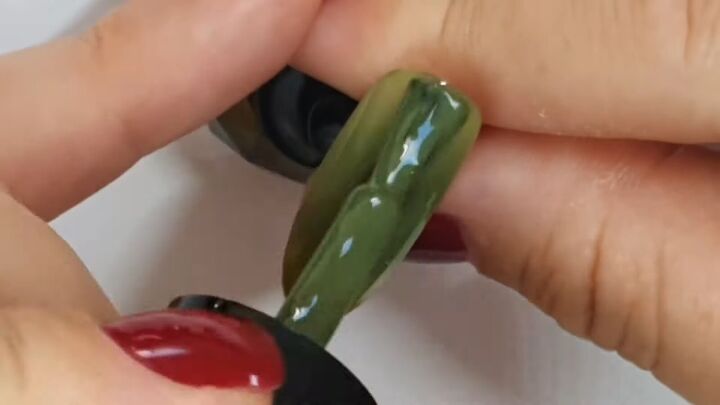
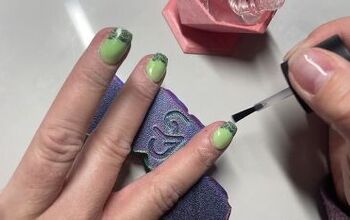
1. Paint a green gel polish
Paint your next nail entirely with a green shade of gel polish.
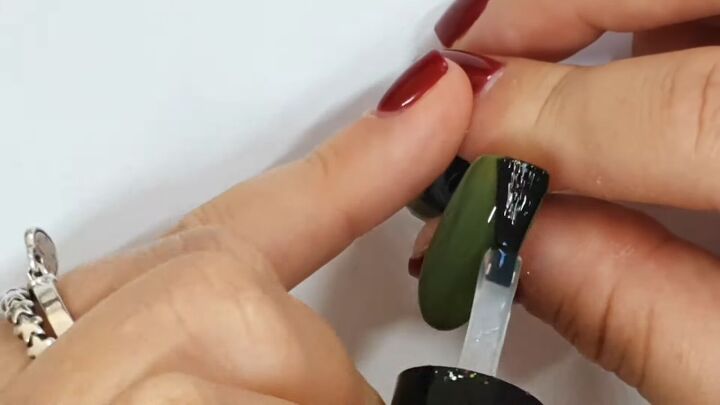
2. Apply a clear coat
Once mostly dry, apply a clear base coat on top of the green. This layer will allow the glitter to adhere in the next step.
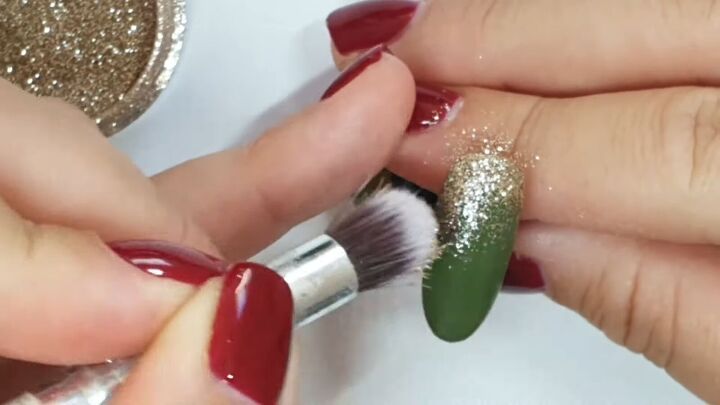
3. Create a glitter fade look
Pop some glitter on a dry brush and apply it beginning at the base of the nail.
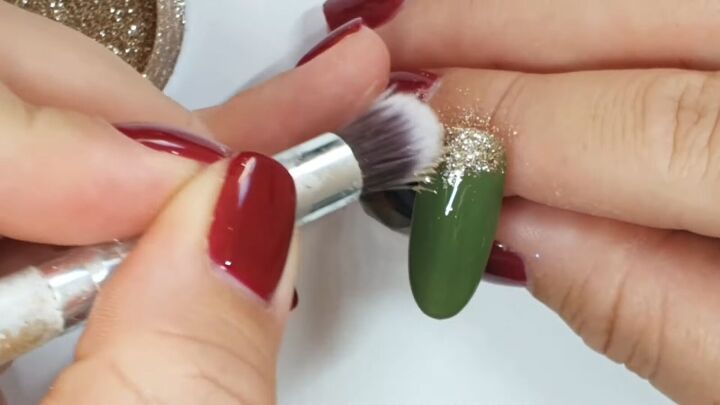
Continue to work the glitter down the nail without adding any more glitter, to create the fade out effect.
4. Cure, clear coat, buff and file, final clear coat
Cure and then apply a clear gel coat.
Then buff the nail, then use a regular file to soften any sharp bits.
Finish off the nail with a glossy top coat.
Because of this glitter accent nail, I decided to tie in the shine by adding a glossy top coat to the first nail, on top of the maroon polish.

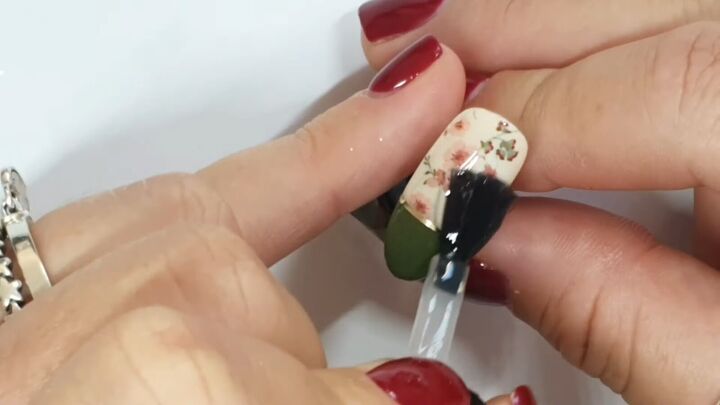
Nail design 4
1. Paint with cream polish
Use the cream gel polish to paint the top ⅔ of the nail. Then cure the nail.
2. Apply foil gel
Next, cover just that portion with foil gel.

3. Press on the foil
Add the floral foil on top of the gel, pressing it on with your fingers.
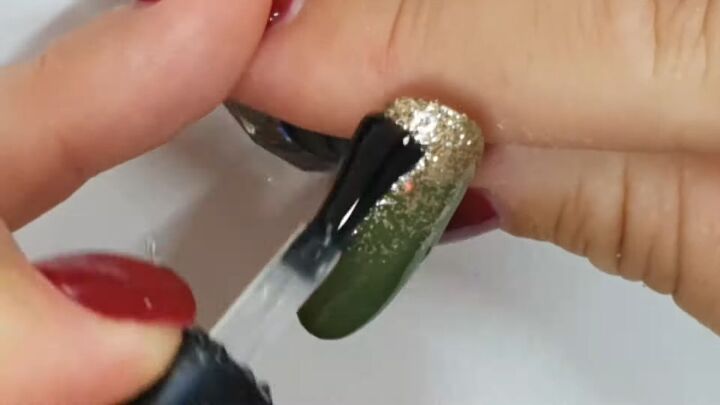
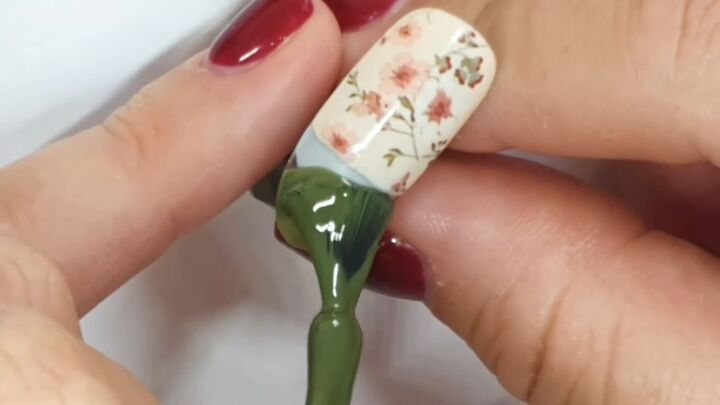
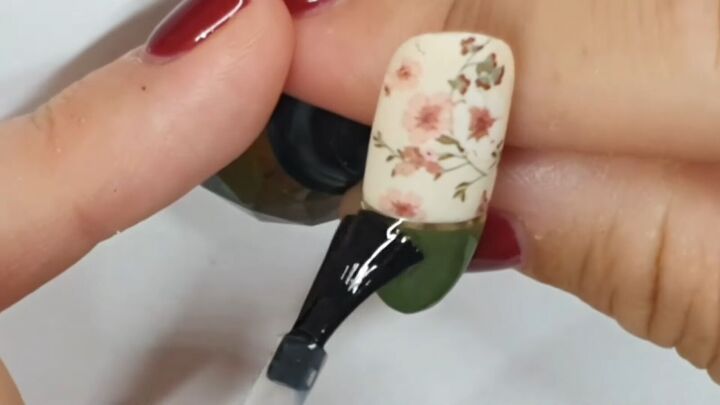
4. Paint the free end green
Now, apply 2 coats of green gel polish to the remaining third of the nail.
Again, the line doesn’t need to be perfect since we’ll add striping tape.
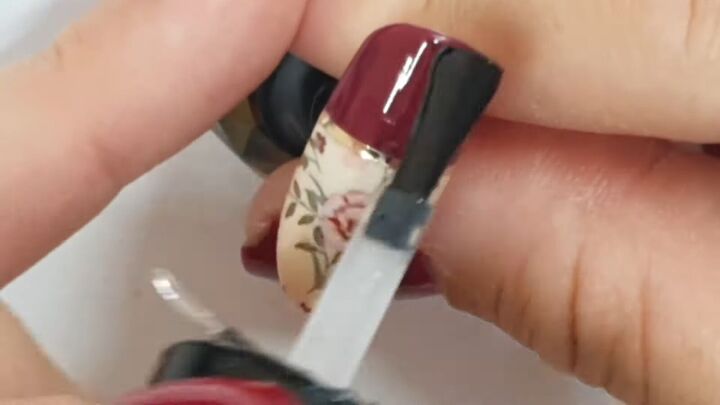
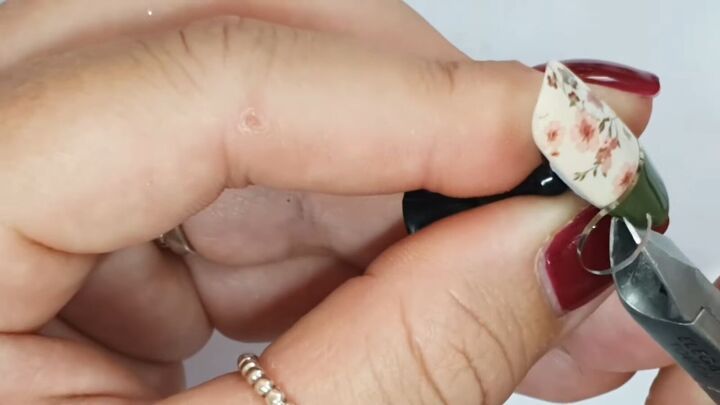
5. Apply striping tape
Cover the connection with striping tape.
Cut the excess tape with clippers.
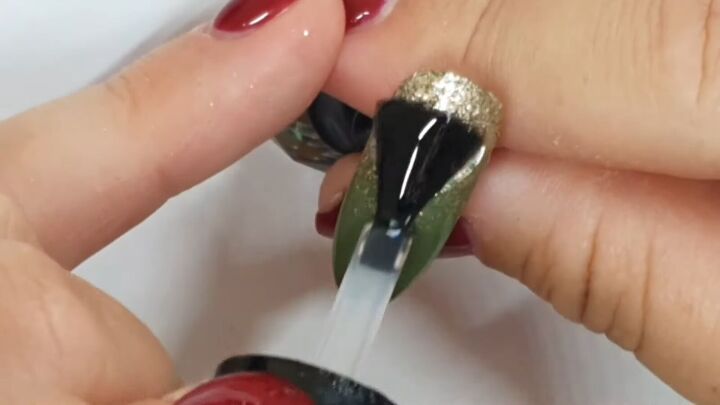
6. Apply a top coat
Next, cover the floral portion of the nail with a clear top coat, then allow it to dry.
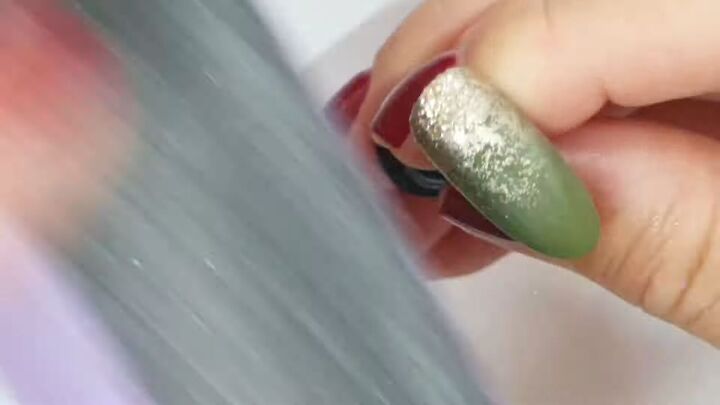
Then paint a glossy top coat on top of the green tip.
Here you can see the matte and gloss finishes together.

Nail design 5
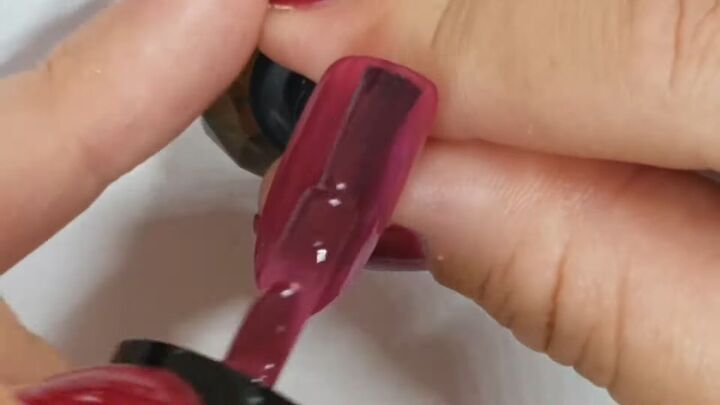
1. Paint with maroon polish
Apply 2 coats of maroon gel to the entire nail.
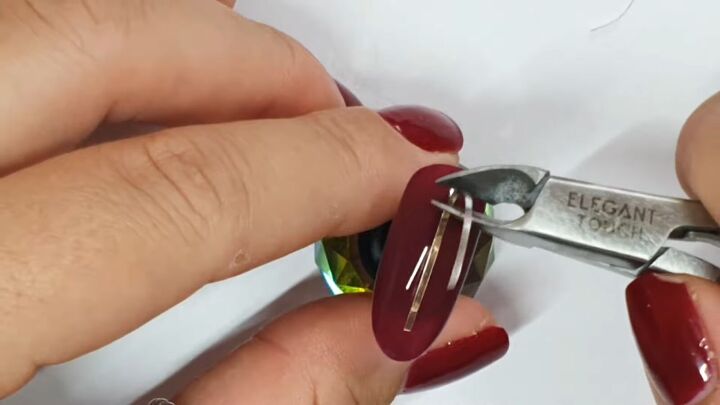
2. Add striping tape
Once dry, attach a stripe vertically downward, in the center of the nail.
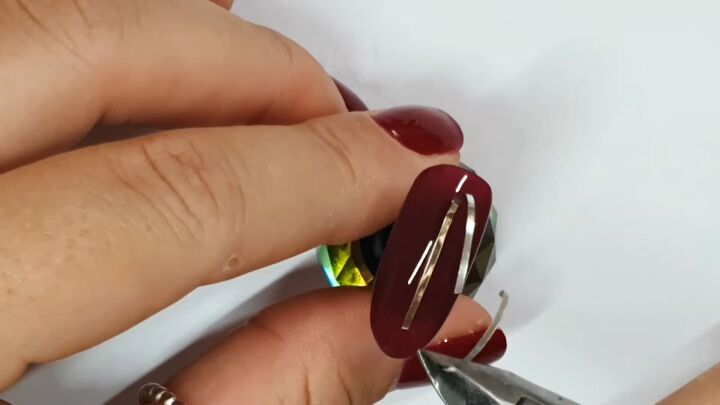
Then, cut off the excess tape, leaving the top and bottom without the stripe.
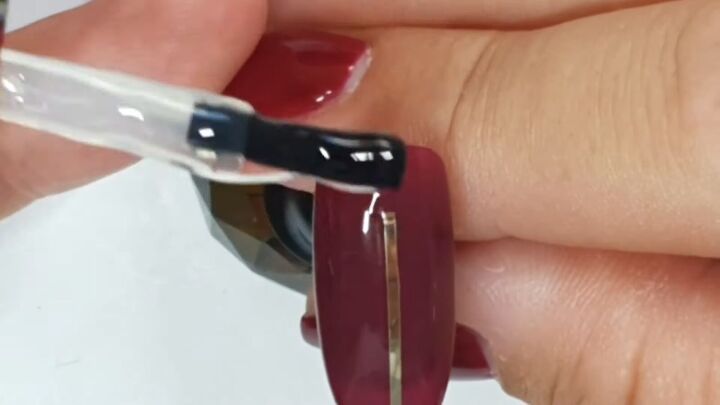
3. Apply gel base coat
Paint a small amount of base coat at the top and bottom of the stripe, as if to continue the stripe to the ends.
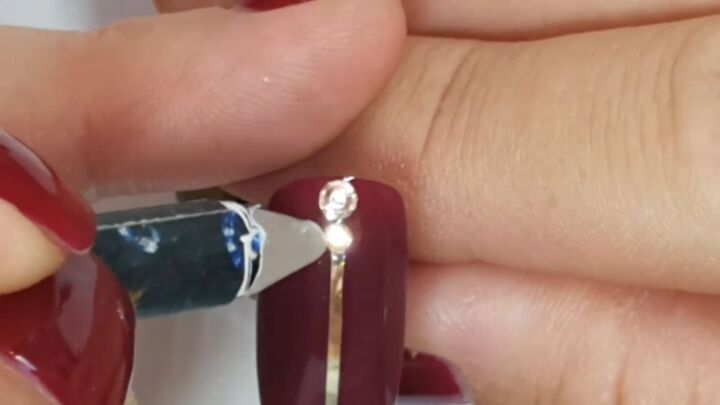
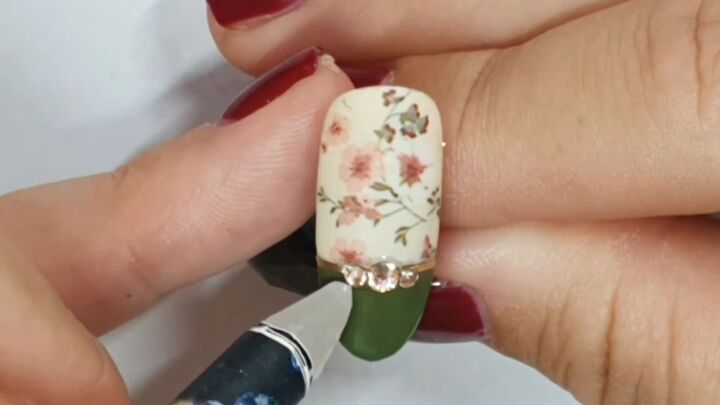
4. Add crystals
Now, attach some crystals to the gel that you just applied.
5. Apply a top coat
Top it off with a final clear coat, sealing around the crystals as well to make sure they stay put.
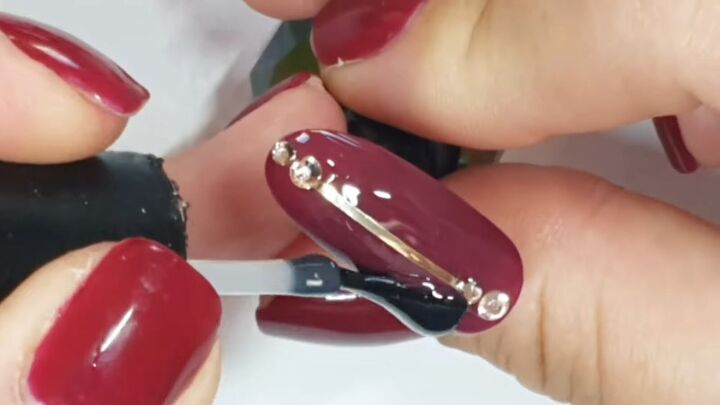
Add crystals to other nails if you’d like.
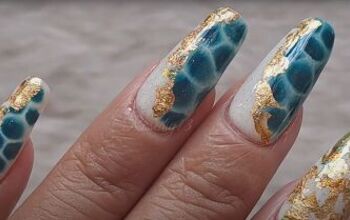
All 5 nail designs look lovely together:
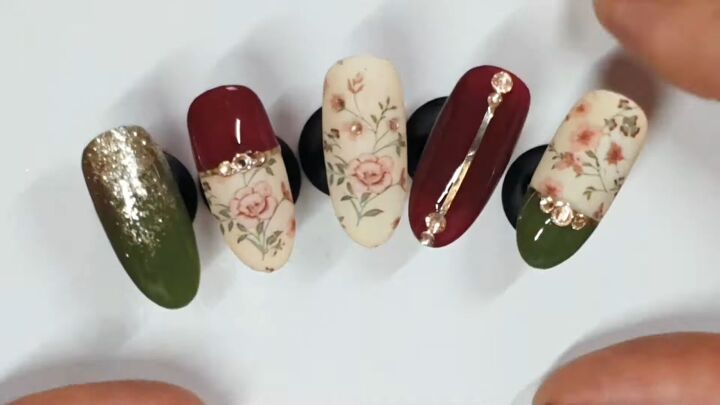
DIY floral spring nails
I hope you enjoyed this floral spring nails tutorial! If so, leave a comment letting me know tour favorite nail design.
For another floral nail design of mine, check out my post on How to DIY Easy and Romantic Pink Floral Nails.
The author may collect a small share of sales from the links on this page.


Comments
Join the conversation