How to DIY Cute Floral Polymer Clay Earrings

I'm going to show you how to make some adorable floral earrings using polymer clay.
The slab technique we’ll be using is so easy and simple to create and very versatile. Once you have perfected it, you can use it for lots of other projects.
Grab your tools, and let’s get started with these polymer clay earrings!
Tools and materials:
- Pasta machine
- Polymer clay (3 colors)
- Circle cutter
- Exacto knife
- Acrylic roller
- Rubbing alcohol
- Q-tip
- Earring cutters
- Rotary drill
- Sandpaper
- Earring poles
- Super glue
- Liquid clay
- Earring rings
- Pliers
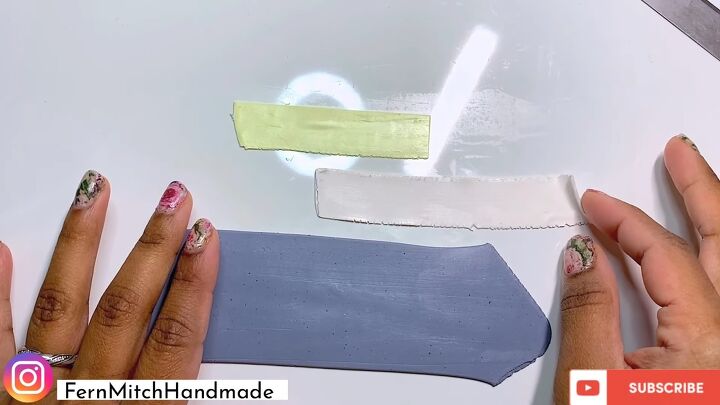
1. Thin the clay
Start by running your background sheet of clay through a pasta machine on a setting where you will get a 2mm thickness.
Then run the other colors for the flowers through on the thinnest setting. I went for blue for the background and white and yellow for the flowers.
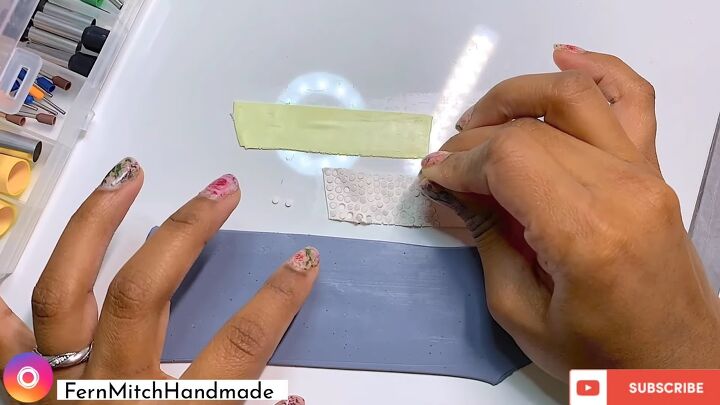
2. Cut out circles
Use a circle cutter to create the flowers. I went for one that is about 2mm in diameter.
Cut as many dots as you can get from the thin sheets of white and yellow.
If a piece of clay gets stuck in the cutter, carefully use your Exacto knife to get it out.
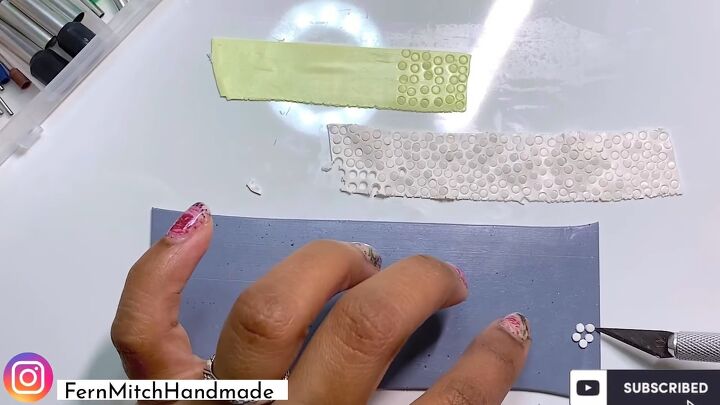
3. Arrange dots in a circle
Using your Exacto knife, take five white dots and arrange them in a circle to create a very easy flower.
Then, use a yellow dot to fill the middle of the flower.
Continue to keep making these flowers all over the background slab. It’s a very therapeutic process.
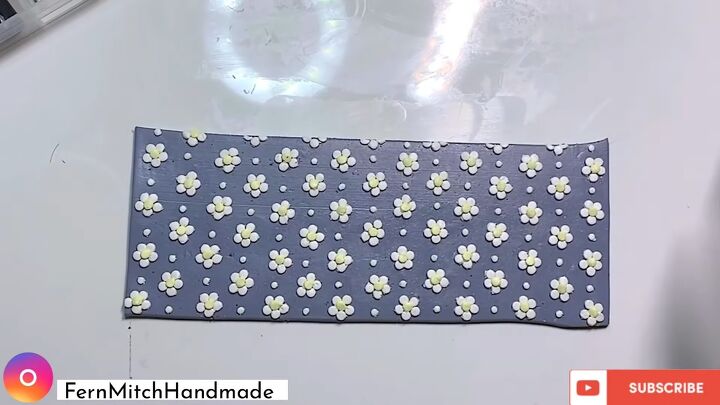
4. Add more dots
For the empty spaces on the slab, cut out some smaller white dots and place them in there.
I have arranged all of the flowers and dots in an orderly way with even spaces between them, but you can make the design more asymmetrical if you prefer.
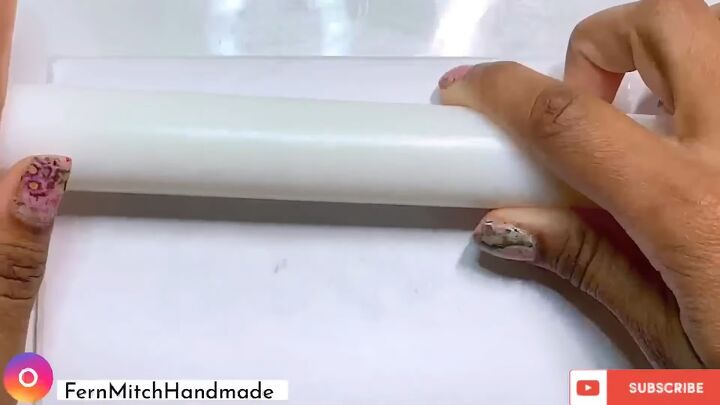
5. Roll the slab
Carefully roll the slab out so the flowers are pushed and embedded in the background sheet of clay. I placed a thin sheet of paper over the clay and then rolled on top.
If you want to be really precise, I recommend using a roller with a depth guide which will help you ensure that the clay is even all over.
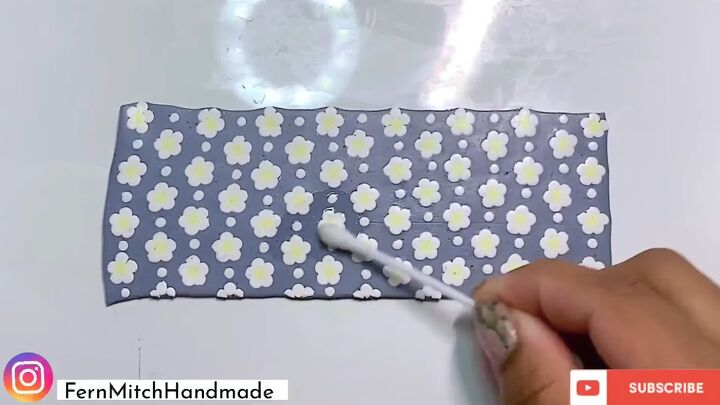
6. Apply alcohol
Apply some rubbing alcohol with a Q-tip over the clay to keep it clean.
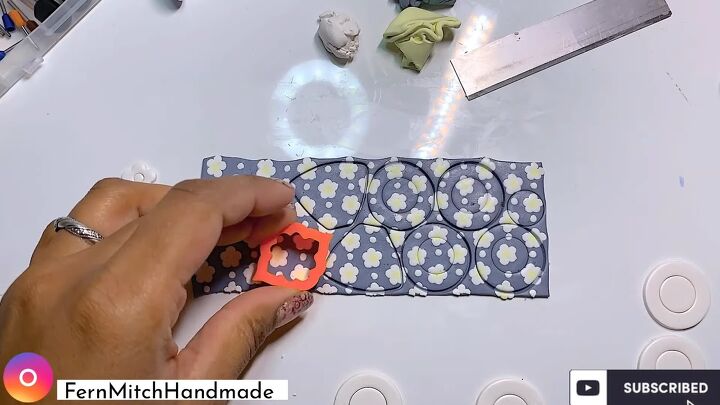
7. Cut the slab
Now cut the slab out with the shapes you want your earrings to be in. I also used some white clay to create contrasting component pieces.
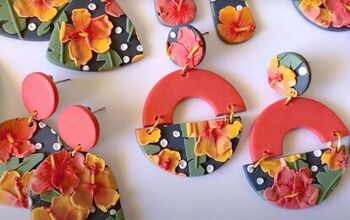
I also cut some white pieces out with a flower cutter which will give the earrings a 70s flower power retro kind of vibe.
I cleaned these pieces with alcohol as well.
8. Bake the clay
Next, bake the pieces. I baked mine for about an hour at 75 Fahrenheit, but check the baking instructions on your packet of polymer clay.
Use a thermometer and cover the clay with a piece of foil.
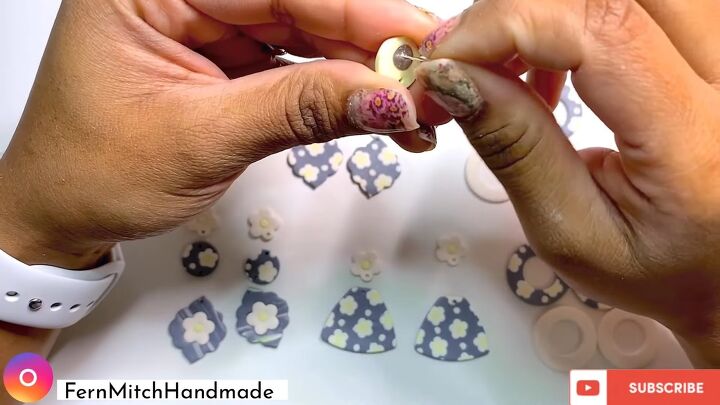
9. Drill holes
When the pieces have finished baking and have cooled down, use a rotary drill to drill the holes.
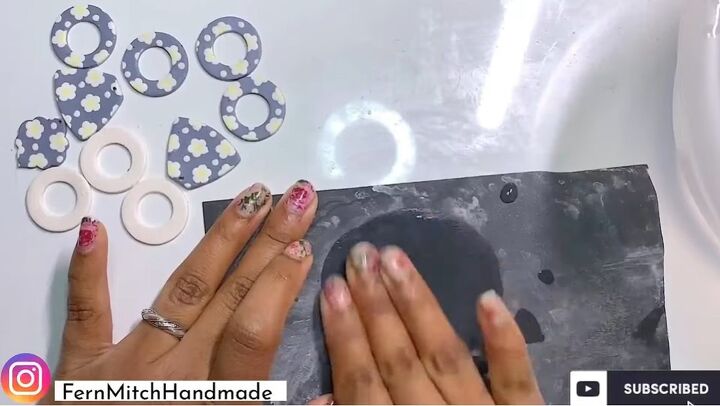
10. Sand the earrings
Since I had a few tiny air bubbles, I wet sanded my pieces using some grit sandpaper.
This gave my pieces a smooth, even finish. It's also good for getting rid of any embedded pieces of lint.
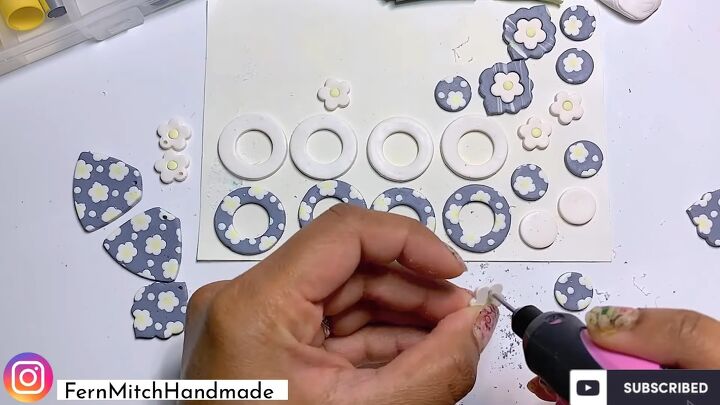
11. Attach the earring poles
Attach the earring poles using super glue and liquid clay (or you can use liquid glue with resin).
First, attach the backs using super glue and let them dry for a while.
Once the superglue is dry, add an even layer of liquid clay around and on the whole component piece.
Proceed to bake the earrings for about 20 minutes at 275 Fahrenheit. The products will dry clear.
12. Add the earring rings
Finish up the earrings by adding the earring rings to attach the pieces together.
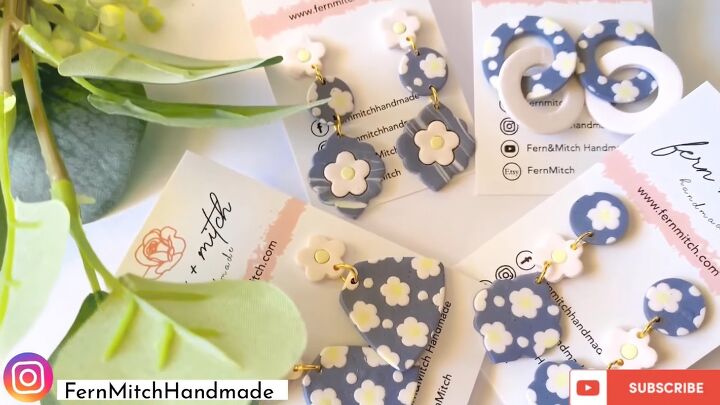
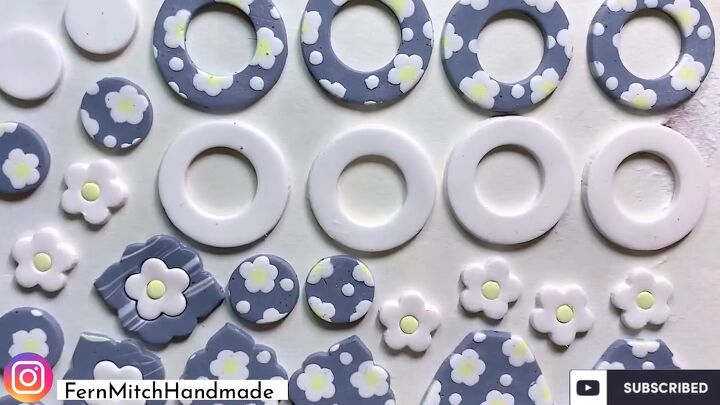
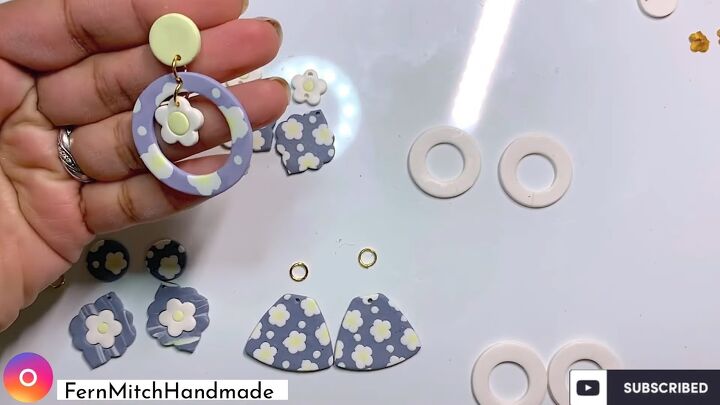
DIY floral polymer clay earrings
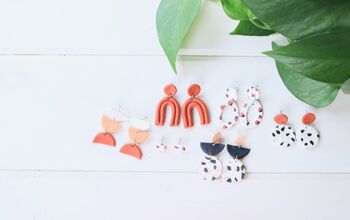
Here are the finished pieces. As you can see, I made lots of styles by using different cutter shapes and arranging the pieces in different ways.
This flower design is so easy to make, and it creates a minimalist and chic finish.
I hope you enjoyed this tutorial and you’ll give these earrings a go for yourself! Let me know how you get on in the comments below.
Check out my post on How to Make Rose Quartz Polymer Clay Earrings | Upstyle.
The author may collect a small share of sales from the links on this page.


Comments
Join the conversation