5 Quick & Easy DIY Polymer Clay Earring Ideas for Beginners

Polymer clay earrings are becoming really popular lately. They’re fun to create, and there are so many different options for styles and designs.
In this tutorial, I will give you 5 easy polymer clay earring ideas so that you have some inspiration for your next DIY:
- Alcohol ink earrings
- Structured earrings
- Metallic foil marble earrings
- Terrazzo earrings
- Veined marble earrings
Let's get started!
Tools and materials:
- Polymer clay (various colors)
- Straw
- Acrylic roller
- Fabric trim
- Alcohol-based inks
- Diluent
- Metallic powder
- Metallic foil
- Acrylic paint
- Gloves
- Various-sized shape cutters
- Oven
- Jump rings
- Earring fastenings
- Pigment powder
- Blade
- Brush
- Water
DIY alcohol ink earrings
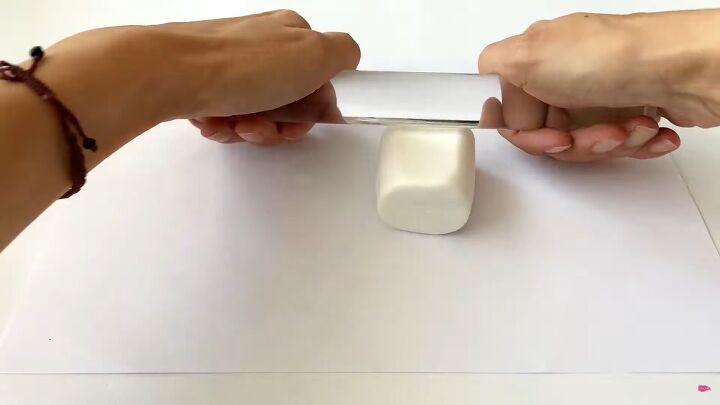
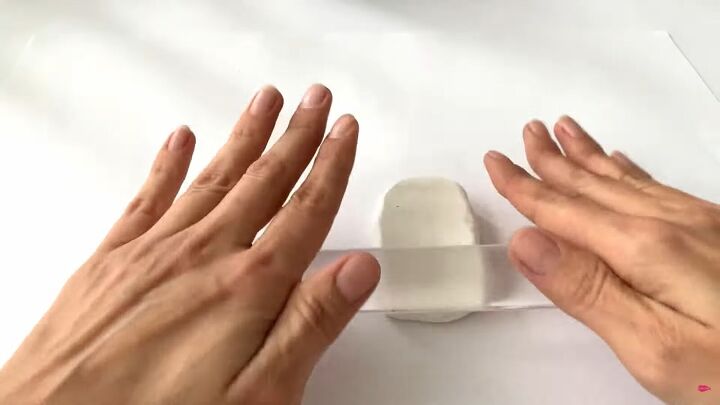
1. Roll out the polymer clay
Roll a white piece of clay until it's around 2mm (0.08 inches) thick. Alternate directions to make the slab even.
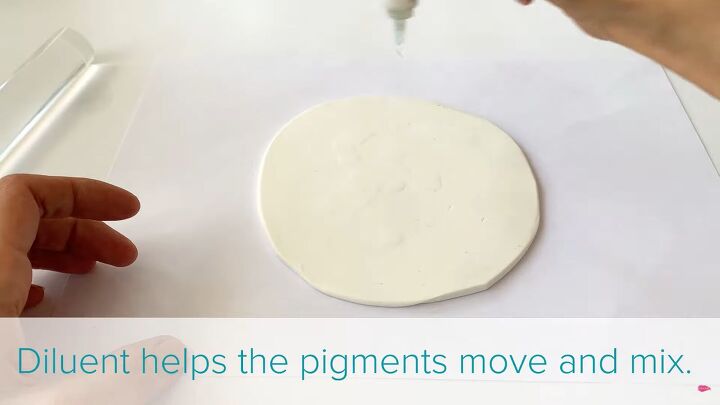
2. Add diluent
Add a few drops of diluent, as this will help the inks mix.

3. Add the alcohol-based inks
Add a few drops of alcohol-based inks. Use any colors you want, though keep them complementary for the best mix.
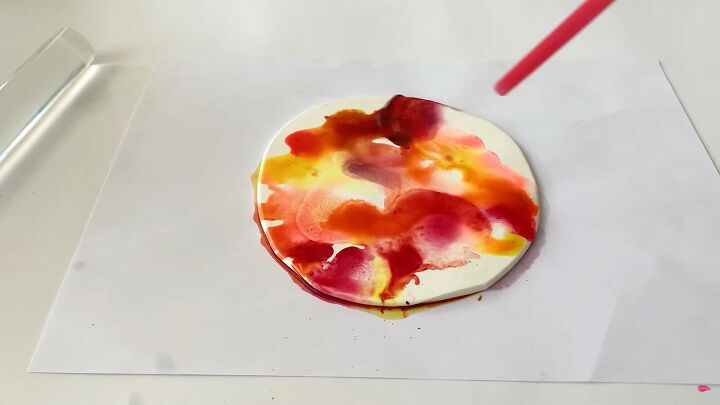
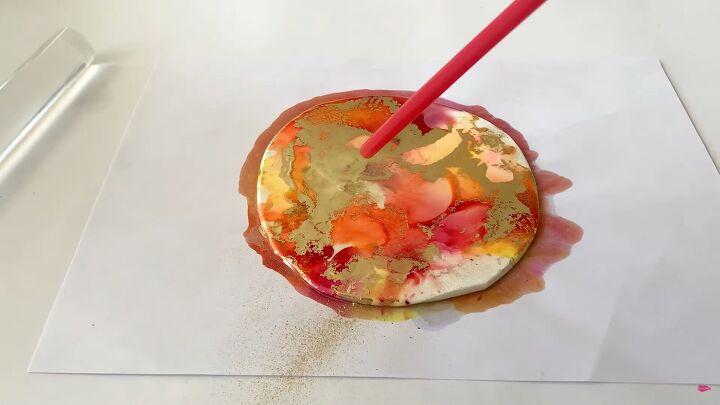
4. Blow
Blow on the colors through a straw to create a beautiful marbled effect.
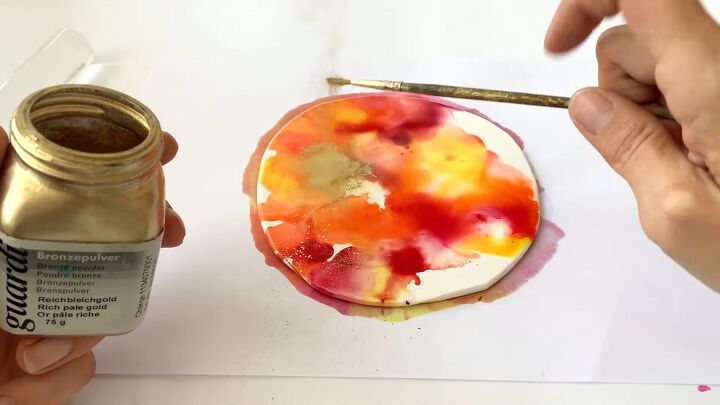
5. Add metallic powder
Add some metallic powder shine and shimmer.
6. Mix
Play around by blowing on the colors and adding more metallic powder. When you’re satisfied, let the liquid dry.
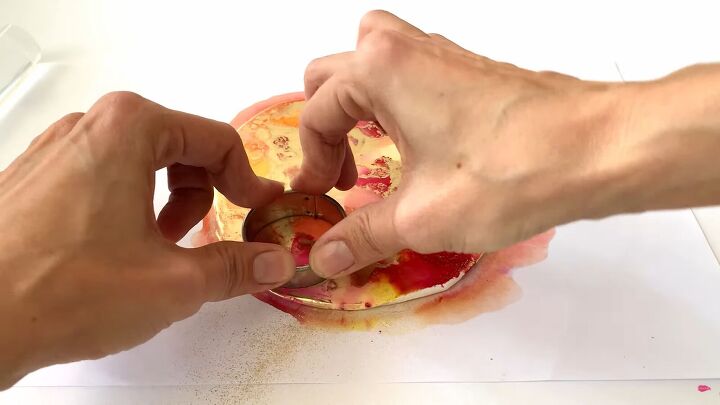
7. Cut out shapes
Next, cut out your polymer clay earrings using a cutter.
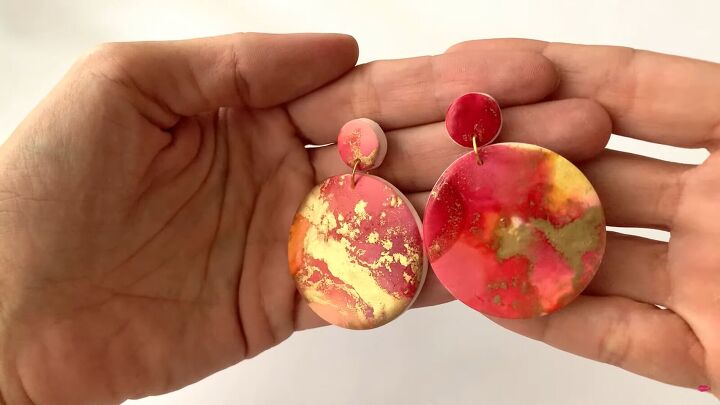
8. Bake & add fastenings
Bake the polymer clay according to the packaging instructions. Once baked, drill holes, add jump rings and earring fastenings, and you have yourself a dreamy set of marbled polymer clay earrings!
DIY structured earrings
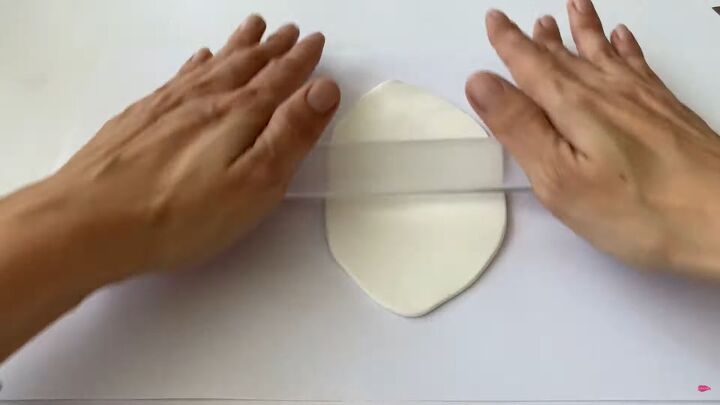
1. Roll the polymer clay
Roll your white clay out flat, as before.
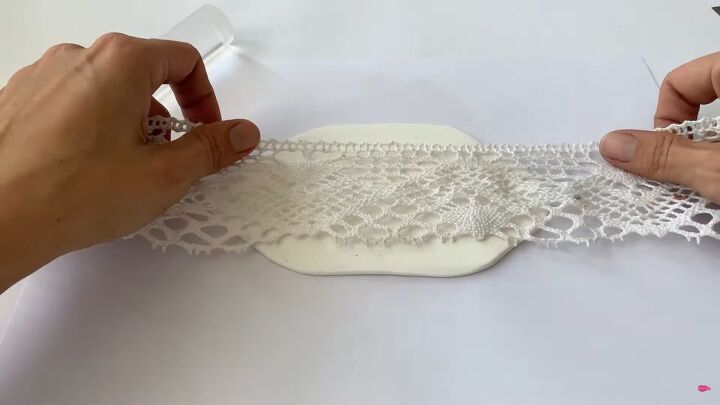
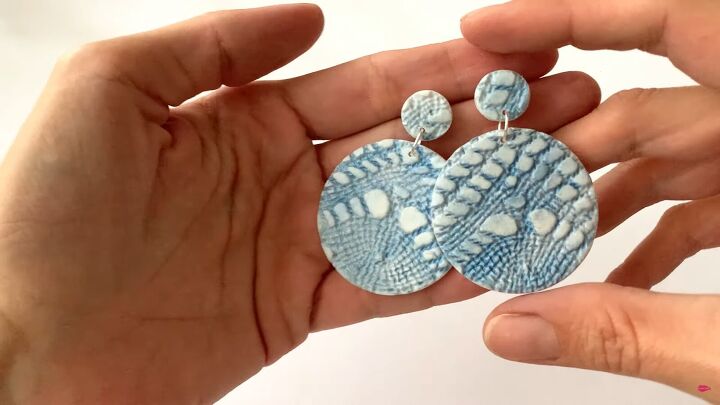
2. Use lace trim for a pattern
Place some lace trim on the clay.
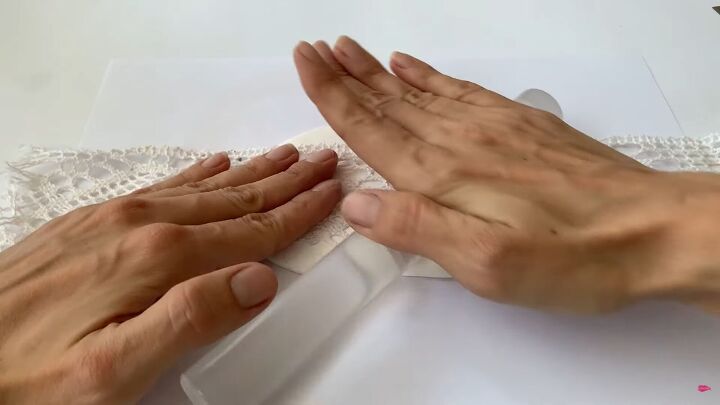
Use your acrylic roller to press the design into the clay.
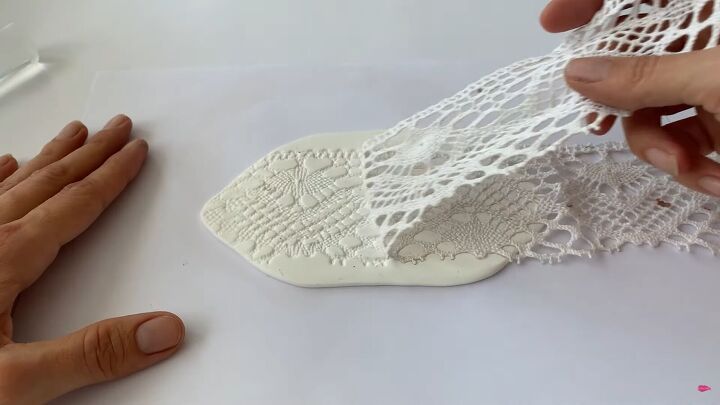
Remove the trim to reveal the textured pattern!
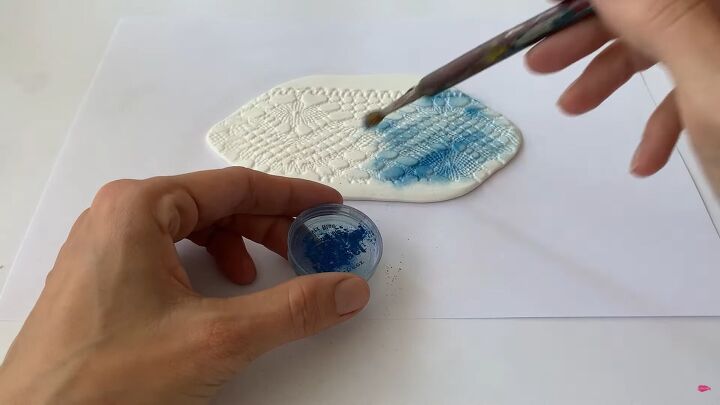
3. Add color
Add pigment or mica powder with a brush.

Spread the color with water so it’s more concentrated within the print. Then, leave it to dry.
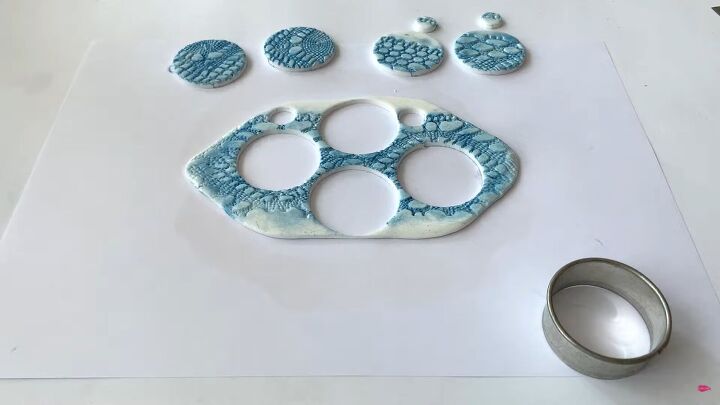
4. Cut out the shapes
Next, cut your pieces. To avoid waste, try to cut them as close together as possible.
5. Bake & add fastenings
Bake the polymer clay according to the packaging instructions. Once baked, drill holes, add jump rings and earring fastenings, and your textured polymer clay earrings are ready to wear.
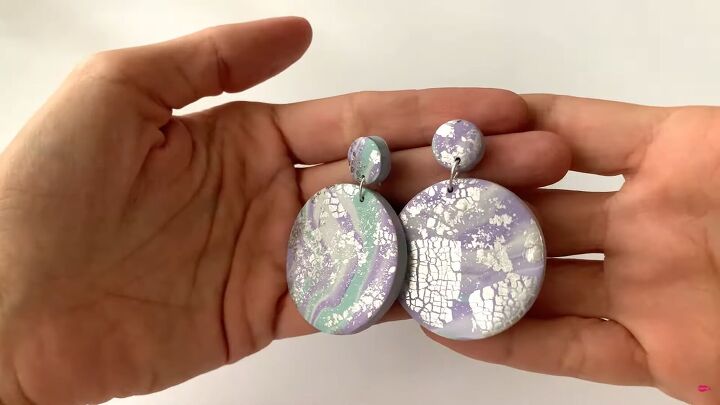
DIY metallic foil marble earrings
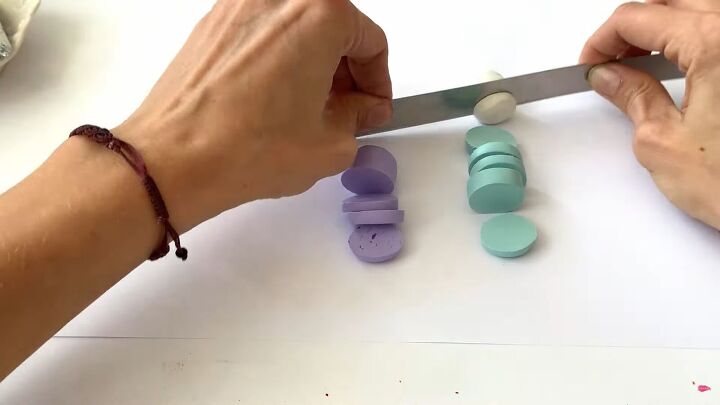
1. Blend colors together
For this creation, I’m using three colors. Start by cutting each polymer clay log into pieces.
Then, take all the pieces and blend them together with your hands.
2. Make the polymer clay slab
Create one unified polymer clay log, then cut that into pieces.
Put all the pieces together and form a flat square shape. Roll the polymer clay until it’s flattened and bigger.
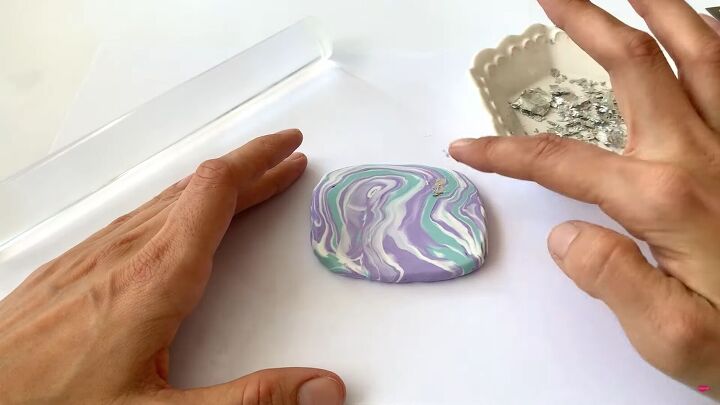
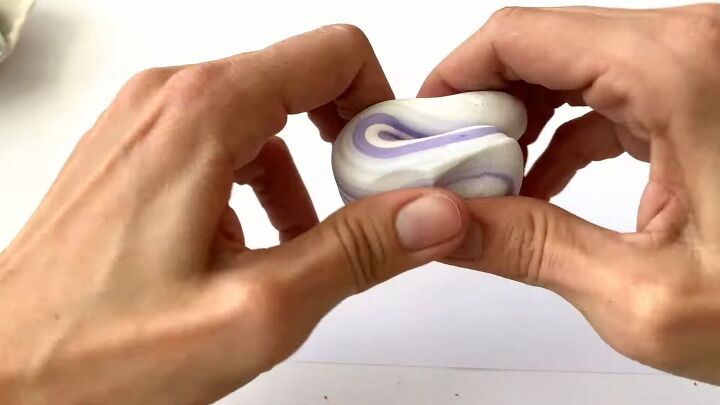
3. Add metallic foil
Press metallic foil pieces onto the polymer clay with your fingers.
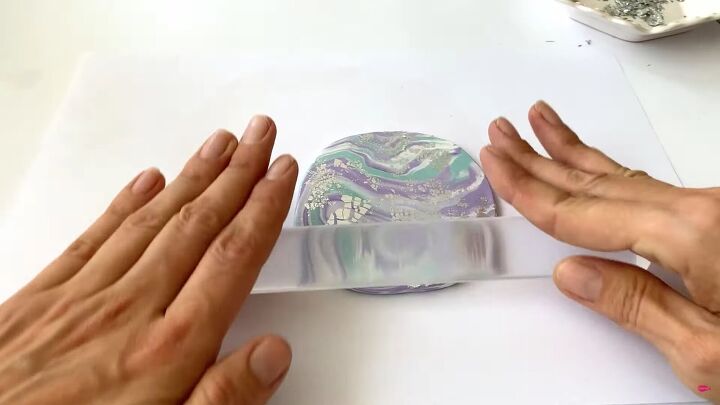
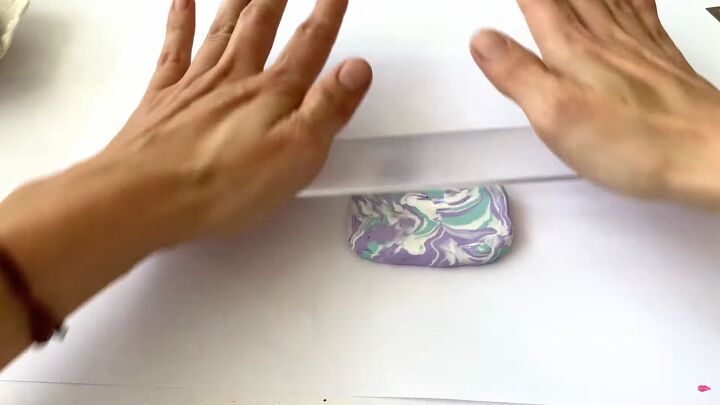
4. Roll the slab again
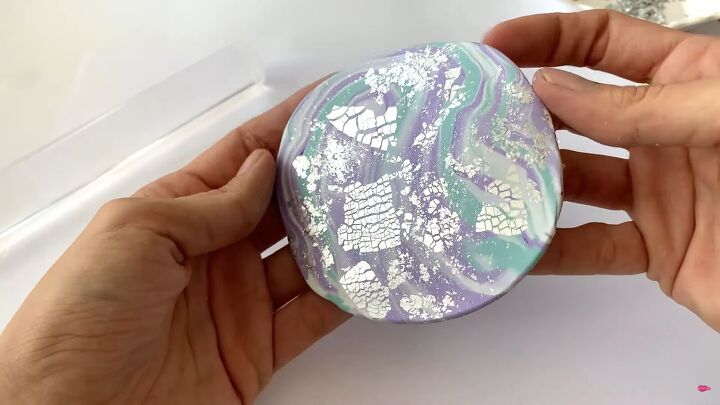
Roll the slab again with your roller.
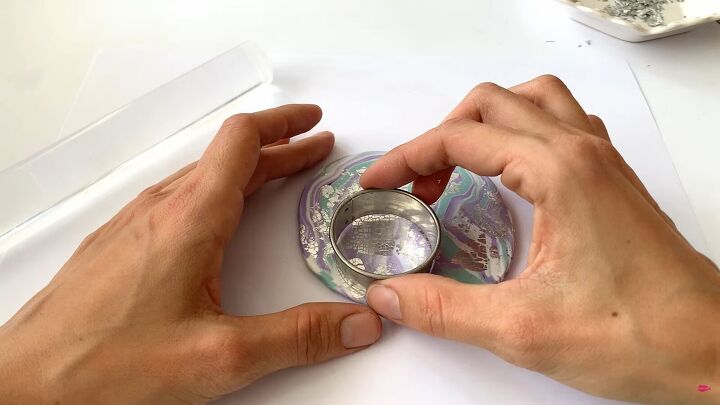
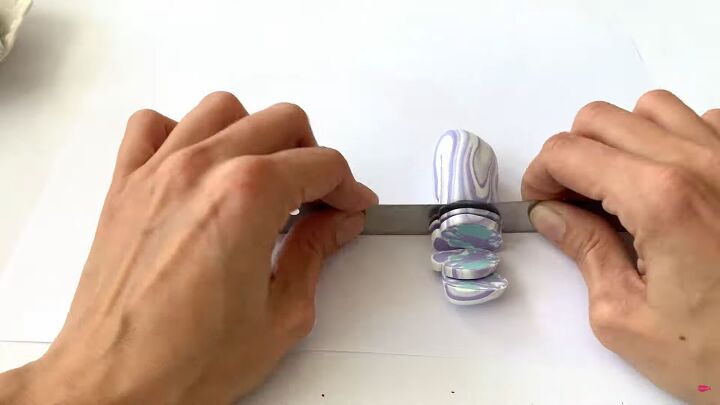
5. Cut out the shapes
Use your cutter to cut out the pieces.
6. Bake & add fastenings
Bake the polymer clay according to the packaging instructions. Once baked, drill holes, add jump rings and earring fastenings. Now, these metallic polymer clay earrings are ready.
DIY terrazzo polymer clay earrings
1. Roll out the white polymer clay slab
Start by rolling a large slab of white polymer clay. This time, make sure the clay is a little thicker.
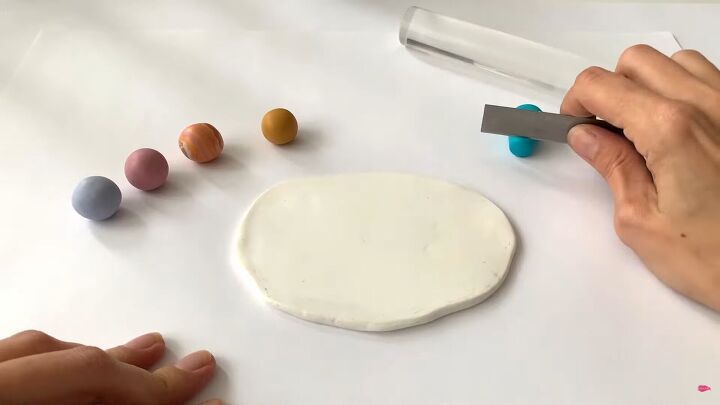
2. Add pieces of colored polymer clay
You should have 5 different colored polymer clay balls. Start rolling each one into a thinner tube and cut out a piece.
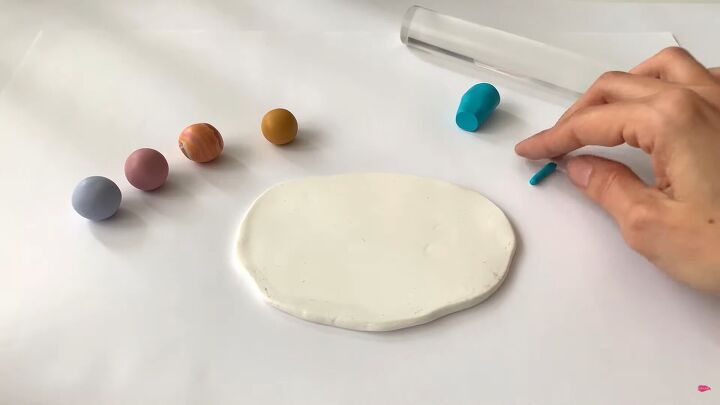
Then, roll that piece into a thinner log.
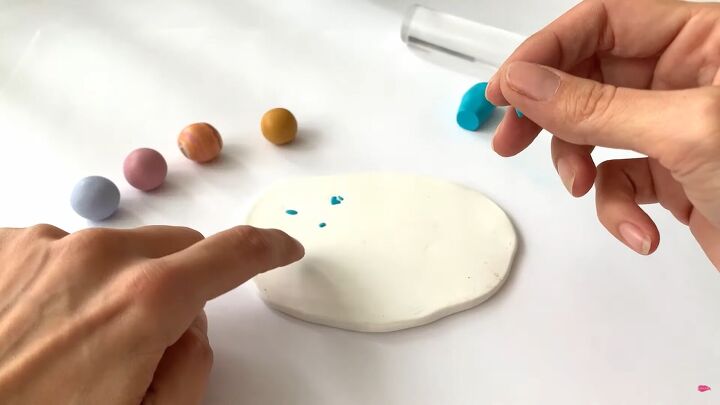
Break off small pieces and flatten them between your fingers. Then, press the pieces onto the white polymer clay piece. Spread the pieces as you go along.
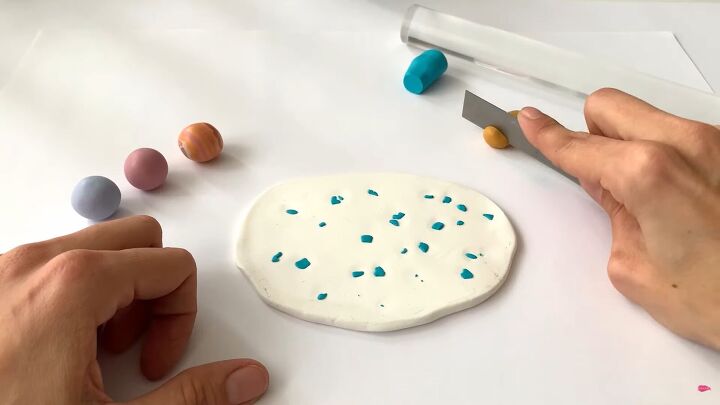
Repeat this process with the other colors.
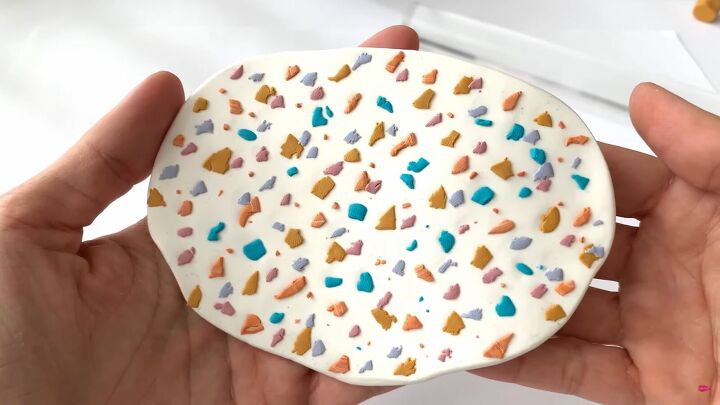
Here’s what it should look like once you’re done.
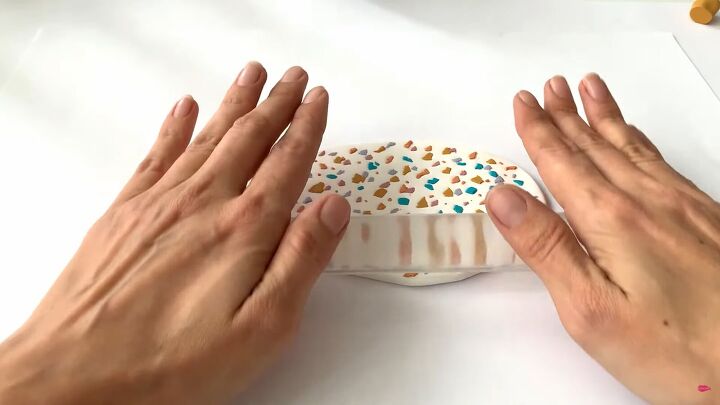
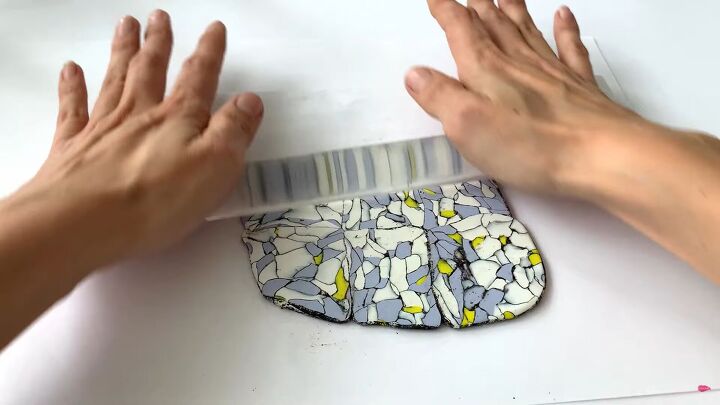
3. Roll the clay again
Roll the clay to around 2mm (0.08 inches) thick.
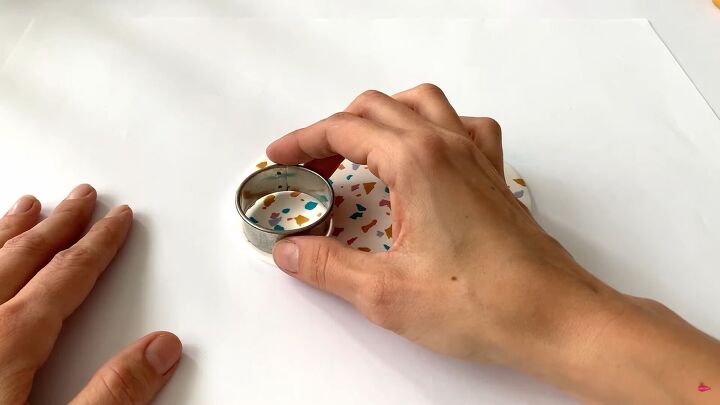
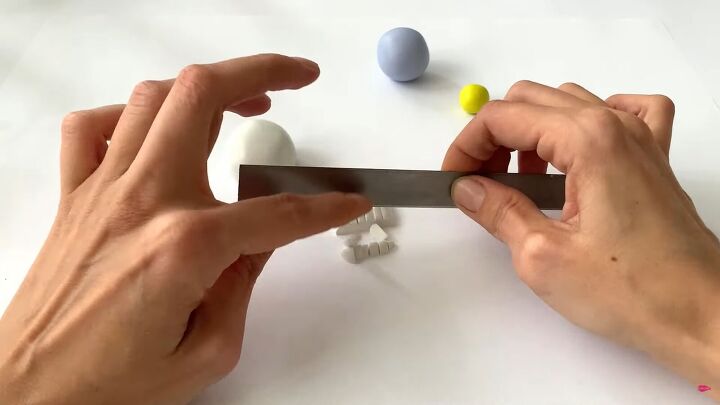
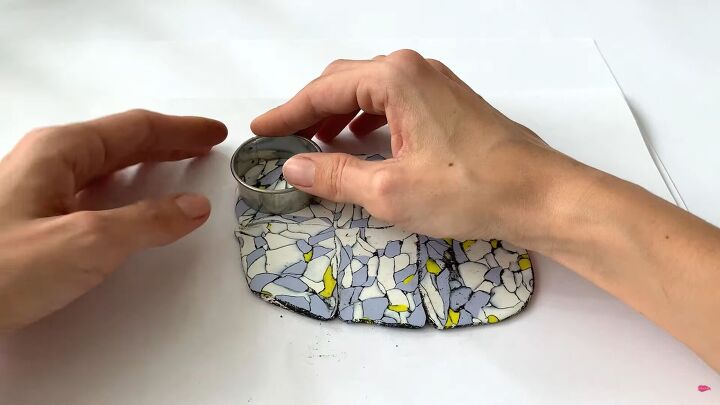
4. Cut out the shapes
Then, cut out the pieces.
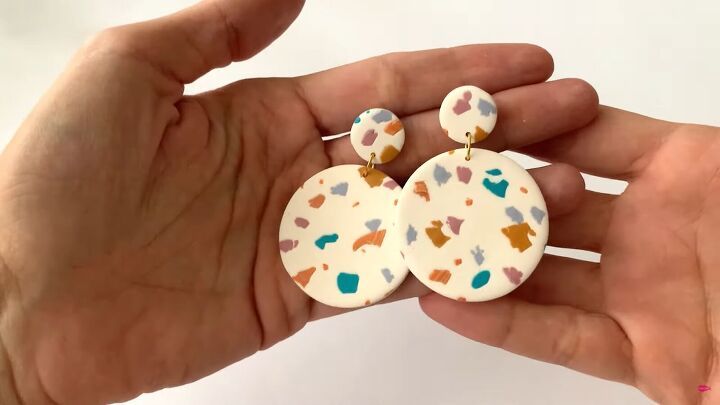
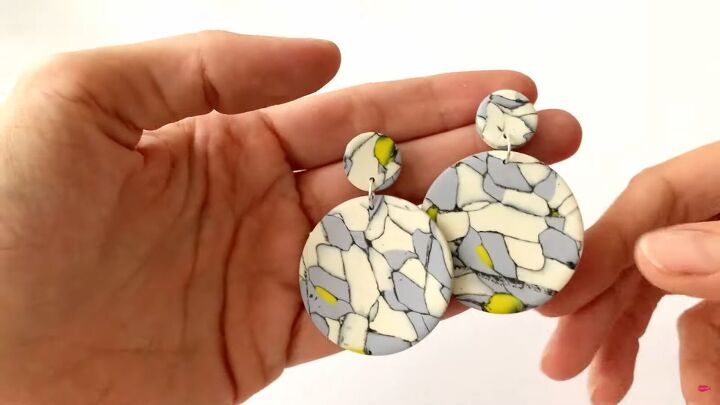
5. Bake & add fastenings
Bake the polymer clay according to the packaging instructions. Once baked, drill holes, add jump rings and earring fastenings. The terrazzo design is complete!
DIY veined marble earrings
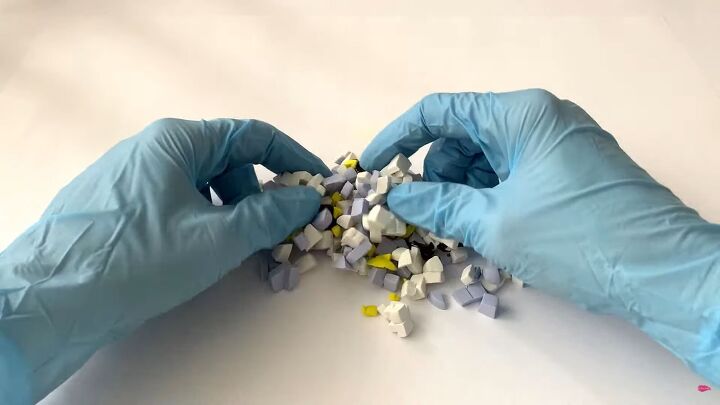
1. Cut up the polymer clay
Select two main colors and a third color as an accent. Cut the polymer clay into pieces

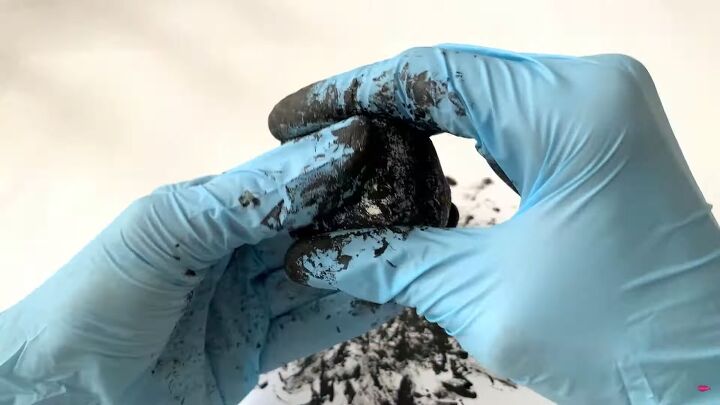
2. Add acrylic paint
Put on your gloves and add a few drops of acrylic paint.
Mix all the pieces, so they are evenly coated with the paint.
3. Make the polymer clay slab
Press all the air out of the pieces and create a compacted block.

Cut 4mm (0.15 inches) thick slices.
Attach each slice to create a big slab.
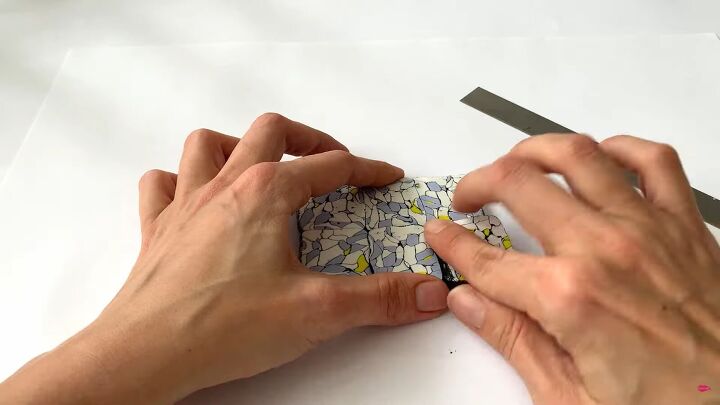
4. Roll the polymer clay slab
Then, roll the slab until it reaches a 2mm (0.8 inches) thickness.
5. Cut out the shapes
Cut out your earring pieces.
6. Bake & add fastenings
Bake the polymer clay according to the packaging instructions. Once baked, drill holes, add jump rings and earring fastenings. Here’s your pretty veined design!
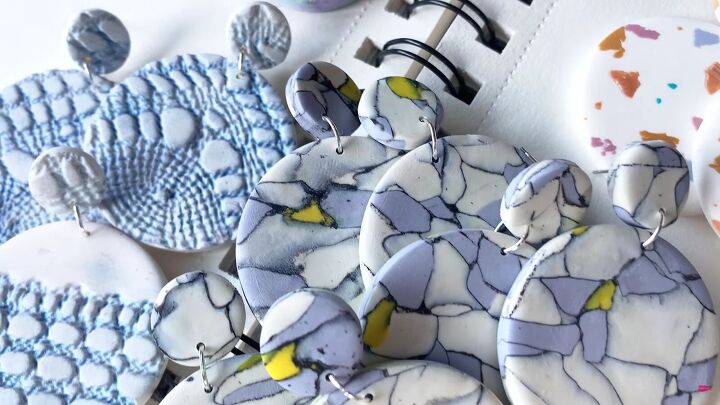
DIY polymer clay earrings
Which of these five polymer clay earring designs is your favorite? Thanks for joining me for this tutorial on how to make polymer clay earrings. Have fun!
The author may collect a small share of sales from the links on this page.


Comments
Join the conversation
Love these!!