4 Easy Polymer Clay Halloween Ideas for Cute (But Spooky!) Earrings

Let's talk polymer clay Halloween ideas! Halloween is so much fun, and what better way to add to the enjoyment than to make your own Halloween polymer clay earrings?
In this tutorial, I’m going to show you how to make handmade Halloween earrings using polymer clay. This DIY is so easy and straightforward, and you’ll adore the finished products.
Tools and materials:
- Polymer clay in orange, brown, yellow, white, and black
- Plyers
- Safety pin
- Plastic card
- Jump rings
- Earring fastenings
Pumpkin earrings
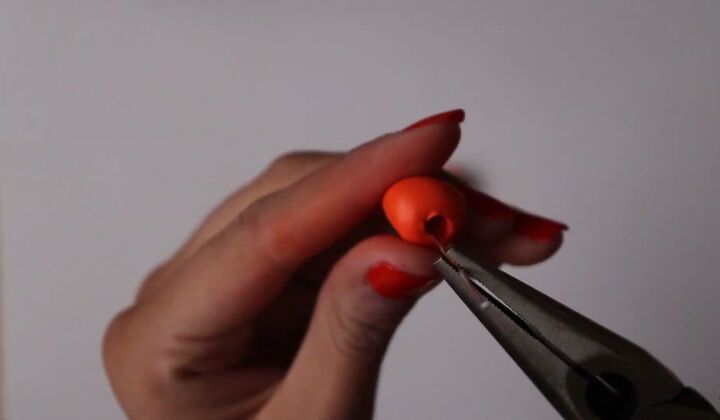
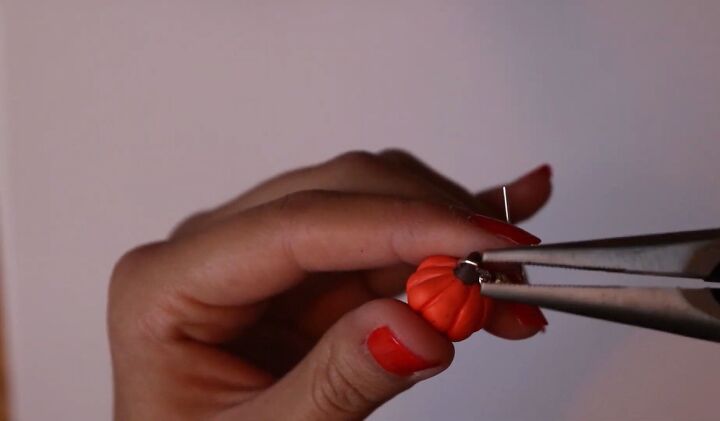
1. Roll the orange clay and make a hole
Using your hands, roll your orange polymer clay into two little balls; these will make the main part of your pumpkins. Once done, make a large hole in them. I used plyers to do this. The hole just needs to be shallow, you don’t want it to go all the way through.
2. Shape and insert brown clay
Roll out a thin sausage shape with your brown clay and insert it into the hole you made. Do this for both earrings.
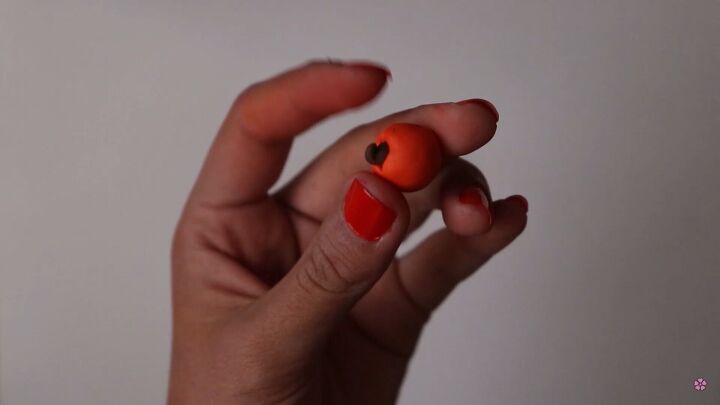
3. Print marks
Use a thin piece of metal (I’ve used a safety pin that is stretched out) to print marks in your orange clay, making it look more like a pumpkin.

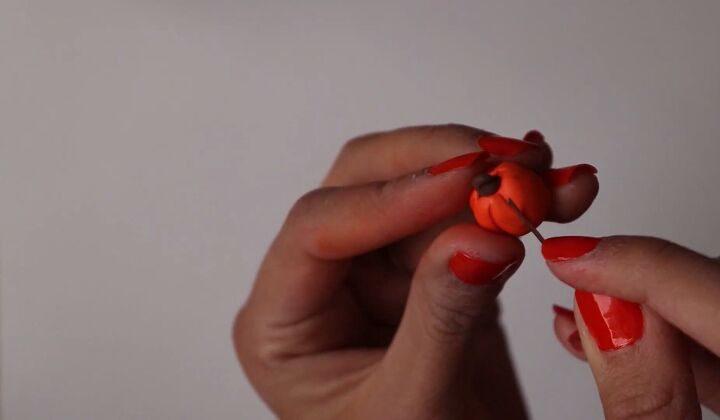
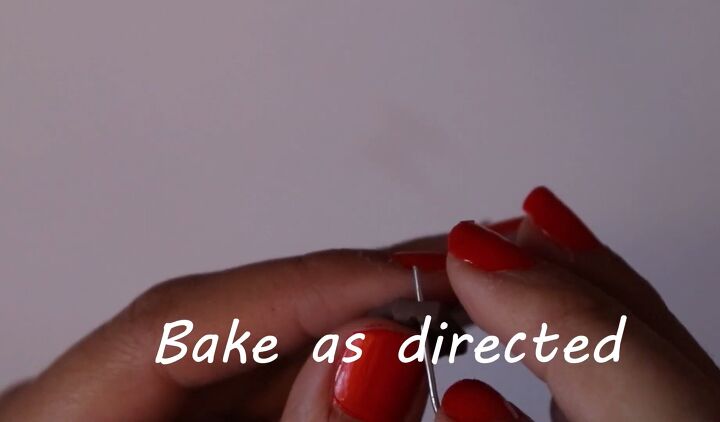
4. Insert hole and bake
Using your safety pin and pliers, poke a hole going all the way through the brown part. Then, bake the clay as directed.
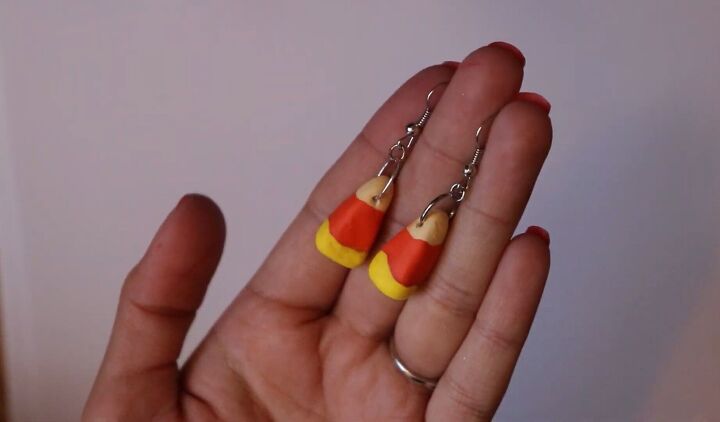
Candy corn earrings
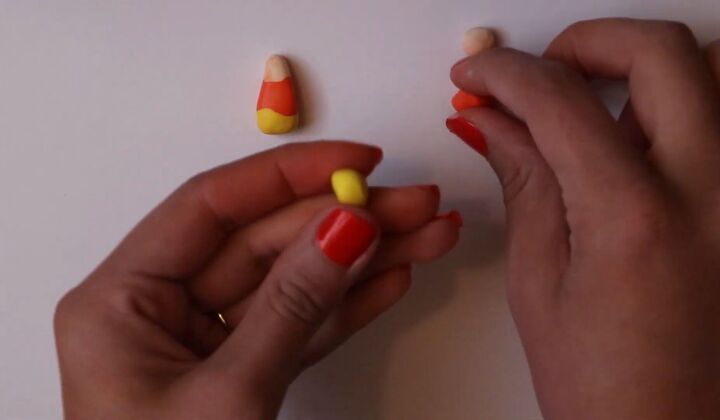
1. Roll and shape your clay
Take your orange, yellow, and white polymer clay, and roll it into small balls so that you have two balls in each color. Once done, squash the colors together and shape them to form the candy corn shape.
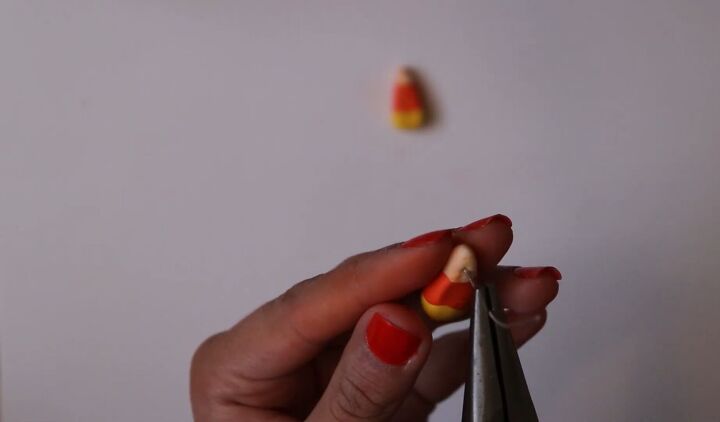
2. Insert a hole and bake
Using pliers and a safety pin, poke a hole in the top of both designs going all the way through. Continue to bake as directed.
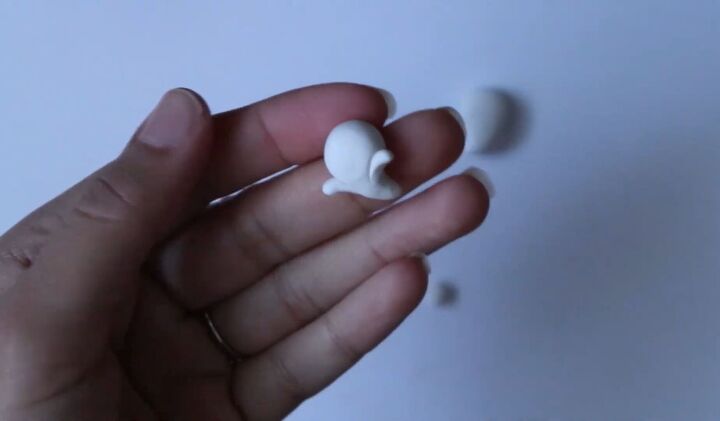
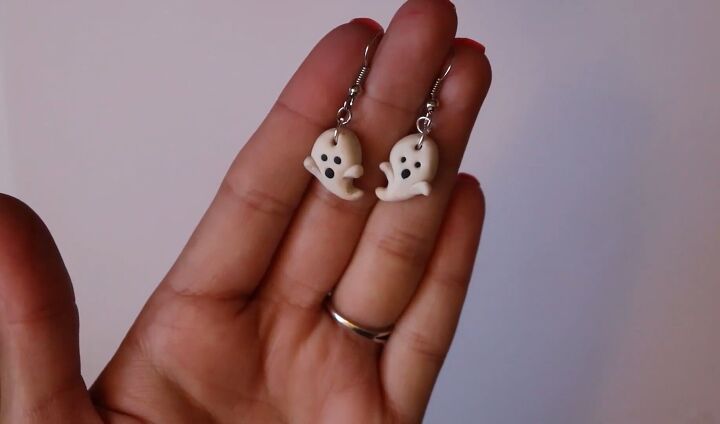
Ghost earrings
1. Shape the clay
Take some white polymer clay and create the shape, as shown above. The big circle in the middle will be your ghost’s head, and the two little features on the sides will be your ghost’s arms.
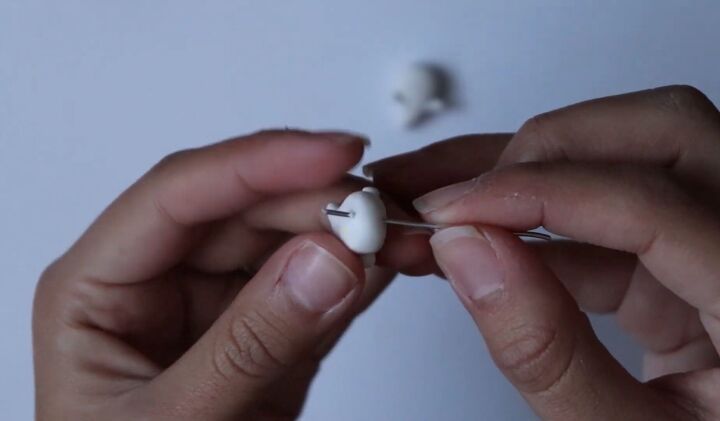
2. Insert a hole
Using a safety pin, insert a hole through the top of both of your earrings.
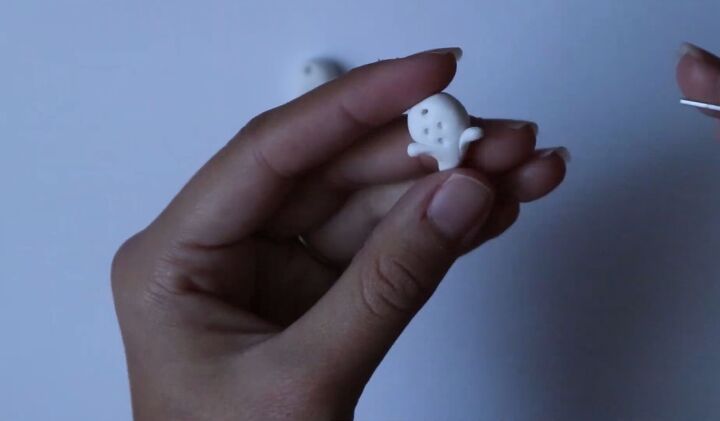
3. Print a design
With the safety pin, you also want to engrave three little dots onto your design. These will be your ghost’s eyes and mouth.
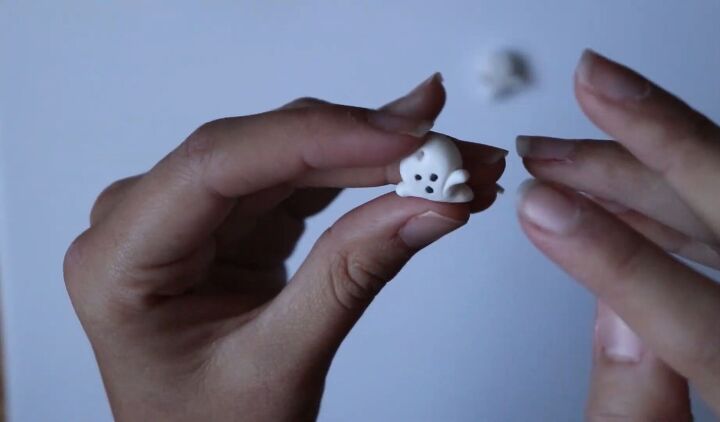
4. Insert black clay and bake
Take some black clay and make very small balls to fill in the little holes you just made. Once done, proceed to bake as directed.
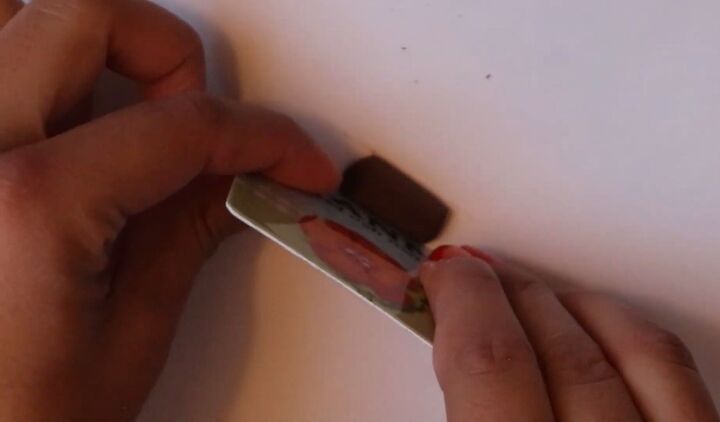
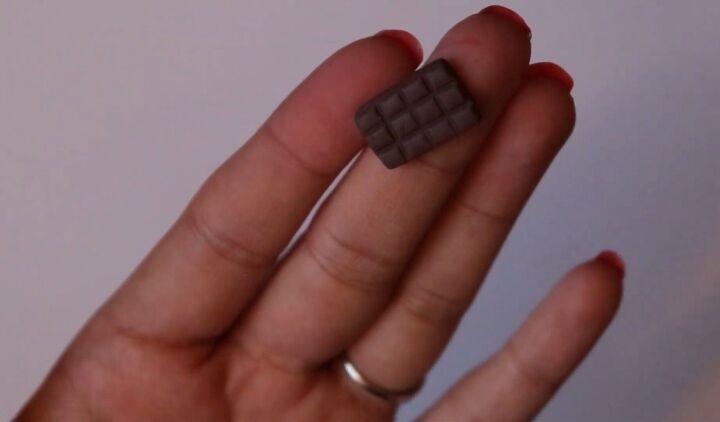
Chocolate bar earrings
1. Roll and shape clay
Roll a piece of brown clay into a flat disc, and then you want to make it into a rectangle. I used a plastic card (like a credit card) to help me cut the edges so that they were neat.
2. Print a design
Continue to use the card to make lines in the clay. You want to create a 3x4 grid that looks like a chocolate bar.
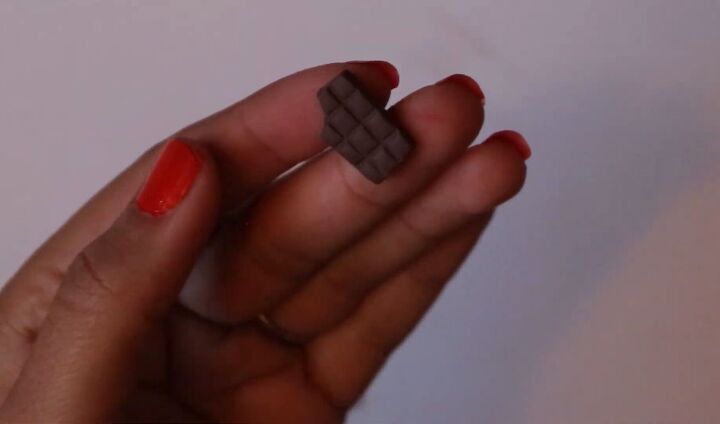
3. Remove some clay
I then broke away one corner to make it look like the chocolate bar had a bite taken out of it.
4. Insert hole and bake
Proceed to pierce a hole in the top of your earrings with the safety pin and bake as directed.
Attach earring fastenings
Now that all of your earrings are baked and have cooled down, the final step for all designs is to insert jump rings and earring fastenings. Use your pliers to insert jump rings through the holes.
Once done, join the earring fastenings to the jump rings. Do this to all of your earrings.


Polymer clay Halloween ideas for earrings
There we have our DIY Halloween polymer clay earrings in four designs: chocolate bars, ghosts, pumpkins, and candy corns. The earrings are so cute, and I know that I’m going to get so many compliments on how they look.
I might even make some more pairs to give to friends as gifts. I hope you enjoyed this DIY as much as I did! Happy Halloween!
The author may collect a small share of sales from the links on this page.


Comments
Join the conversation
The cutest!!! I love Halloween and I start wearing Halloween earrings from Oct1st thru the 31st. I'm definitely going to try and make them , I can share them with friends... they're so cute! 😊👍️
What is the length of time to bake and what oven temp? I don't use a toaster oven to bake with and don't think you can use microwaves.