How to Make Rose Quartz Polymer Clay Earrings

In this tutorial, I will show you how to make beautiful earrings from rose quartz polymer clay. I’ll actually show you two different ways to make the marbling and veins.
Follow right to the end, when I’ll show you how I make interlocked earrings.
This technique is surprisingly easy, but creates a stunning polymer marble clay effect.
Tools and materials:
- Translucent polymer clay
- Colored polymer clay or eyeshadow or mica powder
- Pasta machine or rolling pin
- Knife
- Acrylic paint
- Gold leaf
- UV resin
- Cookie cutters
- Oven
- Earring hardware and drill
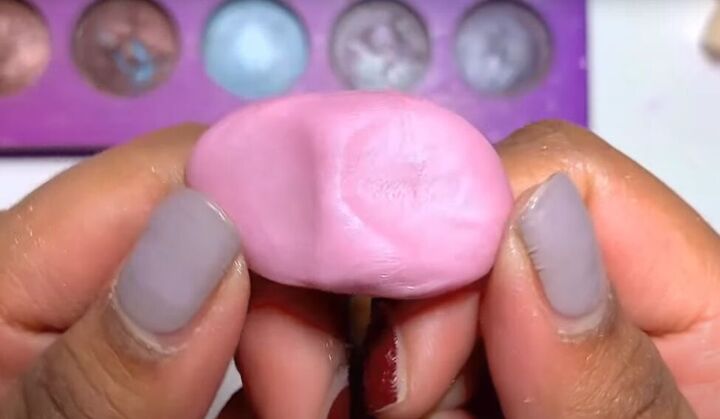
1. Condition your polymer for marbling
Gently squish your small blocks of polymer to soften it.
2. Create your marbling colors
Add a tiny bit of another color polymer to your translucent polymer.
Repeat with as many colors as you would like for your earrings.
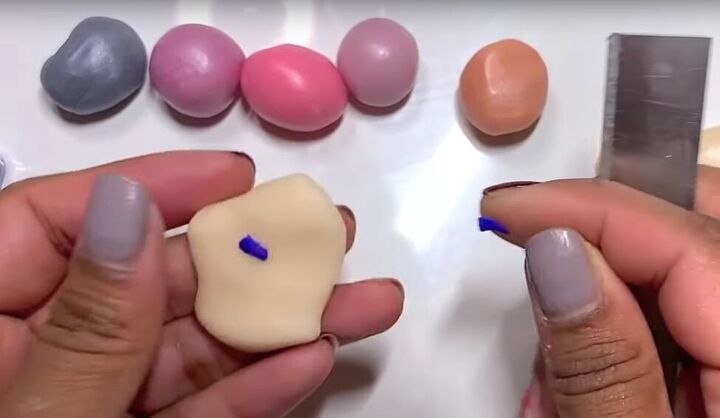
Translucent polymer is actually a bit yellowish, so you can add the tiniest bit of blue polymer to offset the yellow.
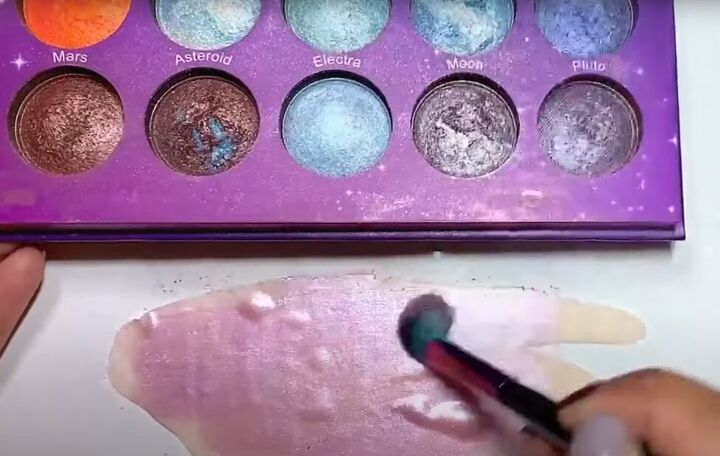
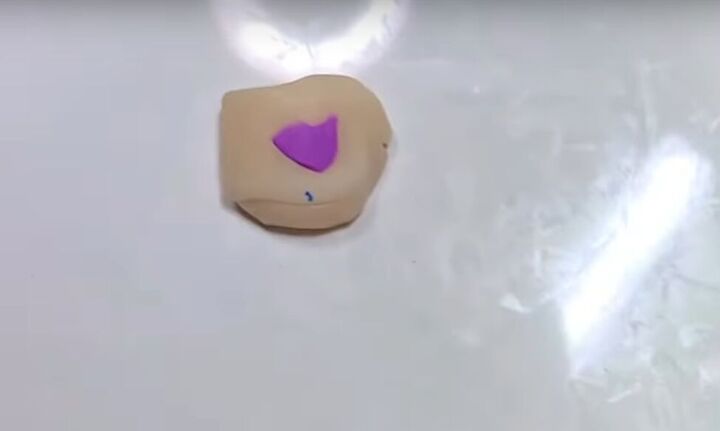
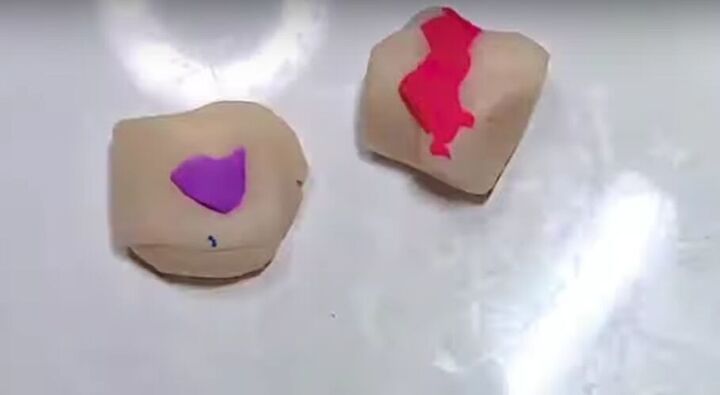
3. Other ways to color polymer
Run your small piece of translucent polymer through a pasta machine, and then use a small makeup brush to paint it with eyeshadow.
Then combine the color in well and run it through your pasta machine a couple more times to ensure an even mix.
Repeat with as many colors as you want for your earrings.
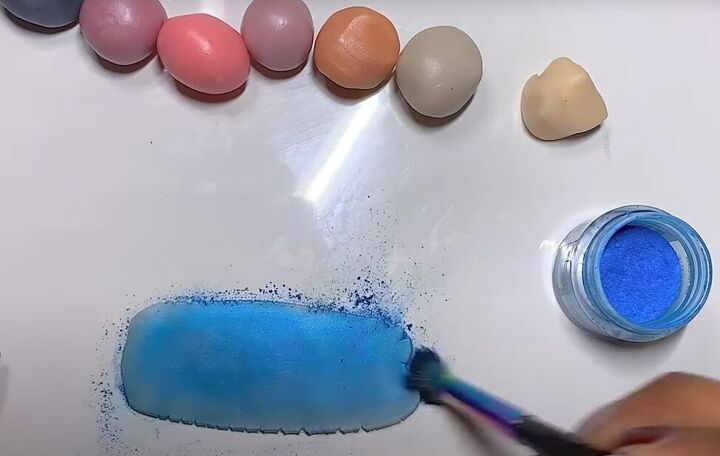
You can also use mica powder to color your polymer clay.
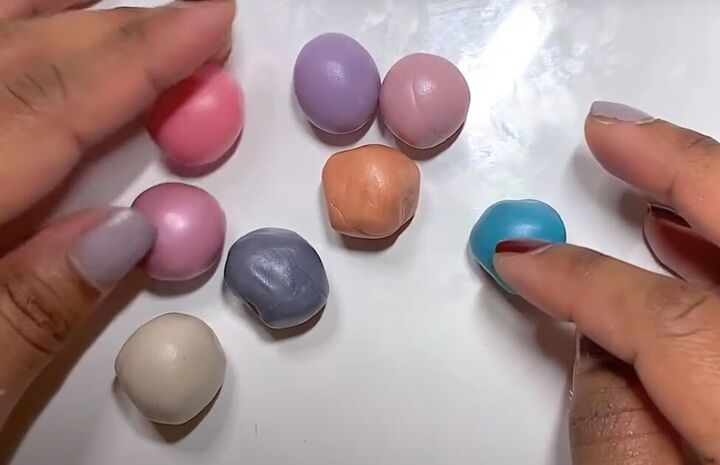
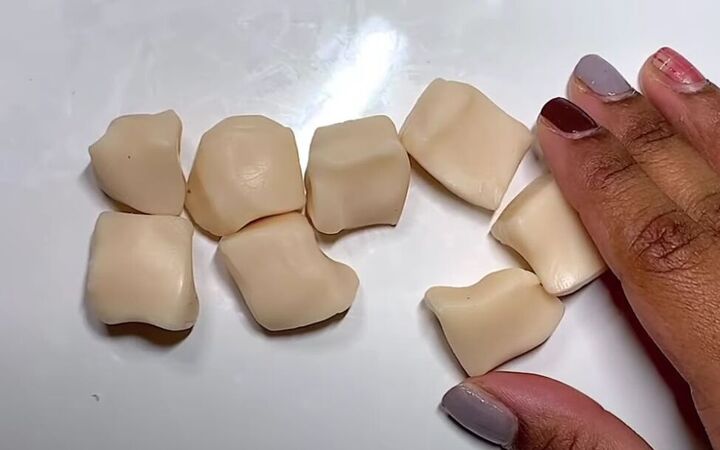
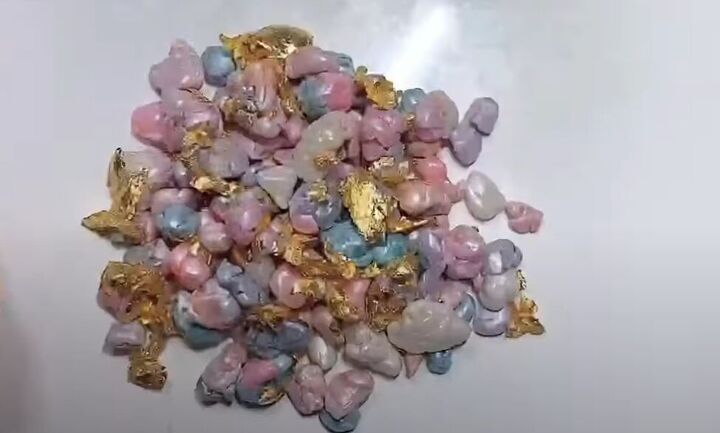
Here are the balls of polymer I will use for my faux marble quartz earrings.
Let your clay rest in the fridge for about 10 minutes to make sure it’s not too soft to work with.
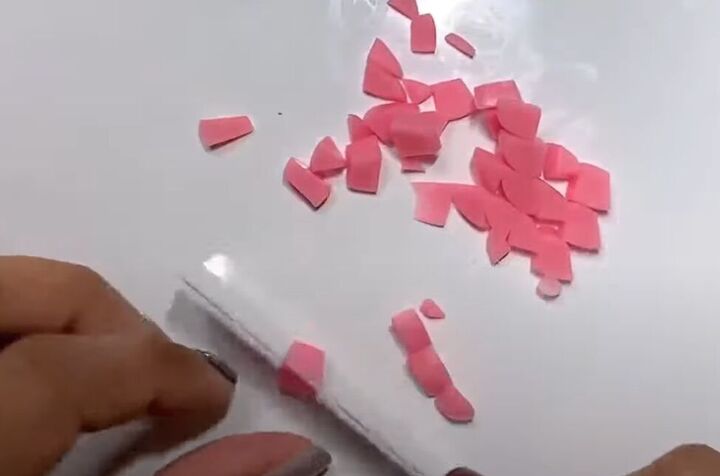
4. Chop your clay
After your clay has rested, chop up all the colored balls.
You can cut your pieces large or small, but the larger they are the less of a marbling effect your earrings will have.
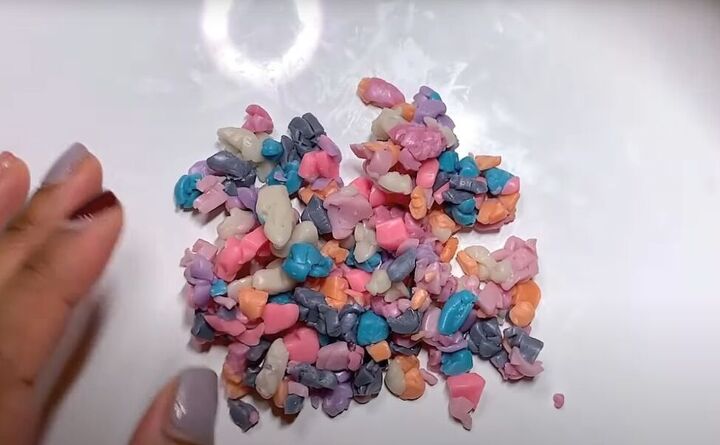
After all your clay is chopped, toss all of the colors together.
5. Add acrylic paint and mica powder
Add 2 drops of vanilla-shade craft acrylic paint to the pile of polymer.
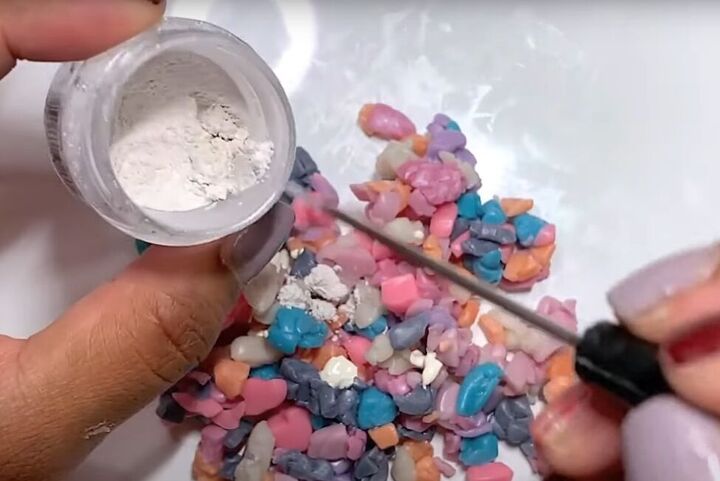
Also add a small bit of pearl-colored mica powder to the mix.
Toss it all up together really well, and let it dry completely.
6. Add shimmer
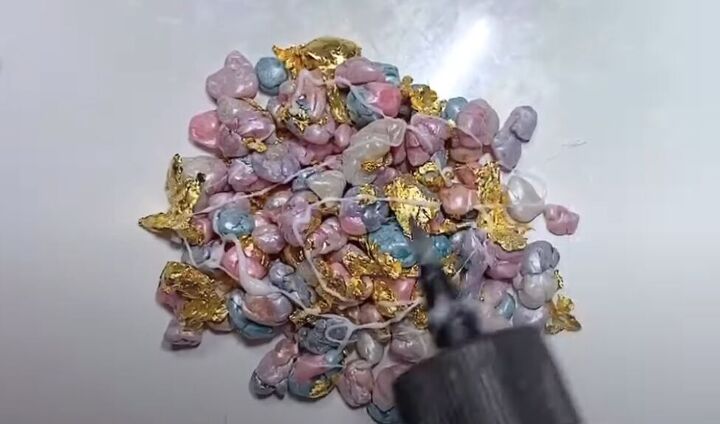
Crumple a sheet of gold leaf into your pile of polymer.
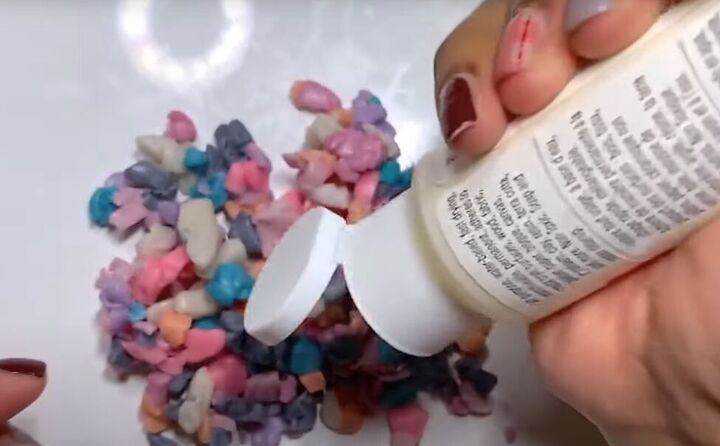
7. Bind the clay
Squeeze some liquid clay over your pile of polymer.
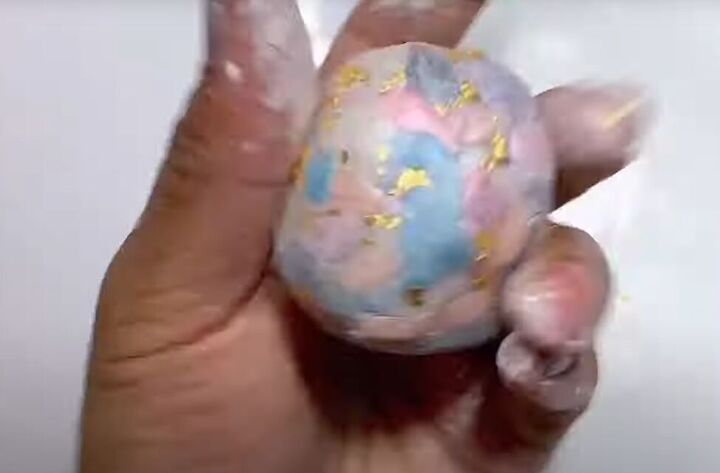
Then squish all the polymer back into a single ball.

If you want you can do more combining by cutting up this ball, adding more mica powder and liquid clay and re-balling the polymer.
8. Let rest
Form your ball into an elongated cube and let it rest in the fridge for 10 minutes.
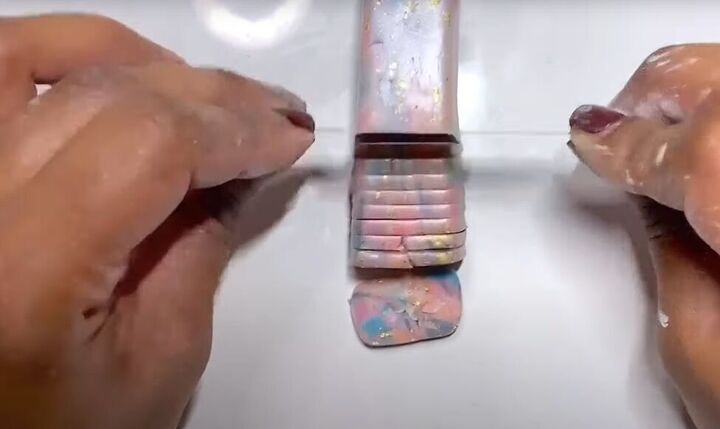
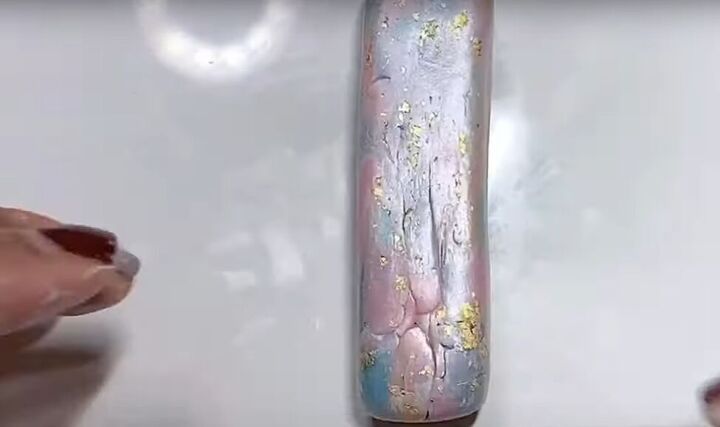
9. Slice your polymer block
Here’s where you get to see the beautiful marbling. Slice your polymer block and look at that effect!
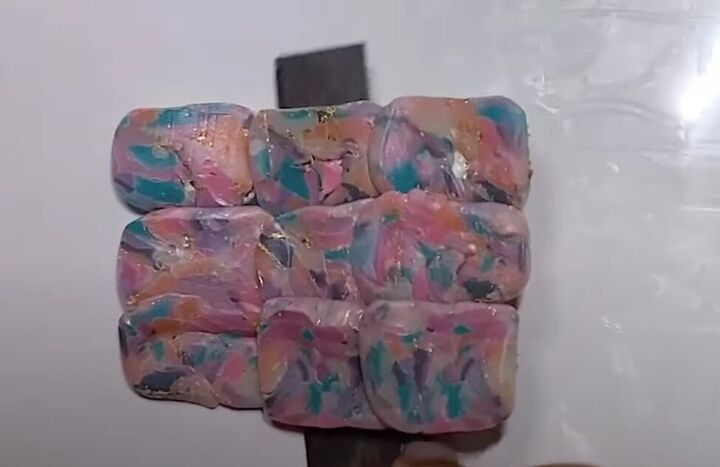
10. 2 ways to make marble earrings
Overlap your cut pieces to form a slab of marbled polymer.
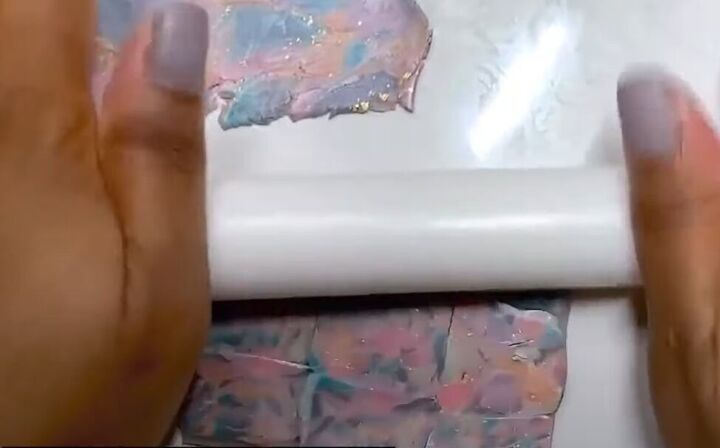
Then roll it with a small rolling pin to make it nice and smooth, and run it through a pasta machine.
Then fold it in half and run it through the pasta machine again.
Or, run a piece of translucent polymer through a pasta machine, place cut pieces of marbled polymer on top and trim off the edges.
Roll it out to make it smooth and then run it through a pasta machine again.
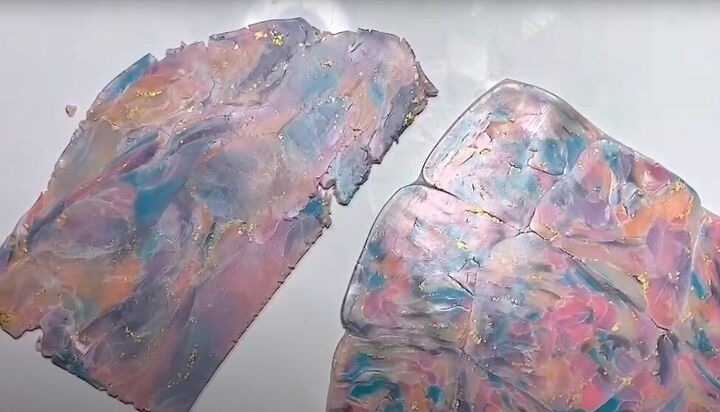
These two methods will give very different results.
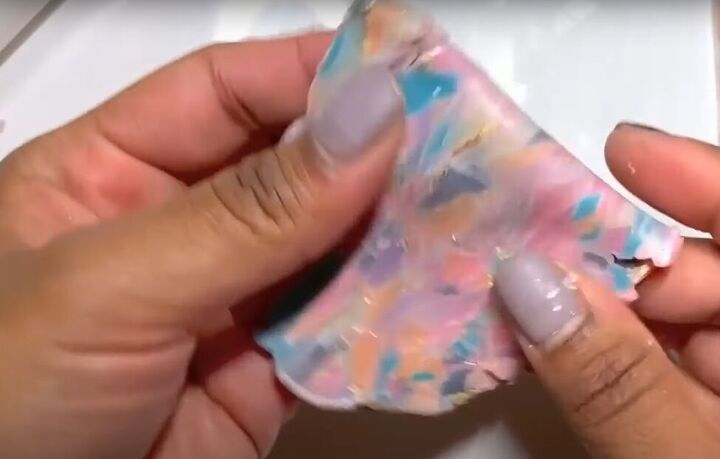
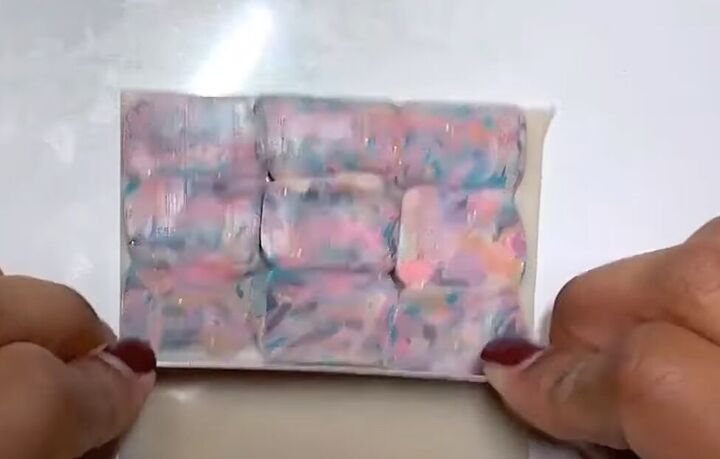
11. Burnish the polymer
Place paper over the top of the rolled polymer and rub it gently with your hand to burnish and smooth it out.
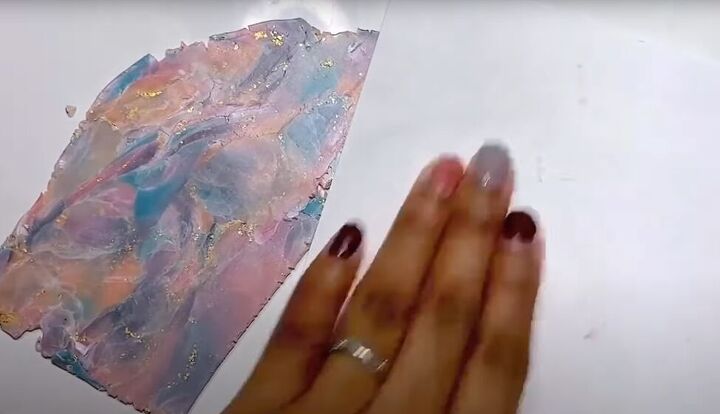
12. Cut your earring shapes
Use cookie cutters to cut your earring shapes.
You can chop up, re-roll and use the leftover marbled polymer to create more earring shapes.
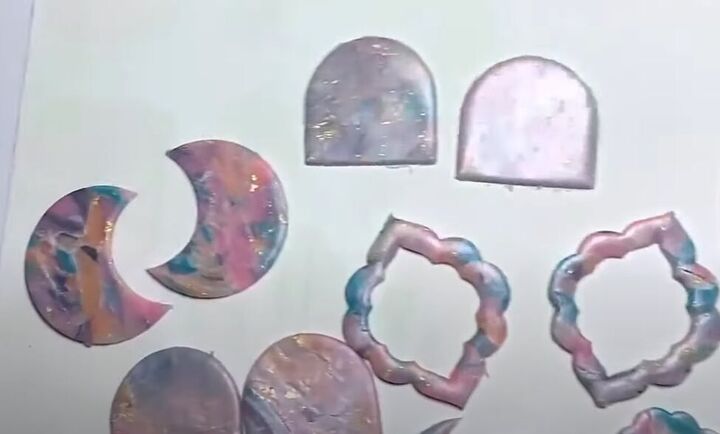
13. Bake your earrings
Bake the earrings in your oven at 275 degrees Fahrenheit for one hour. Cover loosely with a piece of foil when baking.
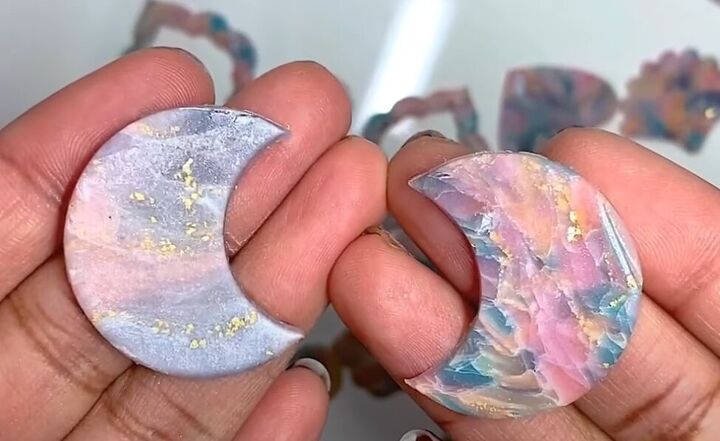
Here are two pieces, made with the two techniques from step 10. You can see the difference.
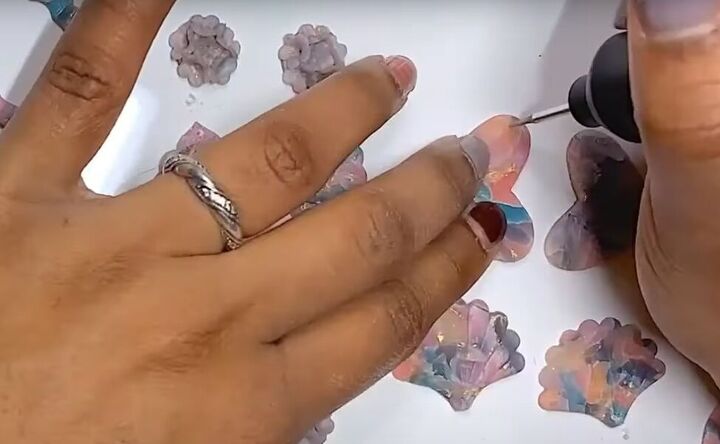
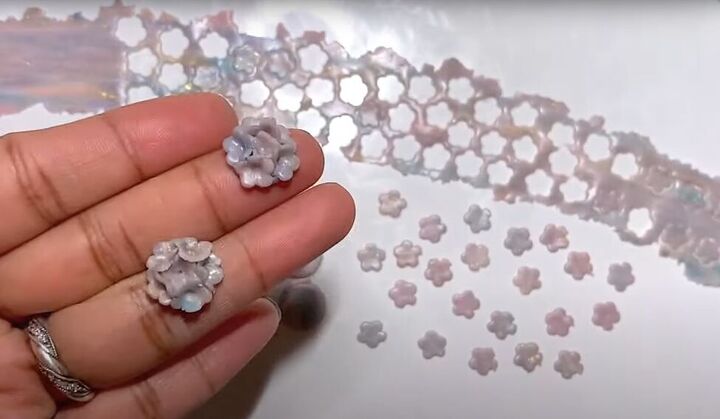
14. Sand and drill
Sand the edges of your earrings and drill holes in the top for the earring hardware.
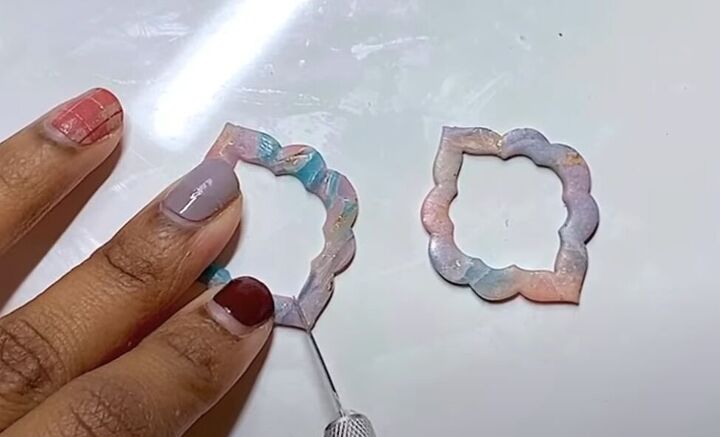
15. Make interlocking earrings
Cut a slit at the bottom of one earring with an Exacto knife.
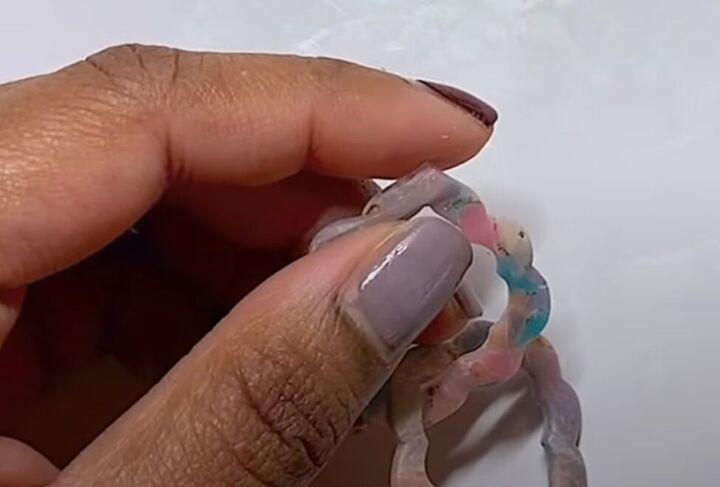
Slip the other earring piece through the slit and seal the slit with superglue or liquid clay.
Let dry for about 1 hour.
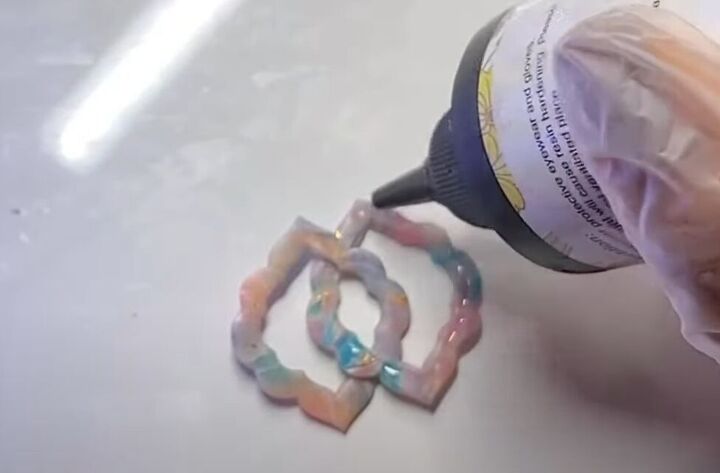
16. Finish with resin
Add a layer of UV resin to your earrings.
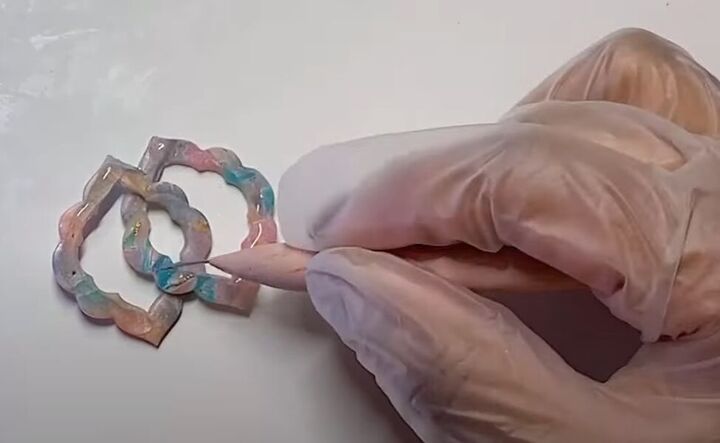
Use a fine-needled tool to help spread the resin evenly.
Let the resin cure on one side and then apply it to the other side.
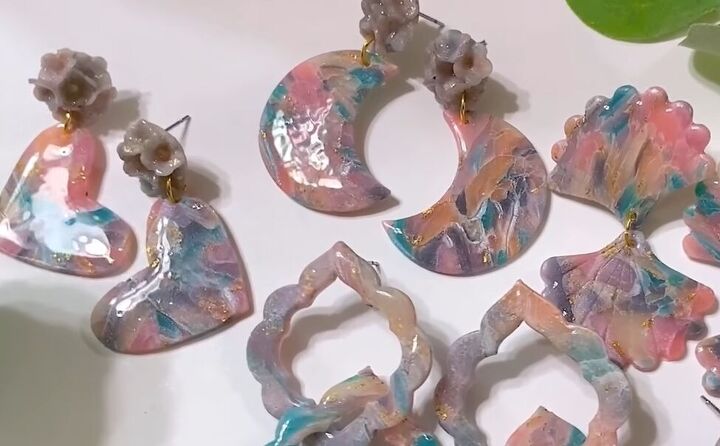
Rose quartz polymer clay earrings
Add your hardware and your rose quartz polymer earrings are done!
Try this out, and leave a comment to let me know how you liked this tutorial. I love to hear from you.
The author may collect a small share of sales from the links on this page.


Comments
Join the conversation