How to Make Polymer Clay Wing Earrings in Angelic Rainbow Colors

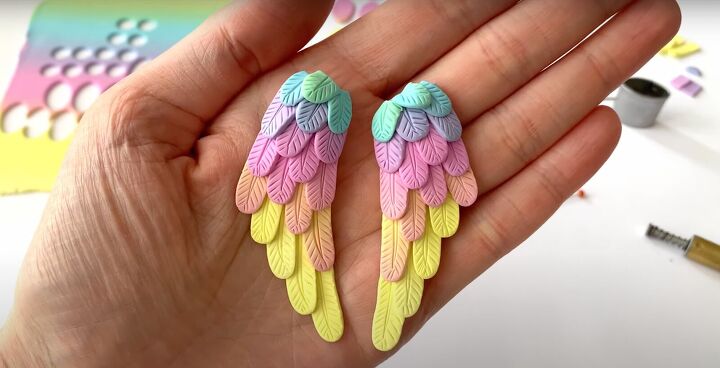
These polymer clay angel wing earrings are heavenly! They are delicately beautiful and use a polymer clay rainbow effect. This polymer clay angel wings tutorial just shows you how to make them.
Let me show you how to make polymer clay wings so you can wear or gift these gorgeous angel wing earrings!
Tools and materials:
- Polymer clay rainbow in assorted colors blended into one “sheet”
- Blade
- Needle
- Circle or oval cutter
- 2 Eye pins
- Earring fastenings
- Oven
1. Blend the colors
To learn how to blend polymer clay colors into a rainbow slab, watch the video above.
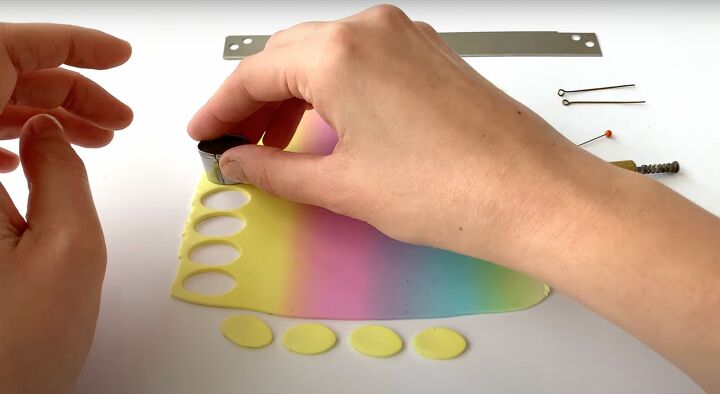
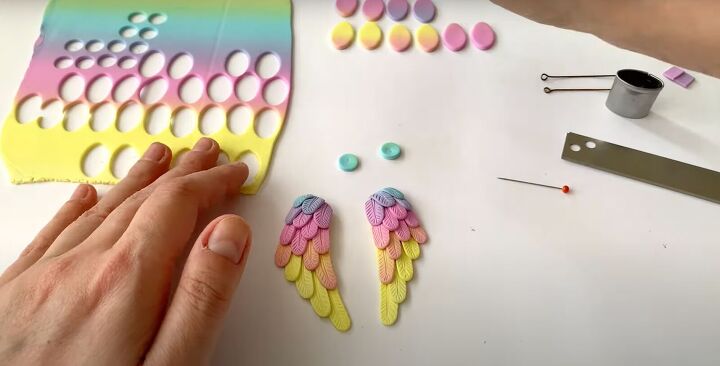
2. Cut out ovals
Use the oval or circle cutter to form the first 6 pieces.
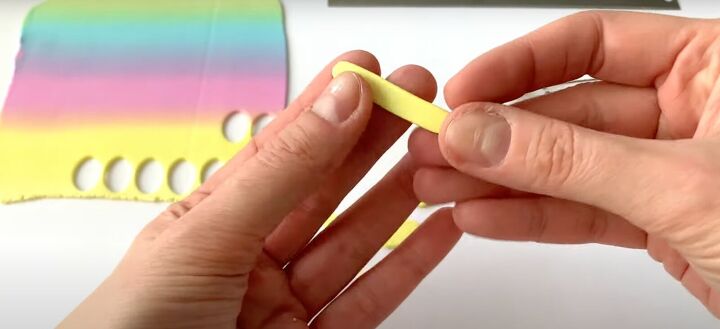
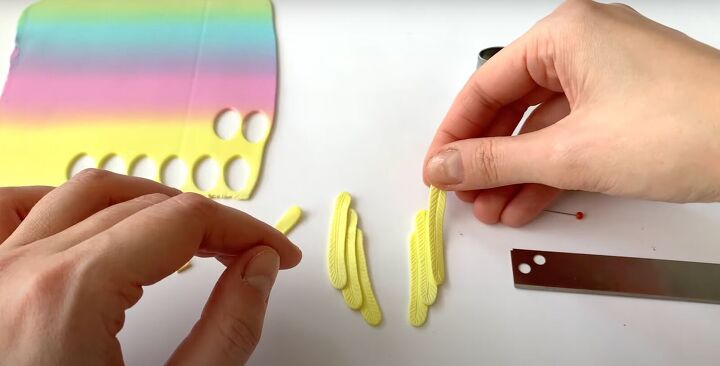
3. Make long, thin shapes
Mold them gently into a long shape with rounded edges.
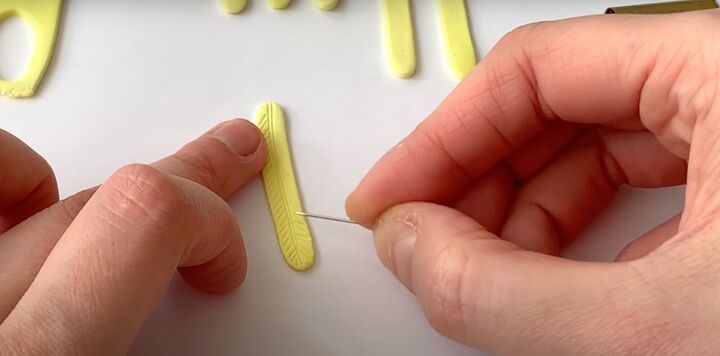
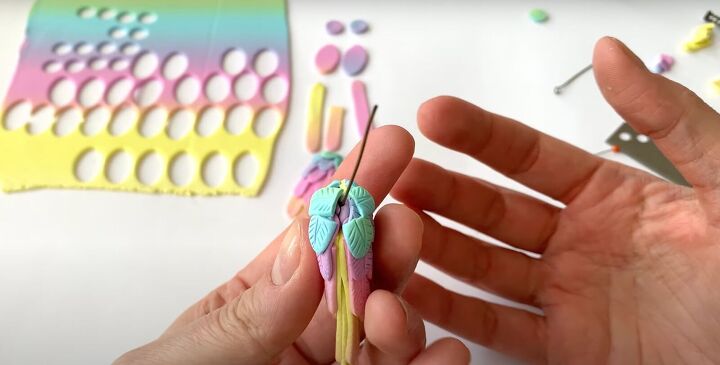
4. Create the feather details
Use the needle’s sharp end to create a feathery look. Double score the center and then press the needle’s end to make tiny slanted lines on both sides of the lines.
Flip the feather over to score the back side as these feathers will be seen from both sides.
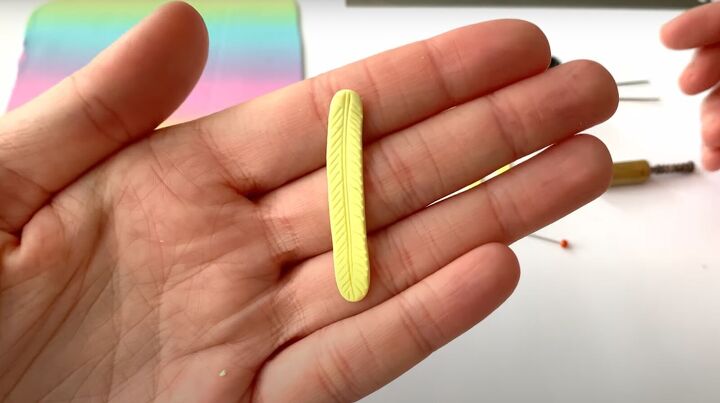
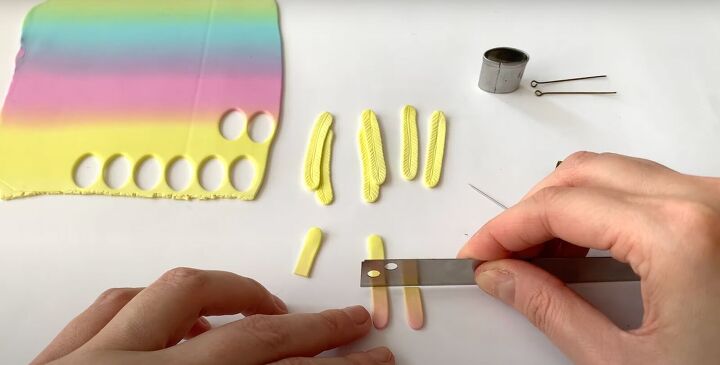
Mold and feather the first 4 pieces. Gently pull on them to make a slight curve. Lay one on top of another. Make the second one as well.
Score and feather the next two pieces and lay them on top of each earring. You’ve made the first row of feathers!
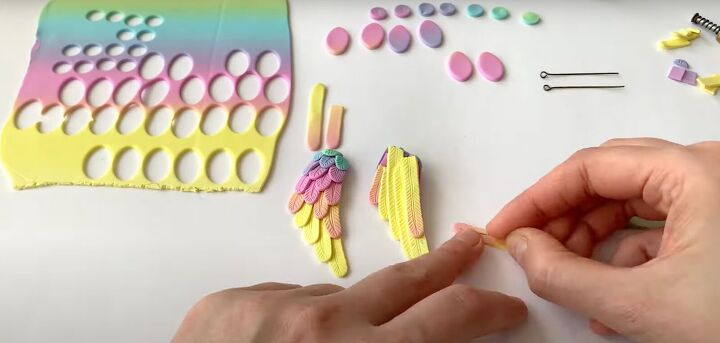
5. Form the second pieces
Prepare some more ovals, going along the color blended polymer clay sheet. Start with 2 long ovals. After feathering, lay them on the inner part of the wing.
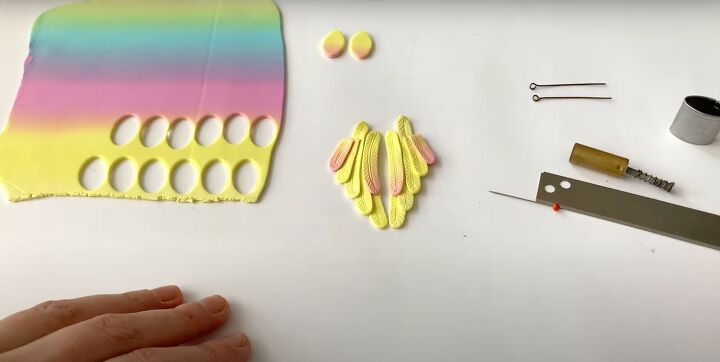
The next set of ovals, cut with the blade to make one longer and one shorter feather. Place the short ones on the outside and the longer ones in the center.
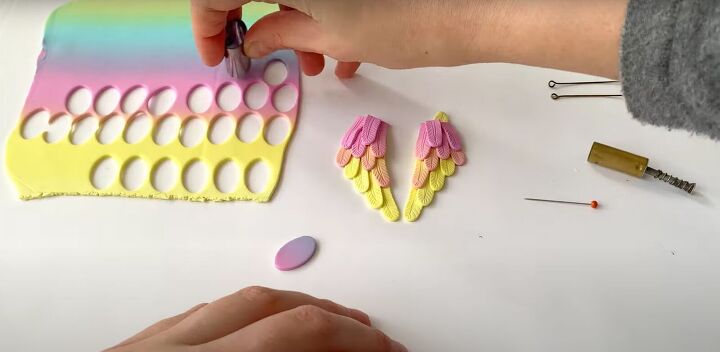
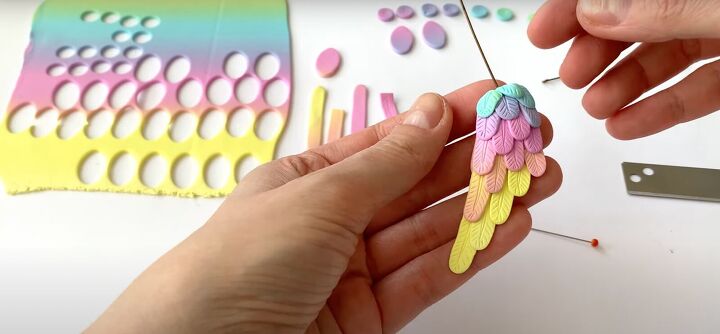
6. Build up the feathers
For the next few levels, cut long and short feathers. Continue layering the feathers, starting with the outside first.

While this part is repetitive, it is really important to pay attention to the construction of the wings.
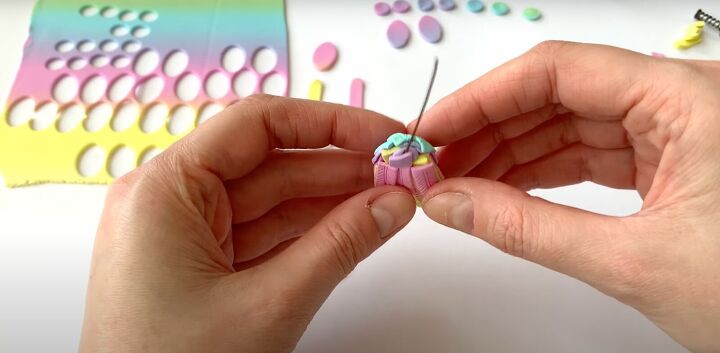
7. Form the top feathers
These are smaller so use a smaller cutter. The creative discipline remains the same but pay close attention to the construction.
Cut these smaller ovals as well. The top ones only need feathering on one side.
8. Form the back
Congratulations! You’ve finished the front of these rainbow angel wings. Now the entire process has to be repeated for the back.
A good tip is to look at the front side of the other earring while creating the back. Repeat the process, following the color gradient.
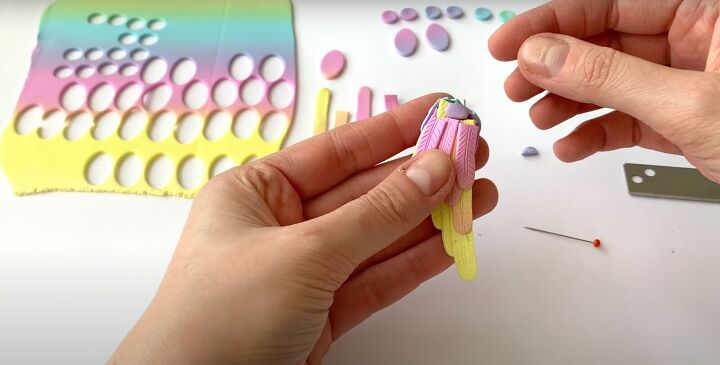
9. Insert the eye pin
The eye pin has to be secured and the space inside the angel wing has to be filled as well. Use a small piece of clay and lay it against the top back of the angel wings to see if it has a low profile.
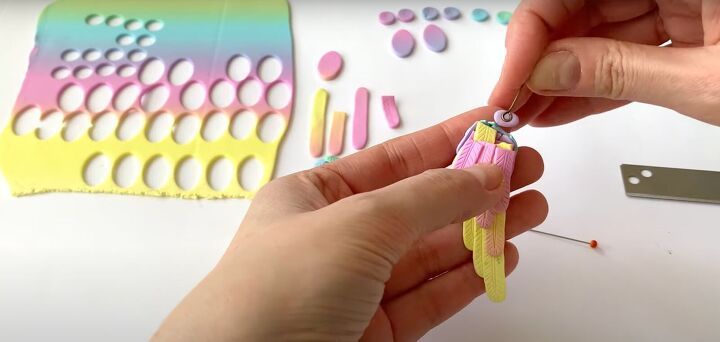
Lay this piece down and press the eye needle into it. Press this firmly at the back of the wing.
Cover this with another small piece of clay and press against it.
Then add some feathers to match the front of the earring. Repeat for the second earring.
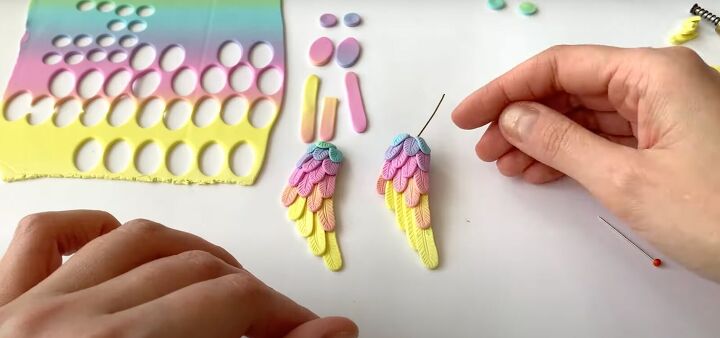
10. Finish the feathers
Make tiny feathers to unite the front and back of the wings.
Place them at the sides to cover the “seams”.
11. Bake the polymer clay
The wings are ready for baking! Follow the instructions on the packaging for how to bake your polymer clay.
Once baked and cooled, you can attach the earring clasps to the eye needle.
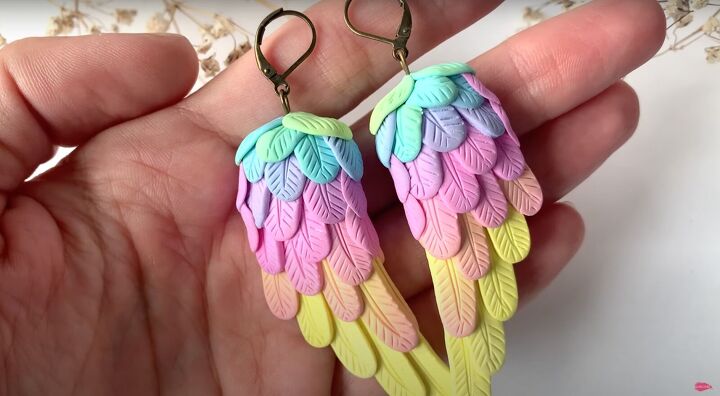
How to make polymer clay wings earrings
I hope you enjoyed this polymer clay angel wings tutorial! I think they are absolutely gorgeous and I truly hope they helped you learn how to make polymer clay wings for jewelry pieces.
Let me know in the comments what you think!
The author may collect a small share of sales from the links on this page.


Comments
Join the conversation
Very pretty colors and design