Cute Floral French Tip Nails Tutorial

If you can’t use gels and want to stamp, then this is the tutorial for you!
Let's update a classic manicure with floral French tip nails. This spring floral nail design is perfect for spring!
Tools and materials:
- Stamping polish
- Floral French stamping plate
- Stamper and scraper
- Sticky base
- Smudge free top coat
- Green and clear dip powders
- Dip liquids
- Clear builder gel in a bottle
- Clean-up tool
- Nail brush
- Emery board
- Nail drill with extra fine barrel bit
- Liquid latex
- Acetone
- Tweezers
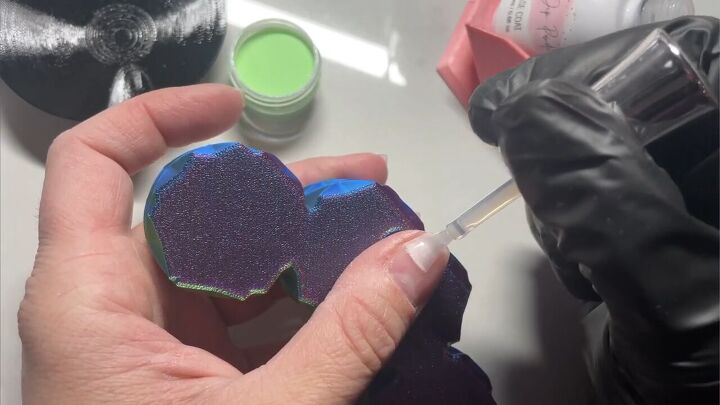
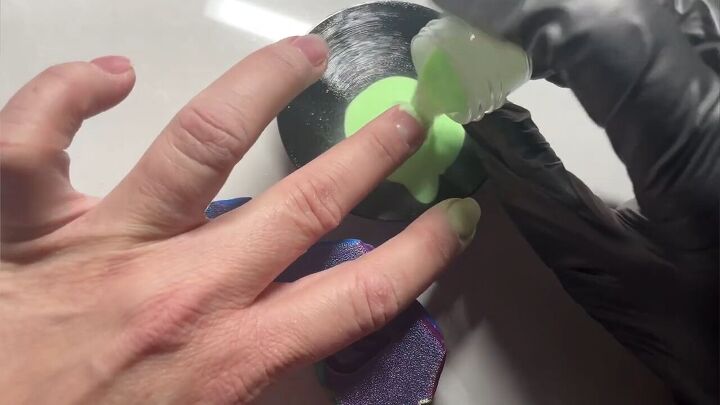
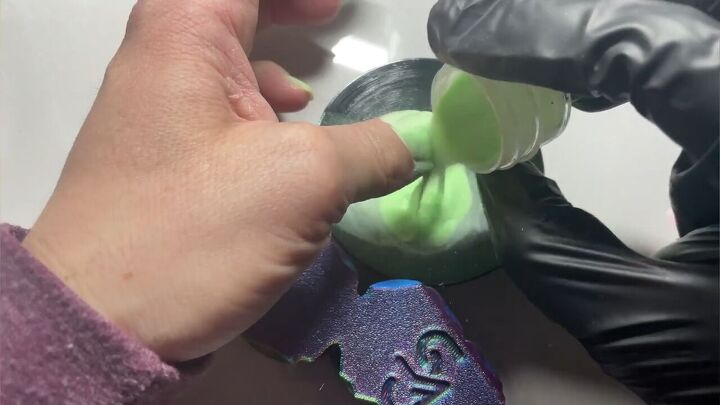
1. Apply clear base and green dip powder
Paint the sticky clear base on one finger and then sprinkle on the green dip powder.
Continue these two elements for each nail, one at a time.
2. Tidy up
After applying the powder each time, lightly tap your finger to remove any excess.
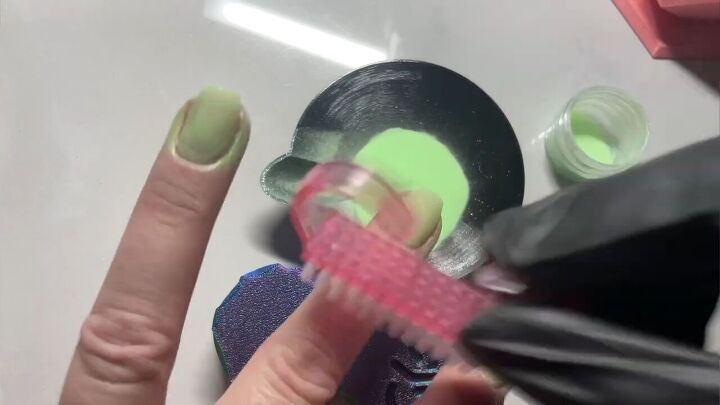
Then, go in with a clean-up tool to remove the powder from the sides of the nail and cuticle.
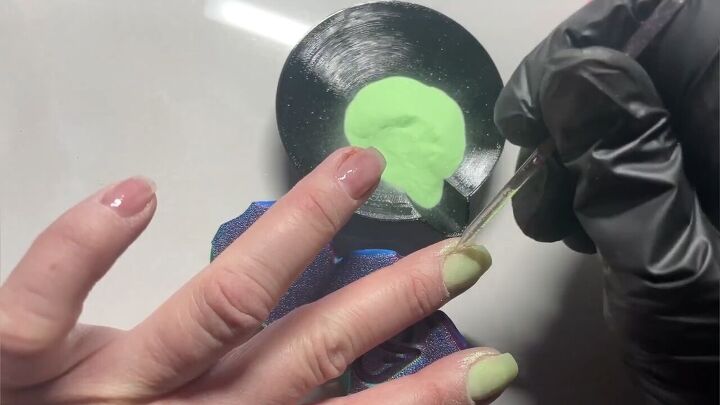
Run a nail brush over each nail to further remove any loose powder.
3. Repeat for a 2nd coat
Paint another layer of sticky base and reapply the green dip powder, just like you did with the first coat.
Tip: If you have short nails, it’s easy for the dipped manicure to look really thick.
To avoid this, make sure that you don’t put too much liquid onto your brush. Also, when applying the base, make sure to start with the brush away from the cuticle and push the liquid back to it.
I tend to use the least amount of liquid possible because I can always fill in with another coat if I notice any holes. If you see pooling on the sides or at the cuticle, that’s a sign that you’re using too much liquid.
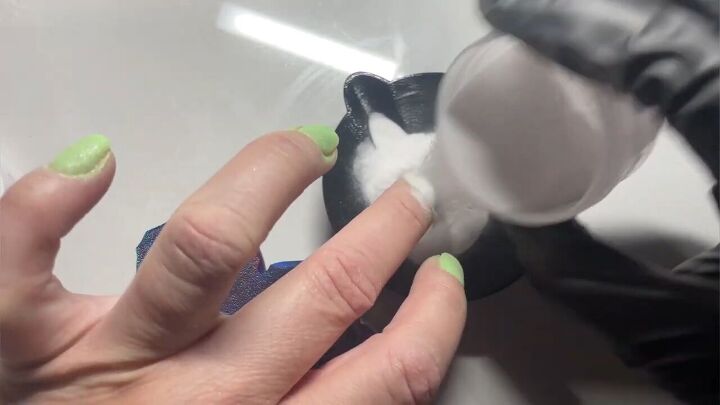
3. Apply clear dip powder
For the third layer, follow the same steps but use a clear dip powder this time.
Make sure that after every single dip, you brush off the nails well. This too will prevent the nails from coming out too thick.
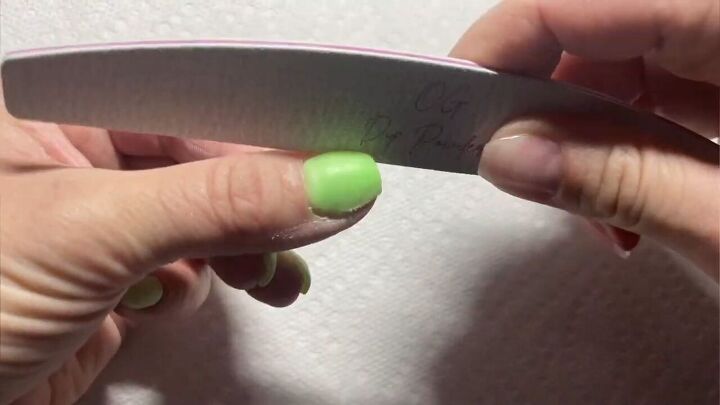
4. Shape your nails
Next, gently file around the sides of your nails with an emery board to achieve the shape you want.
5. Clean up the cuticles and smooth the nails
Use an extra fine barrel bit on a nail drill to clean up your cuticles.

Then, gently buff the nails with your emery board to make them smooth. Wipe them with a dry paper towel to remove any leftover dust.

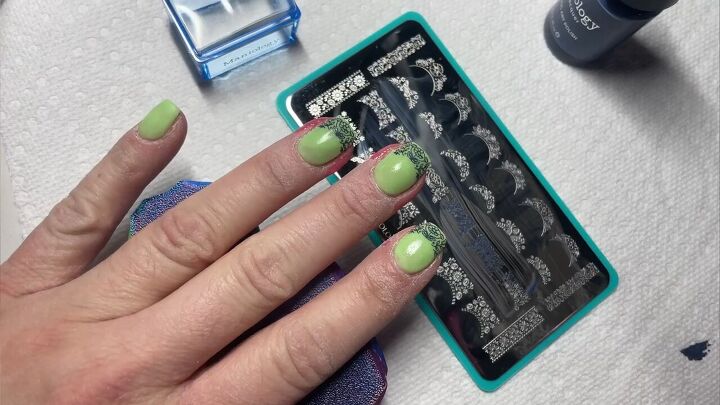
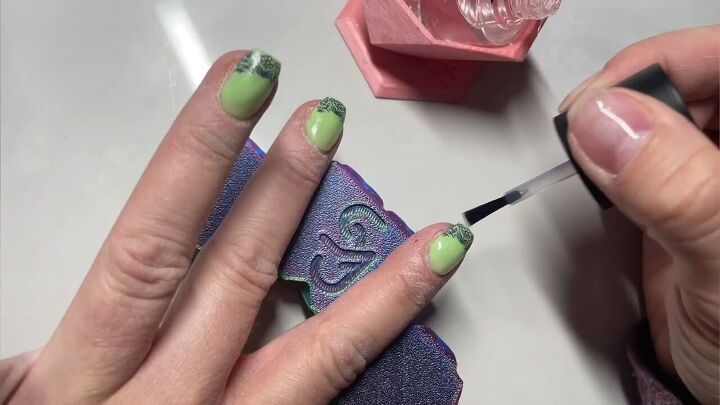
6. Stamp your nails
Apply a thin layer of sticky base to the first nail that you want to stamp.
You want this base to be sticky but not damp right before you apply the stamp.
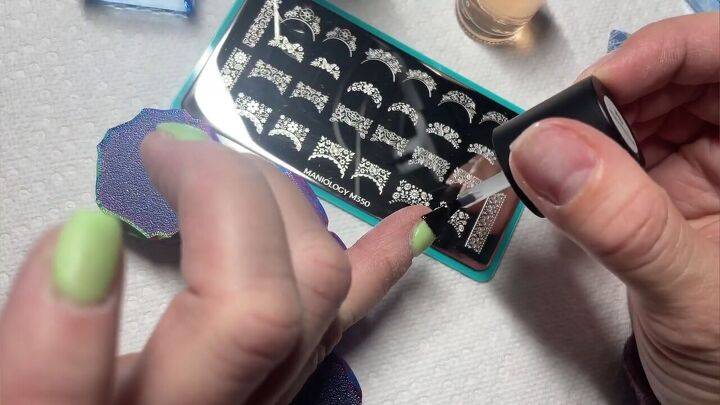
Then paint the polish color onto your stamp of choice from the stamp plate.
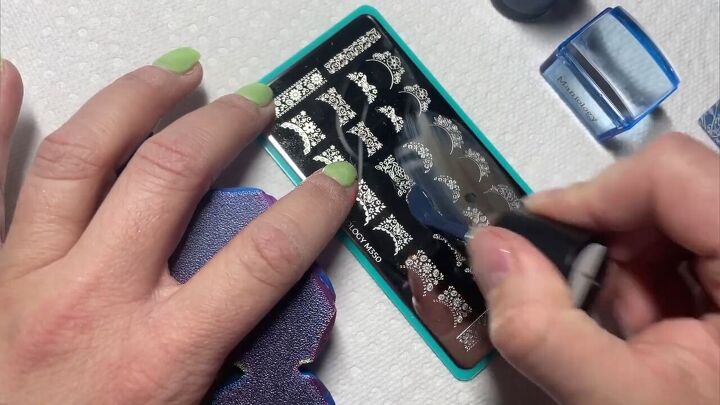
Then swipe the polish with the scraper.

Press your stamper tool in the opposite direction from that which you swiped the scraper tool. This is key for properly picking up the image.
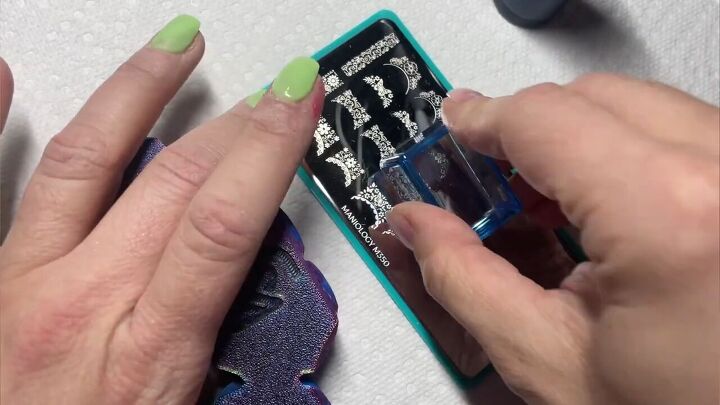
Then, press it carefully onto the nail. Make sure you press it just once, but pretty hard.
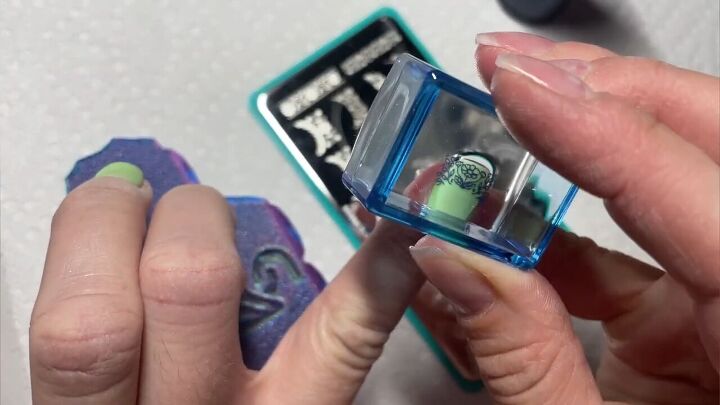
Continue to stamp the other nails as you wish.
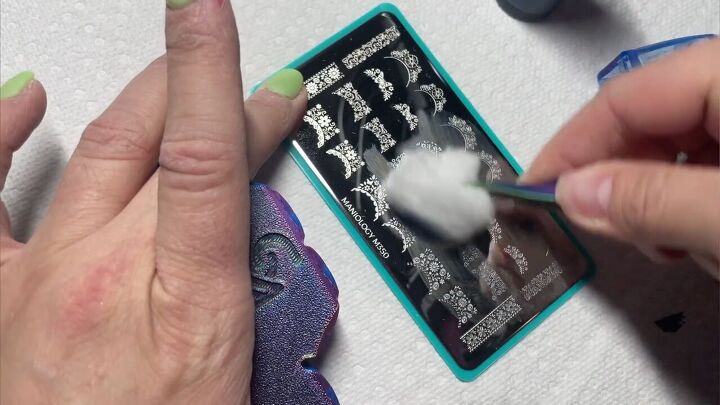
Use tweezers to grab a cotton ball dipped in acetone and wipe the stamping plate between nails if you reuse the same stamp.
The pink color you see beside my nails is liquid latex to protect my skin.
7. Apply a top coat
Finish off your floral spring nails with a clear, smudge free top coat.
You can see how we’ve upgraded a classic French manicure into these spring ready nails with a modern twist!
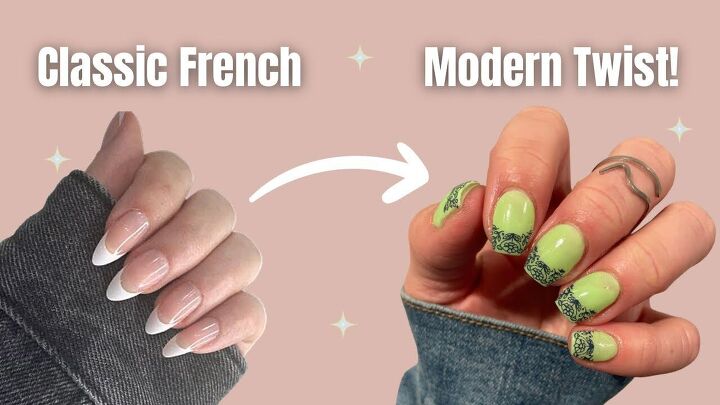
Floral French tip nails
Will you try these floral French tip nails? If you do, show us your unique results in the comments below.
For more manicure ideas, check out my post on How to DIY Glazed Pink Hailey Bieber Nails at Home.
The author may collect a small share of sales from the links on this page.


Comments
Join the conversation
Use paper towel or cleansing pads to clean your stamping plate, cotton balls leave trace fibers