How to Create Cute French-Tip Yellow Nails For Spring

Are you looking for some nail inspiration for spring and summer? In this tutorial, I’ll show you how to create French-tip yellow nails with cute charms and nail art. This yellow spring nail design is simple to do and the results are gorgeous. Let’s start!
Tools and materials:
- Nails
- Nail stand
- Nail putty
- Nail cutter
- Base coat
- Nude pink gel polish
- Blooming gel polish
- White gel polish
- Yellow gel polish
- Black gel polish
- Thin nail brushes
- Clear and matte top coats
- Nail charms and rhinestones
- Nail glue and charm applicators
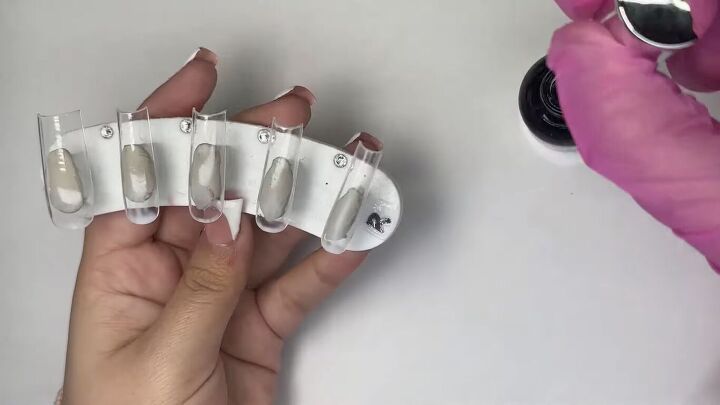
1. Apply base coat
To start off, I’m going to apply a thin layer of base coat along all my nails. I bought these nails on Amazon, cut them down to length, then filed the tops of them.
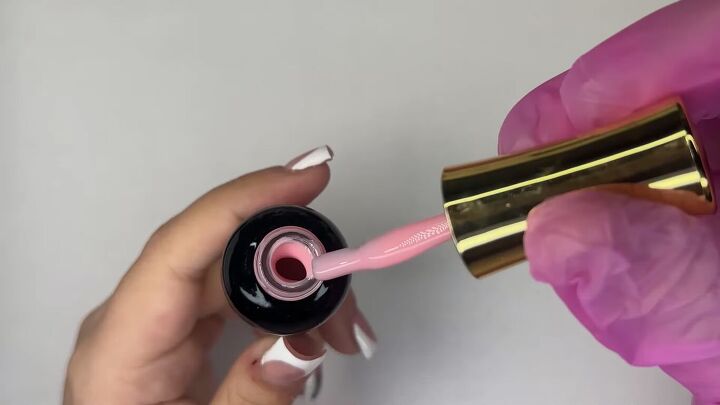
2. Apply base color
For the base color, I’m using a nude pink gel polish. This is a pretty natural pink color that works well for French tips and ombres.
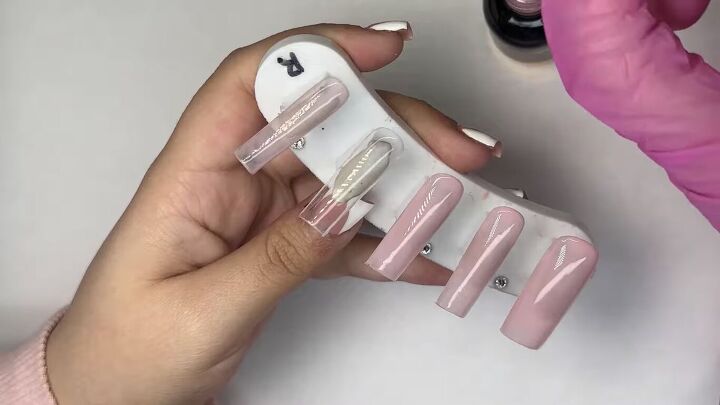
Apply a thin layer of the base color to all the nails, except the ring finger. Once dry, apply a second coat.
3. Create swirls on the ring finger
For the ring finger, we’re going to be creating a marble-like effect. For this, you need blooming gel polish (a translucent base that helps any color applied on top really pop), white gel polish, and pastel-yellow gel polish. Start by applying a layer of the blooming gel.
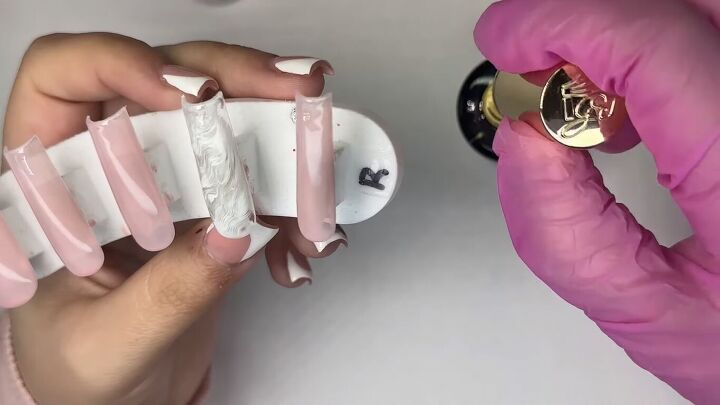
Next, go in with the white color and swirl it onto the nail.
On top, do the same with the yellow.
You can also take a liner brush and make more swirls. Add more white or yellow if you need to.
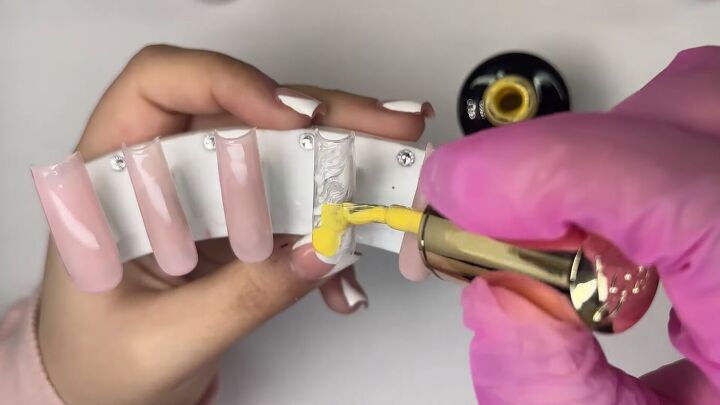
4. Make the tip shapes
Take a long-bristled brush, dip it in the yellow polish, and apply a dash where you want the French tip of the nail to start.
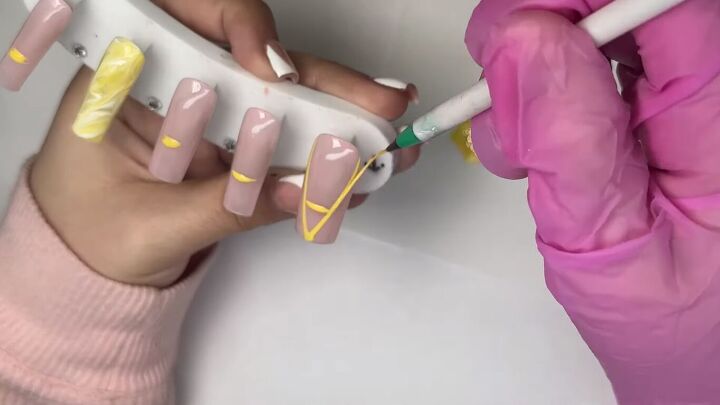
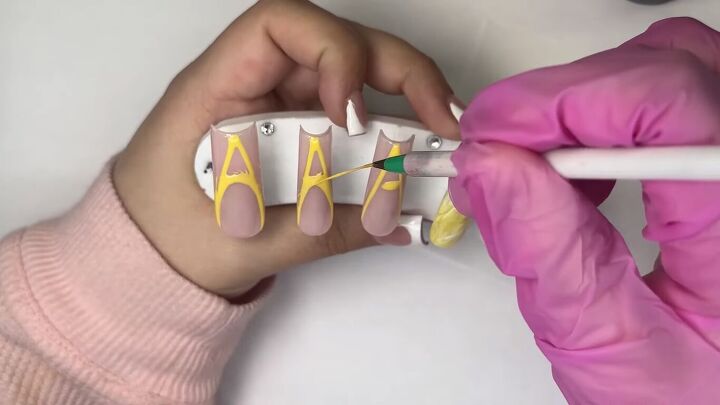
The A method
To create the tip shape, we’re going to be using the A method. This is where you create an A-shape, as shown above, dragging the lines down to the end of the nail. This technique makes a very pretty French tip shape.
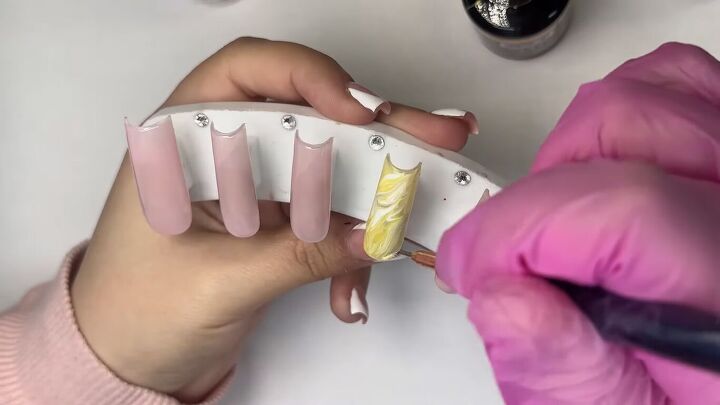
Then, round out the edges.
Tip: This is an easy method for creating the perfect French tip, however, it does take practice. That’s the great thing about gel polish; if you make a mistake, you can always erase with a bit of acetone, clean it up, and try again.

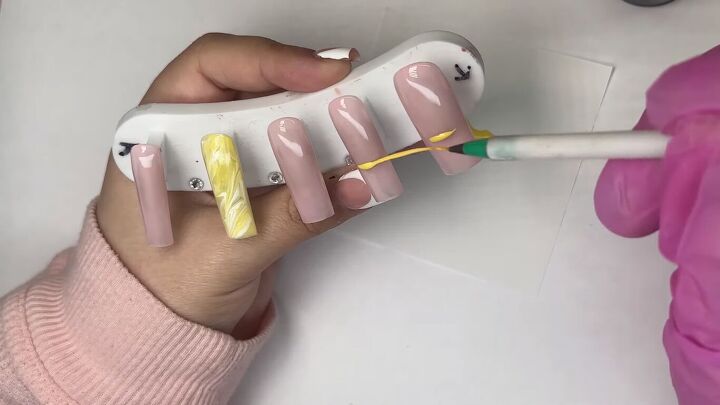
Fill in the rest of the tip with yellow. Use a thin brush for the corners, then the regular gel polish brush to fill in everything else.
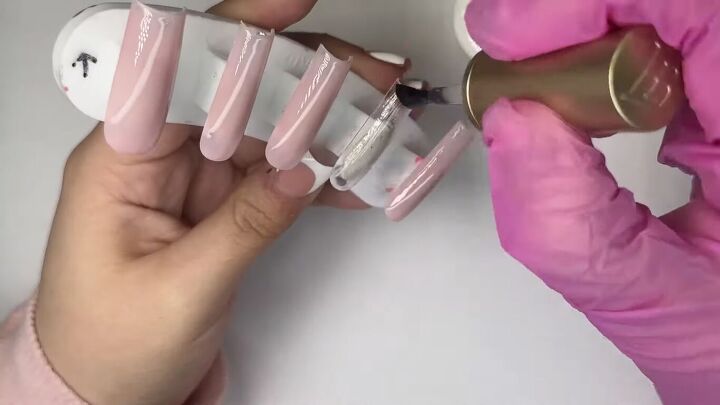
5. Apply top coats
My footage of this step got deleted, but before adding anything on top of the nails, be sure to apply a top coat. I applied a clear top coat to all nails, except the ring finger, which I gave a matte top coat.
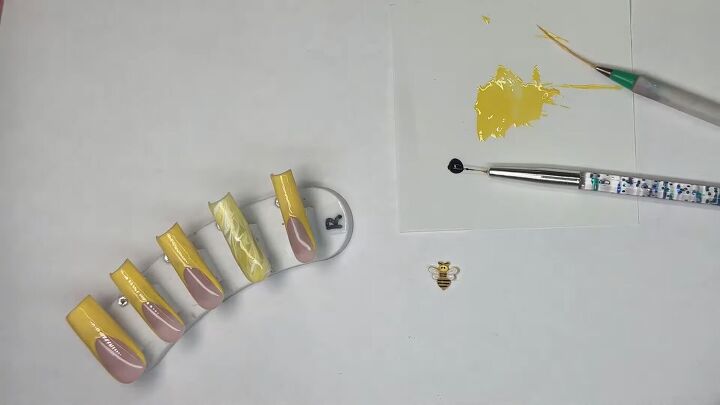
6. Add the bee design
Now, you’ll need a bee nail charm, a tiny bit of black gel polish, and a super-thin brush.
Stick the bee charm to the ring-finger nail with nail glue.
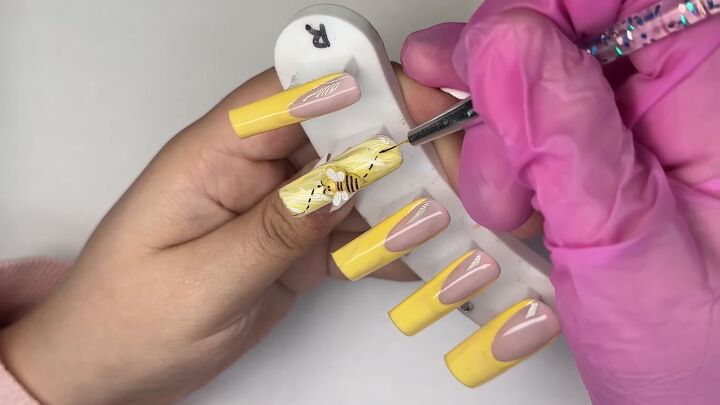
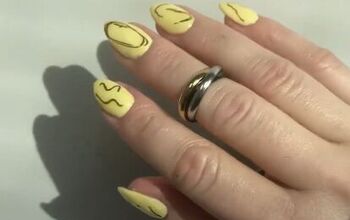
With the black gel polish and thin brush, make little lines to show the bee’s trail. This is so cute!
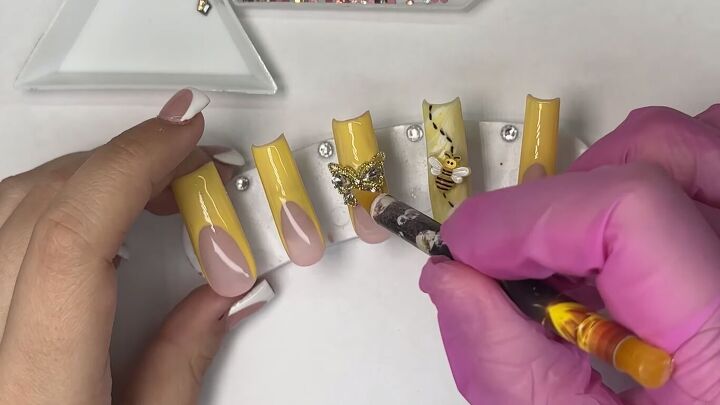
7. Add more charms & rhinestones
Finally, add other nail charms where you would like them to go.
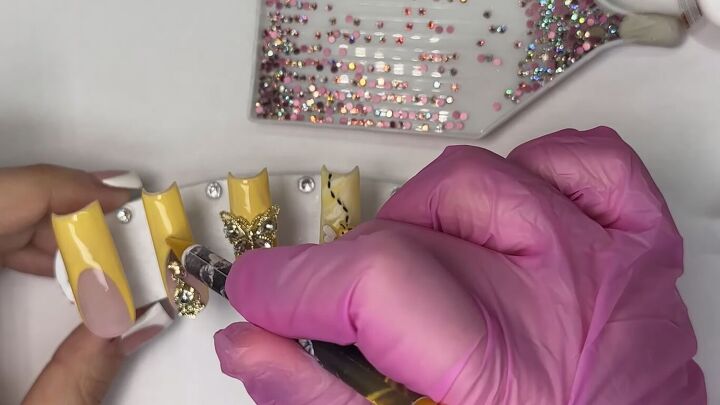
I like to add some small rhinestones in the gaps between the charms.
Tip: to get the nail glue to dry quickly, I use a Hurry-Up nail glue dryer spray.
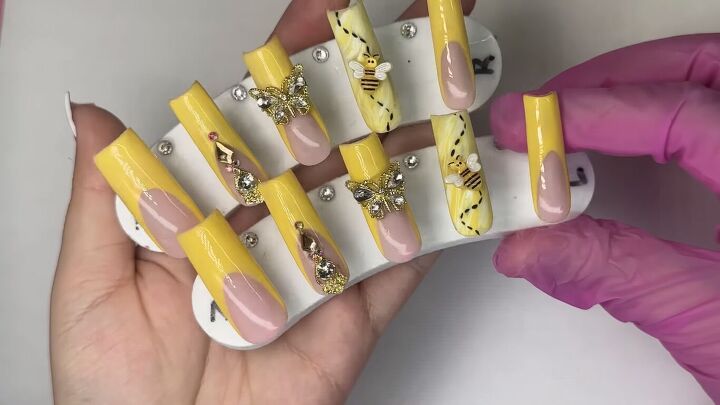
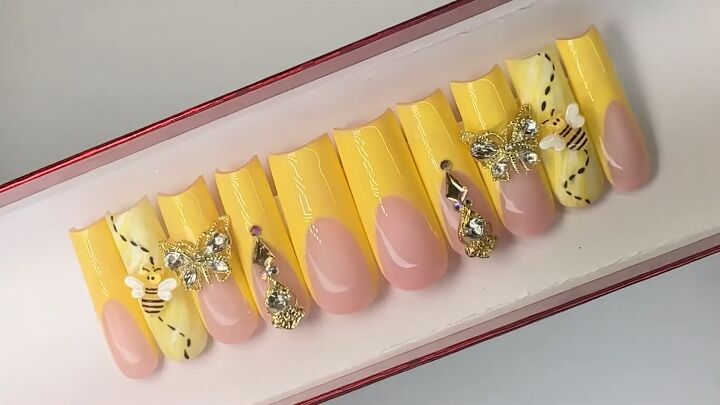
French-tip yellow nails
We are done, you guys! Whenever I finish a set, I like to go back in with a nail file to sharpen up the edges, but other than that, we’re good to go.
These French-tip yellow nails are giving me such spring and summer vibes. I’m in love with this yellow spring nails set - it’s so gorgeous. Let me know what you think in the comments below.
The author may collect a small share of sales from the links on this page.


Comments
Join the conversation