Thrift Store Wedding Dress Transformation: How I Altered My Own Gown

While everyone’s transforming sweaters and pants, I’m actually doing a thrift store wedding dress transformation! I bought this wedding dress for $8 from Goodwill and decided to spruce it up for my upcoming nuptials.
Yup, you read that right; I’ll be showing you how to alter a wedding dress yourself. If you’re curious to see this spectacular transformation, then keep reading.
Tools and materials:
- Wedding dress
- Petticoat
- Sewing machine
- Needle
- White thread
- Scissors
- Chalk
- Ruler
- Iron
- Elastic
- Square neckline top as a guide
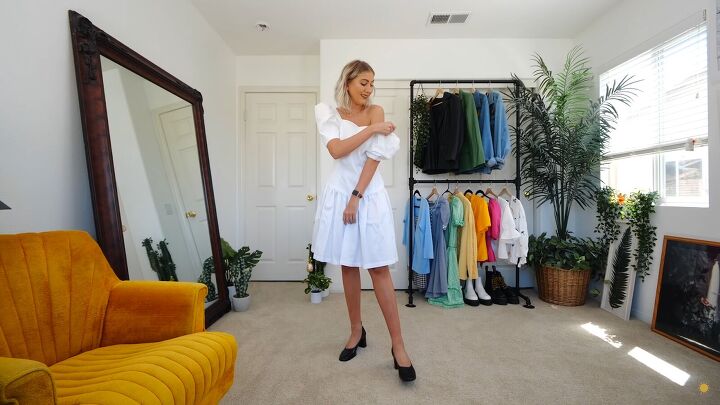
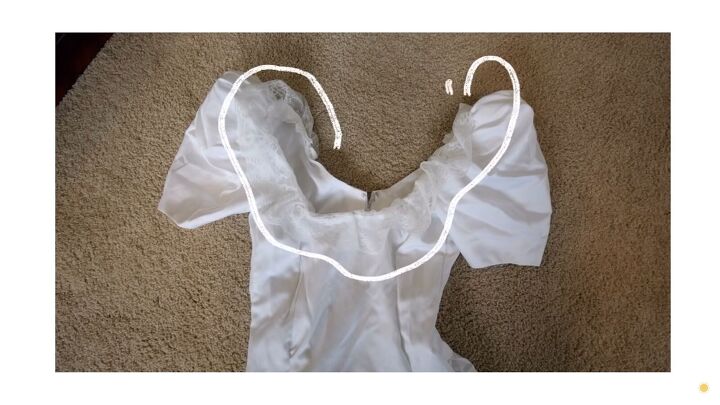
This is the wedding dress I picked up at the thrift store. I really loved the puffy sleeves, but the dress needed some serious alterations.
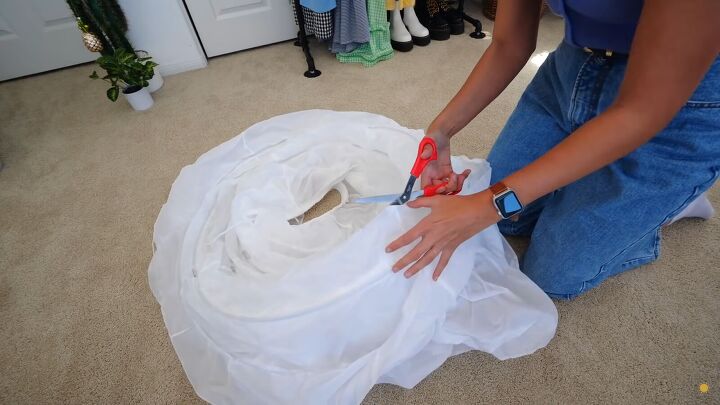
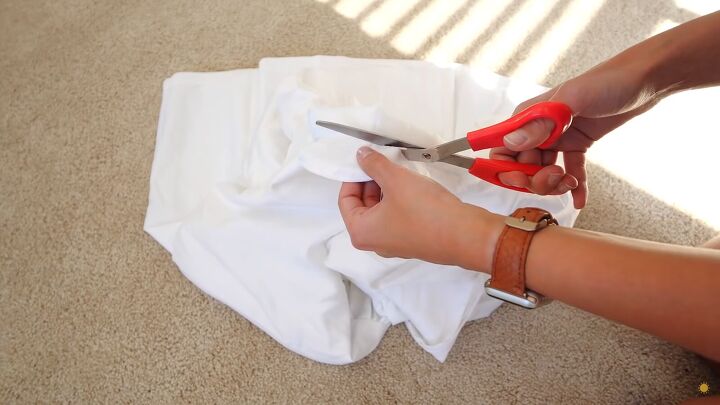
1. Cut the petticoat
I decided to put a petticoat under my wedding dress, but since it was long (and see-through), I had to cut it to a shorter length at the third layer.
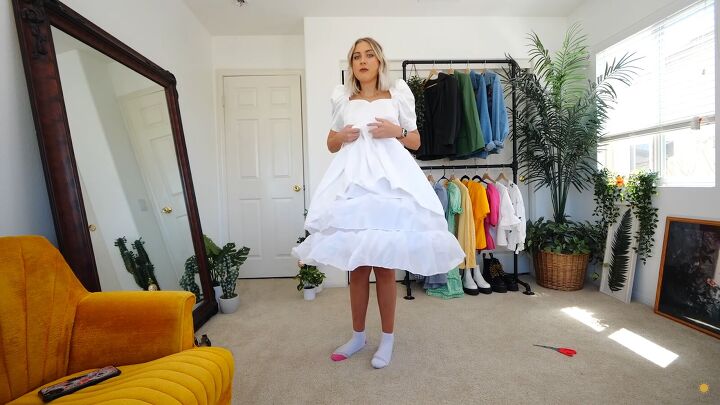
This was the result - a better length to work with. I wanted to show the middle layer ruffles, but I was pretty indecisive about leaving the original length or taking it in. I decided to leave the dress as is.
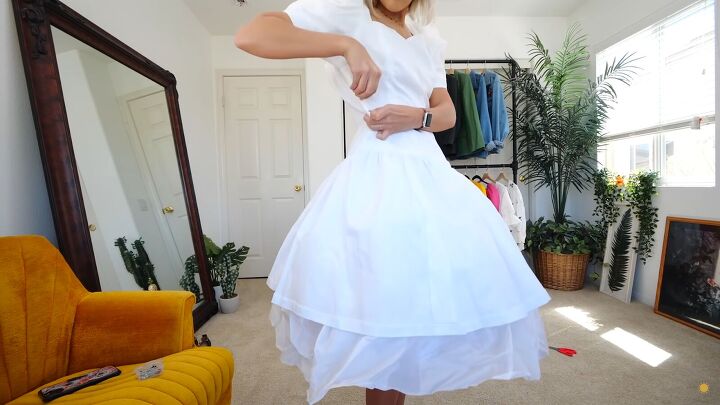
2. Take in the side seams
Next, I pinned the sides as the dress was super loose and definitely needed to be taken in. Luckily, my dress already had side seams, so I won’t be losing the structure when taking it in.
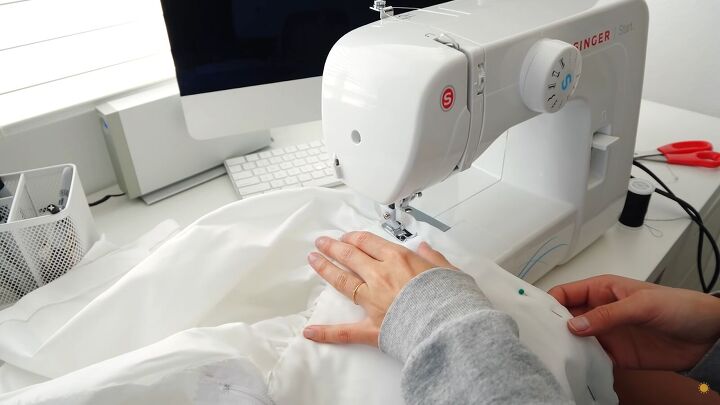
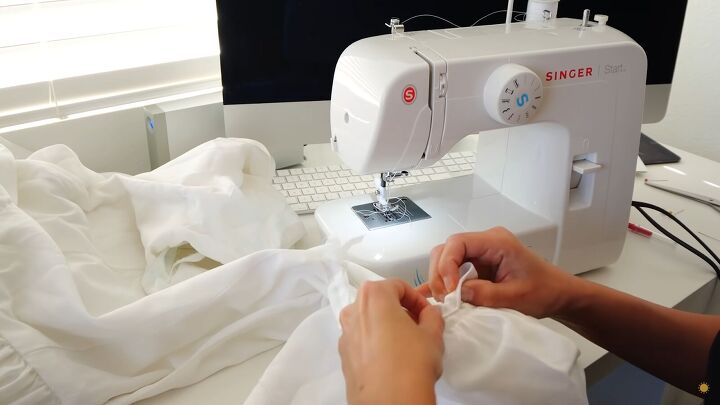
Here, I’m sewing the two layers in a straight line, following the pins as a guide. Turn the dress inside out so that the excess seam is on the inside.
Here’s how it looks after.
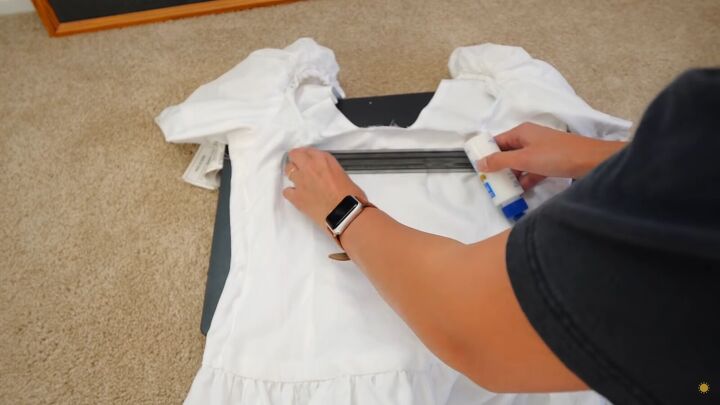
3. Modify the neckline
I really wasn’t feeling the sweetheart neckline; I wanted a more squared-off vibe. So, I took a top with a straight neckline and traced it onto my dress using pins.
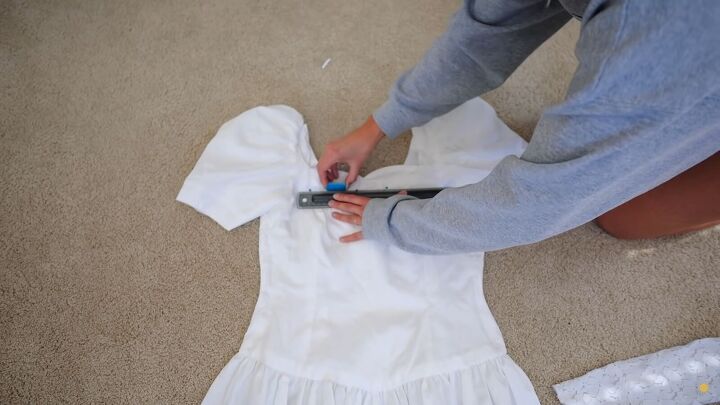
Next, create a straight line with a ruler.
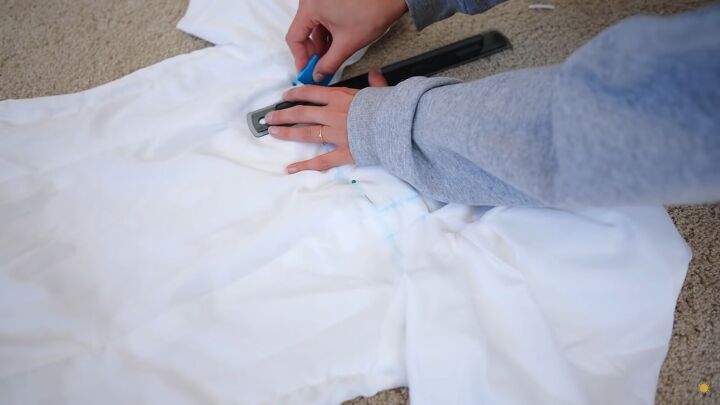
Because the neckline is pretty high, I also marked upward to the shoulder pieces.
After gathering courage for this step, I cut the line and pinned the excess fabric.
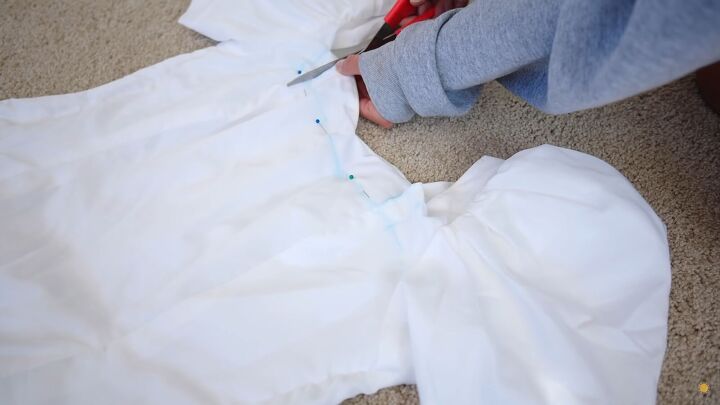
When doing modifications like this, it’s best to turn the dress right sides out to see your progress and what it will look like as you go.
I wanted a deeper neckline, so I repeated the above process and cut into the fabric more.
Once you’re satisfied, then go ahead and sew to secure!
Tip: Iron down the fabric before sewing.
I cut off the excess fabric so the neckline would lie flat.
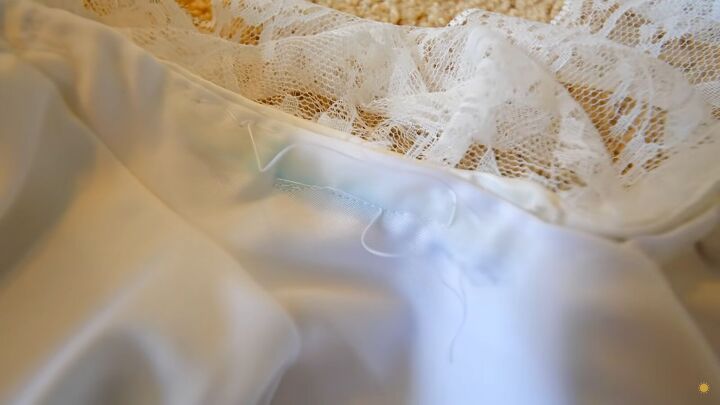
Changing the neckline of the wedding dress proved to be a little challenging, and you’ll soon see why. I used fabric glue to flatten the remaining panel of fabric from underneath.
After a day, I was left with a very uneven, blue-tinged neckline. I wanted an invisible seam, but I didn’t realize that blue chalk + liquid stitch + thin fabric was a recipe for disaster.

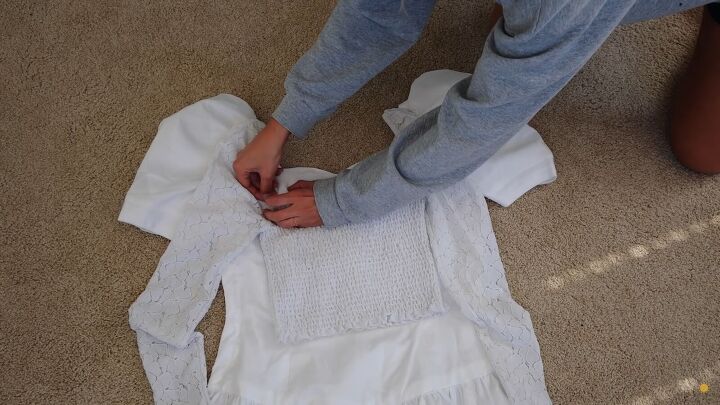
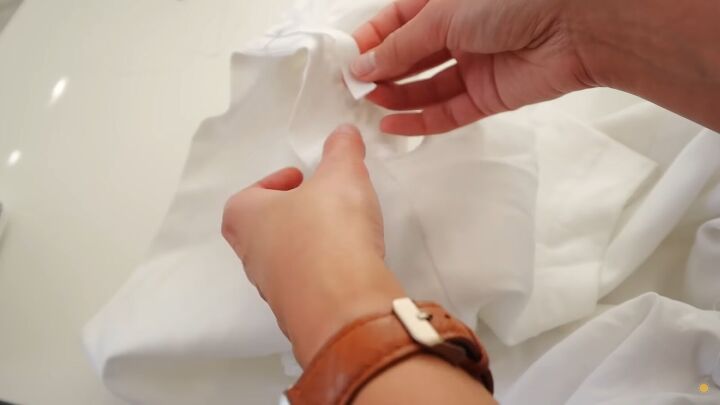
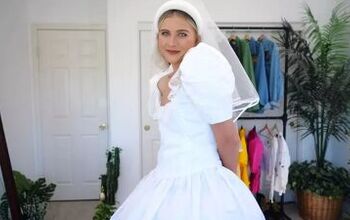
So, on my second attempt, I cut out a lace trim from a beautiful white blouse that I had.
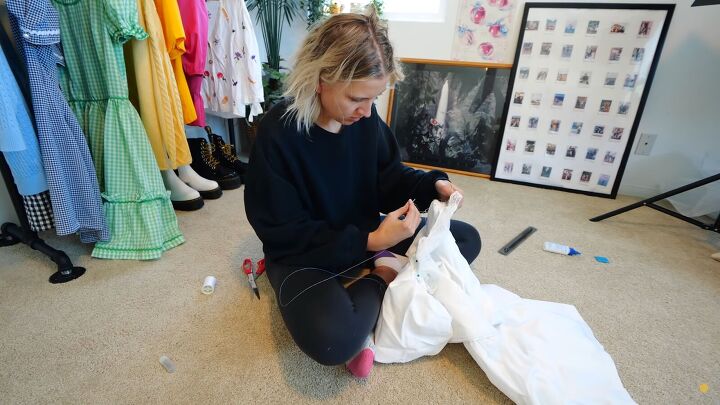
Next, I hand sewed it onto the neckline, and it actually turned out great!.
I started from the back of the left sleeve and worked my way to the back of the right sleeve.

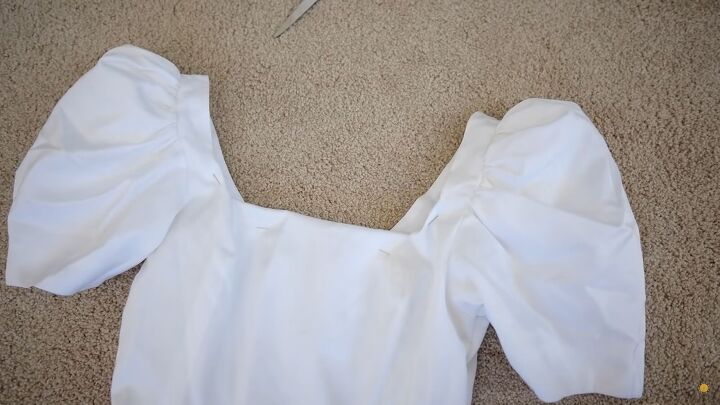
4. Add elastic to the sleeves
Now it’s time to add elastic to the sleeves so they hold better and more upright. For this step, measure the elastic around your shoulders, as shown.
Pin the elastic on the raw edge of the sleeve. The elastic is shorter than the length of the sleeve, so there will be a lovely ruffle effect, too.
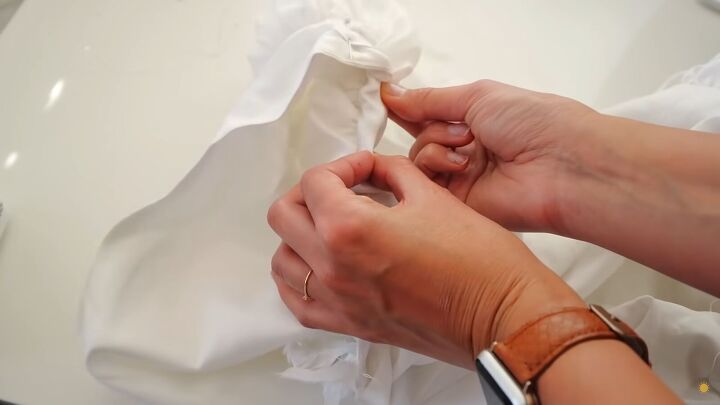
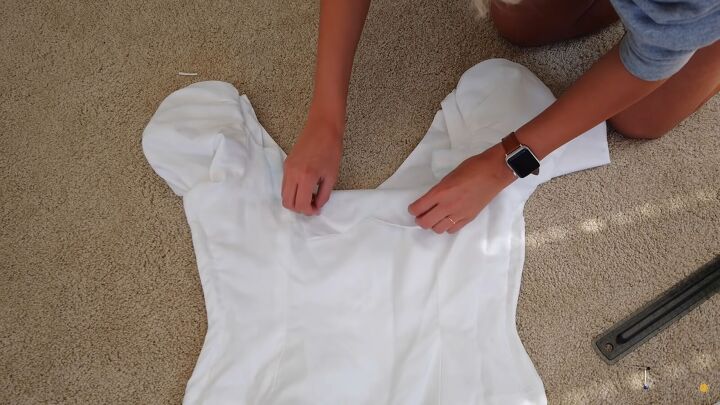
Fold the outer raw edge over the elastic to create a tunnel and sew to secure. Feed the elastic through the tunnel afterward.
Once the elastic is in the tunnel, sew both ends to the fabric and close the gaps.
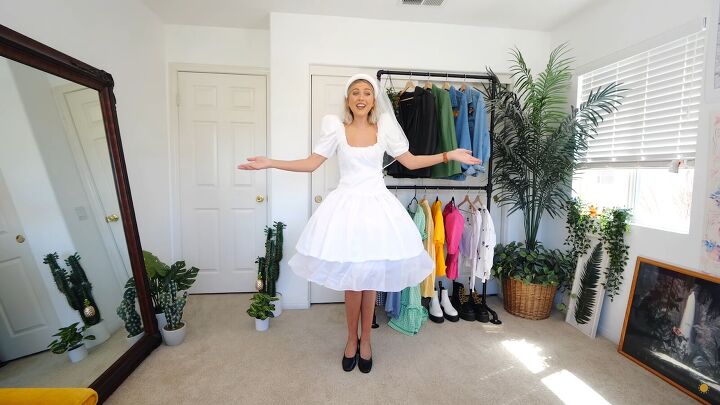
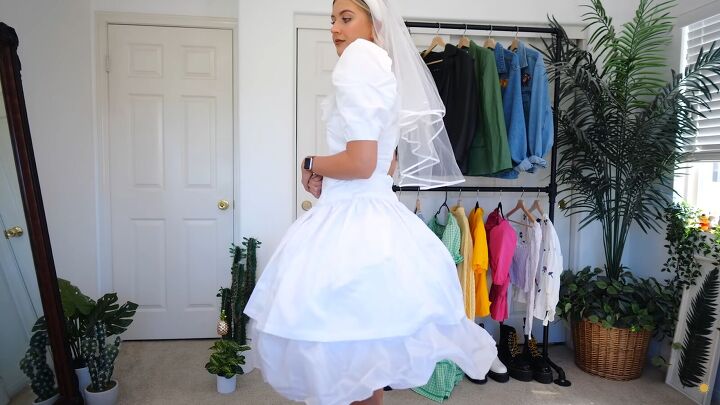
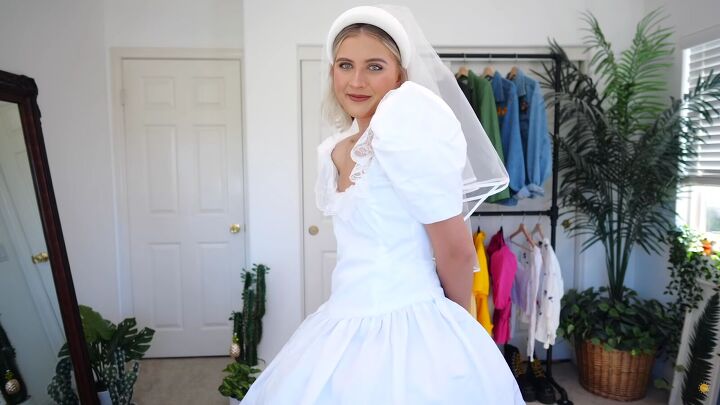
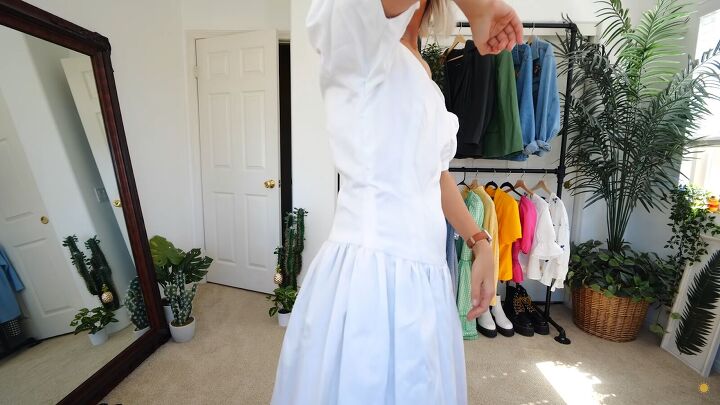
Thrift store wedding dress transformation
Drum roll… here’s the big reveal! This thrift store wedding dress transformation turned out better than I thought. (Watch the video from 11 minutes to see my fiancée's reaction!)
Yes, I had a major mishap with the fabric glue, but I decided to share the whole process with you, bloopers and all, to learn from my mistakes and not repeat the same when altering a wedding gown.
So, what do you think of these before and after wedding dress alterations? Let me know in the comments below!
How to clean a wedding dress
The author may collect a small share of sales from the links on this page.


Comments
Join the conversation
It was very well done, and a bride is beautiful from her face and her presentation and her happiness! I hate to see young people spend so much money on a wedding dress that you wear once and then it goes into an attic somewhere. When I got married in 1967, I borrowed my cousins wedding dress, and then another friend wore it after me. I never was unhappy with the fact that I could not store a wedding dress that I paid $3000 for in an attic!
Fabulous! You made an originally pretty dress into one that is super fashionable! Best wishes to you and your fiance for married happiness.