How to Make a Fun DIY T-Shirt Dress Out of 4 Thrifted Men's T-Shirts

Today, I'm going to show you how to make a DIY t-shirt dress. This funky t-shirt dress is made out of not one, not two or three, but four oversized men's t-shirts I got from the thrift store!
I cut and pasted them together for a fun patchwork effect, and the result looks great. Plus, it's such an easy DIY to do, especially for beginner sewers.
Let's get started with this tutorial on how to make a dress from old t-shirts!
Tools and materials:
- Oversized t-shirts
- Sewing machine
- Scissors
- Pins
- Measuring tape
- Iron
1. Choosing the t-shirts
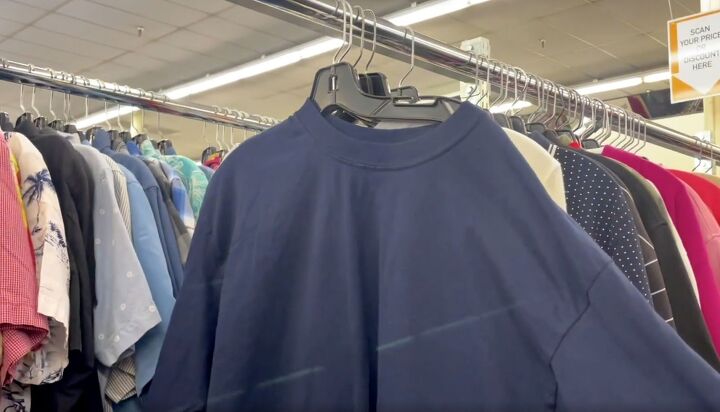
To create my DIY t-shirt dress, the first thing I did was to pick out some t-shirts that were a little bit oversized.
I checked in the men's section of the thrift store and I picked out some different colors that would go well together: white, gray, black, and pale yellow.

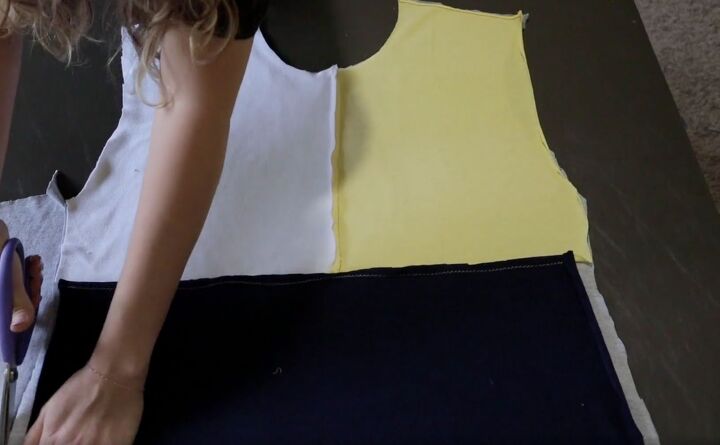
After getting my t-shirts, the next thing I needed to do was figure out the placement of everything so that I could start cutting.
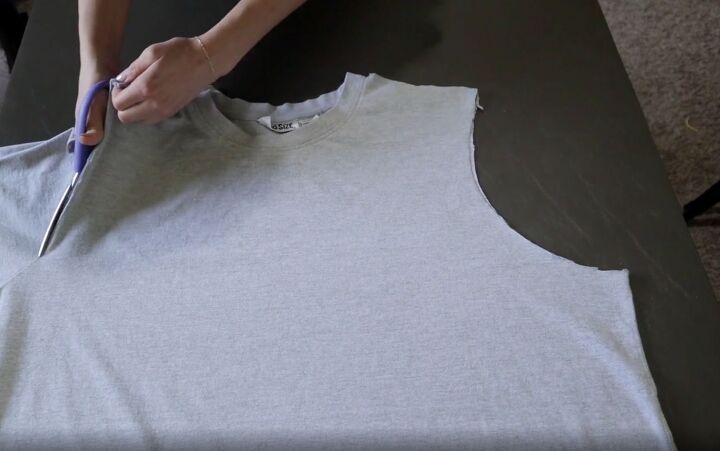
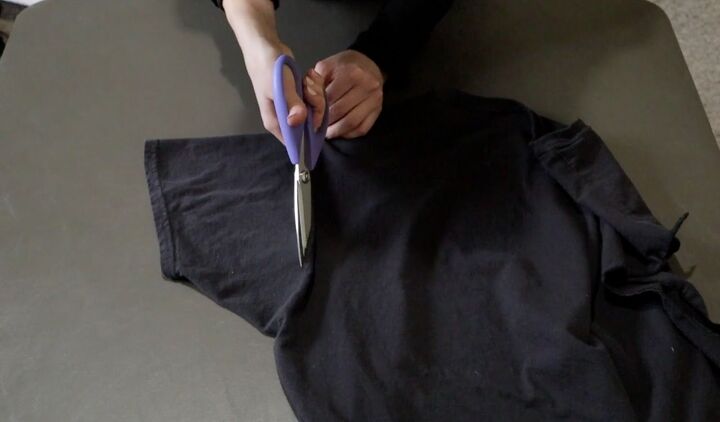
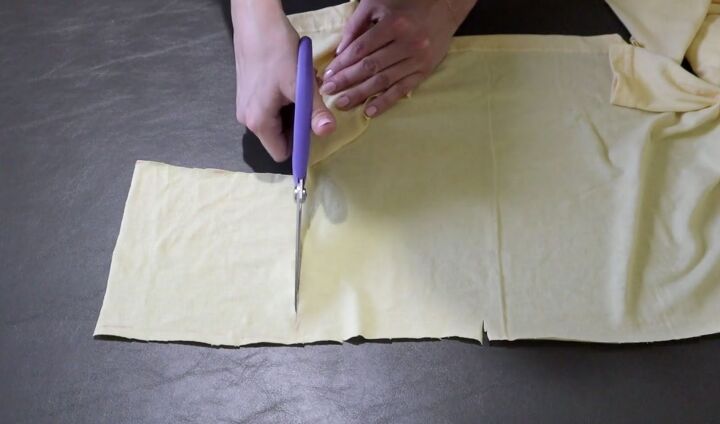
2. Start cutting
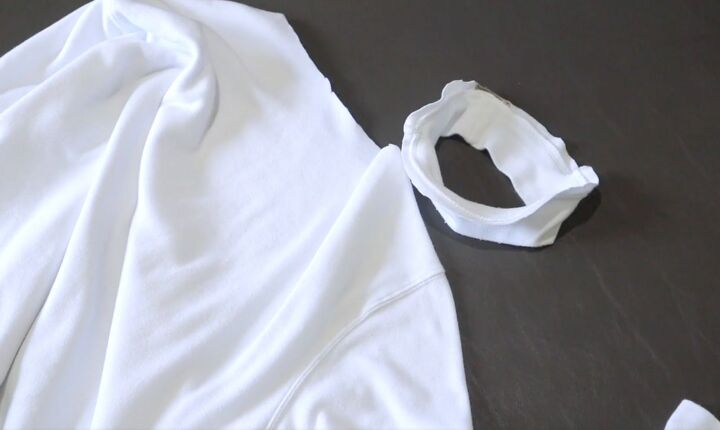
I started by cutting the white turtleneck collar off and I saved it for later.
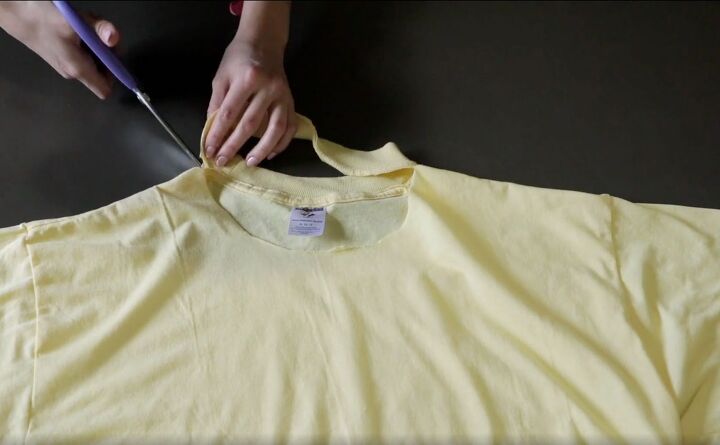
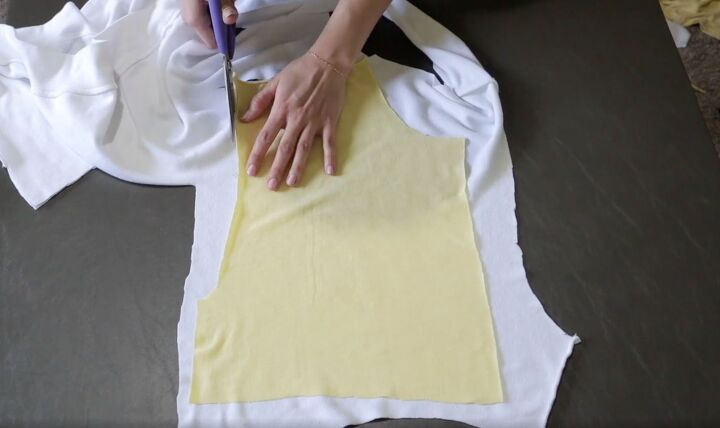
Next, I cut the yellow collar off as well as the sleeves.
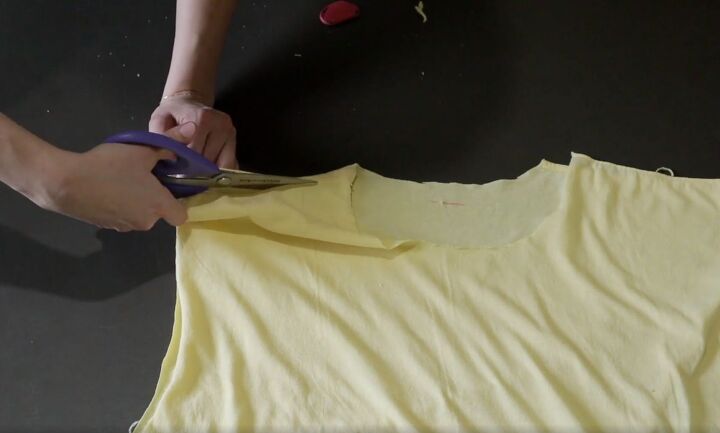
I also cut the shoulder seams and down the side seams.
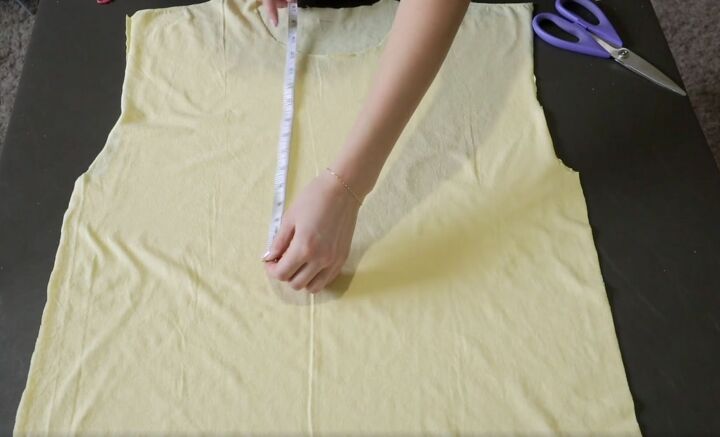
Then, I measured about 13 inches down from the neckline to the waistline. This was going to be a front piece on the dress.
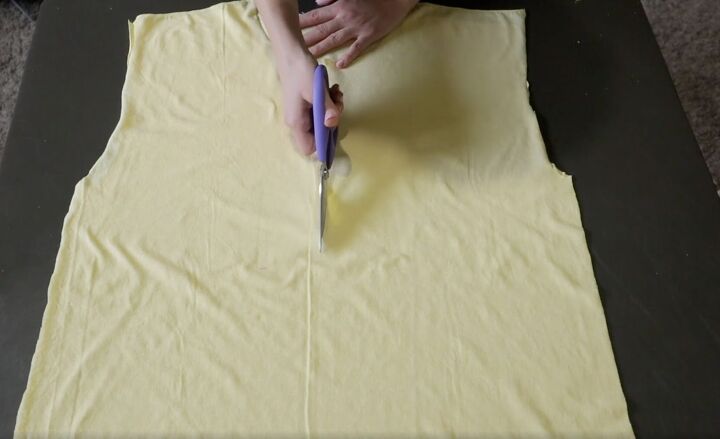
I marked the center point and cut straight down the center,
Then, I across to where my waistline was.
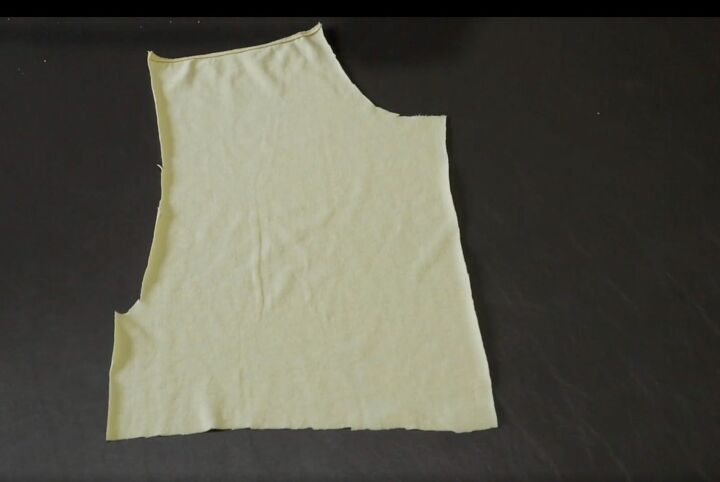
That created the front bodice for the DIY t-shirt dress.
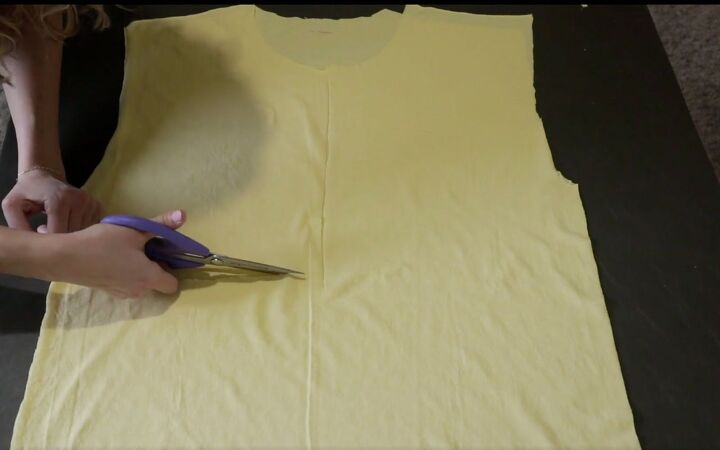
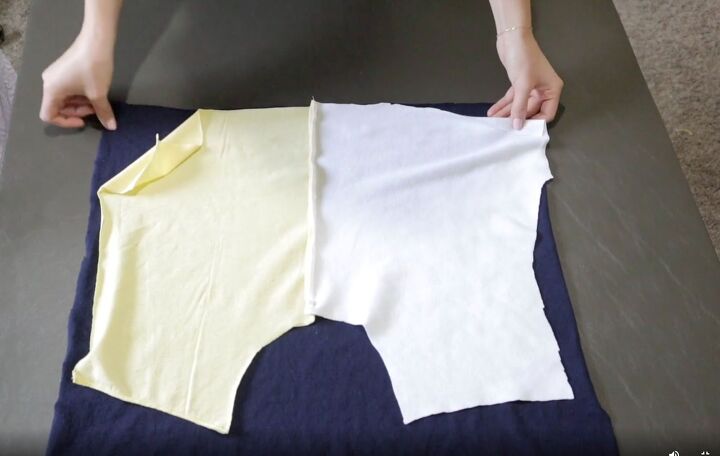
I then cut the same exact piece out of the white shirt, using the yellow piece as a pattern.
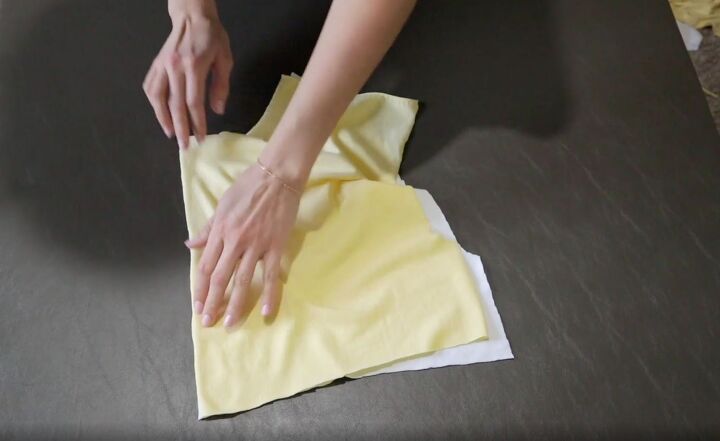
Now that I had my two front bodice pieces, I connected them at the center and sewed them together.
3. Make the bottom of the t-shirt dress
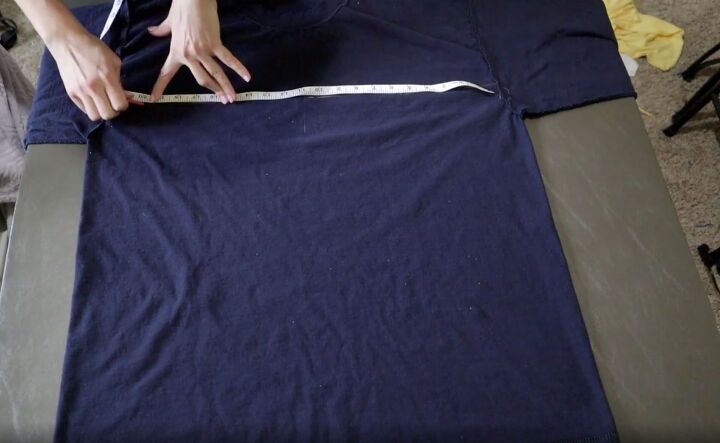
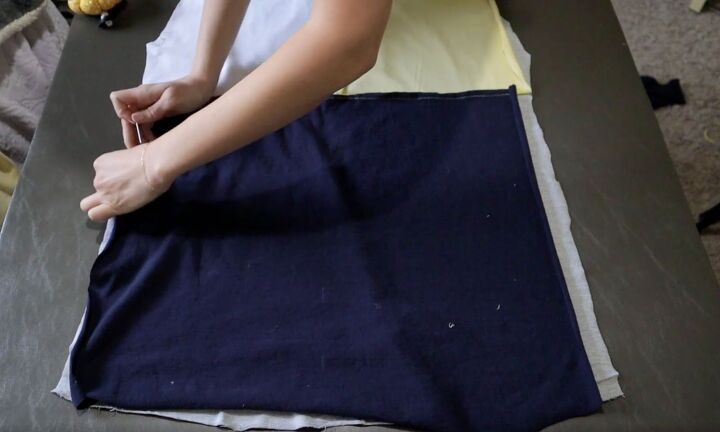
Next it was time to cut the front skirt piece. I measured the same width as the top bodice, so that the top and the bottom match in width, then cut a simple rectangle.
Then, I pinned the top to the bottom at the waistline, right sides together, and sewed the seam.
4. Make the back of the t-shirt dress
The back of the dress came next. I used the gray t-shirt that was super long for that. I wanted it to cover the whole length of the back side of my body, so I cut the sleeves off, the side seams... you know the drill.

Then I placed the front of my dress on top and cut the back so it lined up perfectly.
I had to trim the front skirt piece a little bit to match the back, but it still ended up being the perfect length for me.
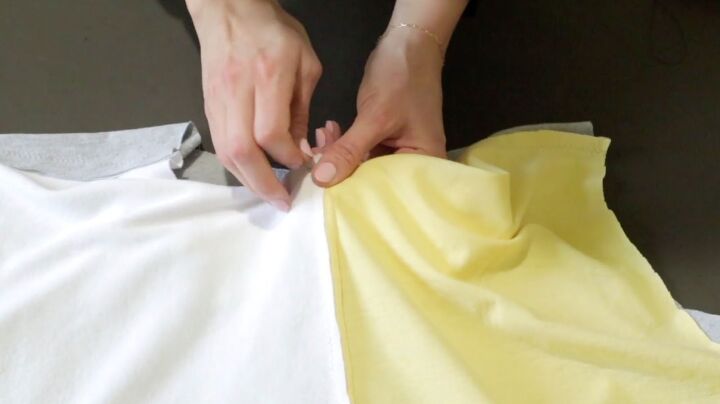
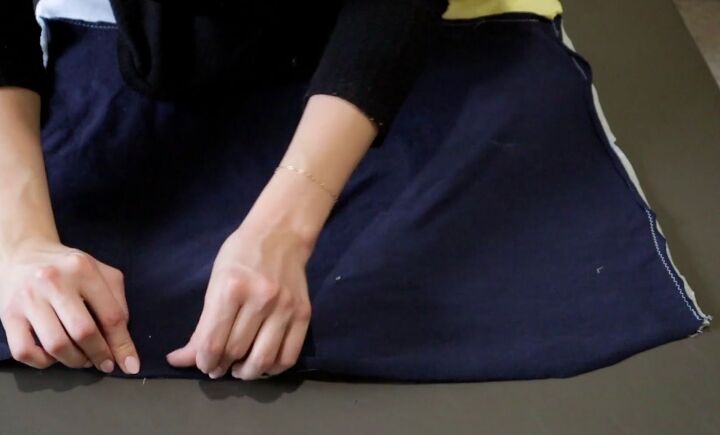
5. Sew the side seams
With everything cut, I pinned the side and shoulder seams, right sides together, and sewed them. This connected the front to the back.

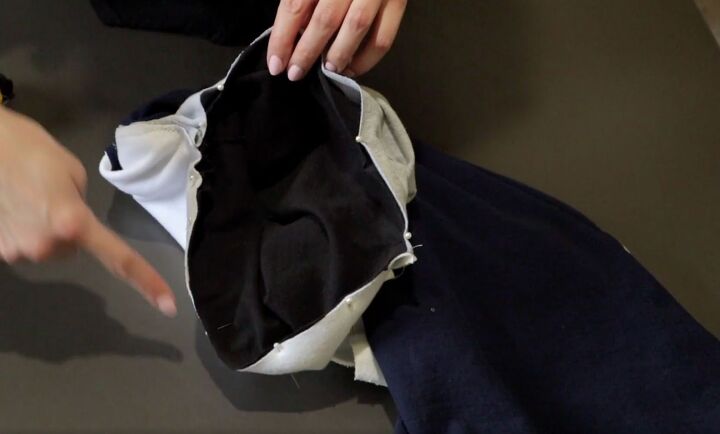
6. Attach the collar
Now, it was time to attach the cute little collar. I started by marking the center and the side points, and matching them up on the dress.
I pinned the collar to the inside of the dress, right sides together, first at the center and shoulder seams, then all around. Next, I sewed it down.
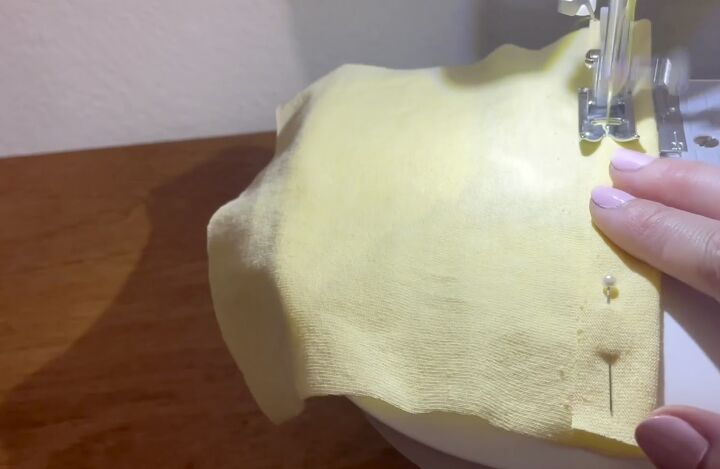
7. Add the sleeves
For the sleeves, I cut the sleeves off of the black shirt and attached them to my dress.
I placed the sleeves inside the dress, right sides together, pinned them all around, then sewed down.
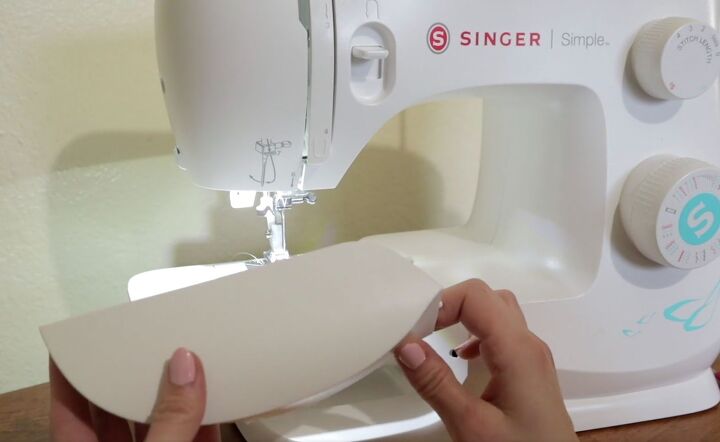
When you are sewing around a smaller circle like armholes, I find it easiest to remove the little detachable piece.
8. Hem
All that was left now was to hem the bottom of the dress. I folded it up, pinned it down,
9. Make a pocket (optional)
For a finishing touch, I took a piece of scrap fabric, cut a square 6 inches by 6 inches, and made a little pocket out of it.
I folded the top edge down by about an inch so that was first and sewed it in place.
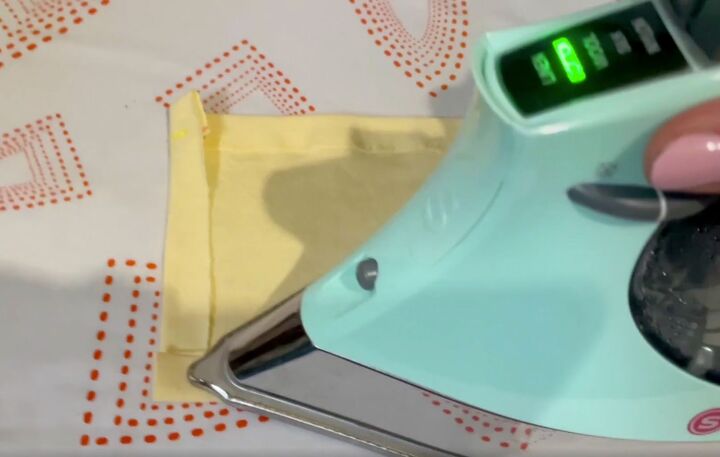
Then I pressed the other remaining three edges down with my iron.
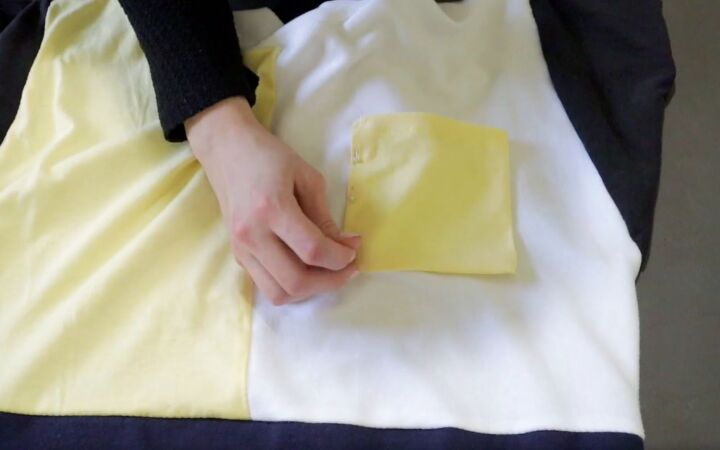
I placed the pocket on the dress and pinned it down, then sewed the three edges and made sure to leave the top open.
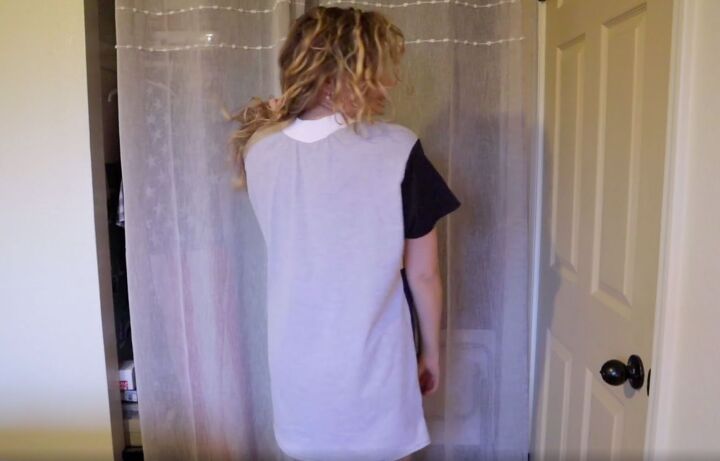

DIY t-shirt dress tutorial
Here's how my DIY t-shirt dress turned out. I love the colors and the collar too. The pocket is super cute, and it's one of a kind.
This was a really fun way to make a unique clothing piece and do a fun upcycle. I hope you enjoyed this DIY t-shirt dress tutorial. Let me know what you think in the comments!
The author may collect a small share of sales from the links on this page.


Comments
Join the conversation