Check Out This Oversized Blazer Thrift Flip

I adore fashion DIY projects and in my books, nothing beats a good thrift flip. I totally refashioned a men’s blazer and created the most amazing oversized women’s blazer to fit the dark academia trend. This new piece is absolutely gorgeous and makes the perfect statement. The blazer can be styled in so many different ways and has become a closet favorite for my new dark academia style. If you want to learn all the tips and tricks to this fun and easy thrift flip, my tutorial is for you! Follow my step-by-step guide and get started on this incredible DIY.
Tools and materials:
- Seam ripper
- Pins
- Sewing machine
- Needle and thread
- Measuring tape
- Chalk

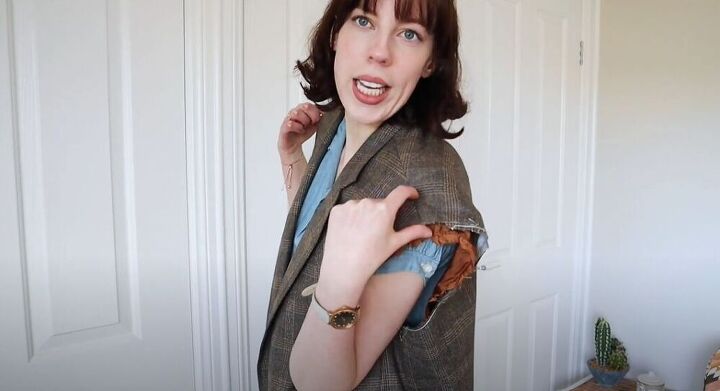
This men’s blazer would definitely need a whole lot of work to make it fit perfectly! I couldn’t wait to get started!
To kick off this thrift flip, I unpicked the sleeves and lining so that I would have a base to work from.
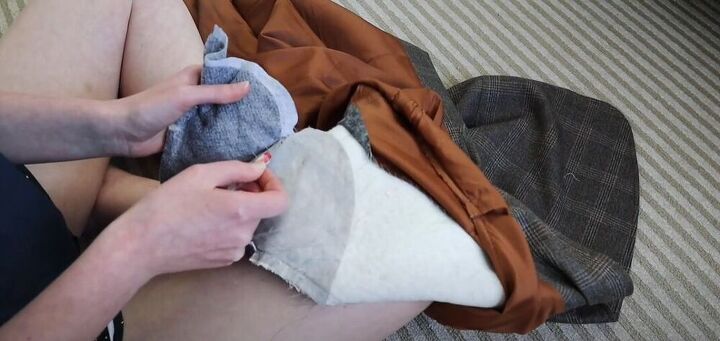
I made sure to remove the shoulder pads from the blazer as well. I had just started and I already couldn’t wait to see the end result!
Next, I tried on the sleeves so that I would know exactly how much I needed to take them in. I still wanted to keep with the oversized trend and have them big enough to layer under in the winter or fall. I used pins to mark where I wanted to take it in.
I then hopped on over to my sewing machine and took the sleeves in including the lining fabric that I had unpicked. Then I reattached the lining and plaid fabric at the wrist. I didn’t need to shorten the sleeves at all which made my job a whole lot easier!
Next, I had to figure out how much to take from the shoulders so that they would be a little less broad. I pinned the shoulders and got ready to get sewing.
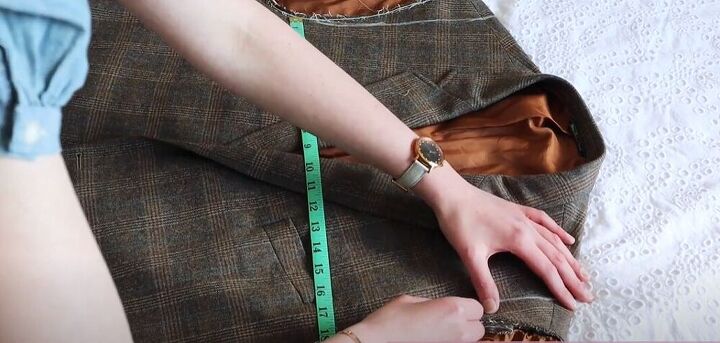
I laid down the blazer and used chalk to mark where I would be making the changes. I really wanted to make sure the blazer would look and feel professional after the alterations.
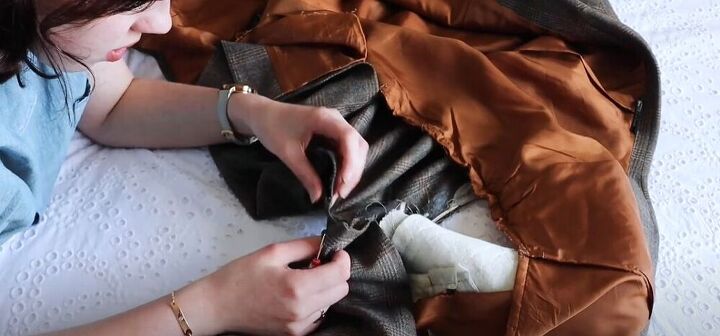
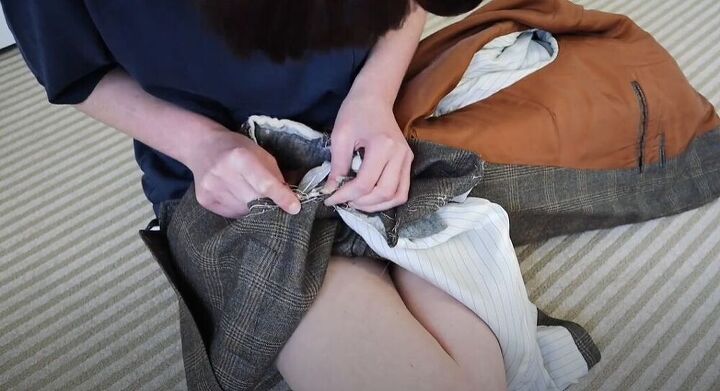
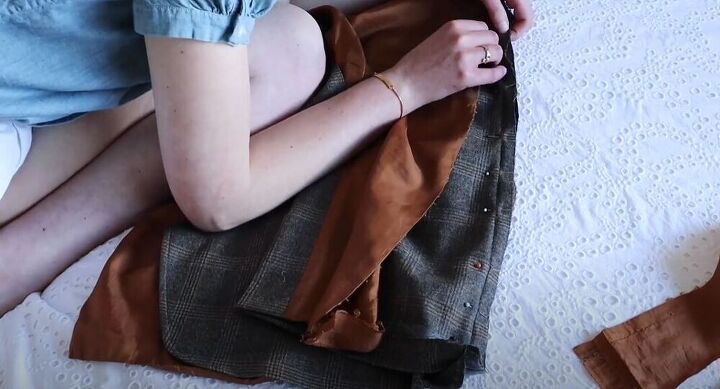
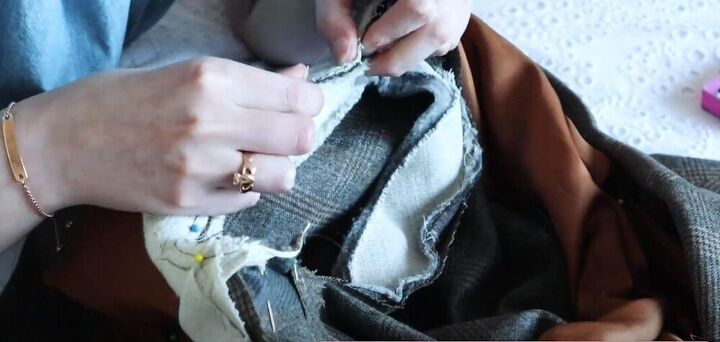
The trickiest part of this blazer transformation was definitely taking it in on the sides. I started by unpicking the inner and outer seams of the jacket. I made sure that I wouldn't mess with the pockets on the outer fabric.
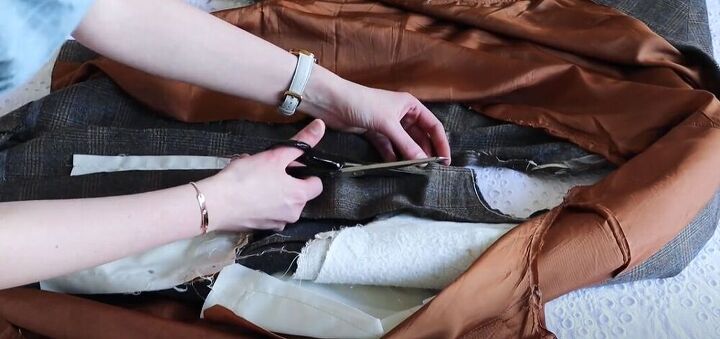
I cut the excess fabric, on the side of the blazer, very carefully.
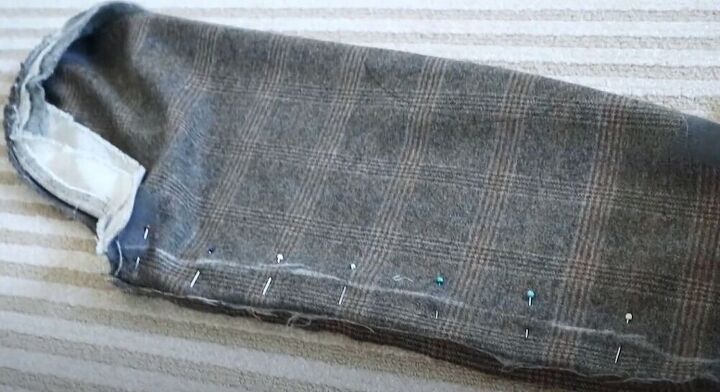
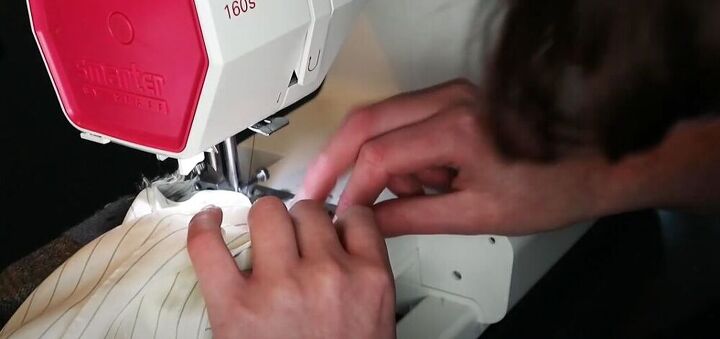
Next, I pinned the fabric together to close the gap and take in the blazer. I hopped back over to my sewing machine and sewed along my pinned markings. The blazer was looking so good and I couldn’t wait to finish with it.
One of the last steps was to reattach the sleeves. I pinned them in place and then sewed them to the blazer.
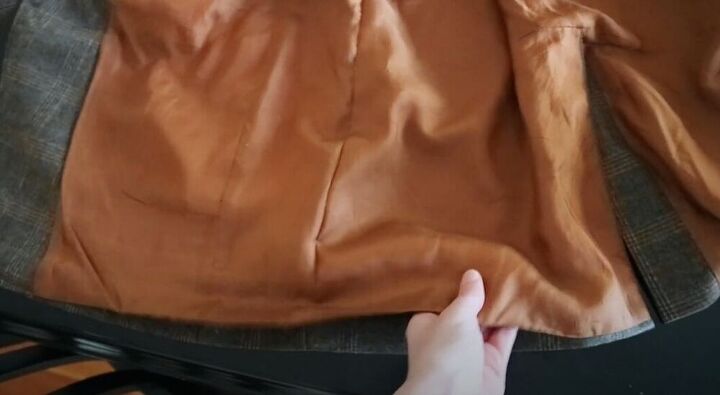
I finished up with the sleeves and then sewed the lining I had cut back together. To give this blazer the perfect, professional finish, I hemmed the bottom of the lining and sewed it.

I am so obsessed with this oversized blazer! How would you style this amazing piece? Let me know in the comments below!
The author may collect a small share of sales from the links on this page.


Comments
Join the conversation
I think skinny pants or jeans, lace up boots and roled up jeans and a tight v-neck tee.
You're small so go roomy on the exterior (jacket), tight underneath and on legs.
BEAUTIFUL!