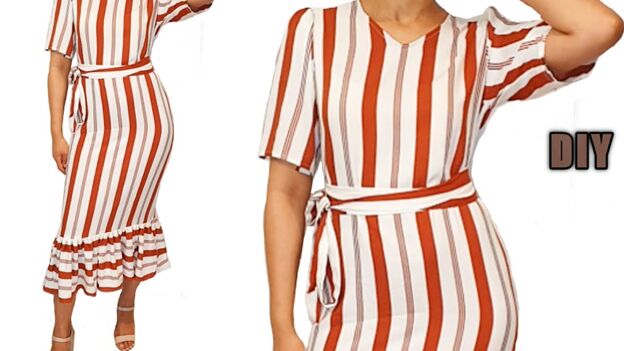
Basic Dress

Choose a fabric you love and then follow this tutorial to learn how to make a basic long dress with a pretty ruffle bottom.
Tools and materials:
- Fabric
- Pins
- Thread
- Scissors
- Ruler
- Fabric marker
- Sewing machine
Create pattern pieces
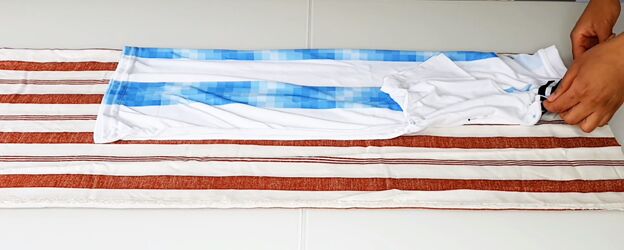
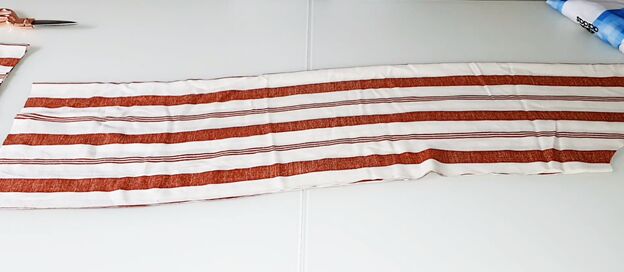
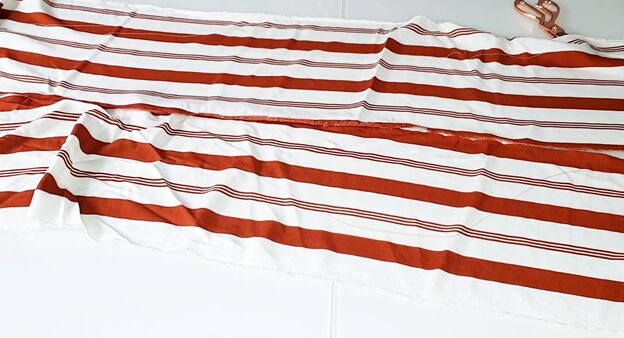
Fold your dress fabric in half lengthwise, and then again in half lengthwise.
Use a loose-fitting top for your pattern. Fold the top in half lengthwise and align the fold of the top with the fold of the fabric. Fold the sleeve on top and pin it in place along the armhole curve. Now, cut all the way around the top and side of the shirt with extra room for a seam allowance, but do not cut along the bottom of the shirt. When you get to the bottom of the shirt on the side, continue cutting straight down the fabric to get the length you want your dress to be. Remember, when estimating your length for cutting, that you will be adding a 10-inch ruffle to the bottom of the dress.
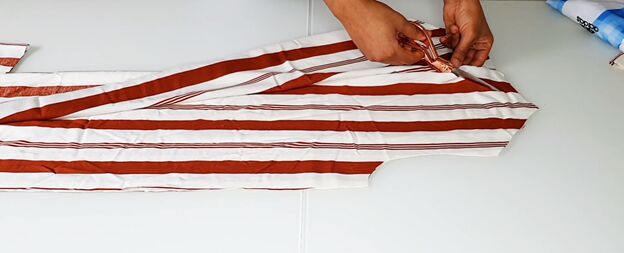
Create a V-Neck
Measure six inches down from the center-front of the neckline. Cut down to that point and then cut two diagonal lines from the bottom of that cut to the top of each shoulder on the front piece only. That will create a V-neck.
Pin the right side of the dress pieces together at the shoulders, so it’s ready to sew.

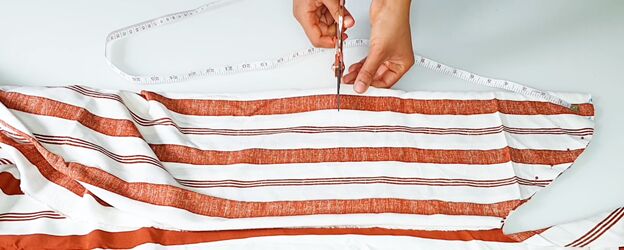
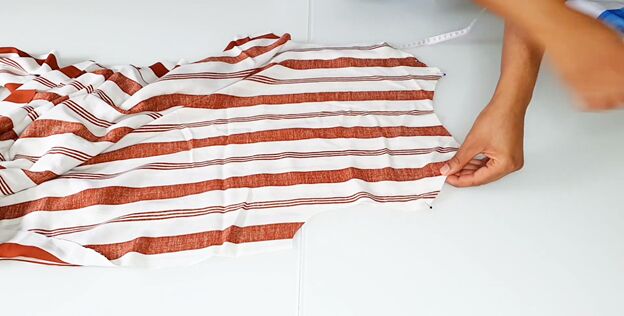
Cut the sleeves
Fold your fabric in half, and half again as you did for the body of the dress. Use one sleeve of your shirt as a pattern. Position the top of the sleeve along the fold of the fabric. Use pins or a fabric marker to trace the line of the armhole curve of your shirt sleeve onto the fabric. Cut the fabric along the armhole curve line. Now, measure the length of the sleeve and mark that on the fabric, measuring from the start of the curve on the folded edge. Cut the rest of the sleeve shape from the fabric.
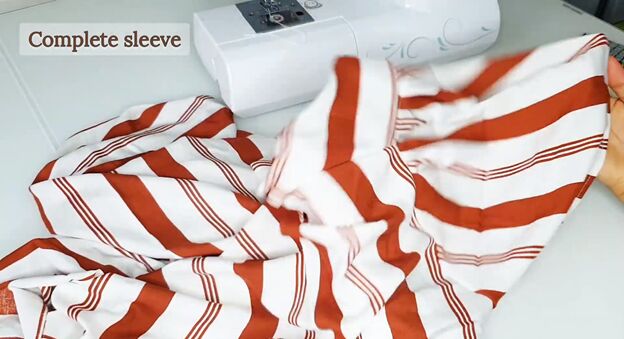
Trim the corners of the armhole at the top to mark the center of the sleeve. You will now have two complete sleeves cut.
Assemble the dress
Stitch the dress shoulder seams. Open the dress to expose the armholes and set aside.
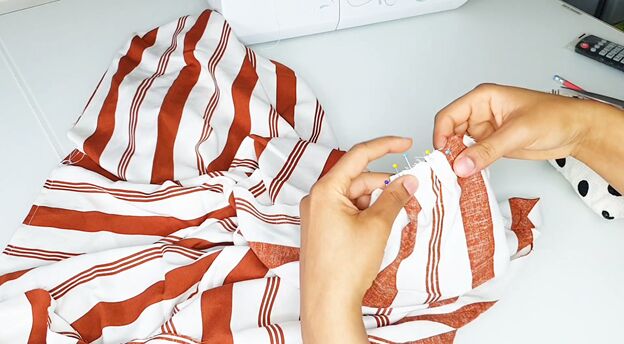
Now, hem the bottom of your sleeves. Then position one sleeve on a dress armhole, right sides together, and pin the sleeve to the dress starting in the middle and working to the edge on one side, and then from the other edge to the middle on the other side. That way, if you have any excess material, either on the sleeve or the dress body, you can gather it in the middle of the sleeve. Sew the sleeve in place. Repeat for the other sleeve.
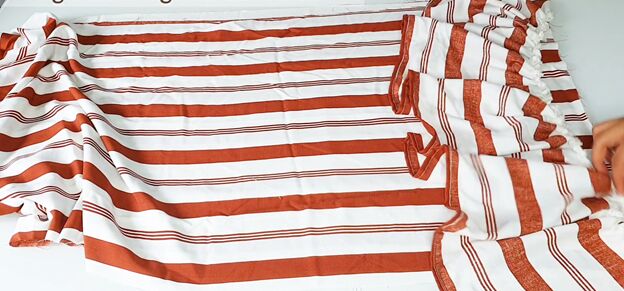
Make the ruffles.
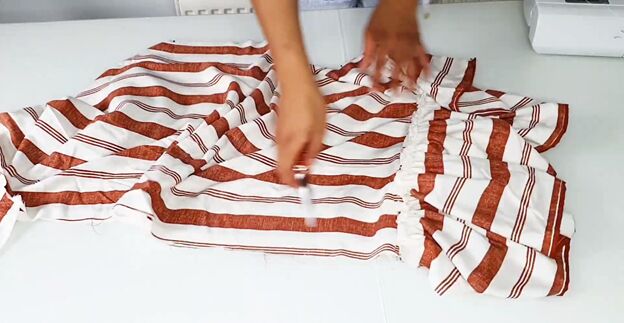
Measure and cut two 50-inch x 10-inch strips of fabric for two ruffle pieces. Hem the bottom of the ruffle on one edge, and on the other edge sew a gathering stitch. Gather the ruffle edge to fit the bottom of the dress. Repeat for the other ruffle piece.
Pin one ruffle piece to each side of the dress, right sides together, and sew to attach.
Sew the side seams
Pin the front and back of the dress together, right sides facing and sew the side seams.
Make the neckline:
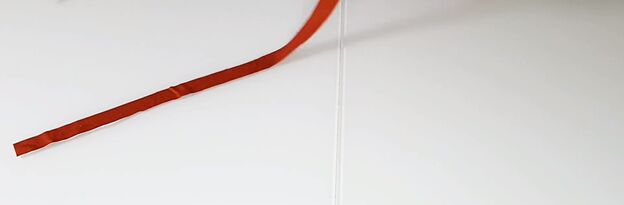
Cut a one-inch-wide strip of fabric to use for the neckline. Pin the strip all the way around the neckline of the dress, right sides together and stitch it close to the edge. Now, fold the strip into the neckline twice and secure it with a top stitch.
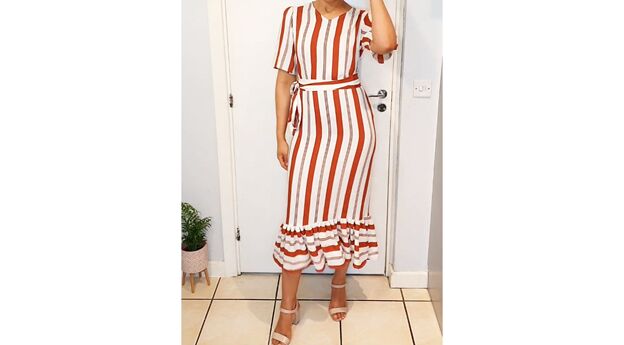
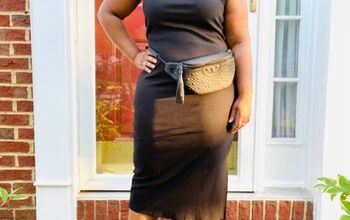
Here’s the finished dress. If you want to add a belt like I did, follow the instructions in the link below the video. Thanks for watching, and remember to comment, like, share and subscribe!
The author may collect a small share of sales from the links on this page.


Comments
Join the conversation
Very cute. What type of fabric did you use?
So cute