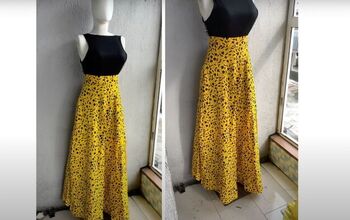
How to Make a DIY Circle Dress With a 180-Degree Flare Skirt

This circle skirt dress is a true classic with its snug top and half circle skirt swinging around. My DIY circle skirt pattern or half circle dress pattern isn’t too challenging to make if you have basic sewing skills.
This tutorial serves more as an inspiration rather than a direct how-to for the turtleneck, dart placement, zipper placement, and applique. Those instructions are not featured in this tutorial.
Here is a basic way to make a circle skirt dress so you can impress everyone. Let’s get started making a flared dress.
Tools and materials:
- 3 yards crepe fabric
- Tailor’s chalk
- Measuring tape/ruler
- Scissors
- Sewing machine
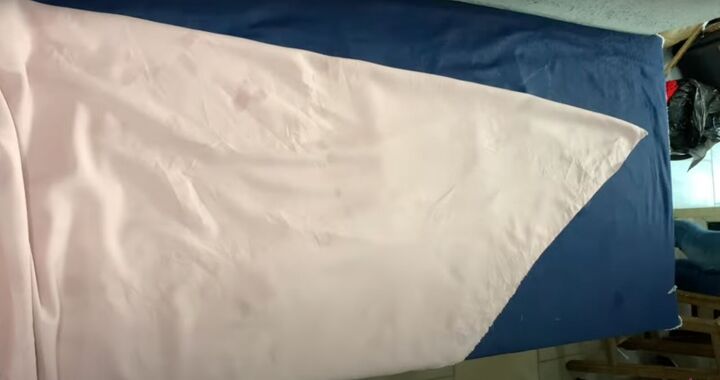
1. Make the flare skirt pattern
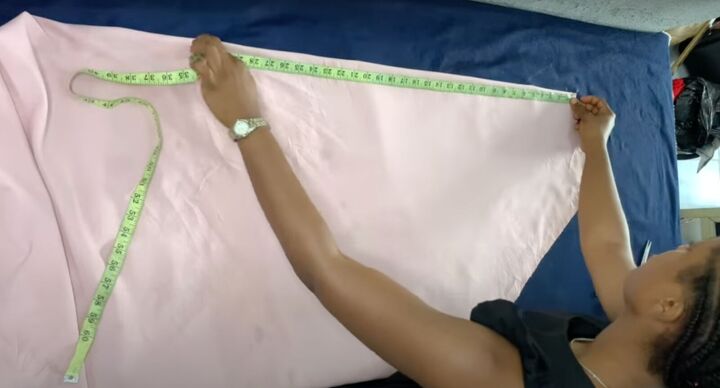
Fold the fabric in half diagonally. Divide your waist measurement by 4.
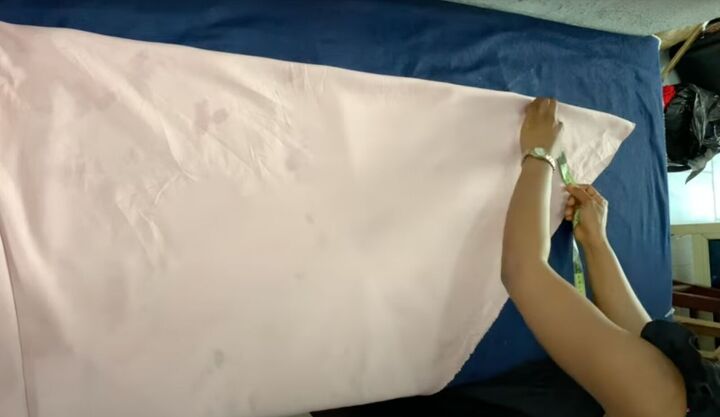
Locate this measurement on the measuring tape and lay it across the fabric near the point at the top. Once the measuring tape and the fabric align to your quarter measurement, mark across the fabric.
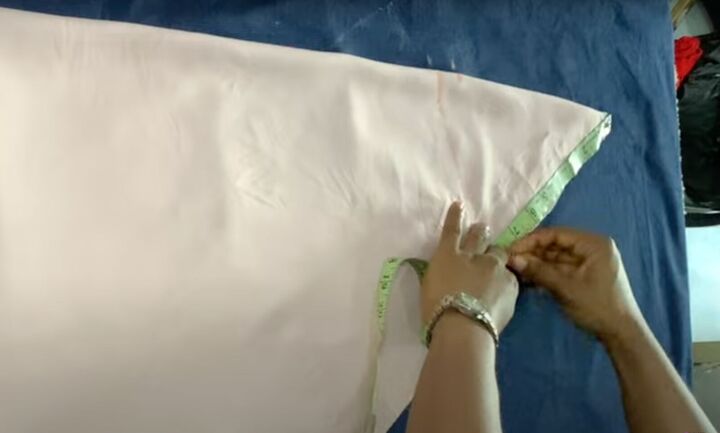
Confirm this measurement from the point down across the span of the fabric to the marked line.
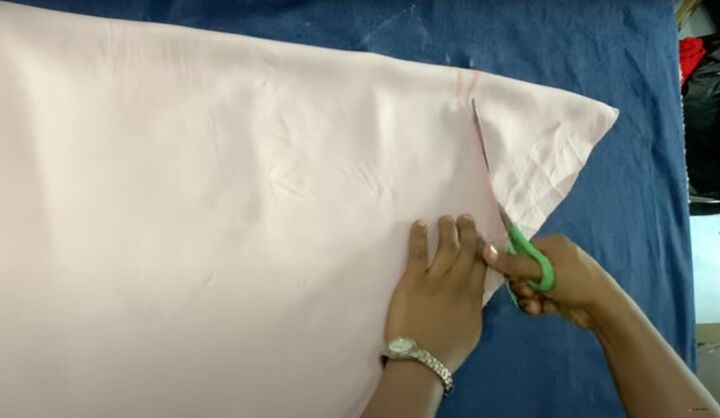
Draw a slight upward curve. Cut the waistline.
Mark the length of the skirt from the waist. Be mindful of the length of the bodice and skirt.
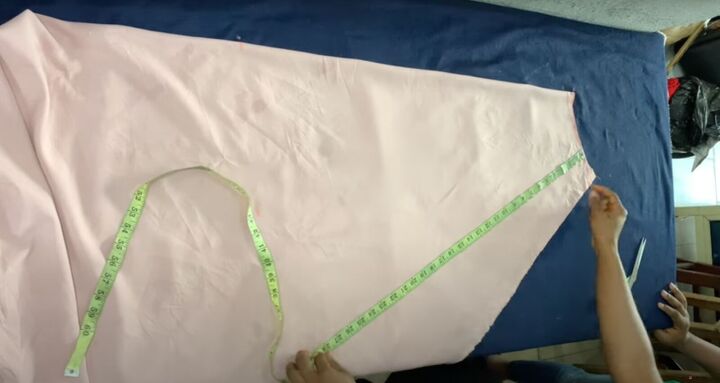
Plot the length measurement across the width of the fabric mirroring the waist.
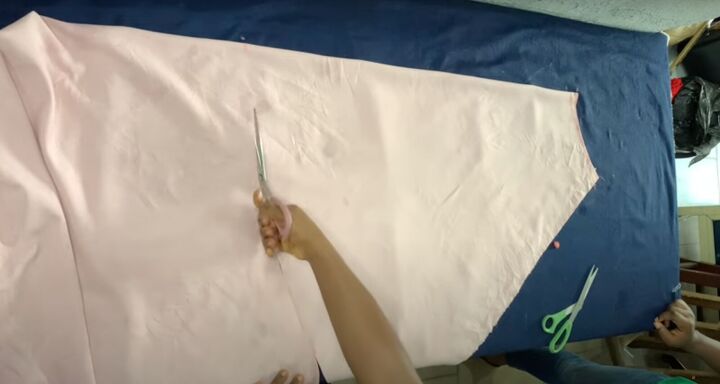
Cut out the skirt. This is the front panel and you’ll use it as a template for the back panel.
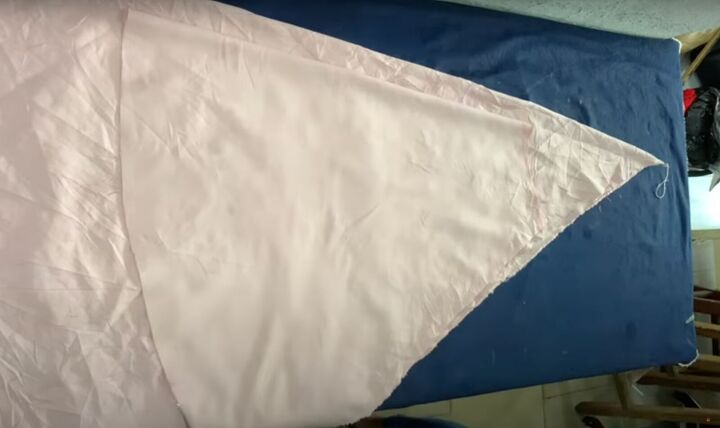
Fold the fabric in half diagonally and lay the front of the skirt on top. Add and mark an additional 1½ inches along the length of the fold for the zipper allowance on the back piece.
Cut out the back panel. Cut along the fold for the zipper allowance.
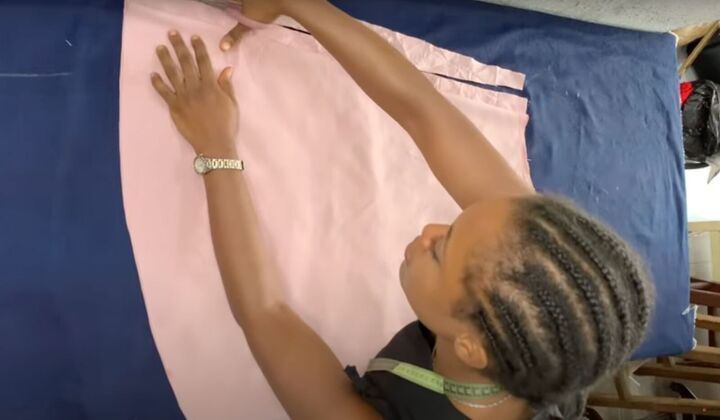
2. Make the bodice pattern
Fold the fabric in half. Draw a straight baseline on the right side along an unfolded edge.
You’ll mark all your measurements from the baseline. Measure your bust, underbust, and waistline. You’ll use these measurements divided by 4.
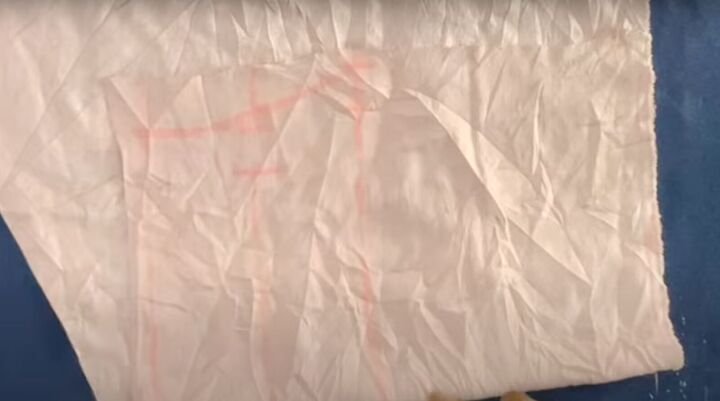
Mark the bust measurements at 10 inches from the baseline, underbust at 13 inches, and length at 16 inches. Add 1-inch seam allowance to all the measurements. Curve out the bust to the underbust line.
Mark the armhole down 8 inches from the baseline. Mark your half shoulder measurements on the baseline. Connect the shoulder to the bustline with a curve.
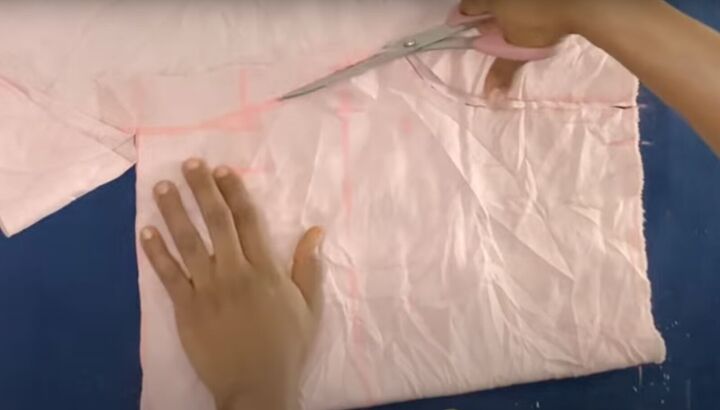
Cut out the front bodice panel. Fold another piece of fabric and use the front bodice panel as a template for the back piece. Add 1½ inches of additional fabric and mark this measurement for the zipper allowance.
Cut out the back bodice panel. Cut along the fold for the zipper allowance. Mark the front neckline with 3 inches for the width and 2½ inches depth.
Mark the back neckline with 3 inches for the width and a 1-inch depth. Cut both necklines out. Slant the shoulders.

3. Make the sleeve pattern
Fold the fabric in quarters so you can cut out two sleeves at once. Mark a baseline. Mark 8 inches across on the fold plus 1-inch seam allowance. The width of the sleeves is 12 inches divided by 2, so mark 6 inches. Add 1-inch seam allowance.
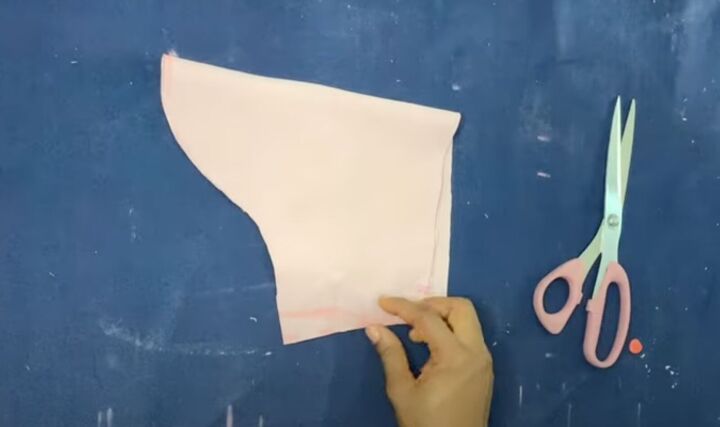
The sleeve curve is about 4 inches down from the top. Draw the curve and cut out the sleeves. For more instruction watch from 6:20 to 7:26.
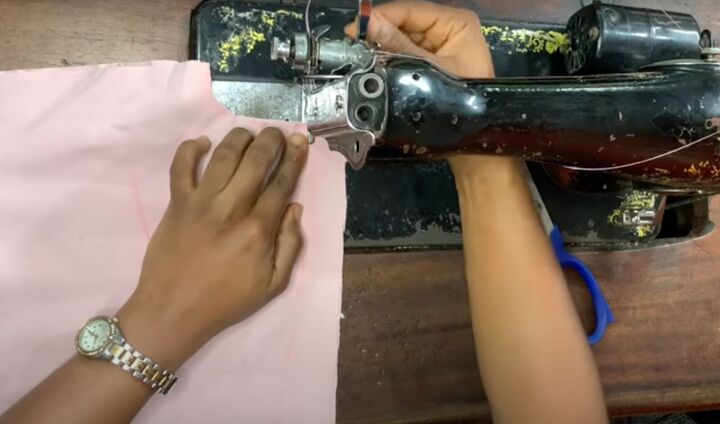
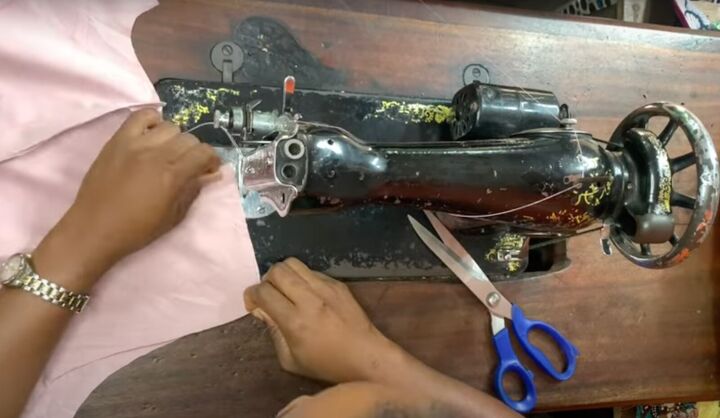
4. Sew the dress
Start with the bodice. Sew up the center back right sides together along the zipper allowance marked line. I inserted the darts in the bodice off camera.
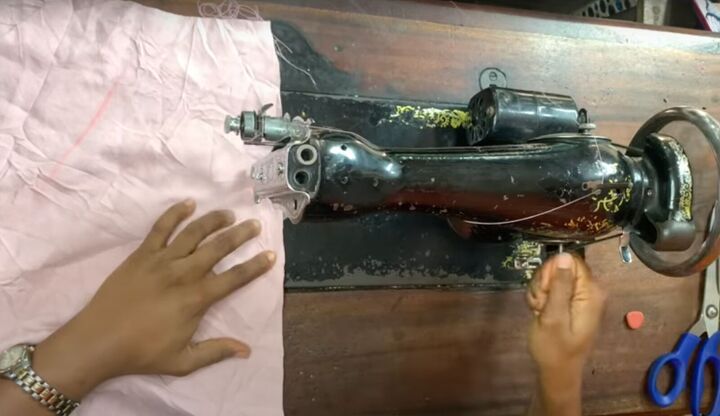
Sew the center back seam of the skirt, right sides together along the zipper allowance marked line.
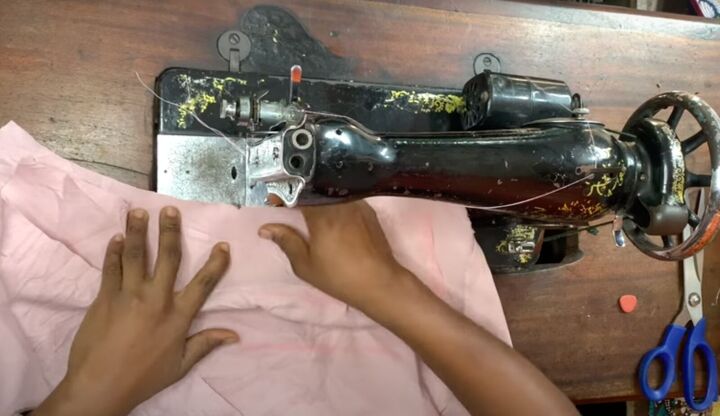
Take the front skirt panel and lay right side facing. Lay the top bodice at the waistline so their right sides are together. Sew them together with a ½-inch seam allowance so the front panel has both pieces connected.
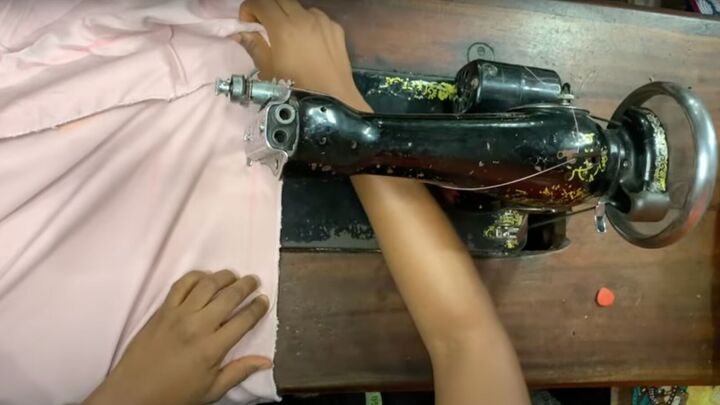
Join the back skirt panel and the back bodice panel using the same method.
Place the front and back panels right sides together and sew at the shoulder seams. Sew the side seams.
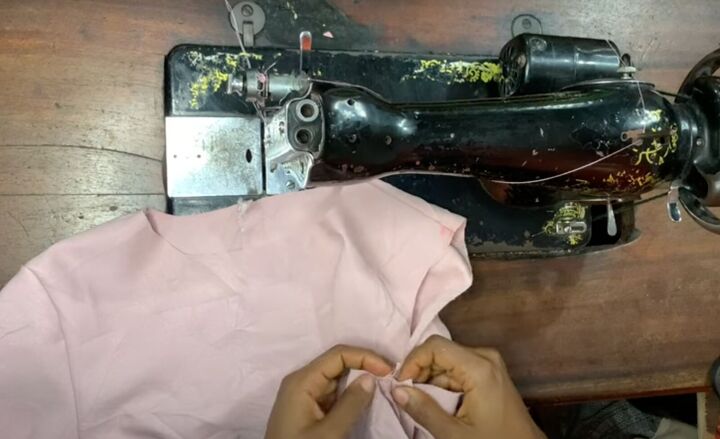
Attach the sleeves at the armhole aligning the seams.
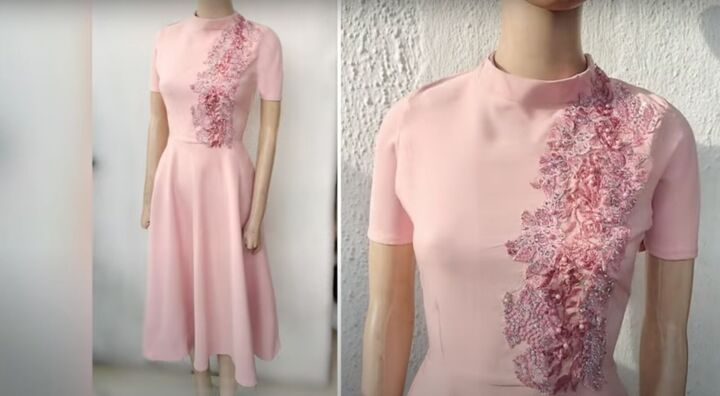
DIY circle dress tutorial
Here’s the finished dress. I hope my flared dress tutorial gave you an idea of what is possible when making a circle skirt dress. Let me know in the comments what you think!
The author may collect a small share of sales from the links on this page.


Comments
Join the conversation
That’s a beautiful dress! I also love the pics of your sewing machine. It reminds me of my MawMaw’s sewing machine. 🥰
It turned out gorgeous!