How to Sew a Kimono & Dress Set in 5 Super-Simple Steps

There’s something so fabulous about a kimono worn over a dress. If you were looking for how to sew a kimono and dress set, this DIY kimono and dress pattern is simple, elegant, and stylish!
This is perfect for any event or occasion, depending on the fabric you choose. Join me as I show you how to make a kimono and dress set!
Tools and materials:
- 3 yards of fabric for the kimono
- 2 yards of stretchy jersey fabric for the slip dress
- Your own loose-fitting blouse
- Measuring tape
- Tailor’s chalk
- Scissors
- Pins
- Sewing machine
If you have trouble with large pieces of fabric, watch the video from 0:20 to 1:15 where I show you what I’m doing to the fabric on a piece of paper.
1. Make the kimono pattern
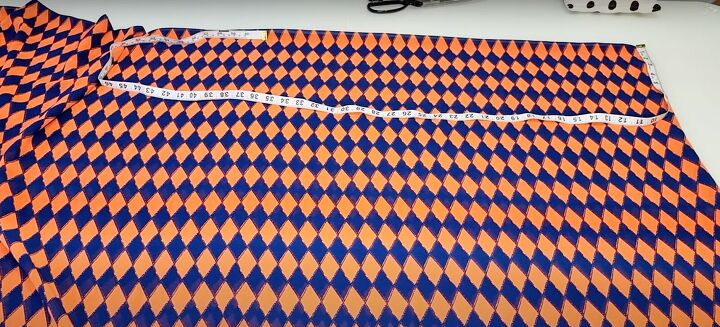
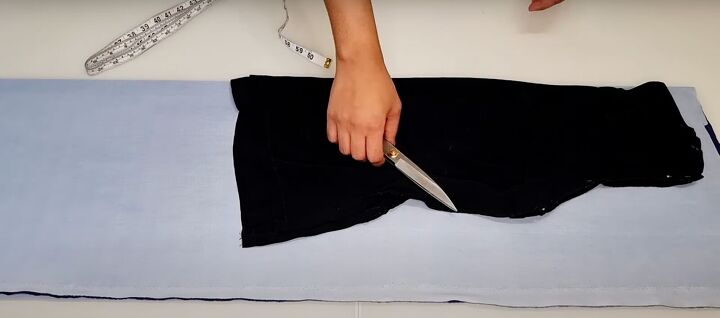
Fold the fabric in half along the width and then fold it in half along the length so you have 2 folds and 4 layers. Measure for your desired length.
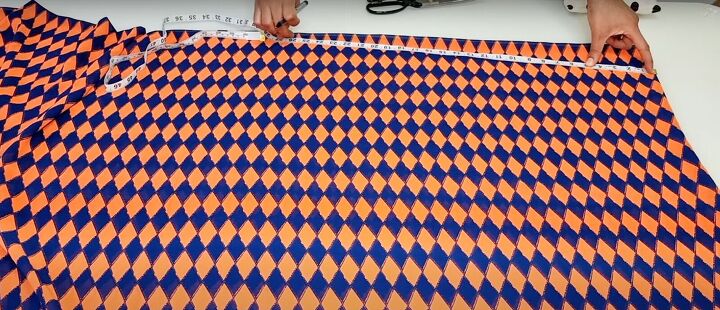
On the top folded edge, measure 3½ inches neck width and mark. About 2 inches from the folded edge, measure down 25 inches using your measuring tape at an angle for the neckline opening.
Mark and join the two points together and run the line all the way down to the end.
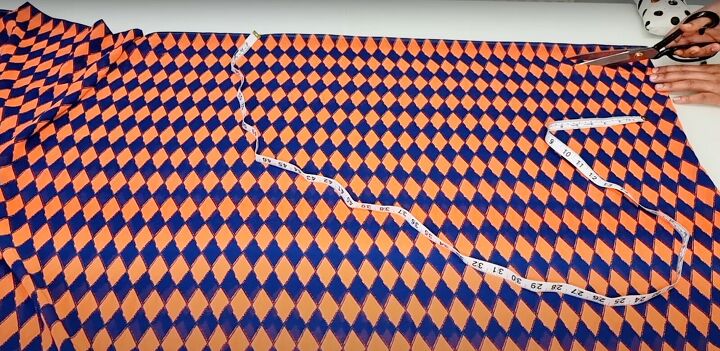
Position your scissors to cut on the first two layers or the top layer only. Cut along the marked neckline and all the way down to the bottom.

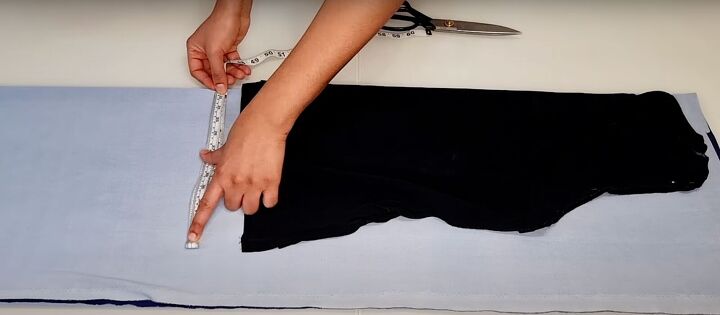
Open up the fabric and you’ll have the finished pattern. Lay the front pieces on the back. Measure 10 inches from the shoulder down to mark for your armhole on either side. Pin from that 10-inch point all the way down to the bottom.
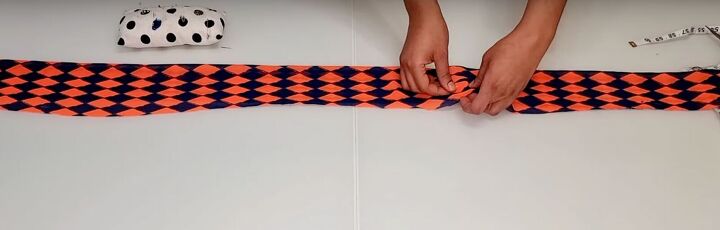
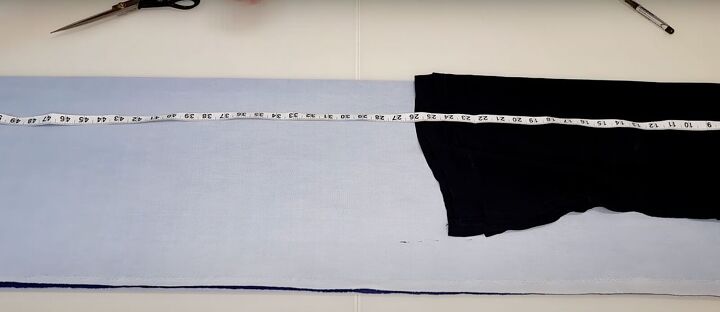
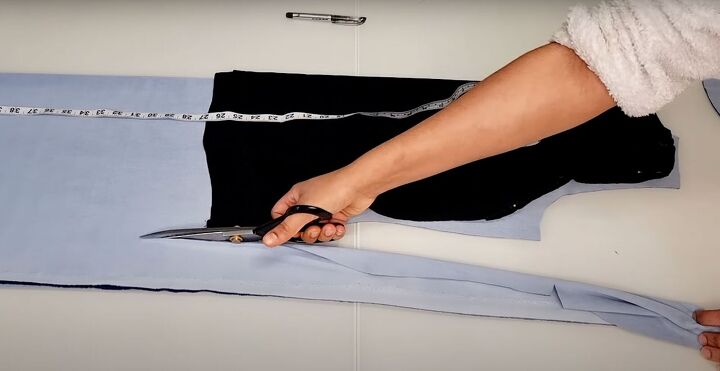
Cut the belt for the kimono to measure 6 inches wide and 60 inches long. Fold in right sides together and pin in place. Trim any excess fabric so it is even.
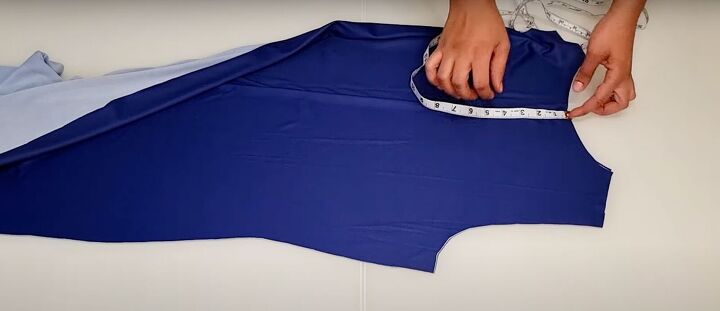
2. Make the dress pattern
Fold the fabric in four, as you did for the kimono. Lay your own folded loose-fitting top on top of the fabric to serve as a template about an inch from the top.
Measure your hips and mark that length divided by 4 plus 2 inches across the width of the fabric below your top template.
Measure your desired length. In this tutorial, my length is 56 inches.
Cut out the dress leaving about - inch seam allowance.
Open the dress. On one of the pieces, extend the neckline by 2 inches.
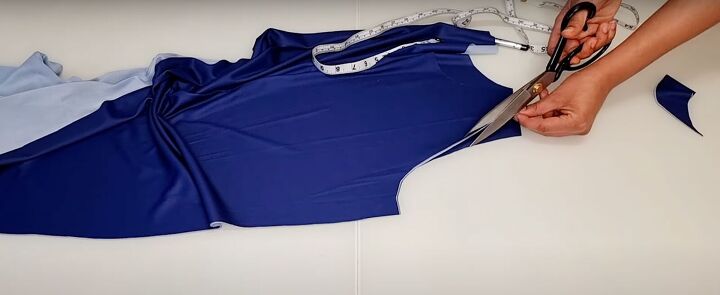
On that same piece, extend the armholes by ½ inch. This will be your front piece.
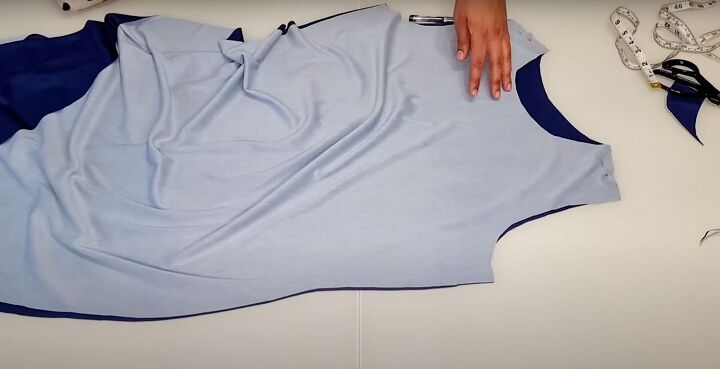
3. Sew the dress
Pin the shoulders and the sides. Stitch the shoulders.
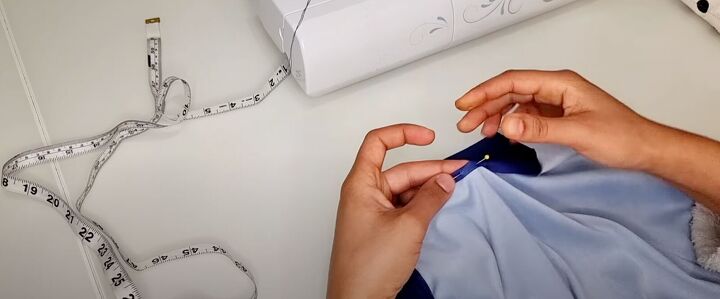
Once those are sewn, double fold the armholes to hem. Stitch in place.
Stitch up the sides.
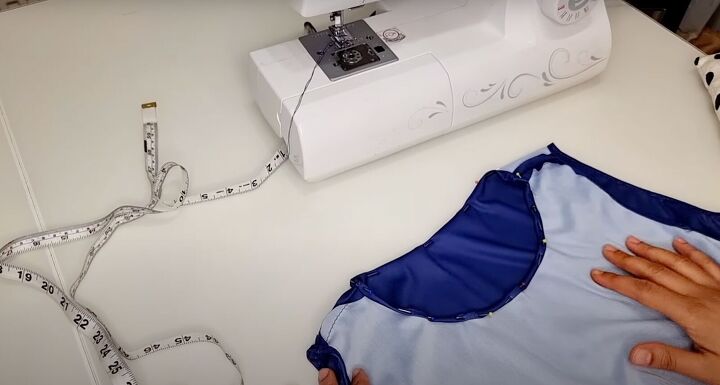
Double fold and pin the entire neckline. Stitch into position to finish the neckline.
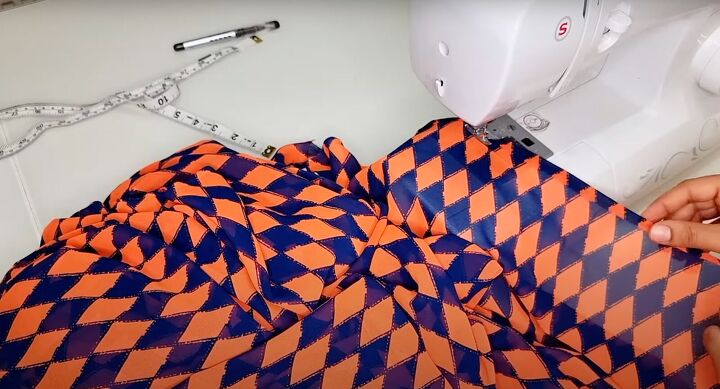
4. Finish the kimono
Hem the entire front opening of the kimono by double folding and stitching in place. This will take some time so be patient.
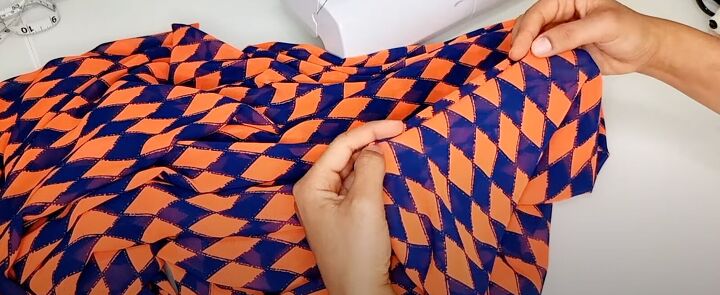
Stitch down the sides of the kimono from the 10-inch armhole measurement all the way to the bottom. Once that’s sewn, hem the armhole openings to just below the 10-inch mark.
Finally, hem the bottom to complete the kimono.
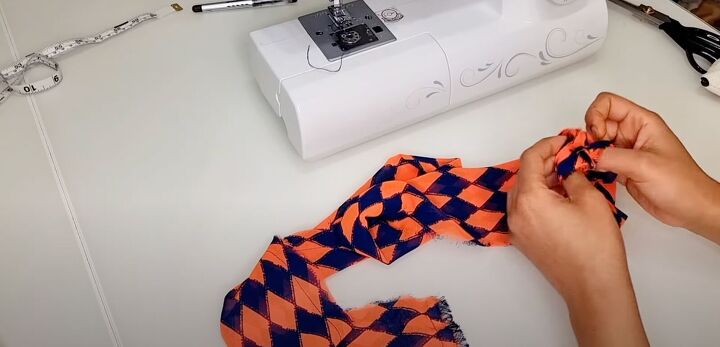
5. Sew the kimono tie
Stitch the belt on one short side and along the length, leaving one short side unsewn. Use the unsewn side to pull the belt to its right side. Stitch up the gap.

How gorgeous is this DIY kimono and matching dress?
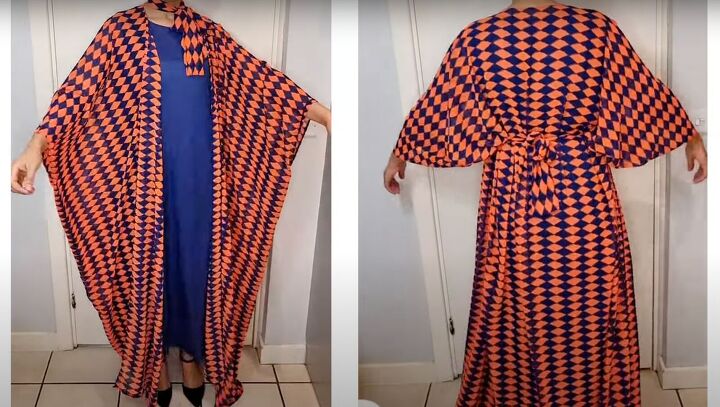
How to sew a kimono & dress set
You can style it in several different ways! I hope you enjoyed this tutorial on how to sew a kimono and dress. Please let me know in the comments what you think and if you made it!
The author may collect a small share of sales from the links on this page.


Comments
Join the conversation
This dress and kimono came out beautifully thank you for sharing your process.