Make the Perfect Maxi Dress for Any Occasion!

A stunning maxi dress never goes out of fashion; it’s a stylish and timeless piece that literally looks fab in every way! You can make your own simple maxi dress with this detailed maxi dress tutorial! This is hands down the easiest way to make a maxi dress! I chose a floral print for this basic maxi dress to stand out from the crowd and give it an extra stylish factor to the whole piece. Ok, enough talking. Let’s get this show on the road!
Tools and materials:
- Fabric
- Ruler
- Pen
- Paper
- Pins
- Sewing machine
- Thread
- French curve ruler
Make the pattern
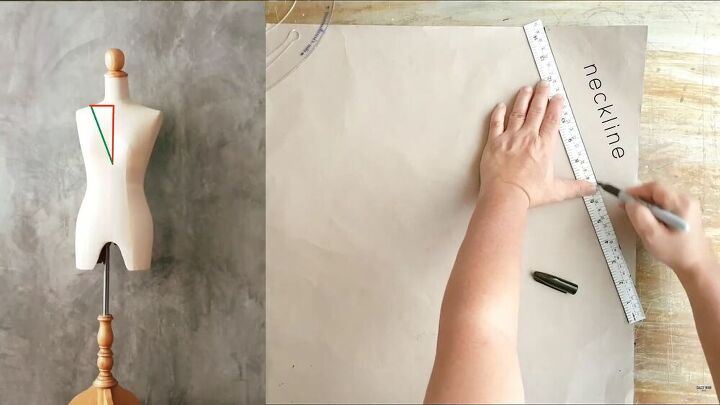
The pattern for the easy maxi dress is fairly simple to make. Start by marking the beginning of the strap on the corner of the paper. Choose the desired depth of the neckline ( measure yourself to get an accurate measurement) and join the two lines accordingly.
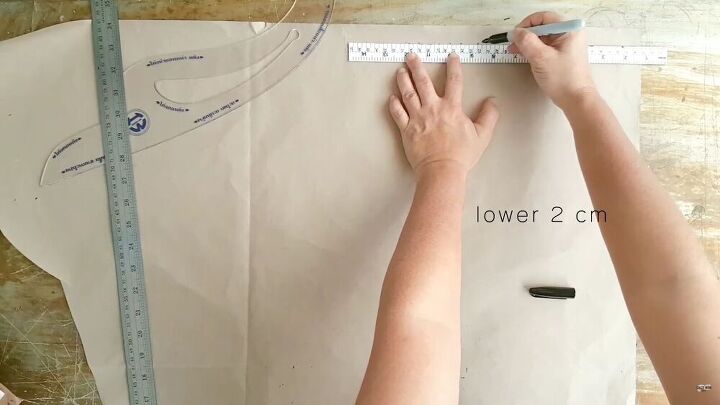
From the edge of the top, mark 2cm (.78 inches) down and make a dotted line as a reference.
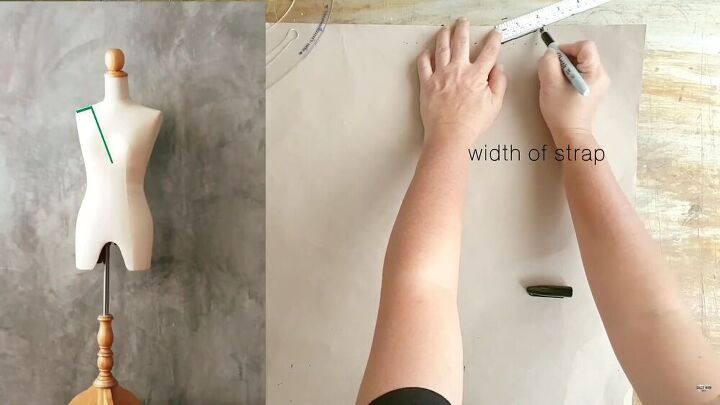
Then, draw a diagonal line from the top mark to the dotted line. This is the width of your strap.
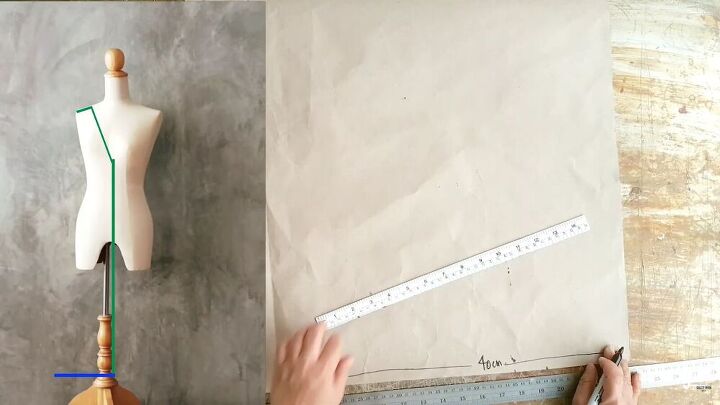
Now, mark the length of your dress from the neckline. When you get to the desired length, at the bottom of the paper, mark the width of the hem and divide it by four ( we will be cutting four separate pieces of this pattern).
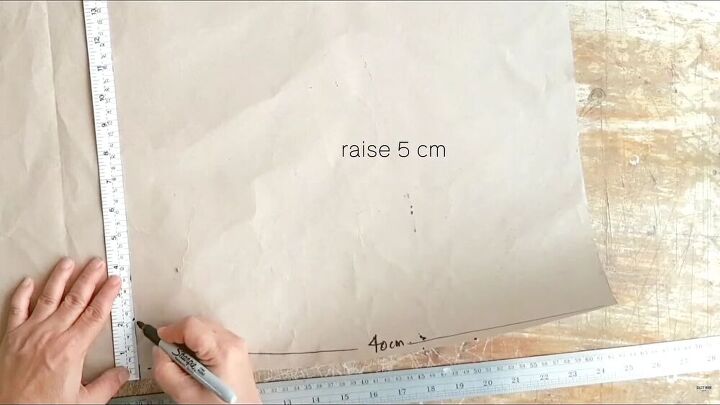
Make a 5cm (2 inches) mark from the edge of the hem mark upward.
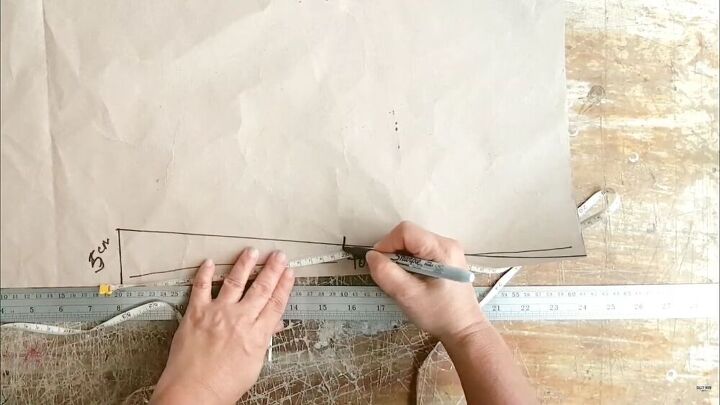
Join the top mark to the bottom and divine this line by two.
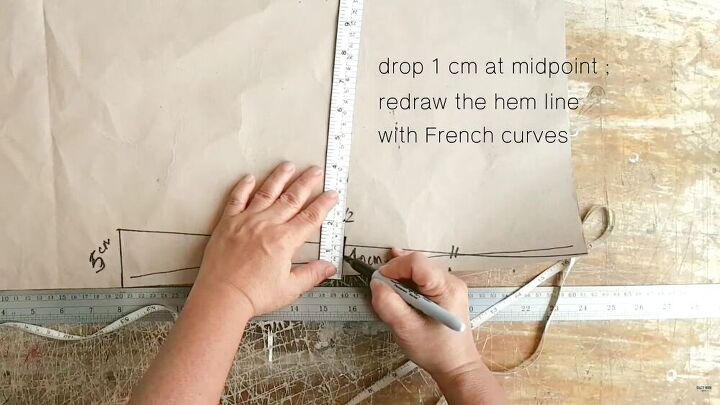
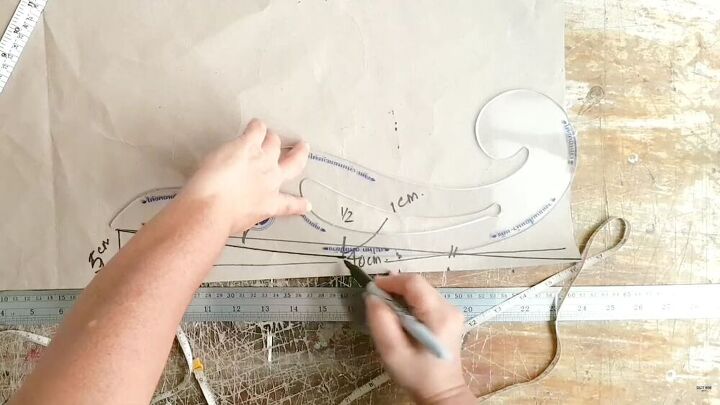
Next, drop 1cm (.39 inches) at the midpoint and redraw the hemline using french curves using this midpoint as your guideline. This will be your hemline.
TIP-
Add some arrows so you know what line you should follow when cutting the pattern.
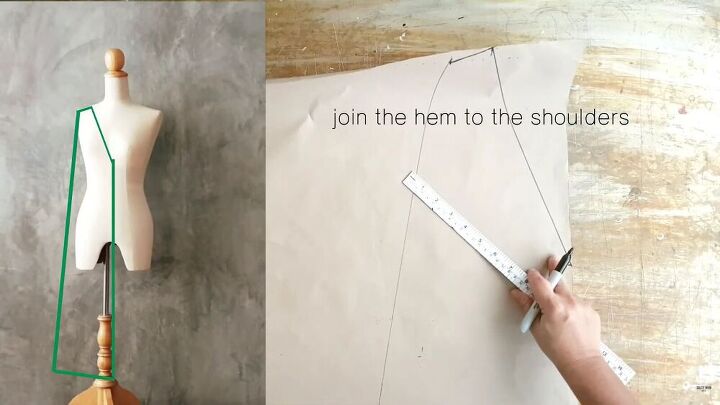
Join the hem to the shoulder line, as shown.
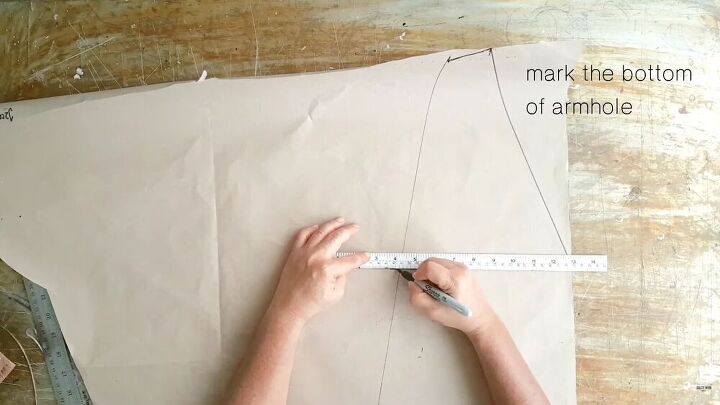
We’re almost done with this lovely maxi dress pattern. We just need to make the armhole. To do this, go ahead and mark the bottom of the armhole.
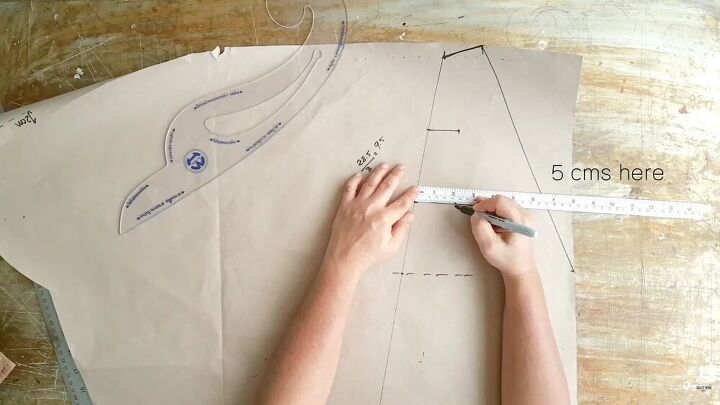
Then, divide the line into three segments. From the top line, mark 4cm (1.5 inches) inward, and draw a line. Then, mark 5cm (2 inches) from the middle line to the center.
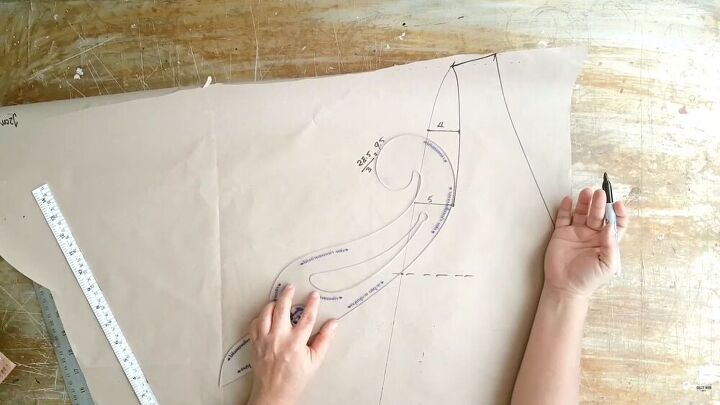
Finally, join these lines by drawing a curvy armhole with French curves. Start from the very top, where your shoulder strap is, and curve all the way down, as shown. Easy!
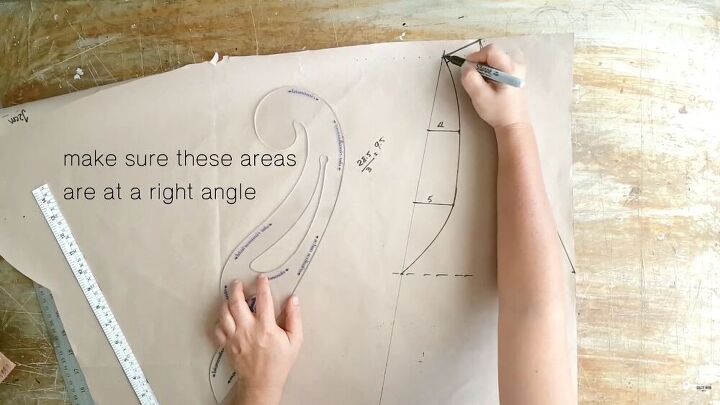
Draw some angles on the corners so that you know where the right angles are. Yes! Your pattern is ready; congratulations! Now it’s time to assemble this fabulous maxi dress.
Cut the pattern pieces
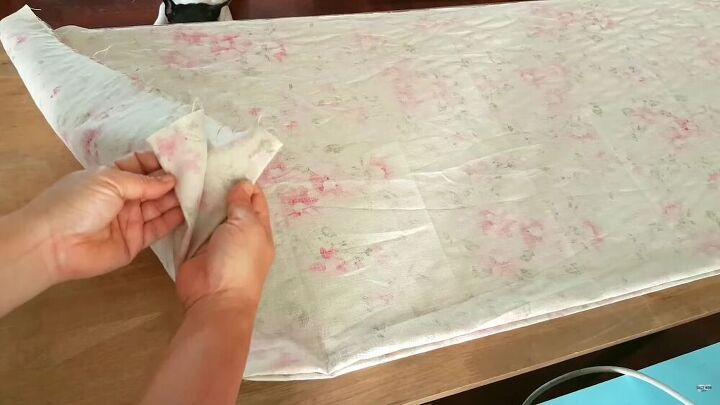
Go ahead and cut the pieces. You will need four pieces, so be sure to fold your fabric width and lengthways. You should have four layers to cut through.
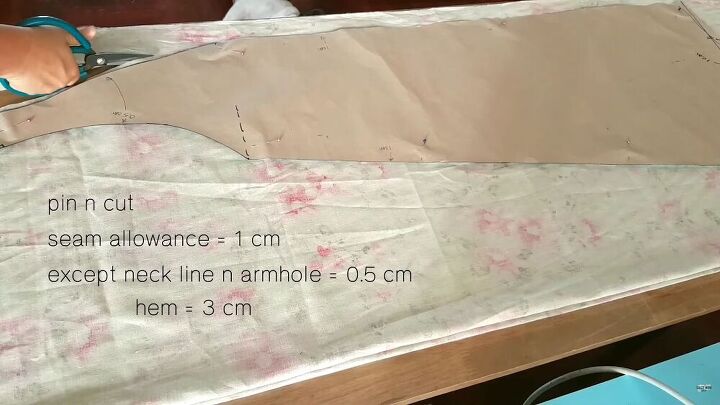
Pin your self-drafted maxi dress pattern on the fabric so that it stays in place. Add a 1cm (0.39) seam allowance when cutting. For the neckline and armhole, add only a ½ cm (.2 inches) seam allowance. For the hem, make it 3cm (1 inch) seam allowance.
Create and attach the bias binding
Now, for the neckline, you’ll need a 2cm (.78 inches)wide bias binding. To see how to make the bias binding, check out my video tutorial here and then come back to this tutorial to see how I finish this stunning maxi dress.
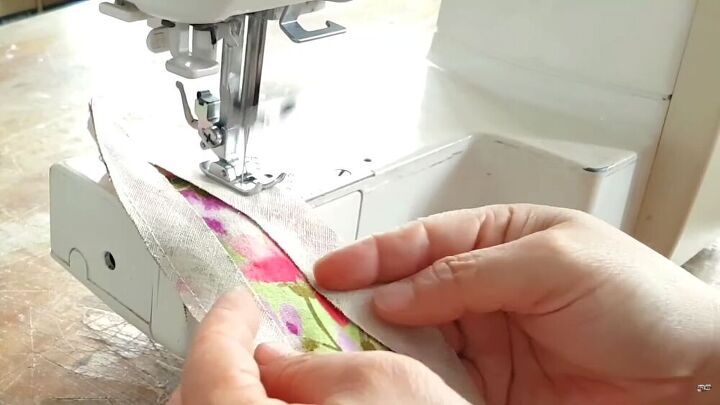
Attach the bias binding around the neckline and the armholes. Place the binding, right sides facing down, and sew the edge as shown.
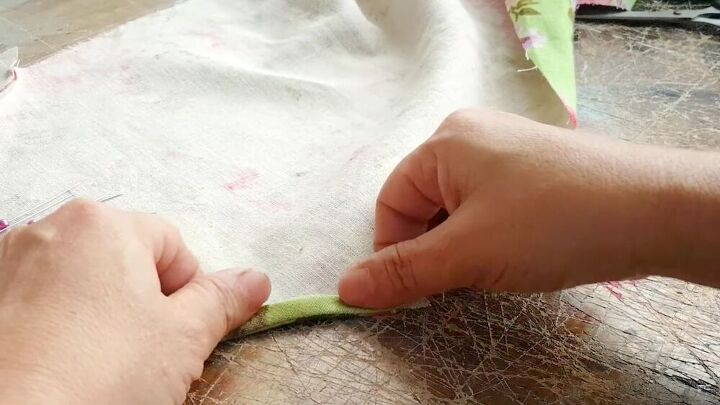
Then, fold over the bias binding twice onto the edge of the main fabric. Pin to secure and finish it off with a topstitch.
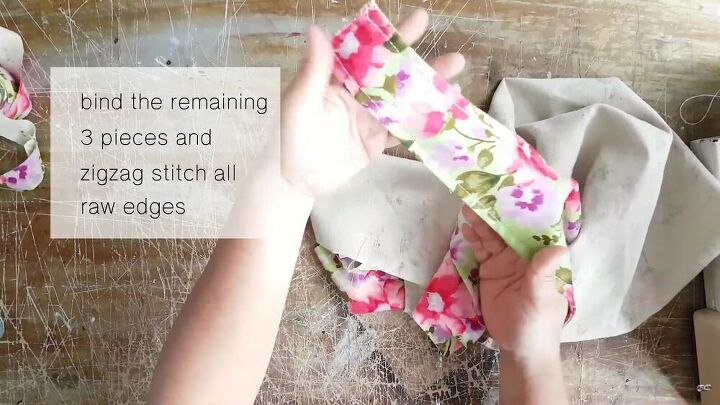
Bind the remaining three pieces and zigzag stitch all the raw ends to prevent fraying.
Assemble the maxi dress
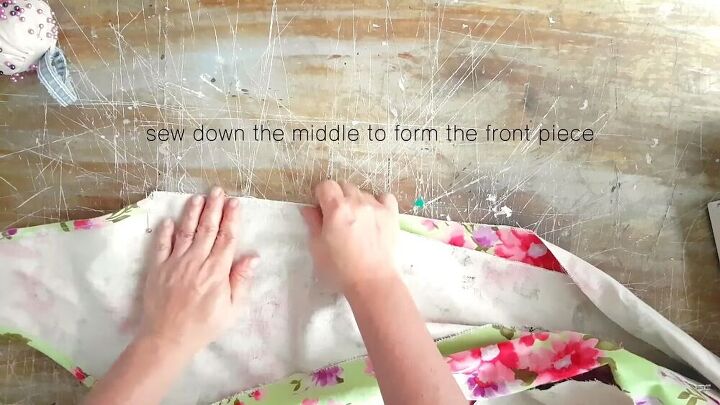
Take two pieces and match the necklines. Pin the middle and sew. This will make up the front piece. Repeat the same process to the remaining two pieces for the back piece.
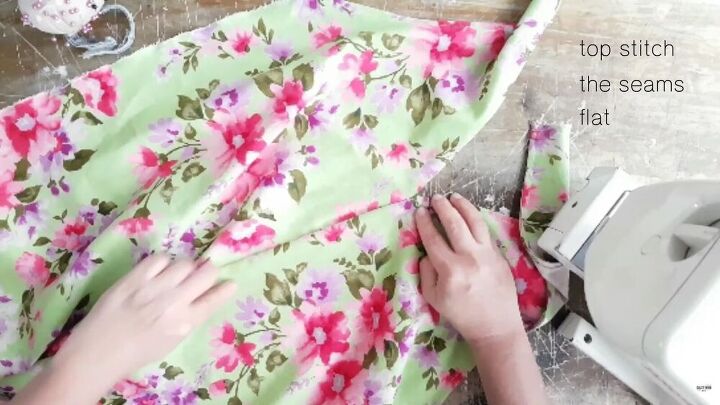
Then, topstitch the seams flat.
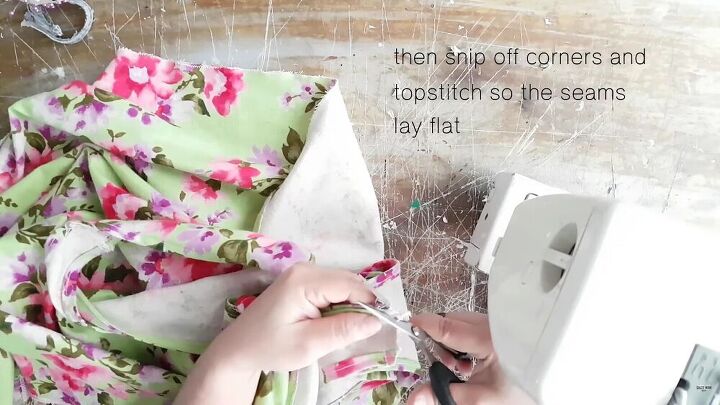
Now, go ahead and stitch the front and back pieces together. Play them right sides facing and sew the shoulder straps first. Once the straps are stitched, snip the corners and topstitch so that the seams lay flat.
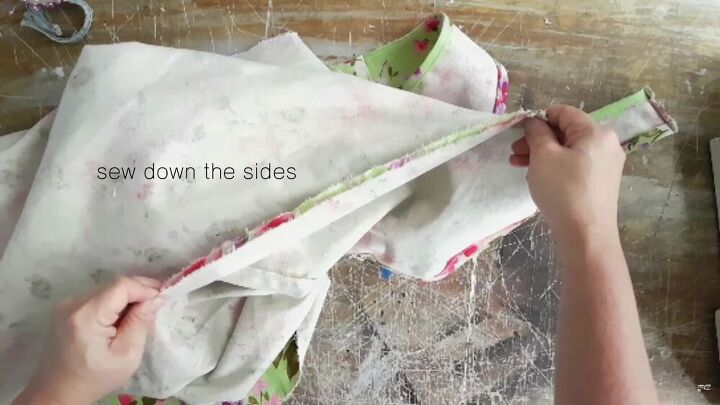
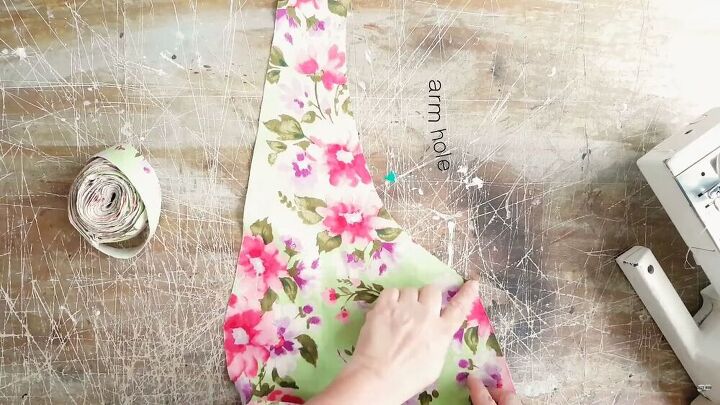
To sew the sides, first match the armholes accordingly. Then pin the side seams and sew to secure.
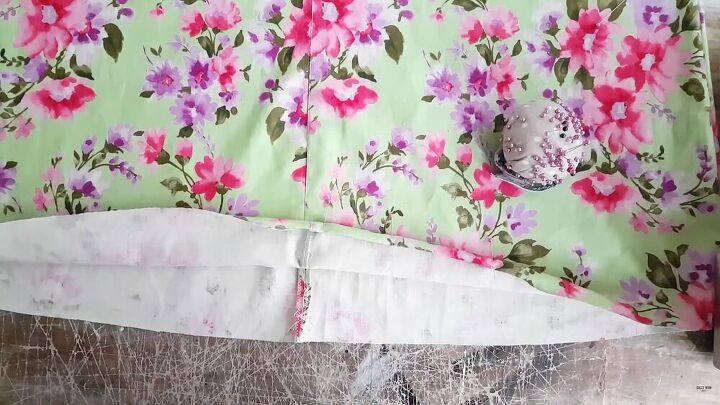
Lastly, hem your dress all around.
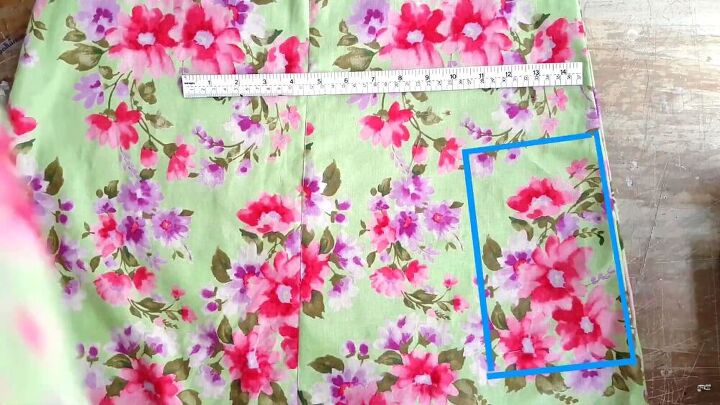
Make the pockets
From the extra fabric, cut a rectangle for the pocket. If you are using a floral print, make sure to match the pattern before cutting.

Fold the top part of the pocket twice. There should be a 10cm (3.9 inches) seam allowance. Then, fold the sides by 1cm (.39 inches).
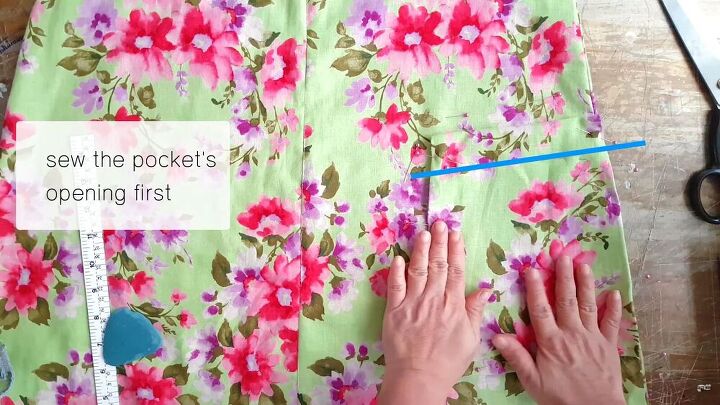
Sew the top folded part first, and then sew the sides to the dress.
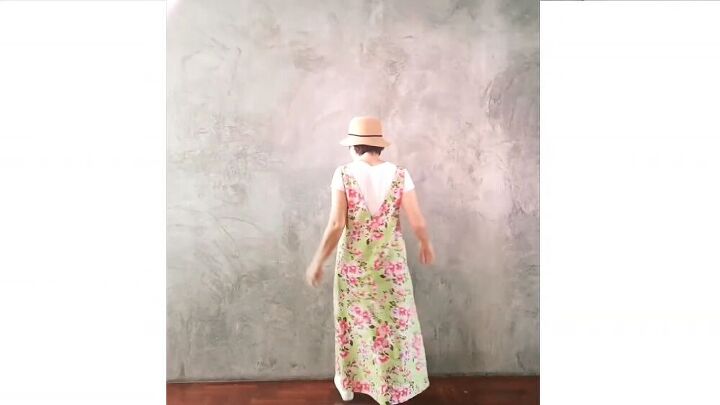
There you have it, a lovely and professional maxi dress! It’s super straightforward, and the result is exquisite! Thanks for tuning in, and I hope you enjoyed this DIY maxi dress tutorial.
The author may collect a small share of sales from the links on this page.


Comments
Join the conversation