Maxi Dress Tutorial Based On The Plantain T-shirt Pattern
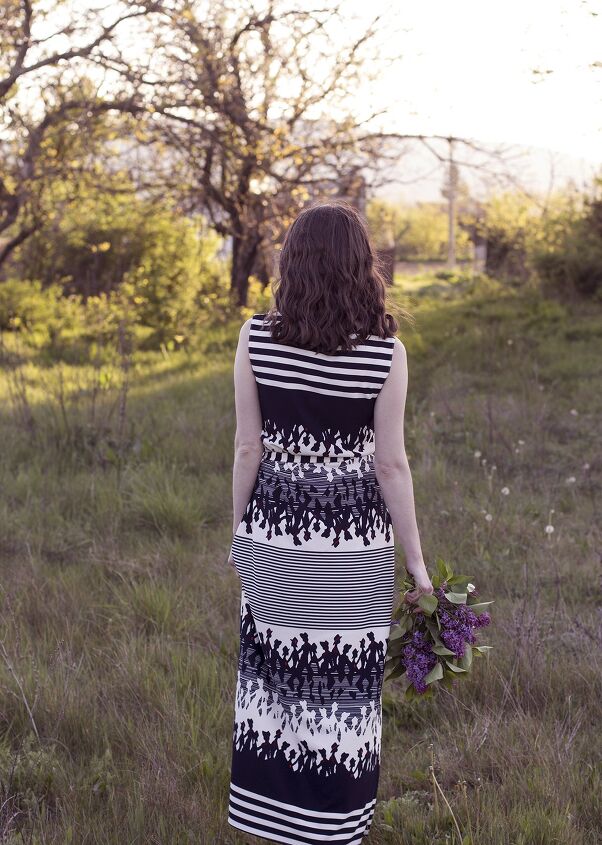
I was never into dresses before, my everyday out routine was wearing jeans and a shirt. Since I started sewing, I kind of began liking them. On last year’s summer, I made this maxi dress based on a free t-shirt pattern I found online.
As my first dress was a success, I sewed another one. I know that there are tons of tutorials and patterns through the web, but I decided to share my first experience on sewing this dress. Since this pattern is free, if not for a dress, you can use it to sew a top instead.
The pattern is available on European sizes 34 to 46, following the link below you have instructions on how to download it.
Plantain t-shirt pattern from deer and doe
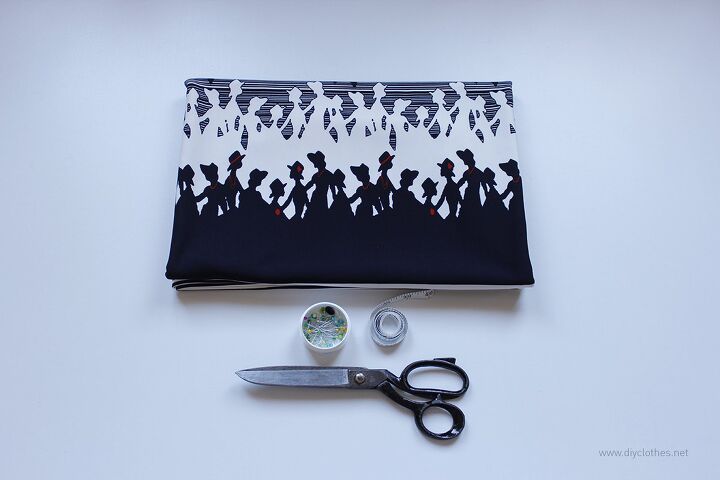
For the tutorial you’ll need
- Your choice of fabric cotton, knit, polyester etc.
- Plantain t-shirt pattern
- Cotton thread
- Sewing machine
- Pins
- Scissors

I spent 1.5 m fabric on this dress and according to the pattern I was size 38.
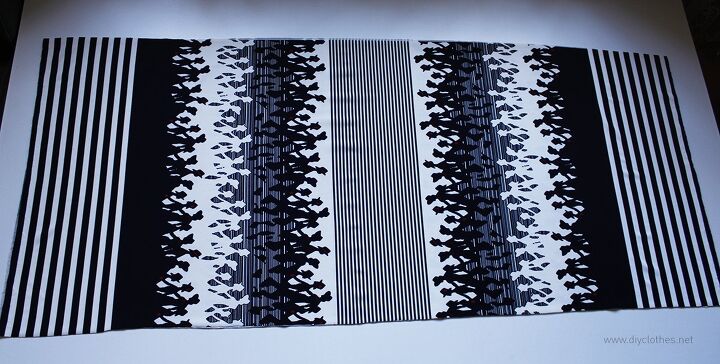
Print out and assemble the PDF pattern according to its instructions then start working with the fabric. First fold your fabric length-wise, cut it on the folded side, you have now two large rectangles.
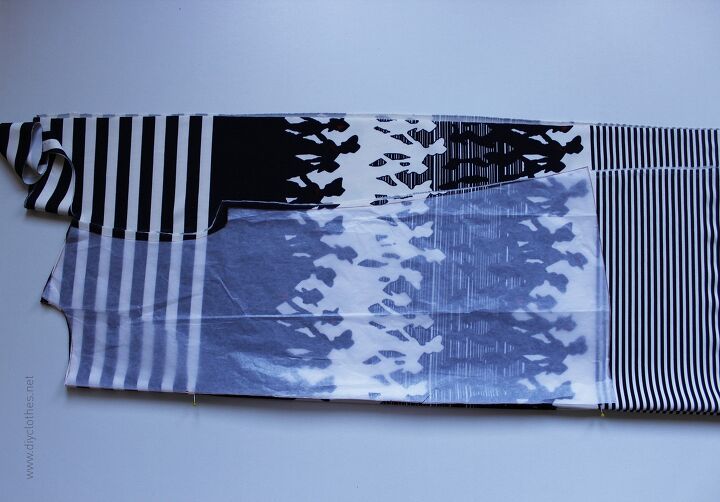
Fold the first rectangle again. Put the shirt front pattern along the fold, secure it with pins and use chalk to draw around your pattern. I used a wood ruler to help me draw a line from the edge of the pattern to the bottom corner of the dress.
Before cutting, determine your height and make a mark on the fabric. Next, cut around the pattern or the lines you draw.
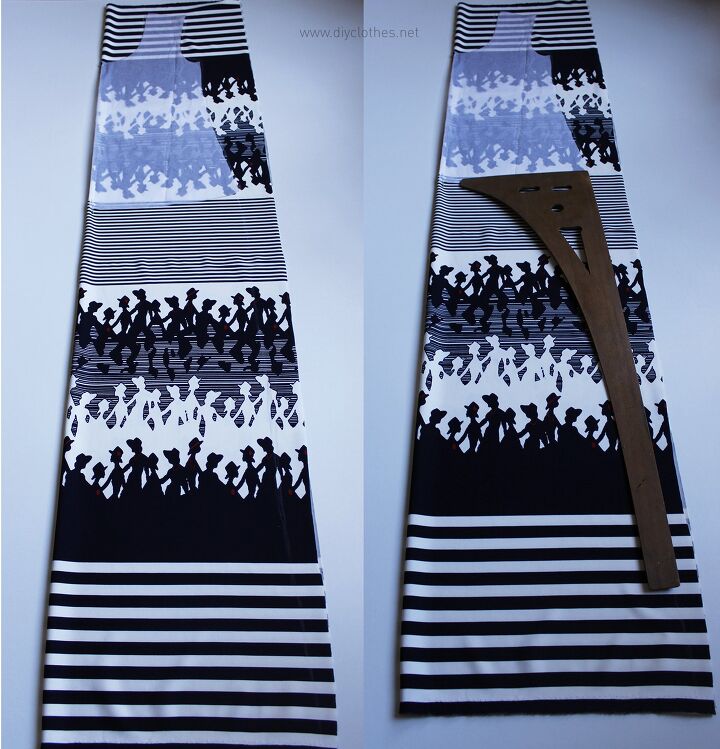
Repeat all the steps above for the back shirt pattern.
Since my fabric had those horizontal striped lines and some other design, first I laid the second folded rectangle flat, then added the cut front panel. I tried matching the striped lines of the fabric then secured both panels of fabric with pins, and lastly added the back shirt pattern.
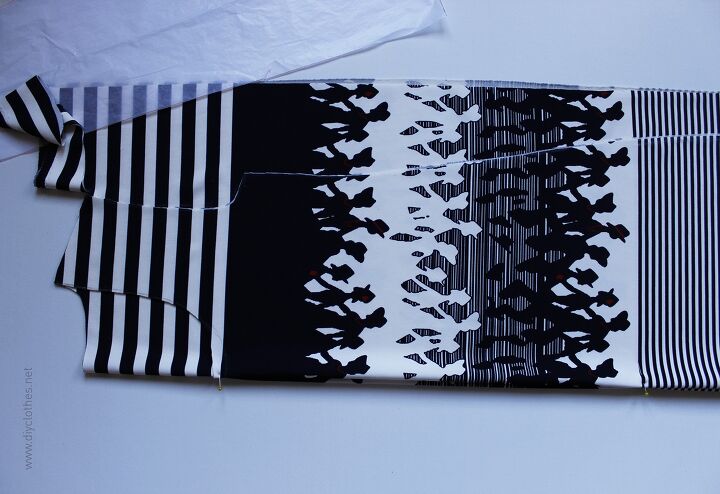
Once you have cut your pattern, you’ll have two panels of fabric looking like the picture, below.
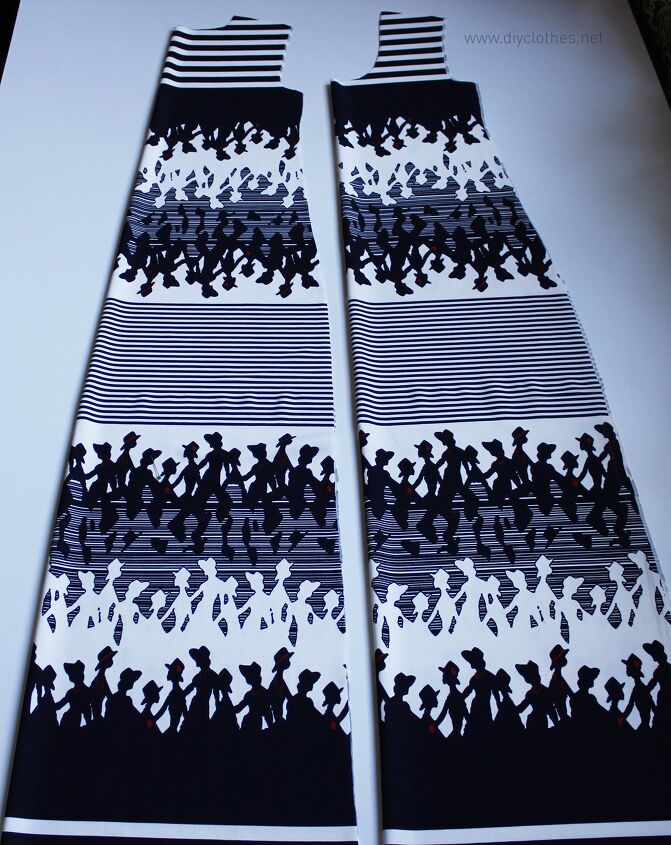
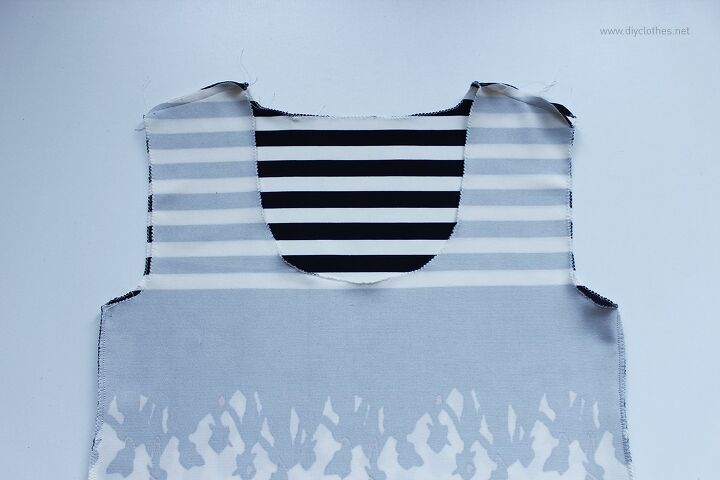
Place your front and back panels right sides together. Pin and sew shoulder seams using a ½ inch seam allowance. Continue with sewing side seams and finish them with serger or a zig zag stitch.
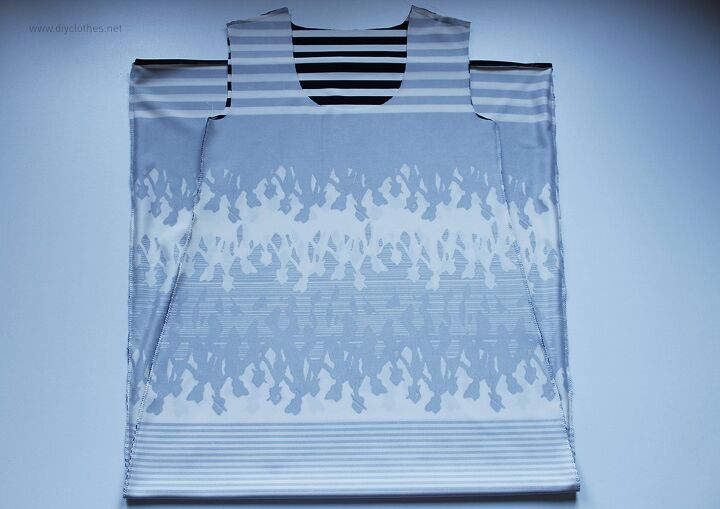
Zig zag all along the neckline and the shoulders.
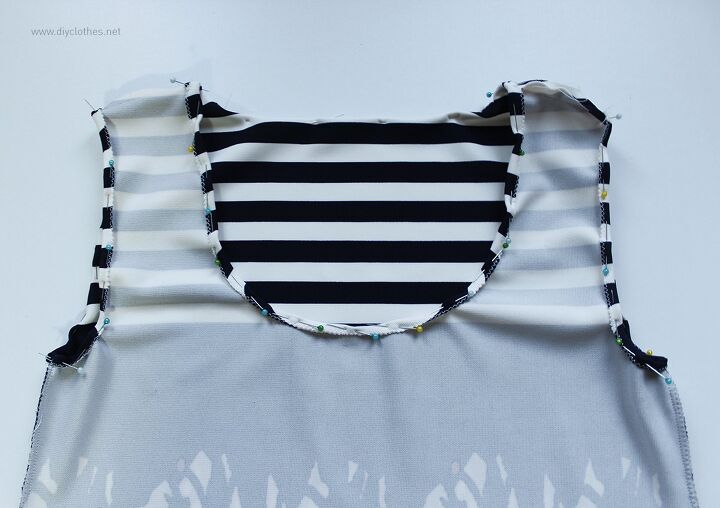
Hem the neckline and the shoulders using a straight stitch and finish hemming the bottom of dress .
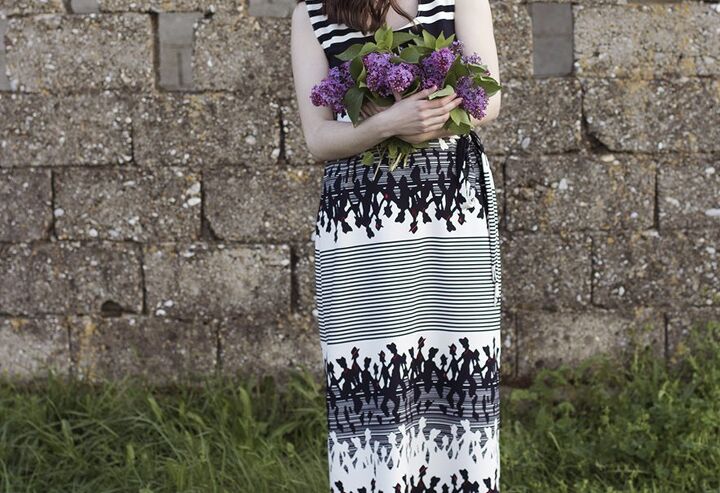
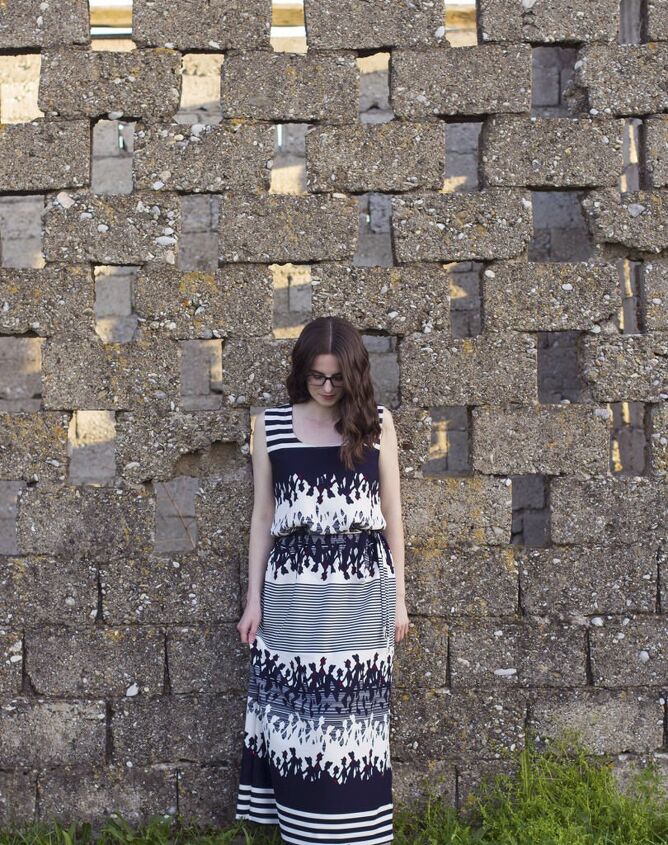
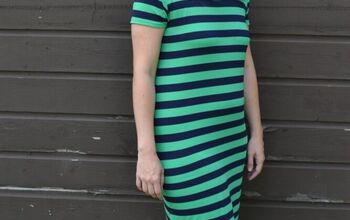
As you can see on the pictures, I wore my dress with a band. I used the same fabric to sew it.
I hope you enjoyed this post and thank you very much for visiting DIY clothes!
Tringa
The author may collect a small share of sales from the links on this page.


Comments
Join the conversation