How to Do Simple 3-Point Eyebrow Mapping to Shape & Maintain Brows

Do you struggle to shape your brows? Today, I'll show you a simple 3-point eyebrow mapping technique to help you maintain your eyebrows between salon visits, or skip the salon and groom your eyebrows yourself.
Are you ready to learn how to map eyebrows? Then let’s get started. You probably already have everything you will need.
Tools and materials:
- Eyebrow pencil, or any kind of marker that you can easily erase
- Spoolie eyebrow brush
- Tweezers
- Eyebrow scissors
- Eyebrow gel
- Cotton swabs
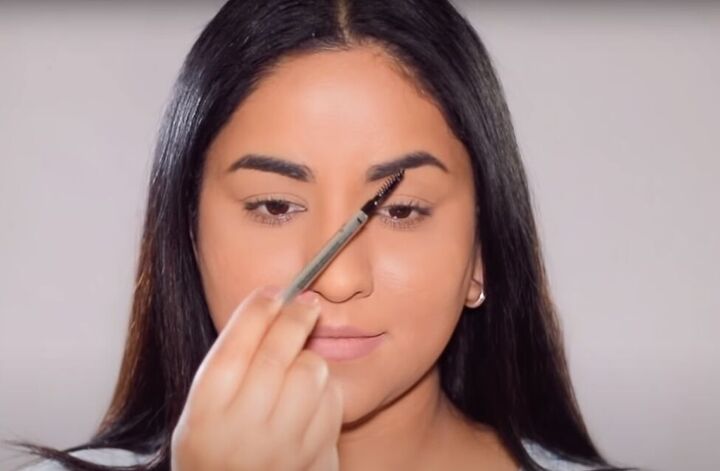
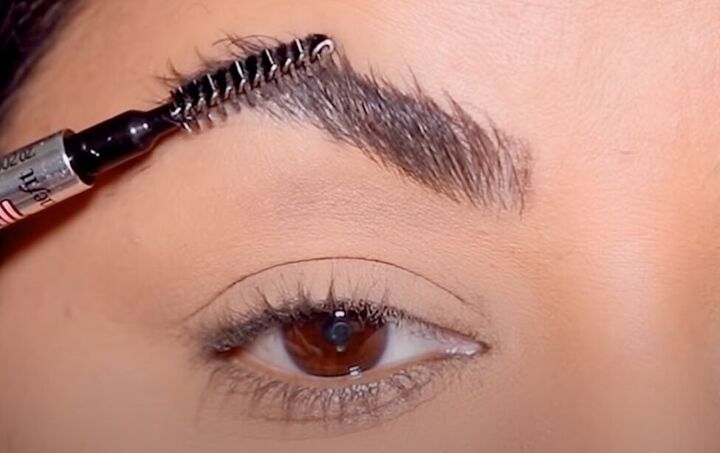
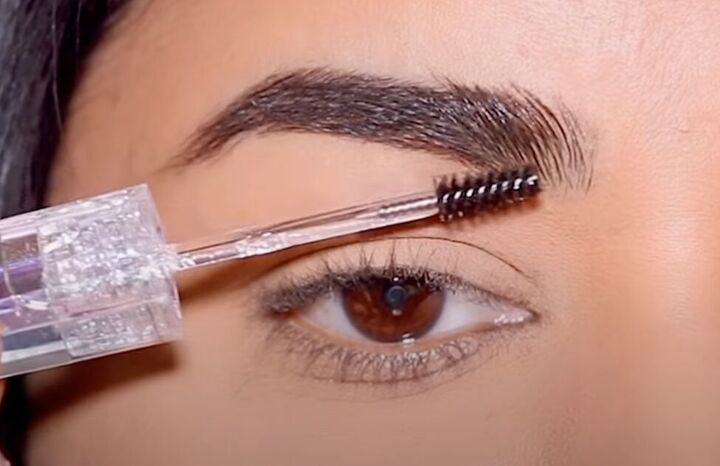
1. Prep your eyebrows
Use a spoolie to brush your eyebrows downwards. If you don’t have a spoolie brush, you can also use a small hairbrush or comb. Doing this will better enable you to accurately mark the points on your eyebrow.
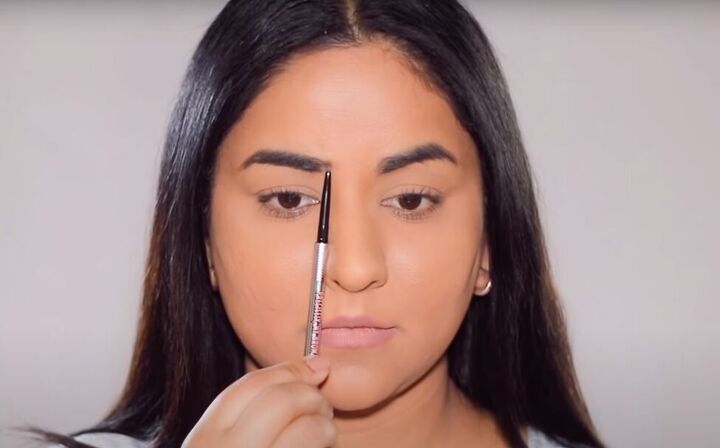
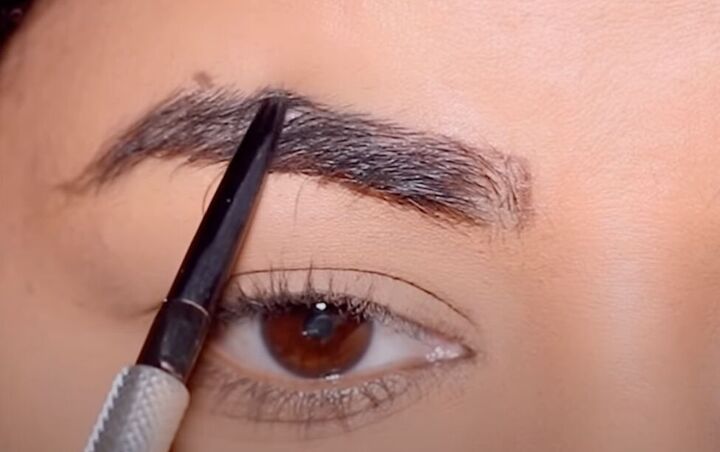
2. Map the first point
For the first eyebrow map point, place your eyebrow pencil right next to your nose, past the inner corner of your eye. Mark a small vertical line at your eyebrow. That should be the inner edge of your eyebrow.
3. Map the second point
For the second eyebrow map point, glide your brow pencil from the outer edge of your nostril, diagonally across the center of your eye and up to your eyebrow.
Mark a small vertical line at that point for the top and bottom of your eyebrow arch.
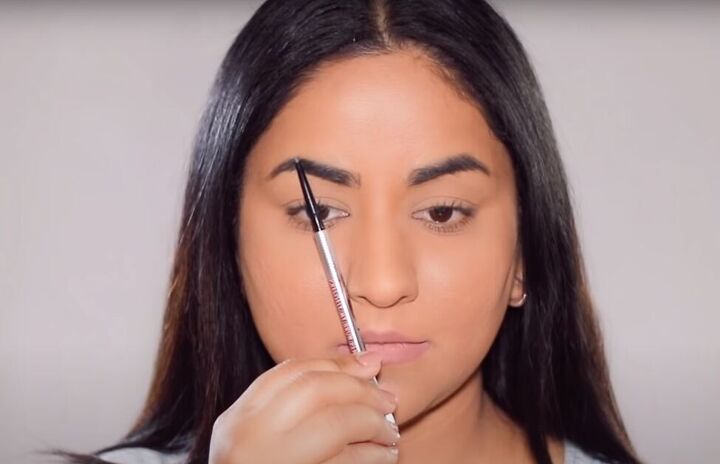
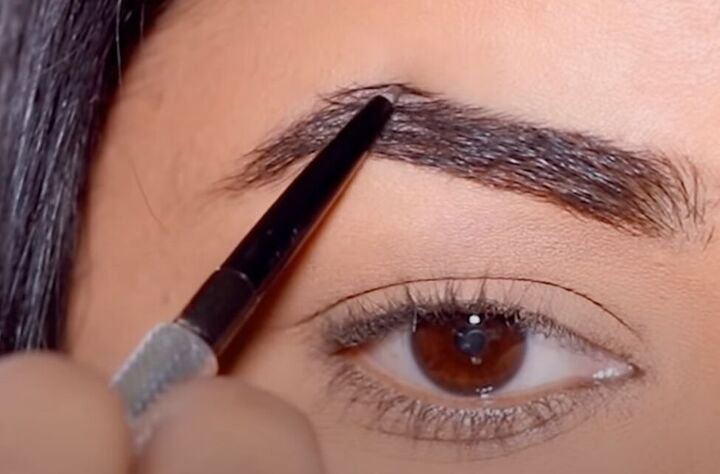
4. Map the third point
For the third eyebrow map point, glide your eyebrow pencil from the outside of your nostril, diagonally past the outside corner of your eye and up to your eyebrow.
Mark that point to map where your eyebrow will end.
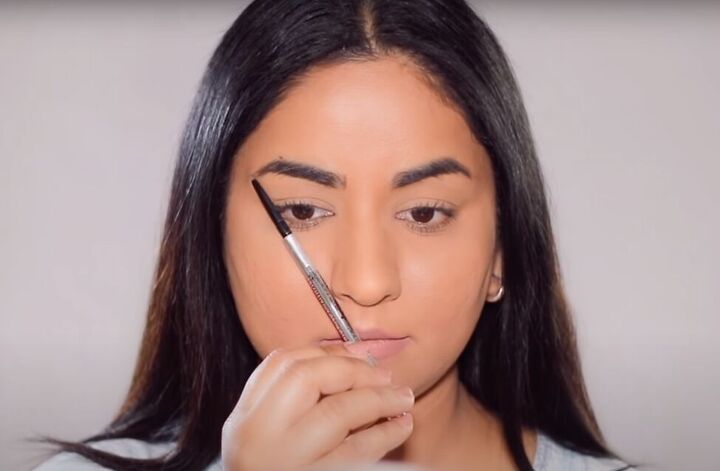
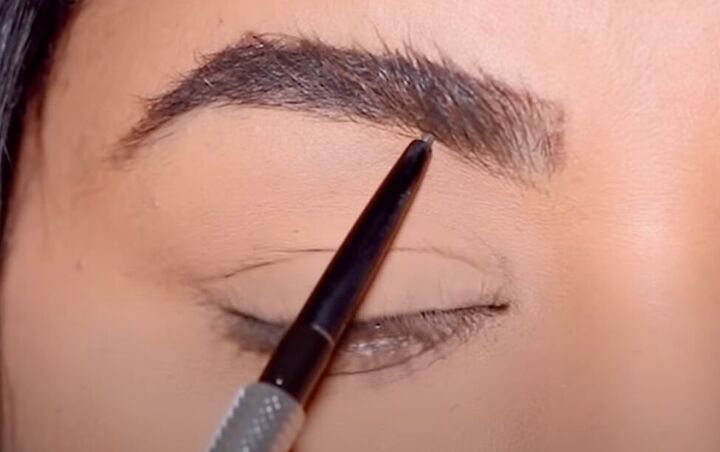
5. Connect the points
Use your eyebrow pencil to connect the three map points with an arched line. Make sure to draw in the same direction as your natural eyebrow hairs grow.
Repeat to map your other eyebrow.

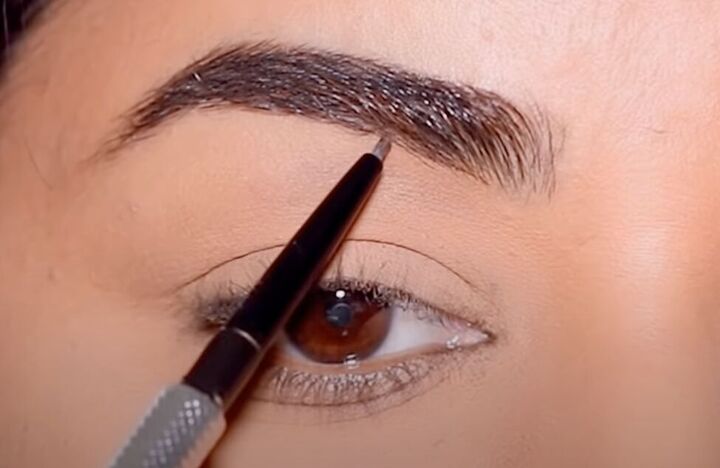
6. Shape your eyebrows
Tweeze your eyebrow hairs that lie above the line you just drew and, on the inside, between your eyebrows as well.
Tip: If you are very sensitive to pain, try icing the skin where you are going to tweeze before plucking, and ice again after you pluck.
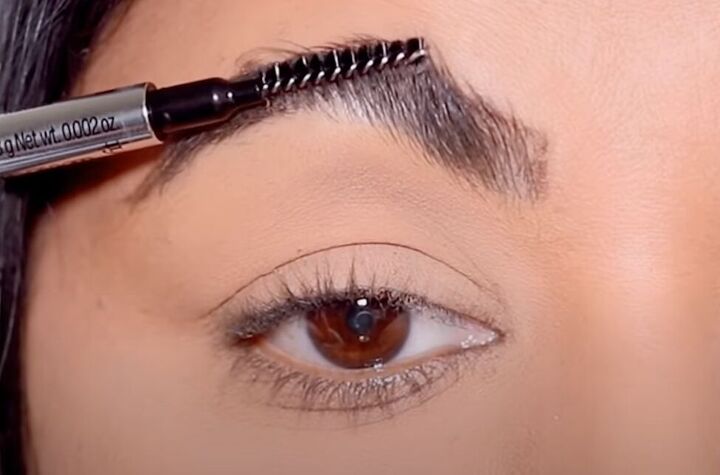
Now brush your eyebrows upwards.
Use your eyebrow pencil again, to connect the lines for the lower border of your brow. Tweeze the eyebrow hairs outside of that border.
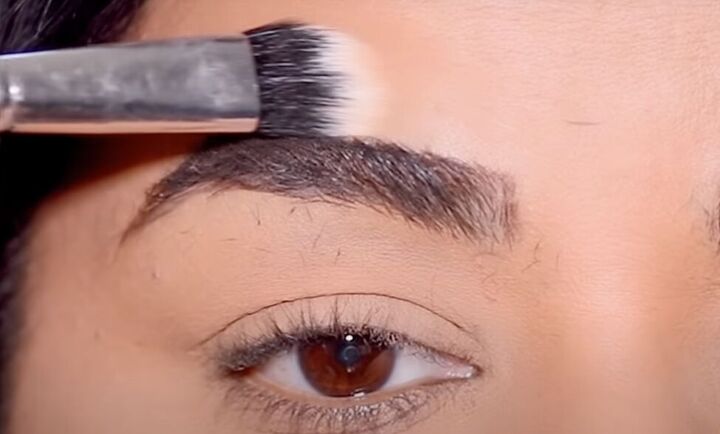
Use a dry makeup brush to clean up any loose tweezed hairs from around your eyebrows.
7. Trim your brows
Give your brows a final brush upwards.
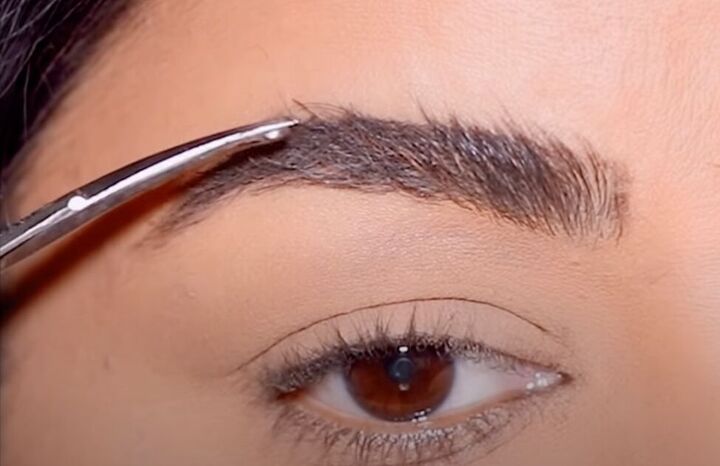
Use a small pair of scissors to trim off eyebrow hairs that are extending above the mapped area. Be careful not to cut too much, because you don’t want to create gaps in your eyebrow.
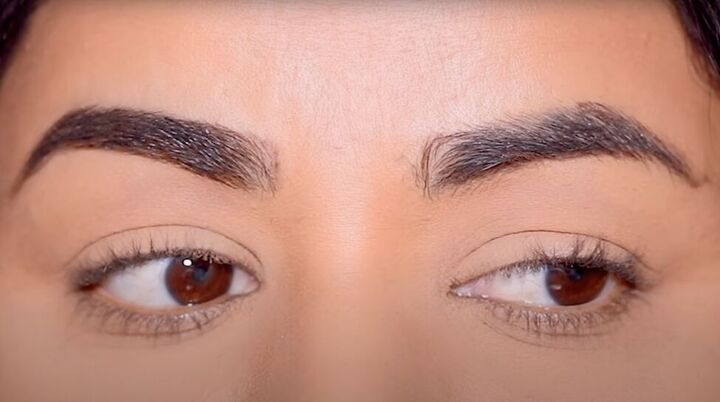
Here’s the before and after. You can see how much better groomed my right eyebrow (on the left in the picture) is than the other one that I didn’t yet map and groom.
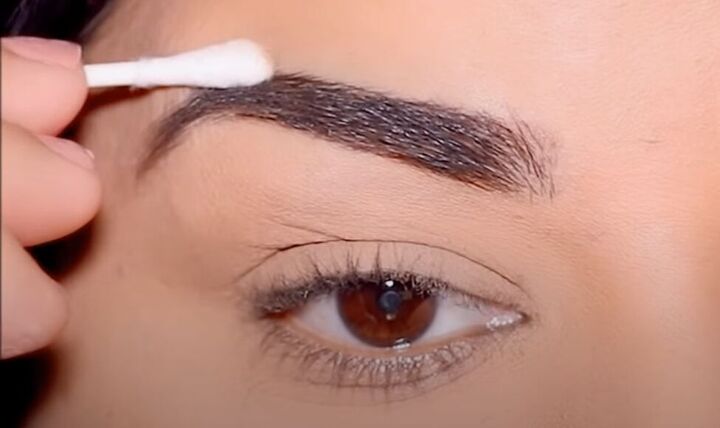
8. Fill in brows
Use a dry cotton swab to erase the eyebrow mapping lines.
Fill in the upper eyebrow line with your eyebrow pencil.
Then brush your eyebrows upwards again, but with an eyebrow gel this time. If you have thick eyebrows, then use a clear eyebrow gel rather than a tinted one.
Now fill in the lower edge of your eyebrows with your eyebrow pencil.
Repeat for your other eyebrow.

Eyebrow mapping tutorial
Here they are – both brows are completely done. I do this once a week to keep my brows well maintained, and I haven’t been to the salon for my eyebrows in years!
Try it yourself and let me know how you liked this eyebrow mapping tutorial by leaving a comment.
Products used
The author may collect a small share of sales from the links on this page.


Comments
Join the conversation
You are beautiful and thank you for your tutorial. I have never mapped my eyebrows and they come out well but I am going to try your process of mapping. I also truly believe that your Mothers' tweezers lasted so long because things were made better. I am going to look into buying that type of tweezer. Again thank you 🌺
I will try this myself!! Great tutorial!!