Easy Face Lift Makeup Hack Tutorial

Here, I’m going to show you a simple facelift makeup technique.
This will help to add some shape to your face and give you a more lifted appearance which is very flattering. Let’s jump on in!
Tools and materials:
- Moisturizer
- Foundation
- Makeup brushes
- Concealer
- Lighter concealer
- Blush
- Sponge
- Translucent powder
- Brow gel
- Eyebrow pencil
- Eyelash curler
- Lipstick
- Lip gloss
- Mascara
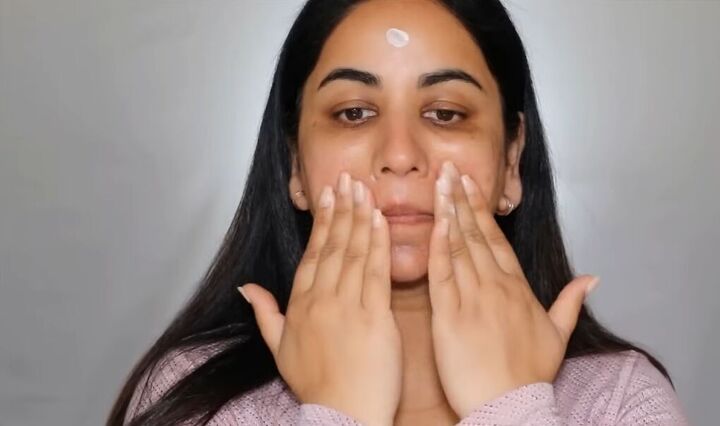
1. Prep the skin
Start by prepping your skin with moisturizer.
Make sure you go for something that doesn't leave your skin looking shiny or feeling oily - you want a smooth but matte look.
2. Apply foundation
Next, go in with a lightweight foundation with medium buildable coverage.
The one I’m using is not thick or cakey and instantly minimizes the look of pores while still giving you coverage.
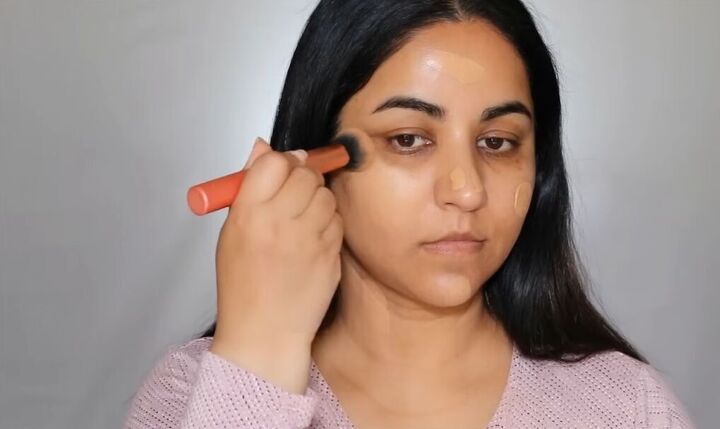
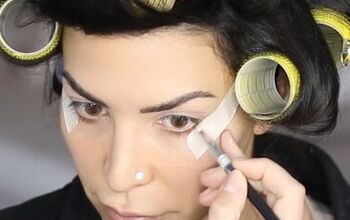
3. Apply concealer
Now, apply a concealer that is a true match to your skin tone to cover up dark circles around your eyes and mouth.
You want a concealer that is super pigmented and gives you full coverage without caking up or settling in the fine lines. Proceed to blend it in.
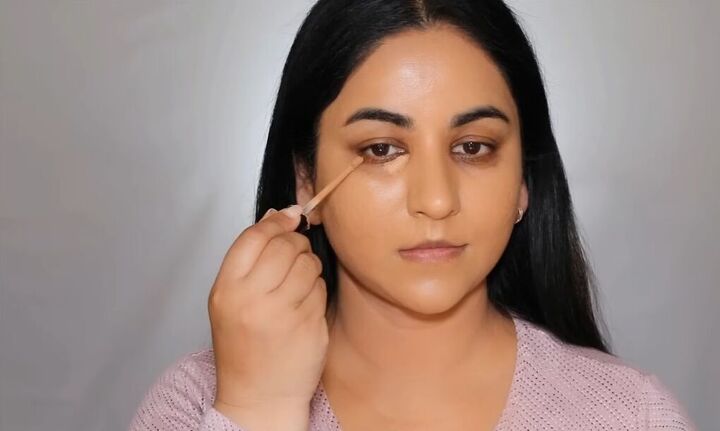
4. Highlight cheeks
For the actual facelift, the first step is to highlight, and for that, you will need a lighter shade of concealer that's at least two shades lighter than your skin tone.
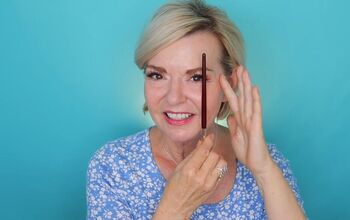
Use the lighter concealer to highlight the side of your eye.
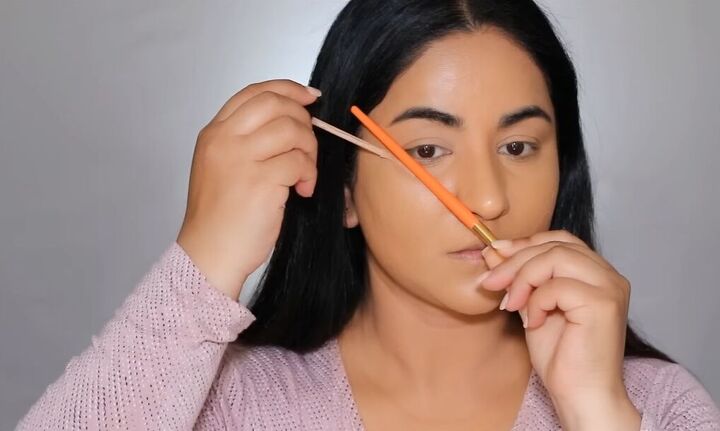
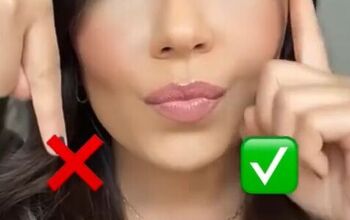
Make sure to align it with the side of your nostril. You can use any straight object for this.
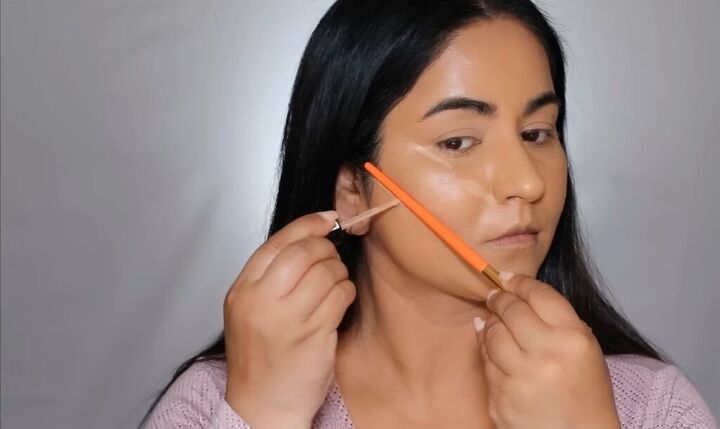
Then, parallel to this, draw another line going upwards from the side of your mouth, but only pull it halfway. Don’t drag it all the way to your mouth.
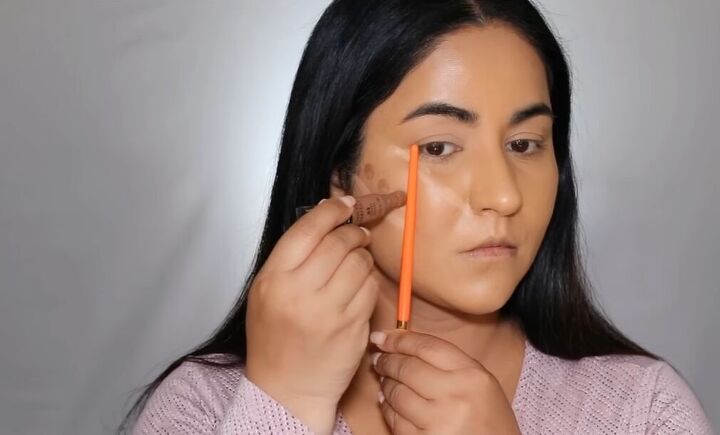
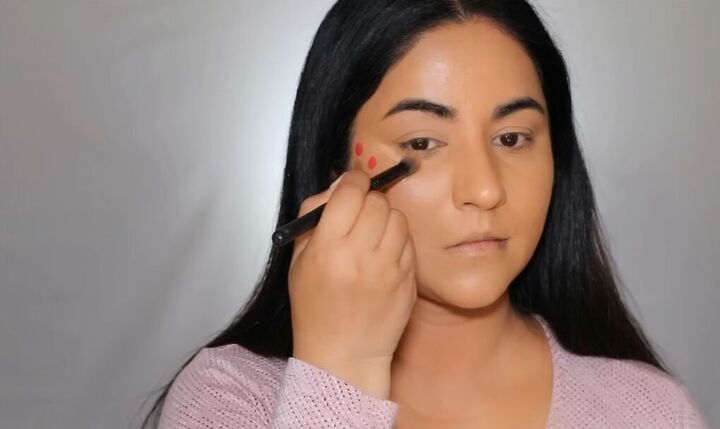
5. Contour cheeks
For contouring, use a deeper shade of concealer.
From the corner of your eye, cut across your cheek and place three dots between the two lines you drew using the lighter shade of concealer, placing the dots just above the lower line.
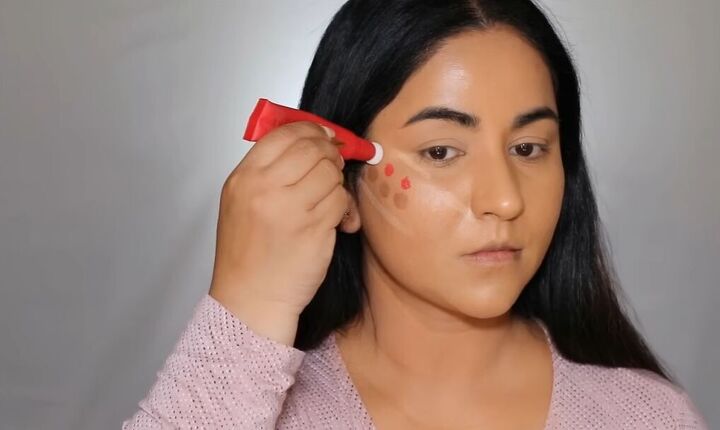
6. Apply blush
The final step to the facelift is to use a blush. Place three dots right above the contour.
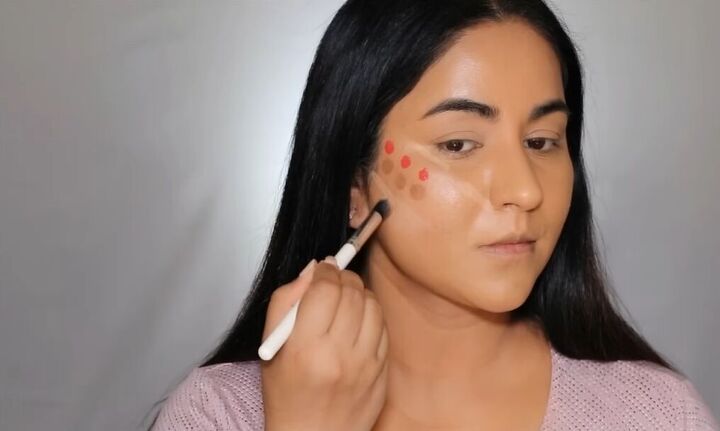
7. Blend
Now, it's time to blend everything. Start with the lighter shades first, blending out the lower line and pushing the concealer downwards.
That'll help to highlight your jawline.
Then, blend the concealer on top, pushing it upward. That way, it gives you a nice highlight under your eye.
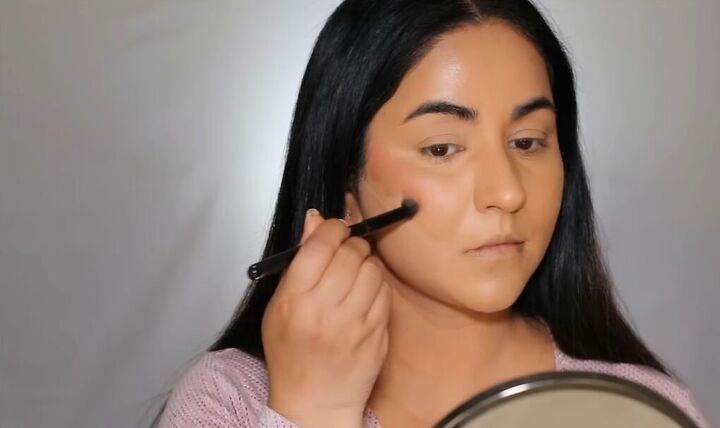
Next, blend out the blush before you blend out the contour. Don't worry too much about blending it to perfection, all you have to do is spread those colors out.
Then, using a dry sponge, blend everything out.
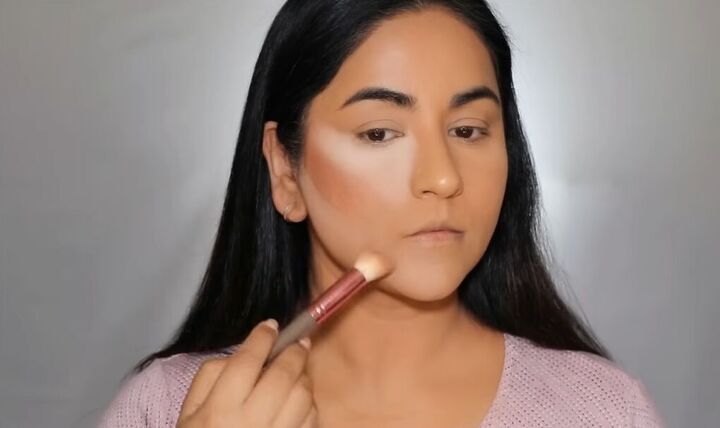
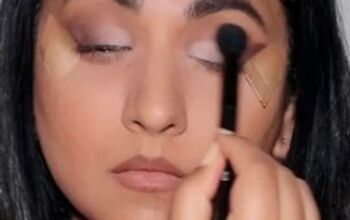
8. Set the makeup
Now set and bake the makeup using a translucent loose powder, bake in areas where you use the lighter shade of concealer.
Then, set the rest of your face with translucent powder. When a couple of minutes have passed, lightly dust off the excess powder.

And as you can see, my right side looks much more lifted than my left side, which looks much rounder.
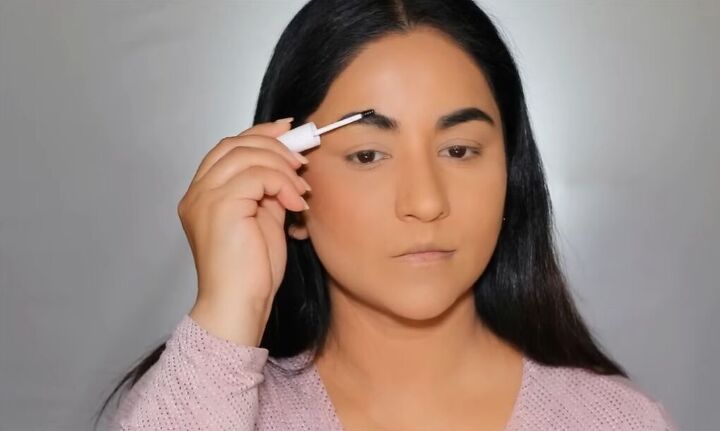
9. Apply brow gel
To finish off the rest of the face, use some clear brow gel to push your brow hair upwards to hold it in place.
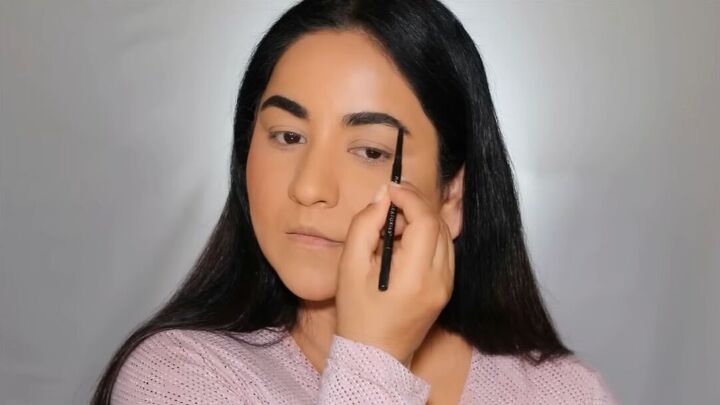
10. Apply eyebrow pencil
Then, use an eyebrow pencil to fill in your eyebrows.
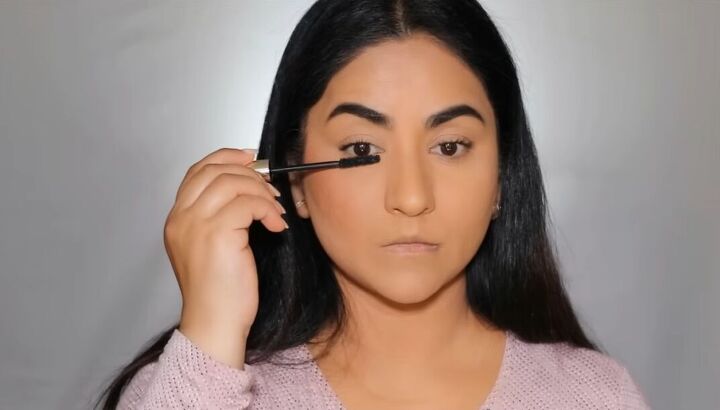
11. Apply mascara
Curl your lashes and then apply a volumizing and lengthening mascara.
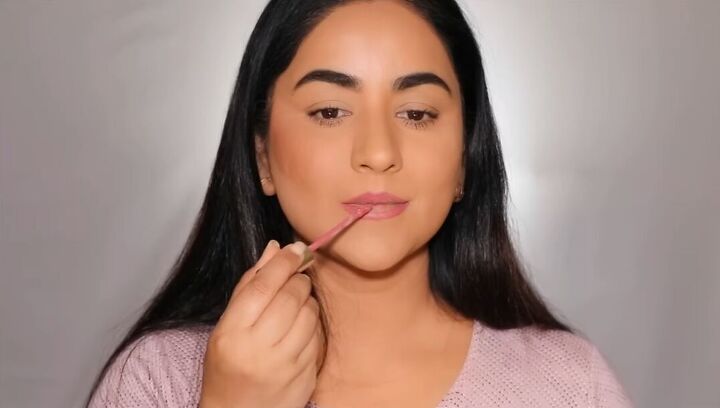
12. Apply lipstick
Use a soft, rosy color lipstick on your lips and then apply transparent gloss over it.
Then, finish off by repeating all the same steps on the left side of your face that you did on your right.

Face lift makeup
And here we have the finished look. Even though the tutorial involved a lot of steps, realistically you can do it within five minutes if you know the process.
The way to perfect it is to have patience and to repeat it often. Give it a go for yourself!
Next, learn How to Do the Perfect Winged Liner on Hooded Eyes.
The author may collect a small share of sales from the links on this page.


Comments
Join the conversation