Makeup Tutorial: Super Easy Winged Eyeliner Hack

Winged eyeliner can be a massive pain to do. I can’t believe I just discovered this beginner-friendly winged eyeliner hack!
If you want to know how to do winged eyeliner but have never been able to execute it well, this tutorial is for you.
Tools and materials:
- Eyeshadow brush
- Black eyeshadow
- Tape
- Taupe eyeshadow
- Eyeliner brush
- Cream eyeliner
- Cotton swab
- Micellar water
- Eyelash curler
- Eyelash primer
- Mascara
- False eyelashes
Here’s the problem with using tape: Sometimes when you put it on your face it can come out a bit unbalanced, but it’s really hard to see that until you remove it.
1. Mark the angle
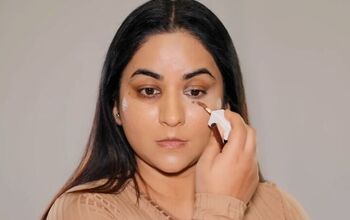
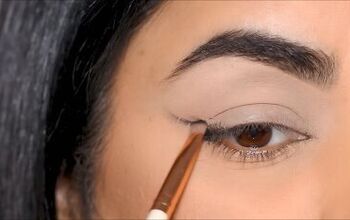
Instead, following the lower lashline, take a bush or a stick (or whatever!) and create the angle that you want.
Then, mark the place at your temples with a black eyeshadow. It will be easy to remove when you are finished.
Tip: It feels unnatural to do this, but always do your eye makeup first!
That way, if eyeshadow drops or you mark something up, you can clean it up when your eyes are finished.
2. Apply tape
Once you have the little black marks, you can line up your tape on both sides. This ensures that the angle of the liner is exactly the same.
3. Apply eyeshadow
I went for a razzle-dazzle look and applied glitter eyeshadow, applying it with my finger, but you can use whatever kind you like.
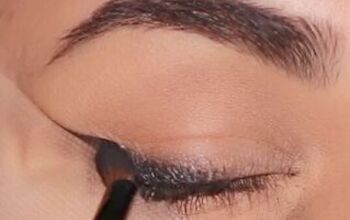
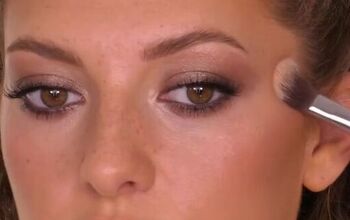
4. Apply taupe eyeshadow along the tape
Dip a small, fluffy compact brush into a taupe brown eyeshadow.
Then, smudge it along the tape, connecting it to the eye.
Don’t forget to apply it to the top lid as well, on the outer edge of the lash line.
Tip: I’m actually using a small paintbrush here! Search your local art supply store for the perfect makeup brush at significantly cheaper prices!
Just look for the density and shape that you want and you’re good to go!
5. Deepen the wings with black eyeshadow
Next, dip your brush into the black eyeshadow and smudge it right on top of the brown to deepen it a bit.
6. Apply cream eyeliner
Add more definition to the inner corners of your eyes without defaulting to a smokey eye (which can have the effect of closing your eyes up).
To do this, apply cream eyeliner with a tiny eyeliner brush.
Just follow your lash line ever so slightly on the inside to elongate the eyes without darkening or closing up the lid.
7. Clean up the eyes
Next, remove the tape to reveal the perfect winged eyes.
Then clean up any fall-out with a cotton swab dipped in micellar water.
8. Address your lashes
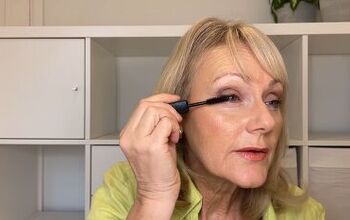
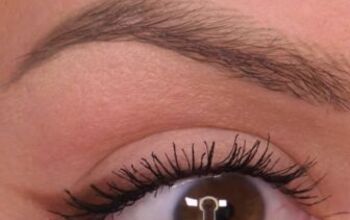
Start by curling your lashes. Then apply eyelash primer to bulk up your lashes, followed by mascara.
9. Apply false lashes (optional)
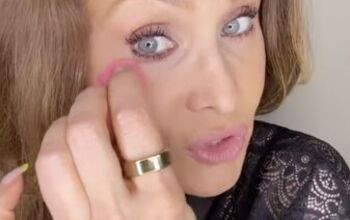
Add half of a false lash to the outer corners of the eyes to make the wings really come to life.
When I cut the false lashes, I like to use the inner part.
I find that the outer section is just too long, and because of that it drags and weighs my eyes down.
10. Add a lighter color under the eyeliner
Follow the liner with a light, matte eyeshadow.
This really lifts up the corners of the eyes, almost like a face lift.
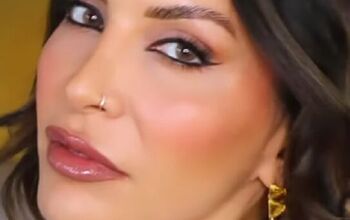
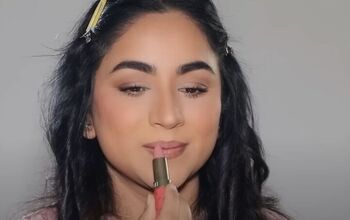
After taking my rollers out and applying lipstick, I am left with this soft and beautiful, easy winged eyeliner.
It’s great with straight or curly hair.
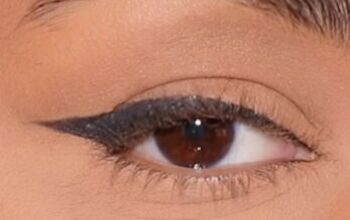
Winged eyeliner hack
This eyeliner wing hack is perfect for a daytime event or a night out.
If you try this winged eyeliner hack, let me know in the comments below!
And if you want to learn one of my signature looks, check out this clean girl makeup tutorial.
Enjoyed the project?
Suggested materials:
- Eyeshadow brush
- Black eyeshadow
- Tape
- Taupe eyeshadow
- Eyeliner brush
- Cream eyeliner
- Cotton swab
- Micellar water
- Eyelash curler
- Eyelash primer
- Mascara
- False eyelashes
The author may collect a small share of sales from the links on this page.








Comments
Join the conversation