DIY Clutch Painting: How to Make a Glittering Half-Moon Design

Hi, everyone! Today, we’re going to be thrift-flipping a DIY clutch. This tutorial is going to showcase one of my favorite, super-easy bag painting designs. You only need a few materials for these hand-painted bags and they’re so much fun to make and design. Let’s get started!
Tools and materials:
- White acrylic paint
- Clutch
- Paint sponge
- Paint brushes
- Acrylic finisher
- Glitter

1. Add white paint with a sponge
Add white acrylic paint—I’m using leather paint—to a sponge and just paint around the clutch, adding more paint directly to the fabric as you need it. This is going to form the base texture of our moon.
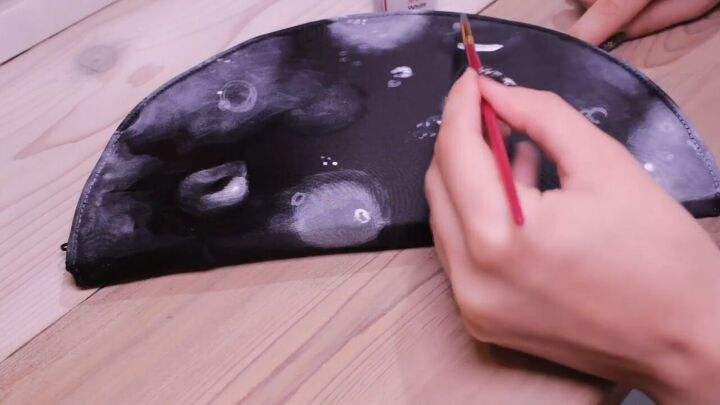
2. Add more detail with a smaller brush
Next, I’m grabbing a smaller paint brush and adding a bit more detail. For the bigger blotches, I like to wet my brush before and after to get a better look. Then, I did these half circle-like indentations.
These are important because the moon is full of these little holes. I want some of them to be blended and some of them to stand out.
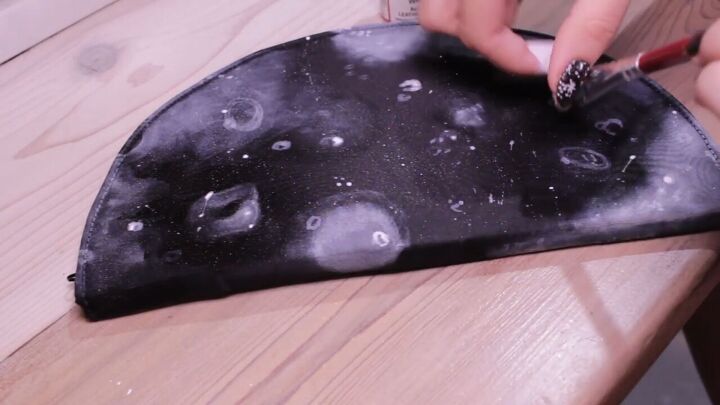
3. Flick paint on the bag
Next, you’re going to want to take a thicker brush. I like the angled ones. Put white paint on it, ensuring it’s dry, and then flick it at the bag.
You can also use an old or cheap toothbrush and use it for this as well. Any brush that’s got a nice density and that you can get a good flicking motion on will do.
Go ahead and do more blotting with the sponge if you feel you need more coverage like I did.
You can also take the time to go and blend some of the flicked paint together with the fabric and surrounded elements. Just repeat the previous techniques until you feel satisfied with the way your DIY clutch looks.
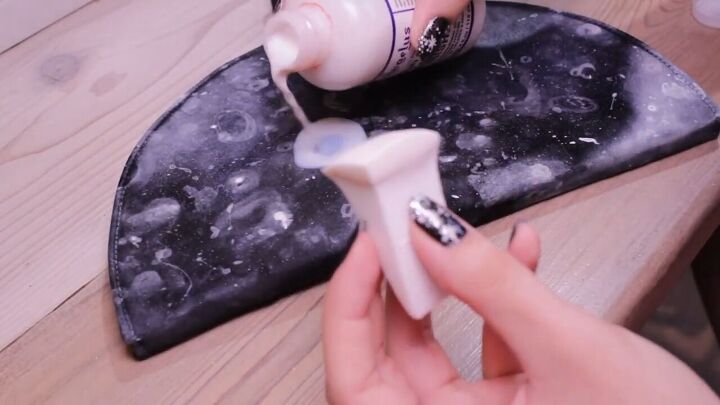
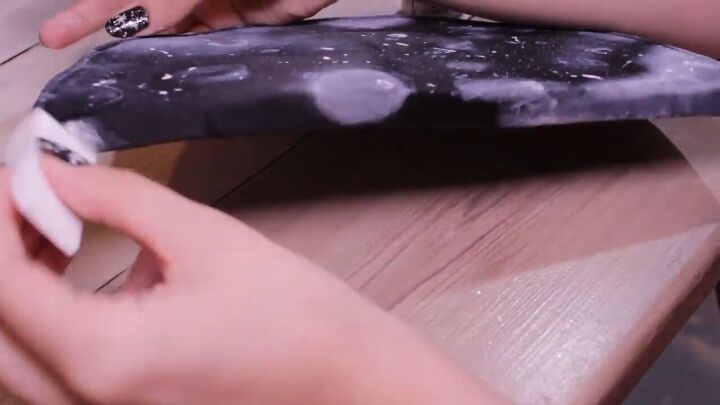
4. Apply acrylic finisher
Shake up your bottle of high gloss acrylic finisher, and apply it to a sponge or directly onto the bag. Tap or swipe it into place, depending on the effect you want.
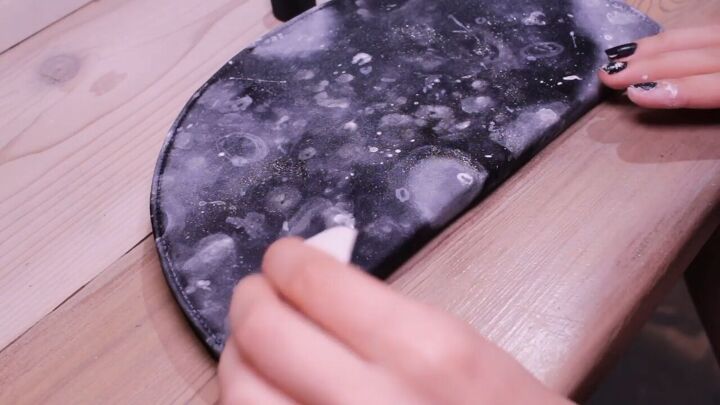
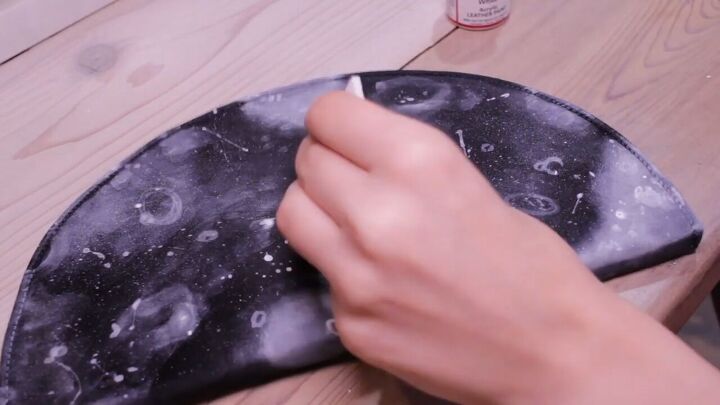
5. Add glitter
Take some Mod Podge or some acrylic finisher and combine it with glitter—I’m using a silver grayish glitter—on the sponge. Push it into the fabric using a circular-like motion so you get the effect sparingly but it’s still there.
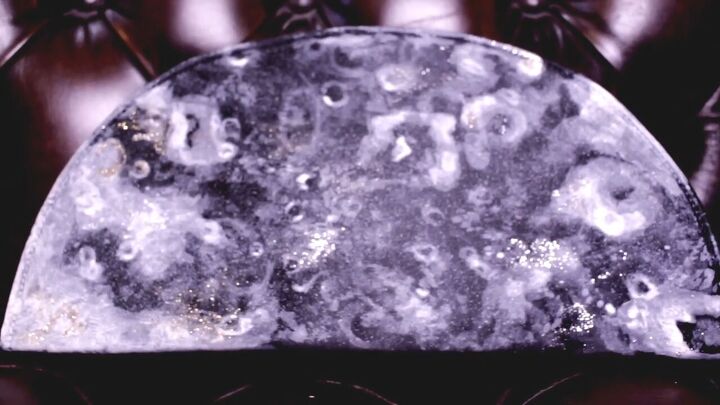
DIY clutch painting
Here’s the finished DIY clutch! Painting bags is seriously as easy as this, and now that you know my technique, you can design and paint all the bags you want! Let me know if you decide to try this technique out down below.
The author may collect a small share of sales from the links on this page.


Comments
Join the conversation