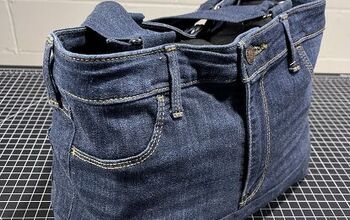
Upcycle Your Old Jeans Into an Adorable DIY Tote

Making a denim tote is super easy and they can be customized in so many different ways. Old jeans are durable and hard-wearing, so it's only natural that upcycling your jeans is a good way to make use of them. I love this easy bag, it’s usually stuffed with a crochet blanket I am slowly making, ready to grab in a minute and take with me when meeting friends for a crafty evening. You can easily jazz your denim tote up, tying a scarf through the original jeans belt loops, or adding buttons along the edge of the pockets.
For this project you'll need:
- A large pair of jeans
- Sheet or duvet for lining
- 9" or longer zipper
- 64" webbing for straps
- Quilter's ruler
- Scissors
- Jeans sewing machine needles
- Sewing machine
- Fusible fleece
- Magnetic snap
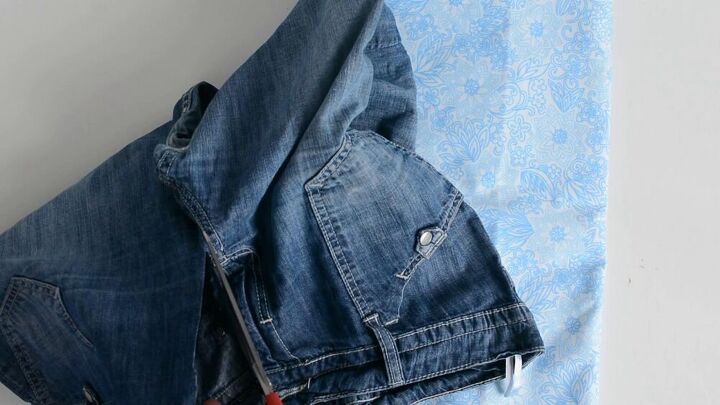
Start by cutting your jeans in half along the crotch line. Cut again down the inner trouser leg to create two pieces of fabric.
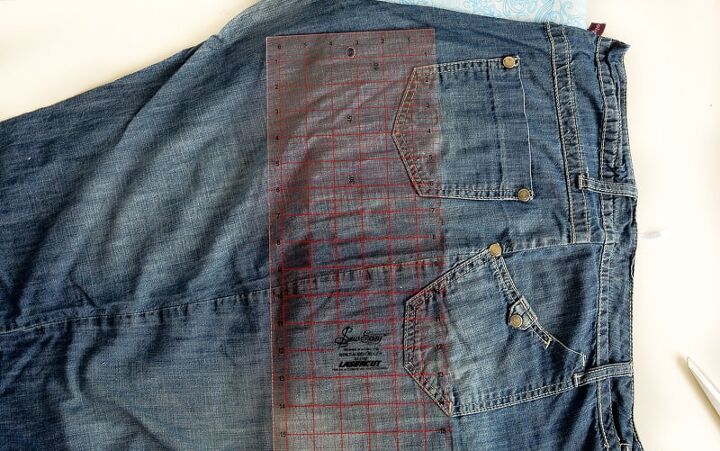
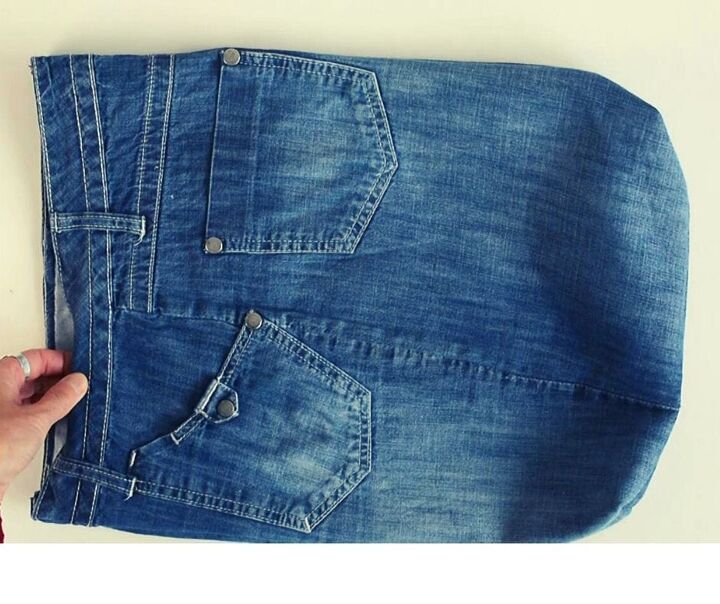
Measure your jeans. I find a quilter's ruler extremely helpful for working out straight edges and right angles. Consider the placement of the pockets and any rivets – you do not need any rivets on your seam. Work out your bag measurements. I have chosen a height of 18″ and width of 15 1/2″. This takes in both denim pockets.
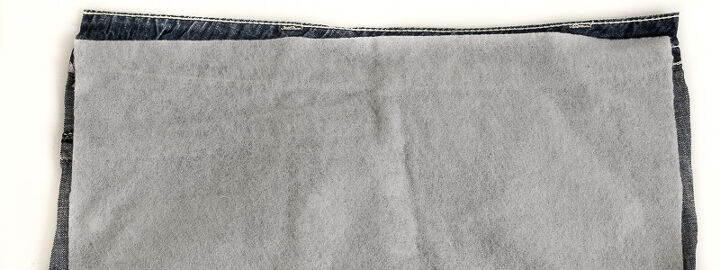
Cut out two pieces of fusible fleece the size of your bag piece. Iron this on the back of the jeans, starting just below the top of the waistband. Then cut out your two denim pieces, one for the front and one for the back of the bag.
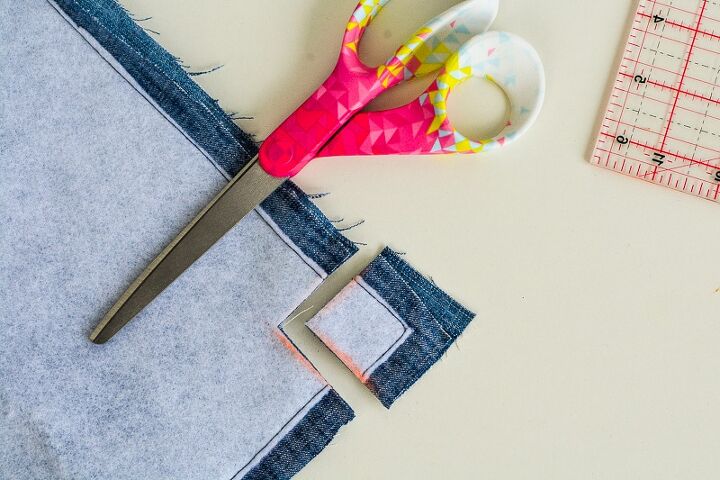
Place the two denim pieces right side together. Using a denim sewing machine needle, stitch the three sides of the bag with a 1/2” seam allowance. Mark a 1 1/2″ square at the bottom corner of the bag, cut the square out.
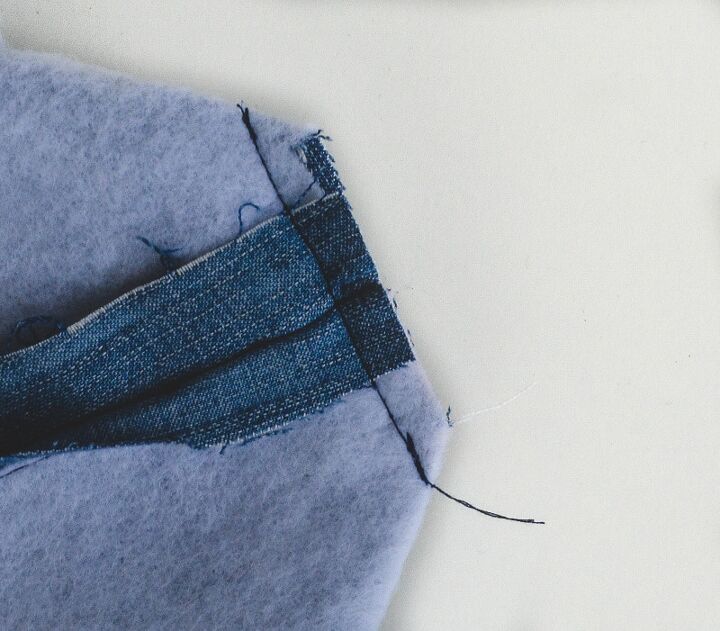
Fold the denim so the side seam meets the bottom of the bag seam. This creates a boxed corner. Pin then machine stitch to secure.
Look at it already coming together! Now we have to make the lining!
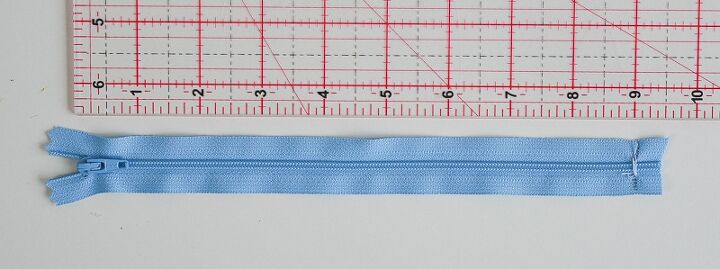
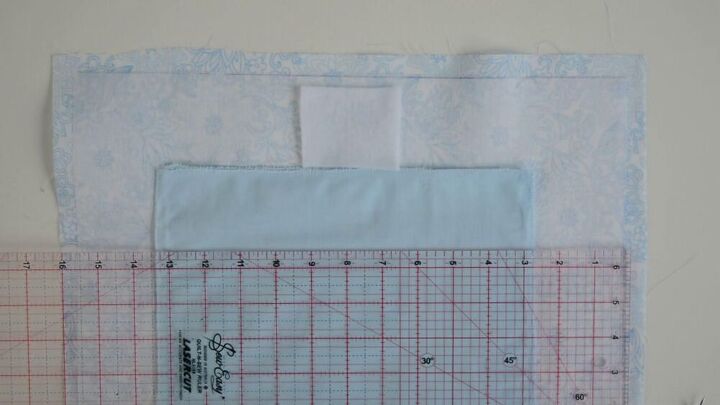
Cut two pieces of lining fabric the same size. Iron interfacing to the back of both pieces. For the zip pocket you need a piece of fabric 14" by 11″. For the slip pocket you need a piece of fabric measuring 7" by 13″ for the slip pocket. If your zip is longer than 9” hand stitch over at the 9 mark, then cut to shorten.
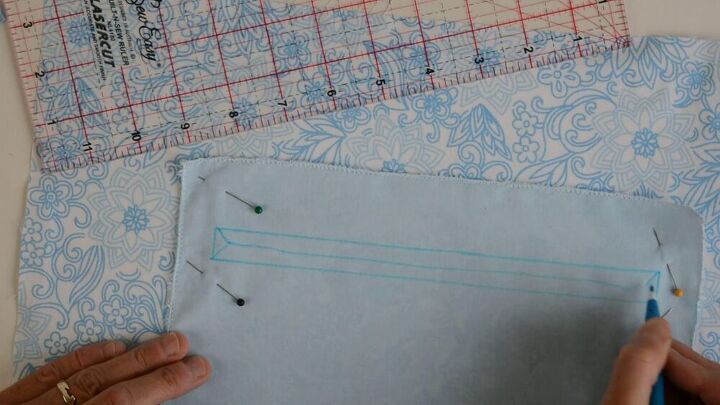
Zigzag the edge of the fabric piece for zip pocket. Place on your lining fabric, rights sides facing each other. The top of the pocket piece is 2 1/2″ from the top of the bag, and central width wise. Mark position of zip, using a fabric pen or tailor’s chalk mark a rectangle for the zip, measuring by 9″ by 5/8″.
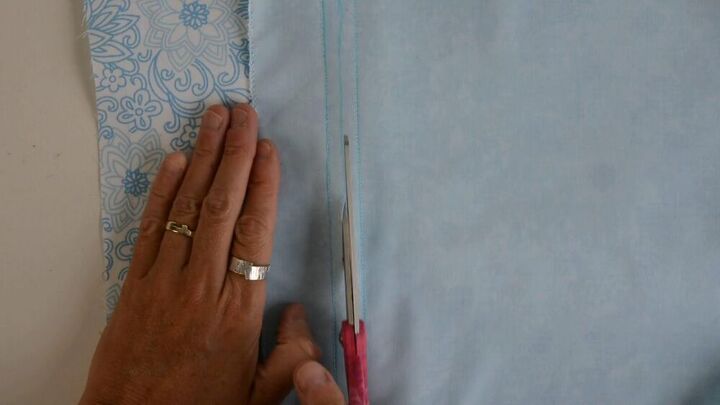
Stitch along your marked lines. Cut down the middle of the rectangle and into the corners, taking care not to cut the stitches.
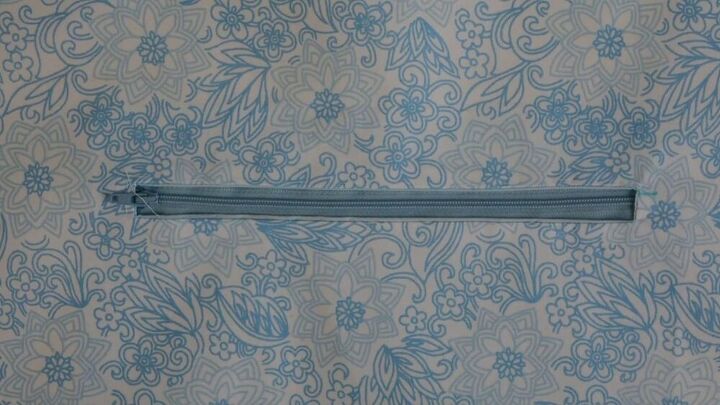
Pull the zipper pocket through to the back and press. Place your zip on position and hand tack in place. Machine stitch around to secure the zip.
Turn over to the back and fold the pocket piece up so you create an envelope of fabric. Pin and then machine stitch around, being careful not to catch the bag lining.
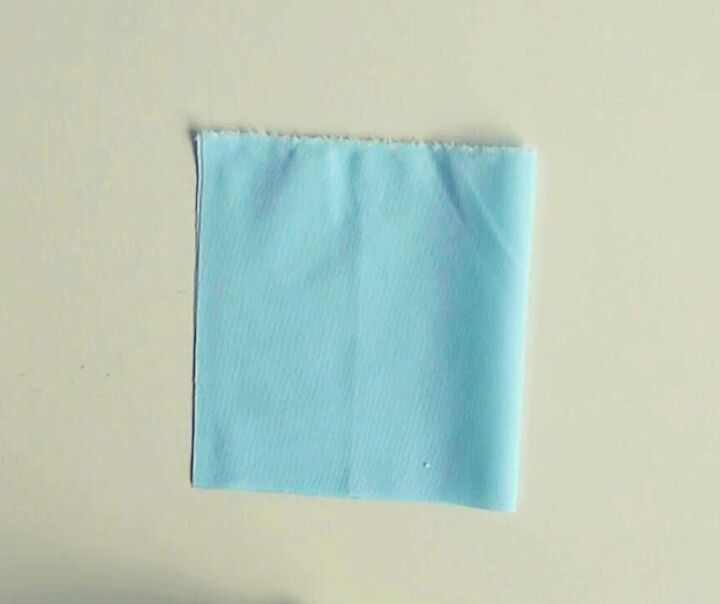
Next let’s sew up a slip pocket, fold your slip pocket fabric in half, right sides matching.
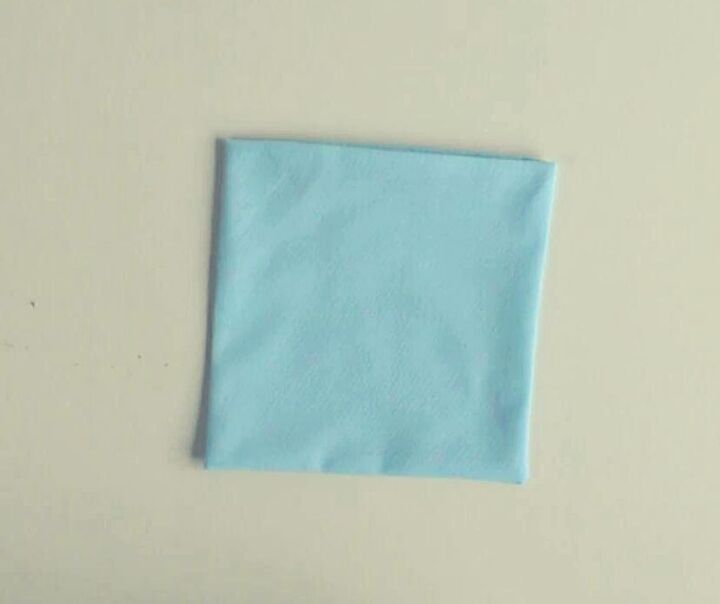
Stitch two sides of the slip pocket. Trim the corners, taking care not to cut the stitches. Turn right side out and press, folding in the raw edges.
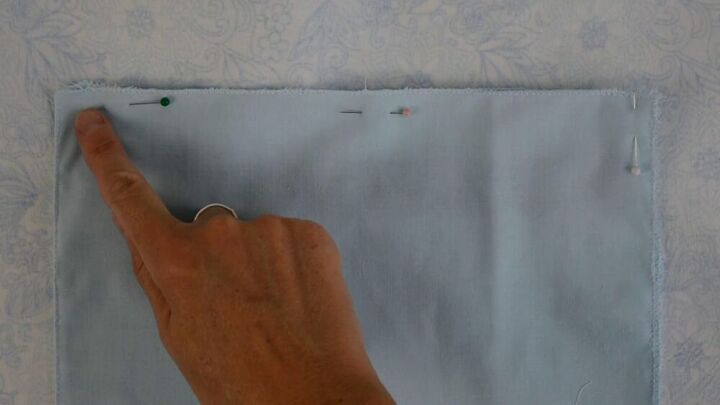
Place centrally on the second piece of lining, 4″ down from the top. Pin in place and stitch around three sides, ensuring you backstitch at the top of each side of the pocket.
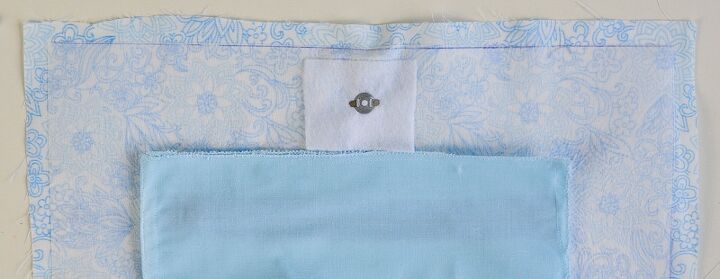
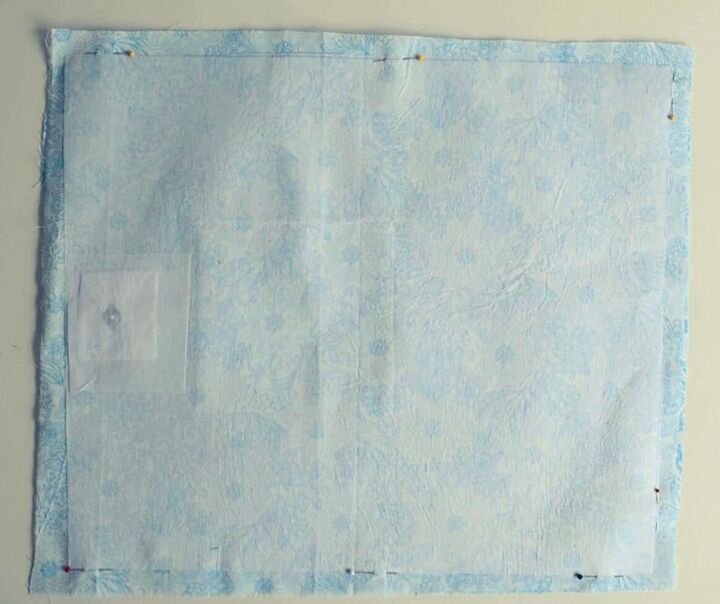
Lastly, before we assemble the bag, lets insert a magnetic snap. Place a scrap of fusible fleece centrally on the back of the lining.

Measure to ensure accuracy and insert the magnetic snap.
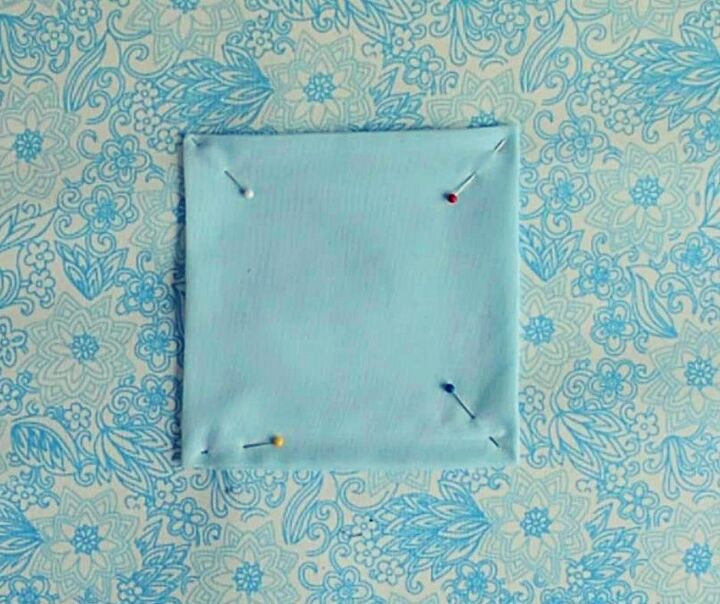
Place the two lining pieces right side together.
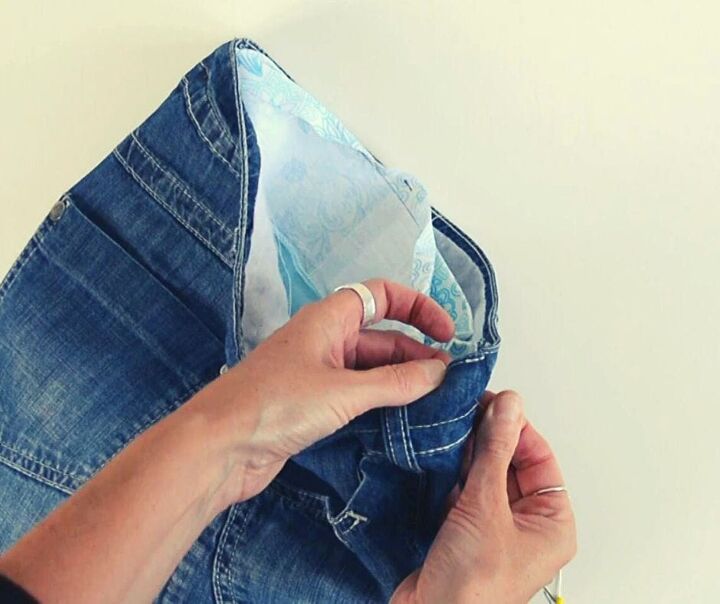
Stitch the side and bottom seams. As you did for the outer bag, box the corners. This uses the drop-in method for lining a bag, you can read detailed instructions for turn through lining and drop in lining. Press over the top edge of your bag and insert the lining inside the outer bag. Then pin all around.
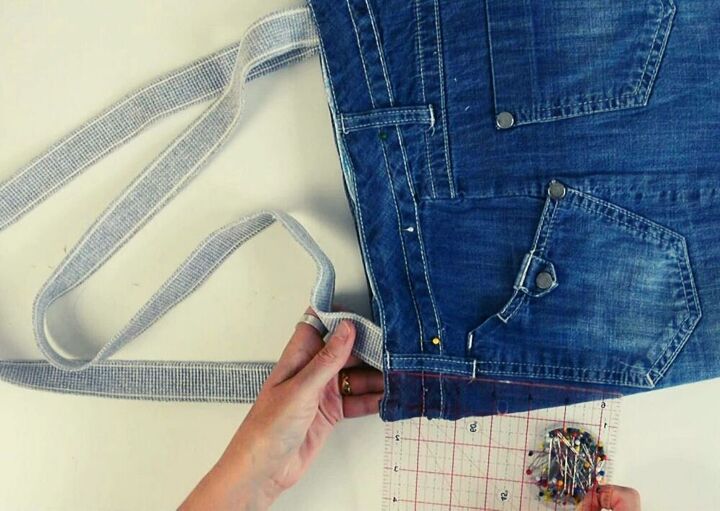
Cut two pieces of webbing for your handles 32″ long. I am tall so you may prefer your handles to be a little shorter. You may like to check measurements of bag handles on a bag you already have. Measure 1 1/2″ in from the side seam of the bag and insert in-between your lining and outer bag. Repeat for the other side of the webbing to create one bag handle. Repeat again for the second bag handle. Ensure you don’t accidentally twist your webbing.
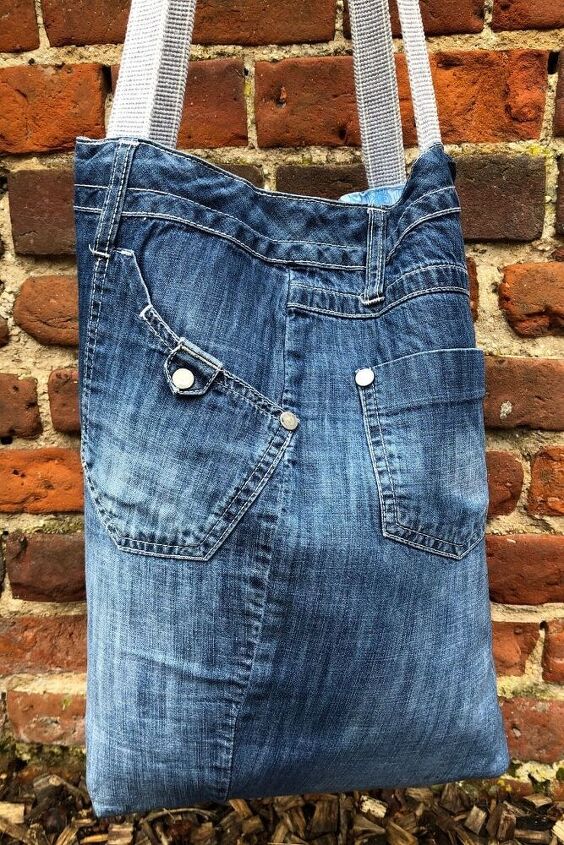
Lastly topstitch around the top of your bag. Ta-dah! One finished denim tote.
This bag is super customizable and you can change the size or embellish however you like. How would you personalize your own DIY denim tote bag?
The author may collect a small share of sales from the links on this page.


Comments
Join the conversation
Such a cute idea!
Wonderful job!