DIY Pencil Case in 10 Minutes - Perfect for Both School and Makeup
We all know how the expenses for our little students can get fairly high. To help lighten that burden just a bit, here comes a project that will reduce the costs for school necessities a little, the DIY pencil case! Plus your little one will have one of a kind pencil pouch! Win-win
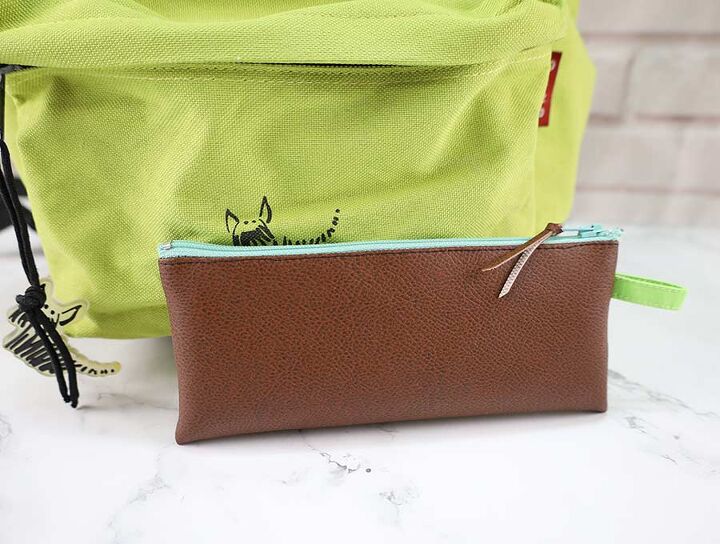
I'll show you how to make a pencil case real quick. This pencil case is one of those flash projects that you can finish in about ten minutes regardless of your sewing skill level. But even though it's simple and quick to make, it looks pretty neat and kids love it. Here’s how you can make one.
But even though it's simple and quick to make, it looks pretty neat and kids love it. Here’s how you can make one.
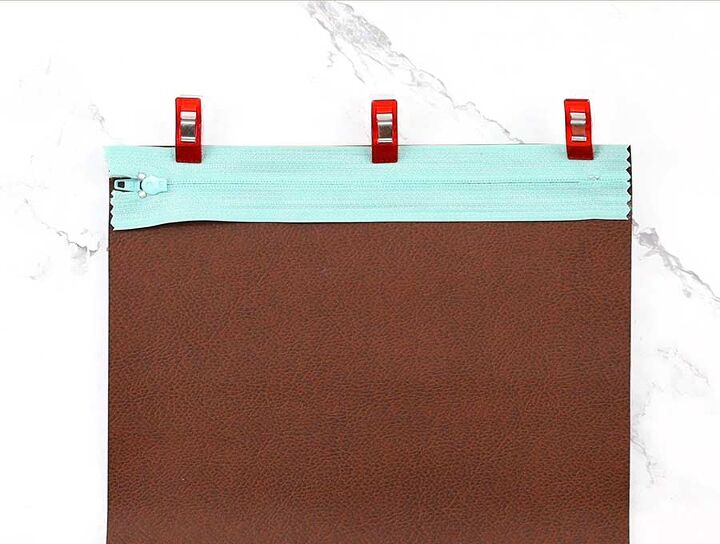
Prepare the fabric
Cut out a 9 x 7 inches main piece, as well as a small 3.5 x 1.5 tab piece of fabric.
You can make the main piece bigger if you want to, just make sure that it isn’t wider than the zipper you’ll sew onto it.
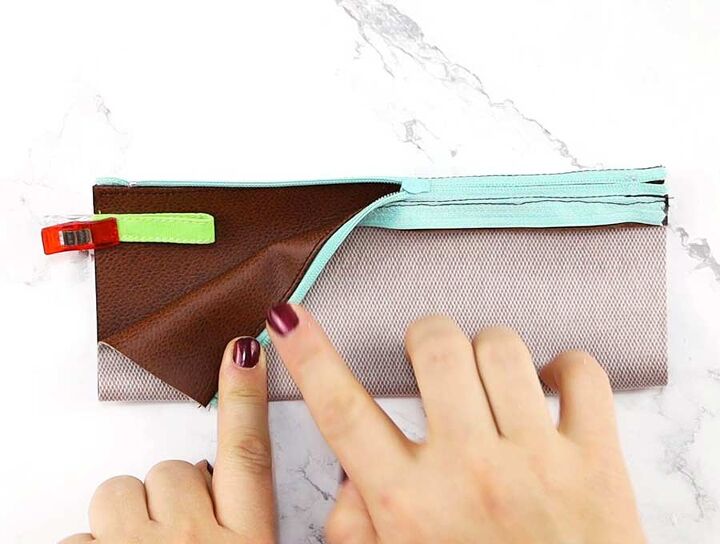
Place the zipper onto the top edge of the main fabric piece with their right sides facing each other. Pin them together.
Sew the pencil case
Stitch the zipper to the main fabric with a zipper presser foot.
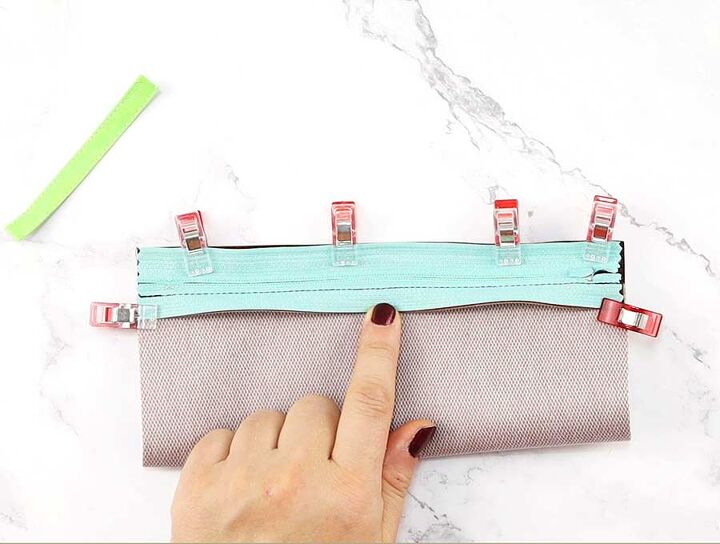
Fold the fabric in half so that the other side of the zipper aligns with the bottom edge and pin them together. Keep the right side in as you fold the fabric. Stitch the zipper to the bottom edge as well.
Finish the DIY pencil case
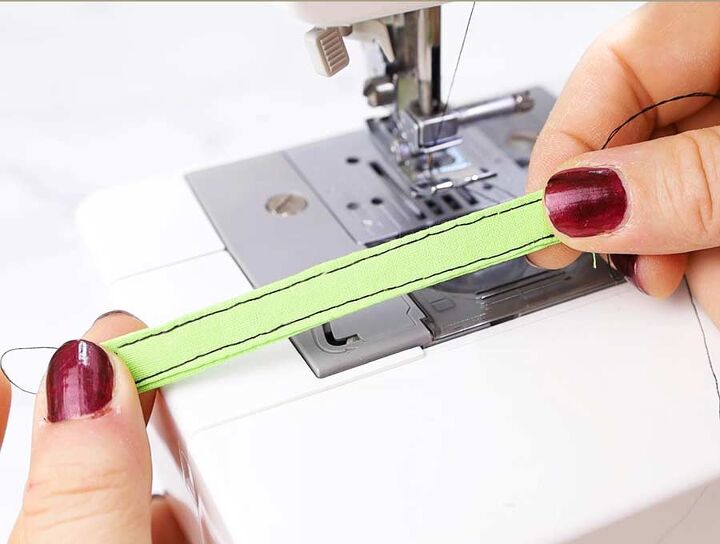
Fold the tab piece in half along its length and press it. Unfold it and fold each edge to the crease. Fold the whole tab in half again and press it to get a small four-layer strip. Stitch both long edges of that strip. This will be the pull tab.
Fold the tab in half so that the short edges align.
Open up the zipper a bit and set the tab inside the case. Place it about half of an inch below the zipper. Keep the short raw edges aligned with the side edge of the pencil case and pin the tab to the case.
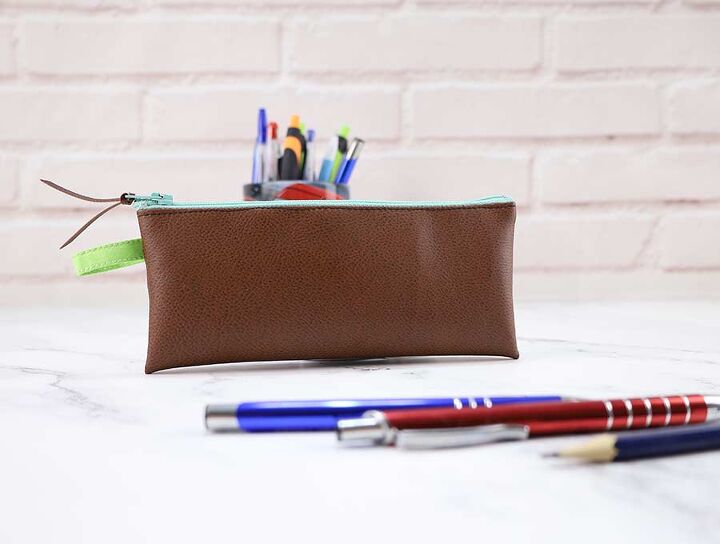
Close the zipper and sew both short edges of the case. Clip the bottom corners and turn the pencil case inside-out. It’s now ready for school!
We hope you and your kid liked this DIY pencil case and that it helped you create one of a kind pencil case and save you some money. Let us know what you think of it in the comment section! Feel free to check out our other tutorials, you could find some that you’d like to try out. Have fun crafting!
The author may collect a small share of sales from the links on this page.


Comments
Join the conversation