Want to Sew a Valentine's Day Gift? Try This Mini Heart Pouch Tutorial

Do you know how to sew a heart shape? If you’ve been wanting to sew something heart-shaped for Valentine’s Day, this mini heart pouch tutorial is for you!
I’ll show you a cute heart sewing pattern that you can use to sew anything heart-shaped. This adorable heart pouch is perfect for coins or headphones and ideal to give as a gift for Valentine’s Day! Let’s get started!
Tools and materials:
- Outer fabric
1 piece - 12cm (4.72") x 11cm (4.33")
1 piece - 14cm (5.51") x 13cm (5.12")
1 piece - 6cm (2.36") x 4cm (1.57") for the tab
- Lining
1 piece - 12cm (4.72") x 11cm (4.33")
1 piece - 14cm (5.51") x 13cm (5.12")
- Fusible interfacing (medium weight)
- Zipper 12cm (4.72”)
- Ring
- Ruler
- Pencil/pen
- Sewing machine
- Scissors
- Iron
This heart zipper pouch measures 3.94 X 3.54 inches or 10 X 9 cm.
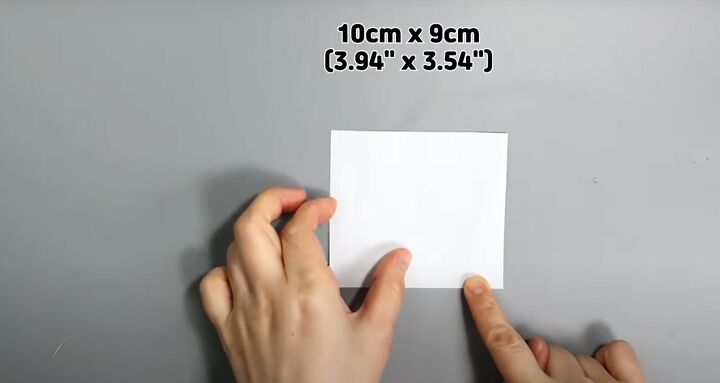
1. Make the paper pattern
Cut a piece of paper to measure 3.94 X 3.54 inches.
Fold the paper in half. At the top fold, hold the ruler vertically and measure in 0.39 inches (1 cm).
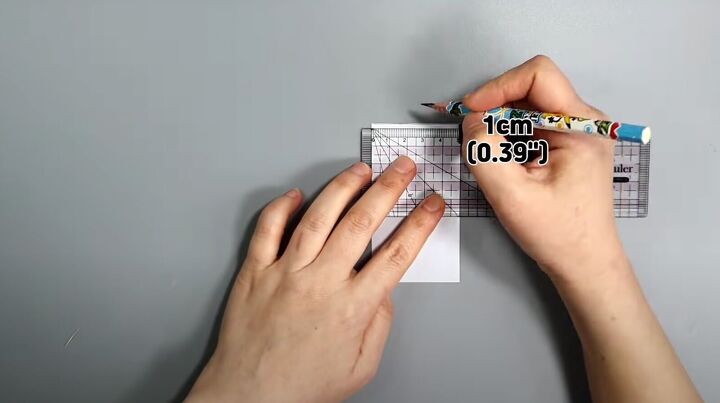
Turn the ruler horizontally across the top and mark from the top down 0.39 inches (1 cm).
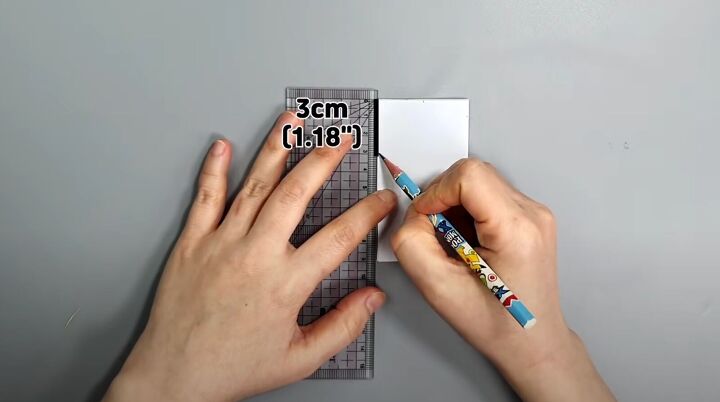
Then measure on the open side 1.18 inches (3cm) down.
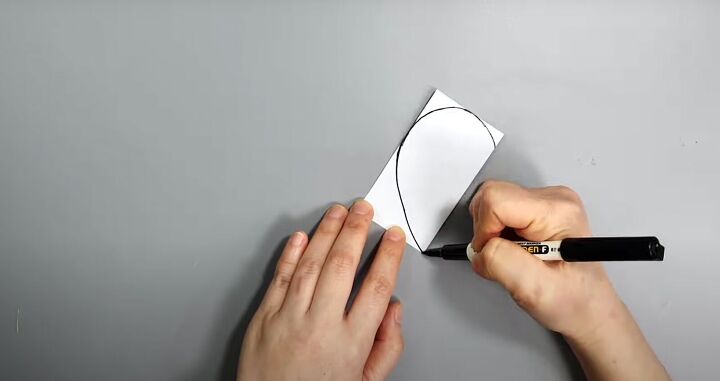
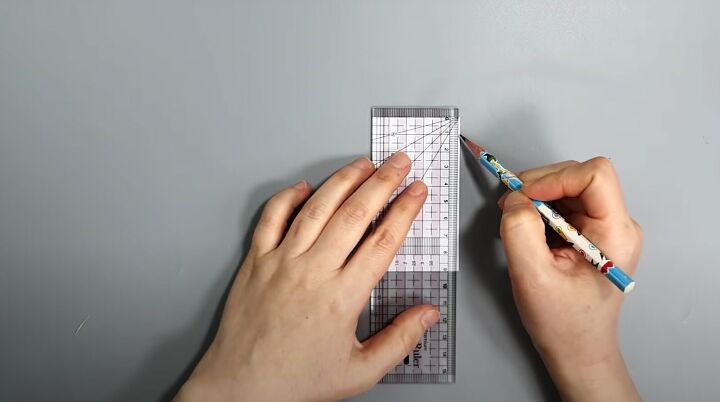
Join the points at the top to form a curve and then draw the curve to the folded edge.
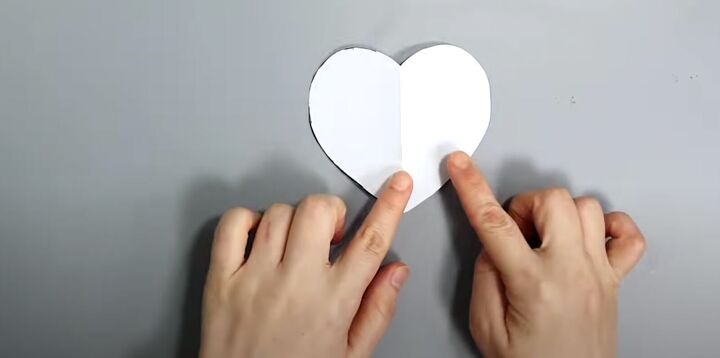
Cut the pattern out and unfold the heart.
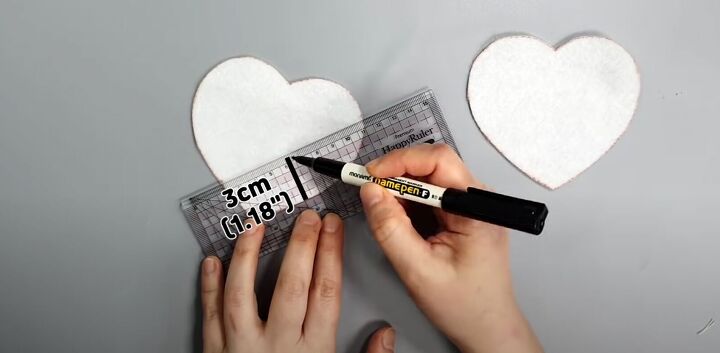
2. Cut the interfacing
Use the heart pattern to cut out two pieces of the interfacing. On one of the heart-shaped interfacing pieces, mark 1.18 inches (3cm) from the outside edge.
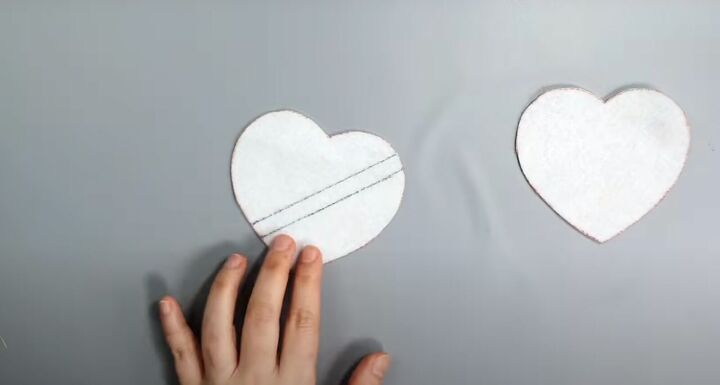
Mark with a horizontal line. Measure an additional 0.39 inches (1 cm) above and mark another horizontal line.
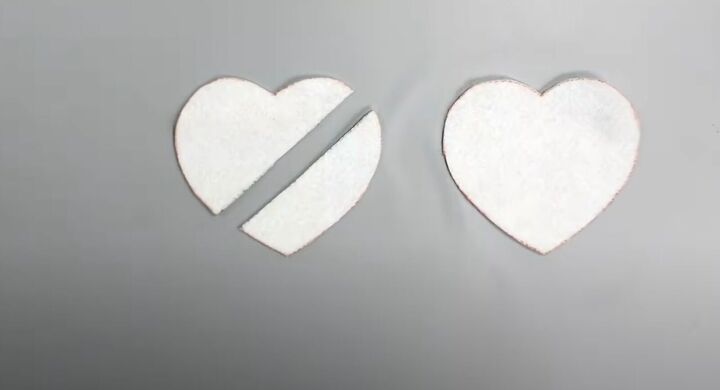
Cut that piece out.
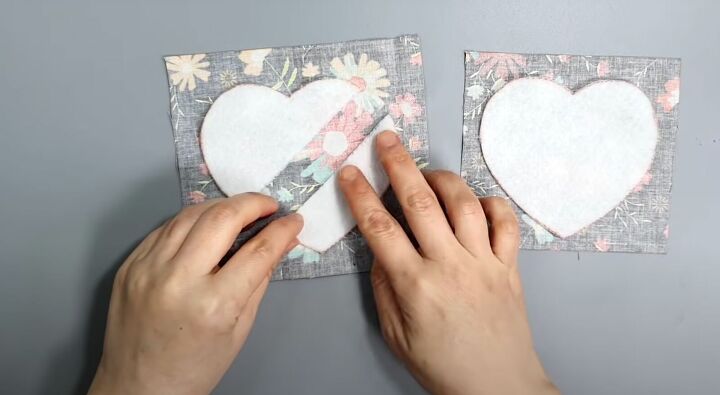
3. Attach the interfacing to the fabric
Lay the outer layer face down. Place the “broken” heart on the slightly larger piece of fabric. Lay the fusible interfacing on top of both of them and iron together.
On the piece with the space, mark at 0.27 inches (0.7cm) in the space for the zipper. Add a ¼-inch seam allowance on both pieces.
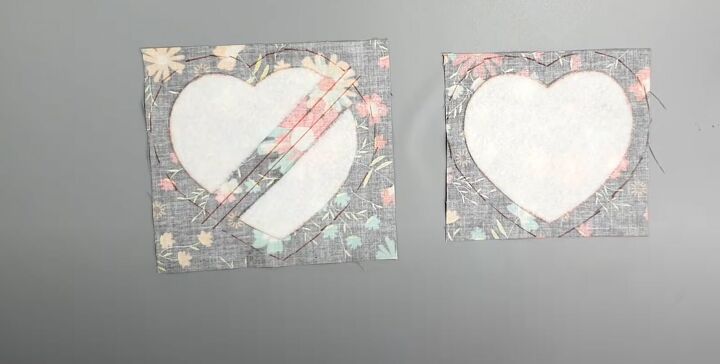
4. Insert the zipper
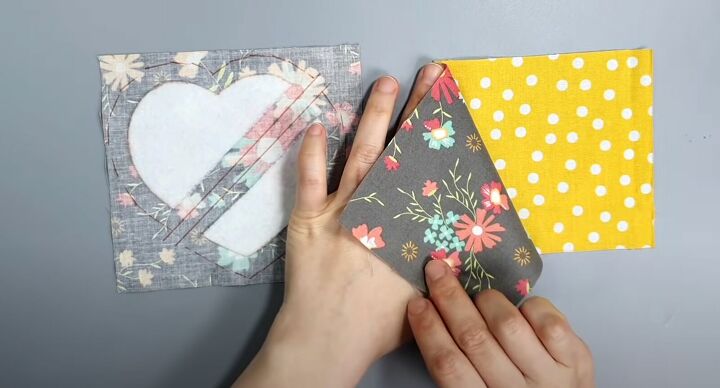
Lay the lining face up and the outer fabric with the fusible interfacing so both right sides are touching for both pieces. Match the larger piece with the larger lining.
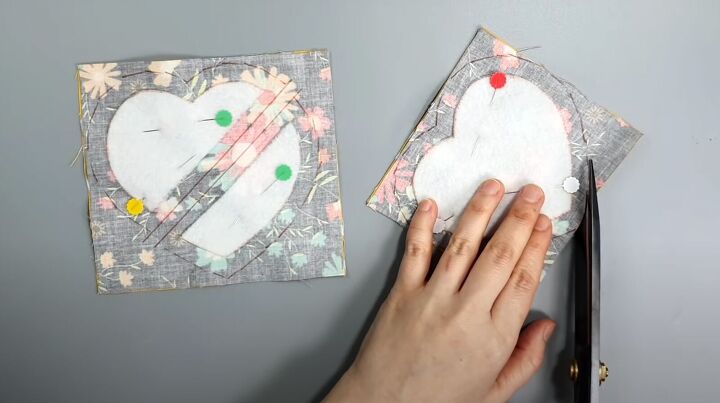
Pin and cut the fabric.
Separate the pieces.
Fold the zipper in half and snip at the center point on both sides of the zipper tape.
Mark the center front of the cut heart piece on both the lining and outer fabric layers. Match up the notch in the zipper to the center mark. Pin the zipper in place.
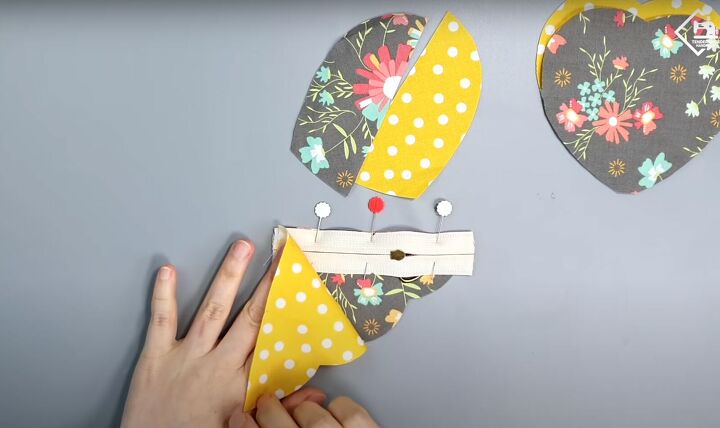
Lay the lining on top so the fabrics are right sides together. Match up the lining notches as well. Pin everything in place. Stitch across at 0.27 inches (0.7cm).
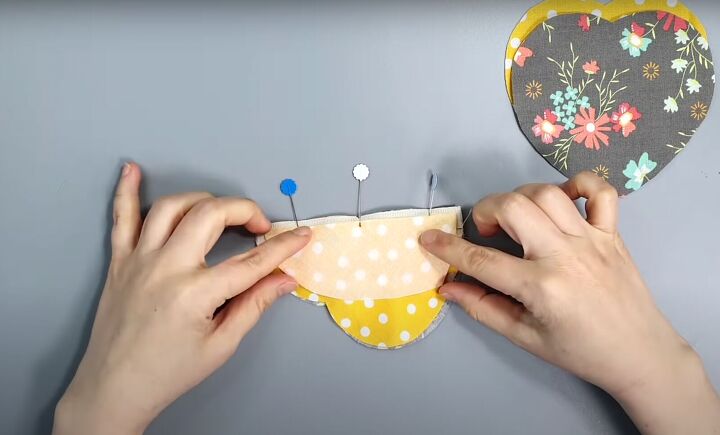
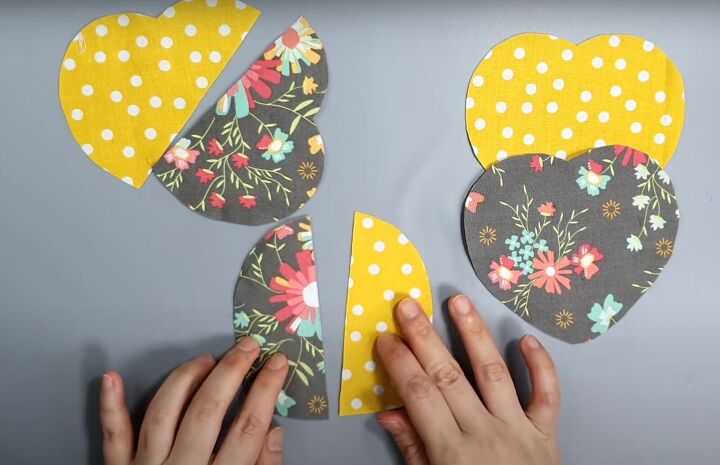
Mark the centers of the other part of the heart pieces of both fabrics. Lay the outer fabric piece so the right side is up.
Place the zipper with the notch to match the center mark on this side. Pin in place.
Then lay the lining right sides together, matching this mark to the notch. Sew at 0.27 inches (0.7 cm).
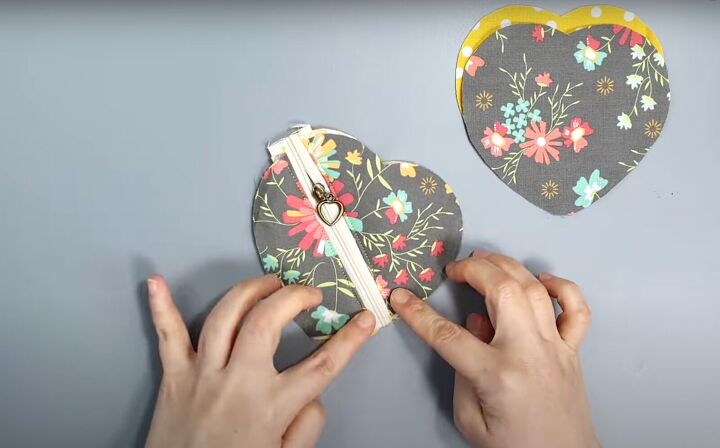
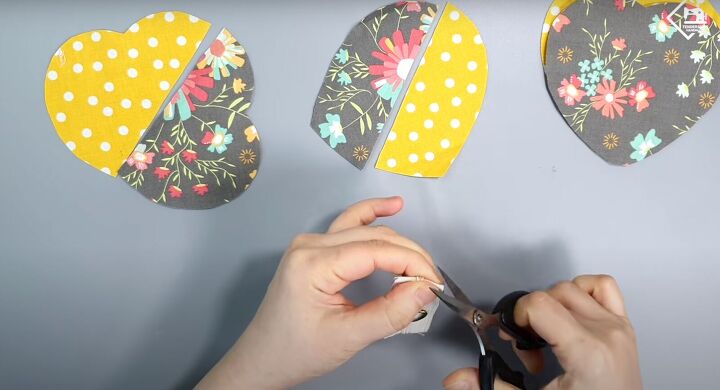
Lay the zippered piece flat. Topstitch on both sides of the zipper at 0.08 inches (0.2 cm).
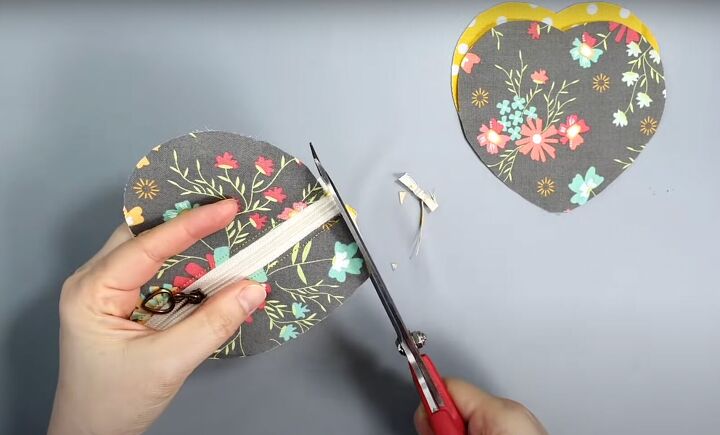
Trim any excess around the heart.
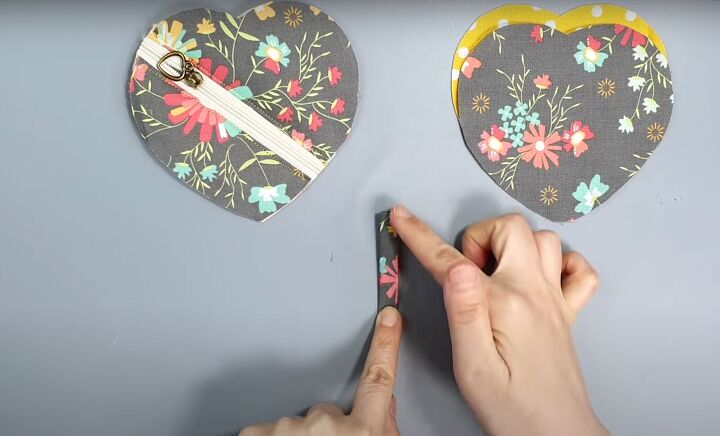
5. Make the tab
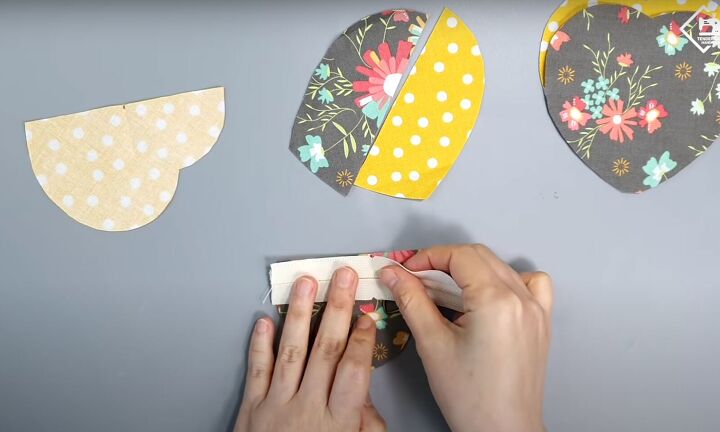
Fold the little piece of fabric into thirds and then in half. Iron to flatten it as much as possible, Topstitch on both sides at 0.08 inches (0.2 cm). Keep the short ends unsewn.
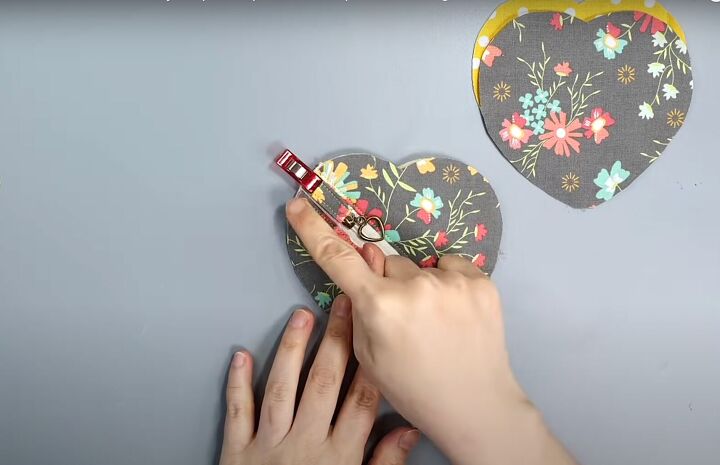
Fold the tab in half. Clip it so the unfolded ends are at the edge of the zipper. Stitch to attach the tab at 0.2 inches (0.5 cm).
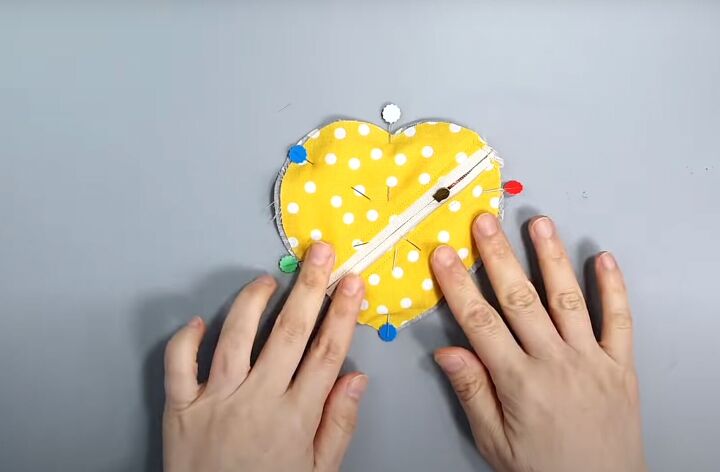
6. Sew the pouch together
Lay the lining and the outer layer together with the right sides facing out. Then lay the piece with the zipper half opened with the outer fabric so both outer fabric pieces are right sides together.
Next, lay the lining on top with the right side facing up. Pin the two pieces together. Stitch all around the perimeter of the heart at 0.39 inches (1cm).
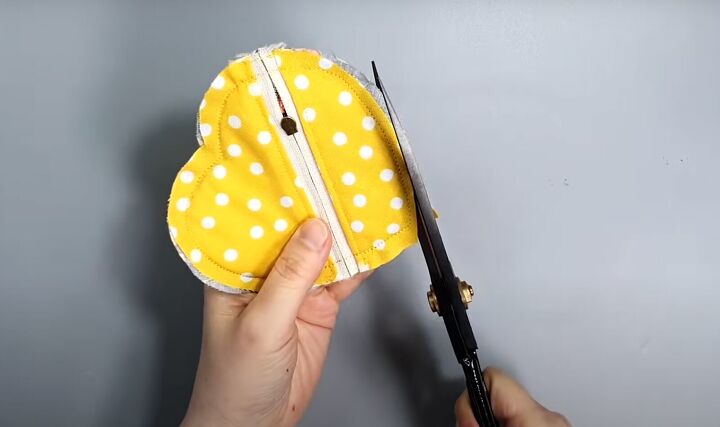
Once it’s sewn, trim the excess seam allowance to measure 0.12 inches (0.3 cm).
7. Finishing touches
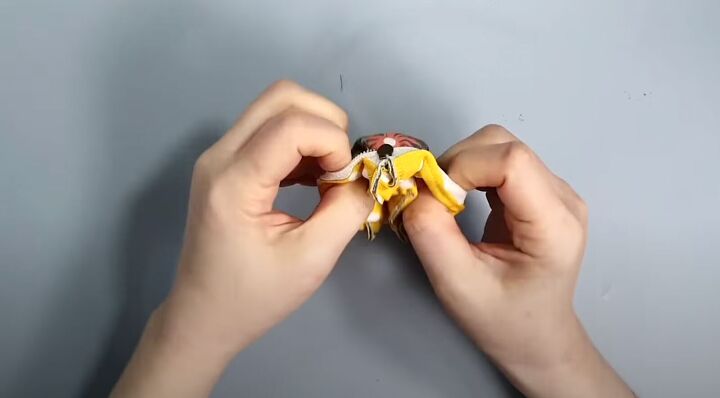
Use your fingers in the zipper to turn the heart pouch inside out.
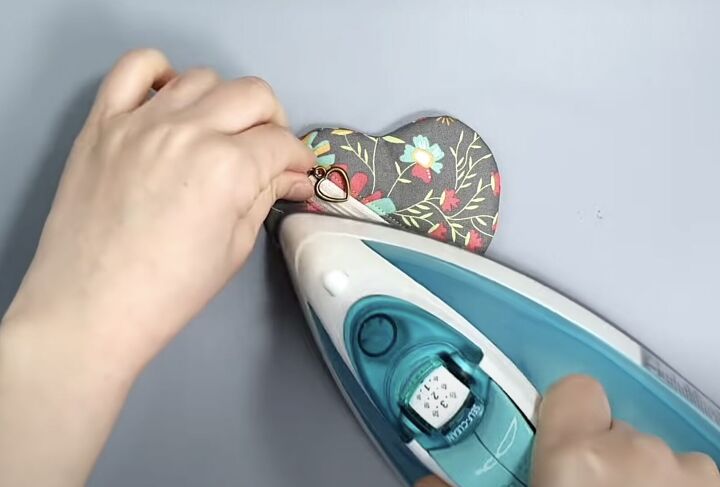
Give the pouch a final press.
Topstitch all around at 0.2 inches (0.05 cm).
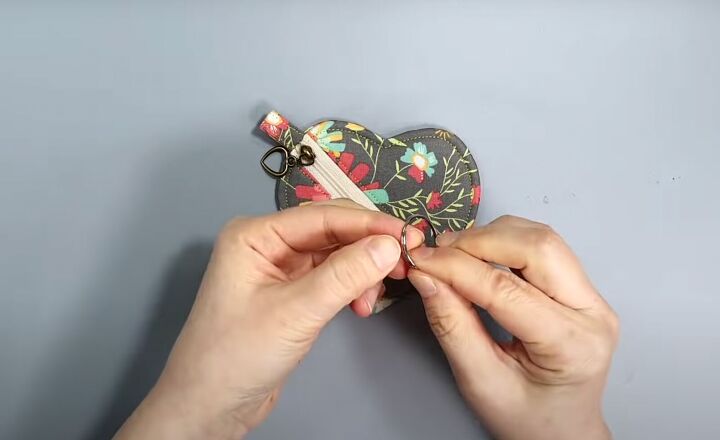
Insert the ring into the tab by prying it apart (like you were going to put a key on it!).
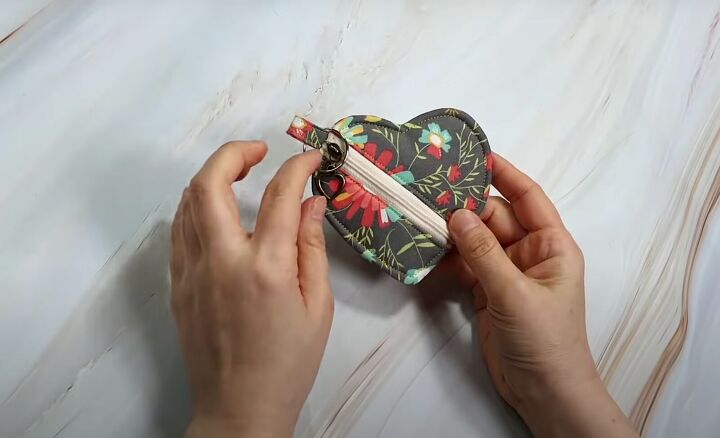
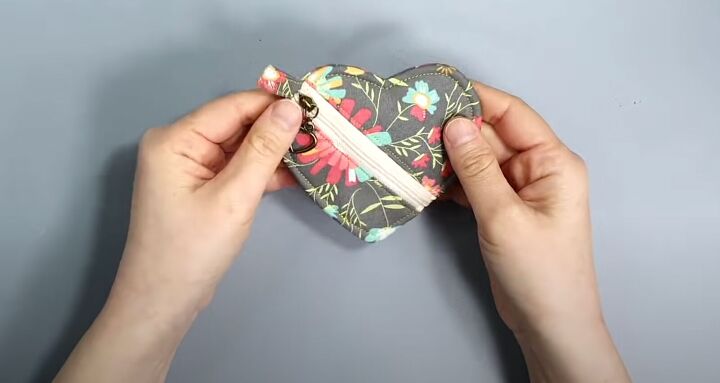
DIY mini heart pouch tutorial
You’ve just made a perfect small Valentine’s Day gift. I hope you found this DIY mini heart pouch tutorial helpful. Please let me know in the comments if you made it. Happy Valentine’s Day!
The author may collect a small share of sales from the links on this page.


Comments
Join the conversation
So sweet! Tyfs!
Absolutely LOVE this !