How to Make a Mini Purse That Can Hold All Your Essentials

When you don’t have pockets and it’s too much to carry a big purse, a DIY mini purse is your best friend! This mini purse sewing pattern will show you how to sew a mini bag that’s perfect to hold your phone, a few credit cards, some cash, and maybe even lipstick!
How easy is that? No need to lug around everything when you just need your phone! Let me show you how to make a mini purse in under 2 hours! Let’s get started!
Tools and materials:
- Fabric (brown, cream, lining)
- Fusible fleece batting (interfacing)
- 2 13mm D rings
- Sewing machine
- Clips
- Ruler
- Marking pen
- Spray bottle with water
- Iron
- Awl
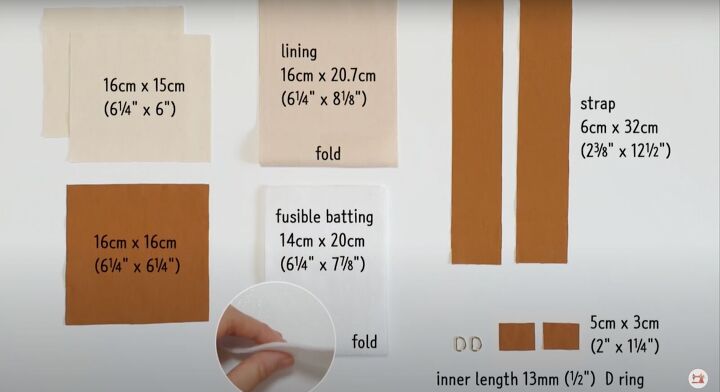
1. Cut out the pattern
Cut out the fabric to the pattern measurements.

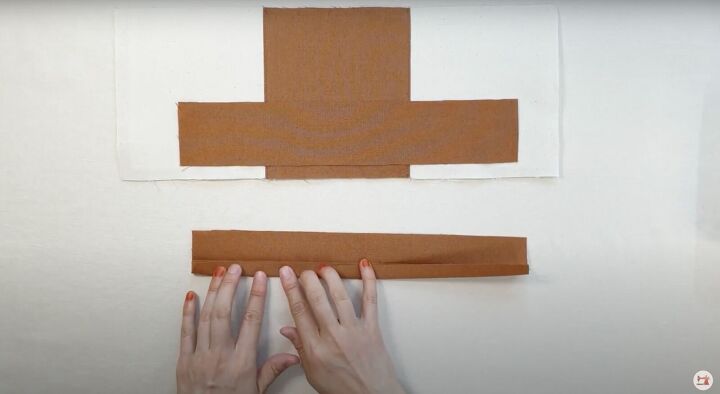
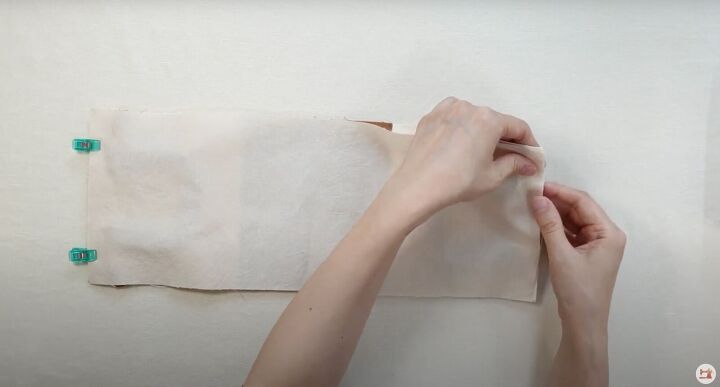
2. Assemble the bag
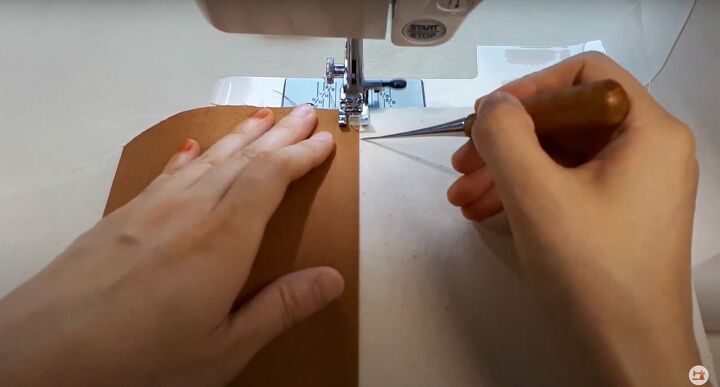
Lay the brown piece down with the right side facing you. Place one of the cream pieces at the shorter edge so their right sides are together. Sew with a straight stitch.
You may need to use an awl to help you guide the fabric under the needle.
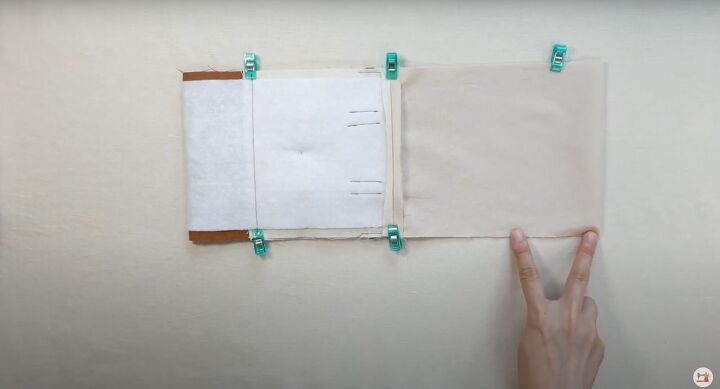
Then lay the second cream piece on the other edge, right sides together. Sew with a straight stitch.
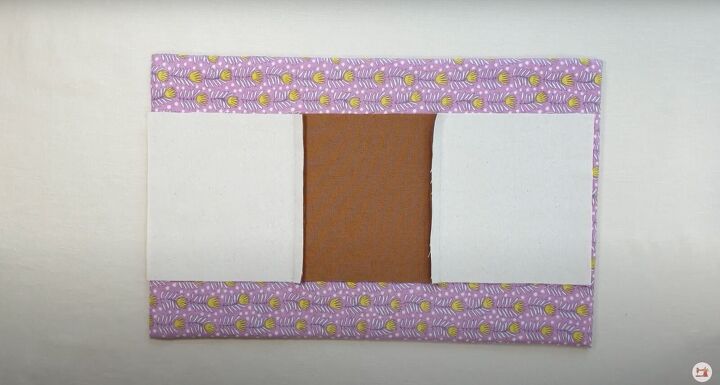
Press the seam allowances on the wrong side towards the bottom.
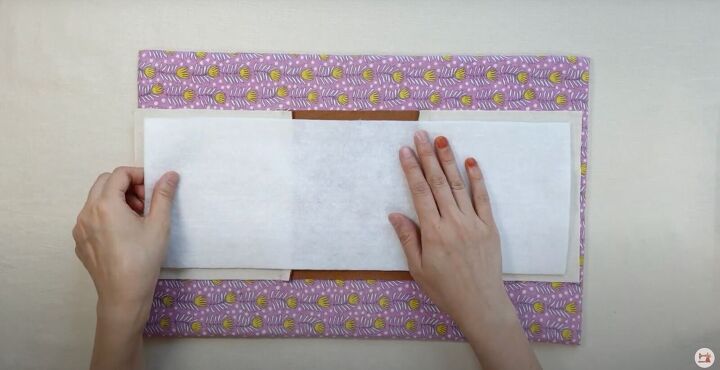
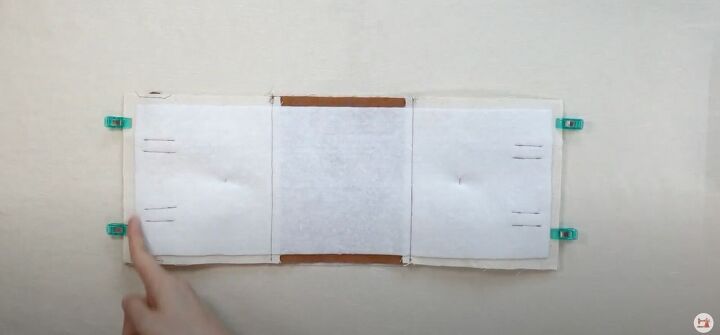
3. Press the interfacing
Spray the fusible batting with water and lay it on top of the wrong side of the fabric.
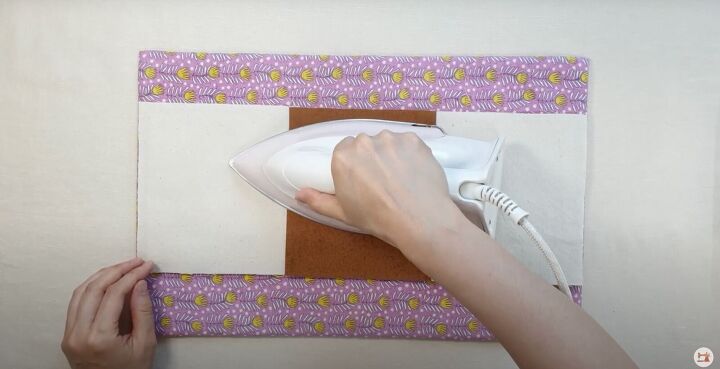
Then flip it over, spray with water again, and then press it flat.
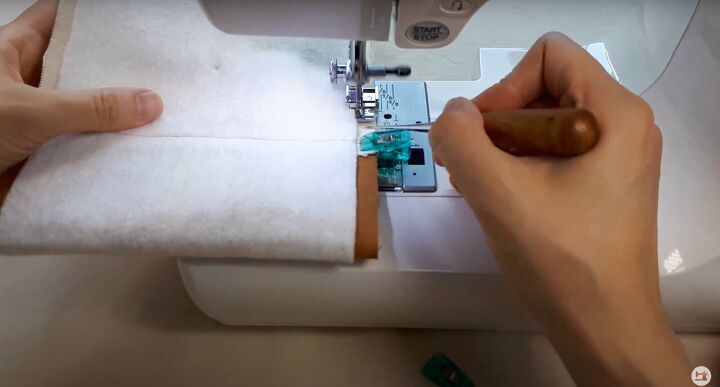
4. Topstitch
Topstitch the seams on both sides.
5. Sew the straps
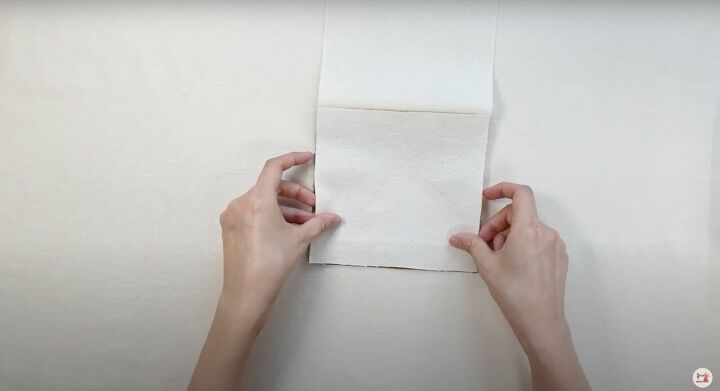
Fold the first strap in half lengthwise to create a crease. Fold the bottom up to meet the crease, then fold the top down to meet the crease.

Create a hem of sorts on both sides of the strap by folding in the short side about ½ an inch, then refolding the strap into quarters.
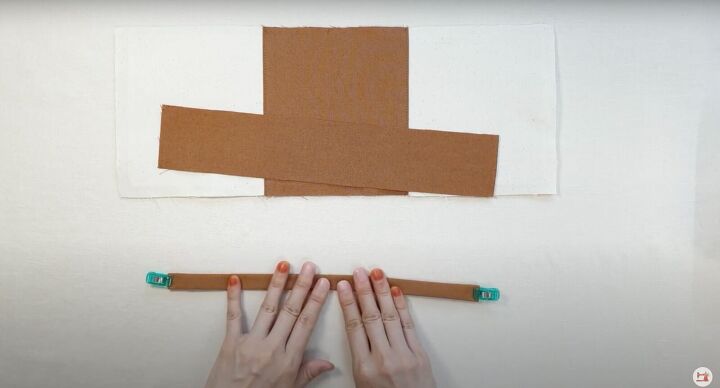
Fold the strap in half to create a tight flat strap. Clip in place.
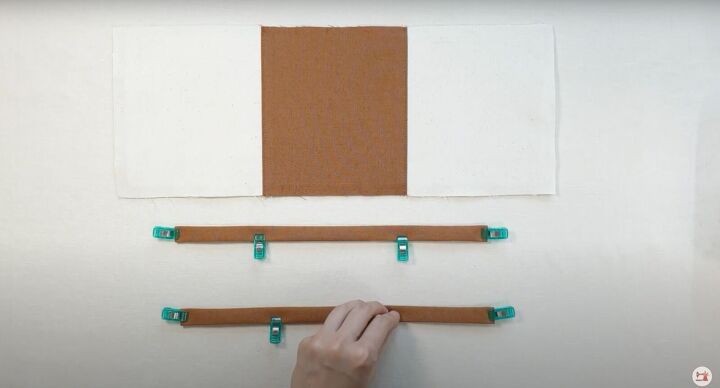
Do this to the other strap. Stitch along both long and short sides of the straps.
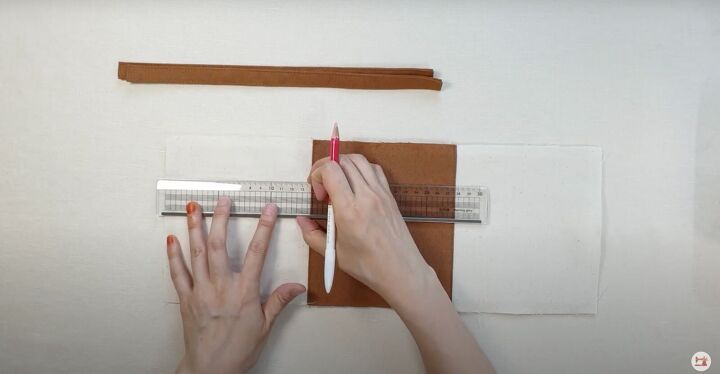
6. Attach the straps
Fold the main body piece in half to create a crease in the center. Then fold each side to crease in at the quarter mark. Mark with a ruler at the quarter-point about 2 inches down.
Place the straps on these marks. Pin in place. Do to both sides.
Stitch down at 1 inch on both sides of the straps.
Make sure to backstitch to secure the straps.
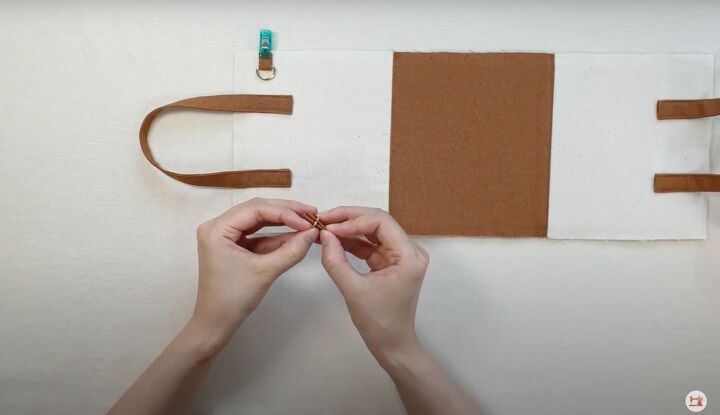
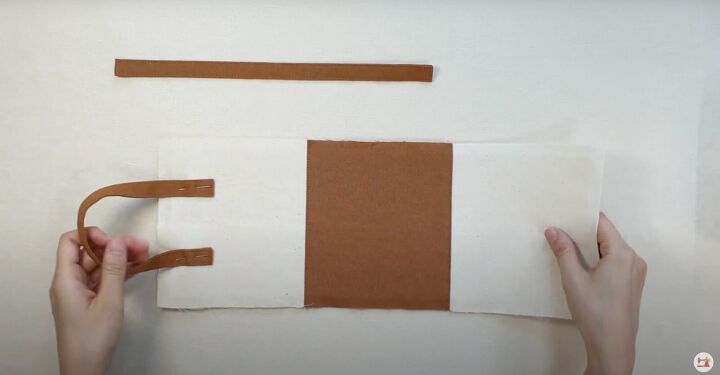
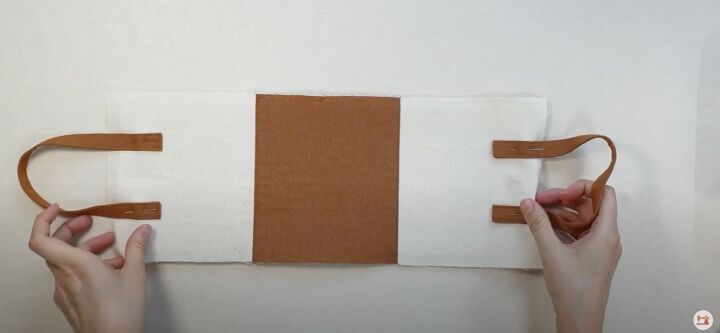
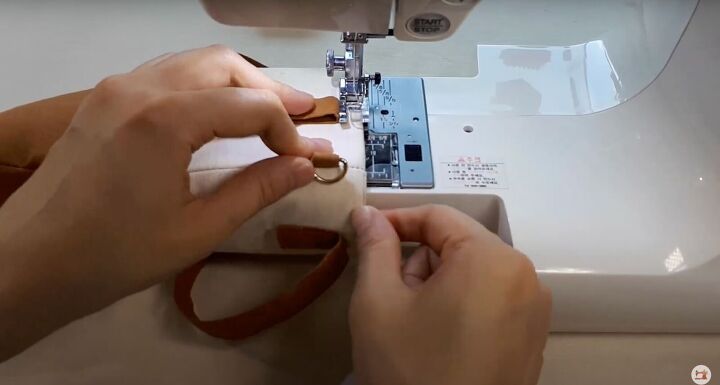
7. Attach the tabs
Fold the tabs in half and then in quarters. Insert the folded tab into the D ring. Lay the open ends about ½ inch down from the top along the edge on both sides.
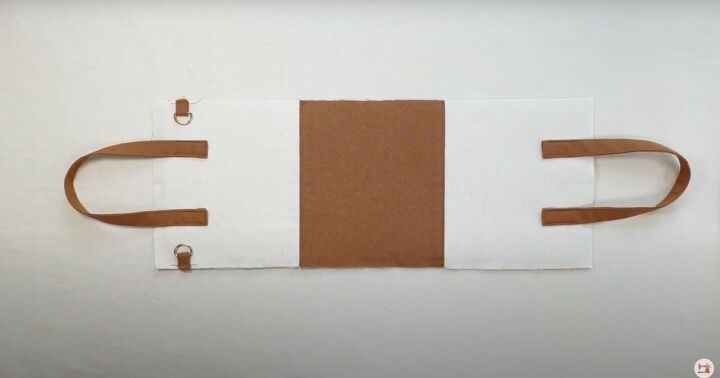
Sew with a straight stitch.
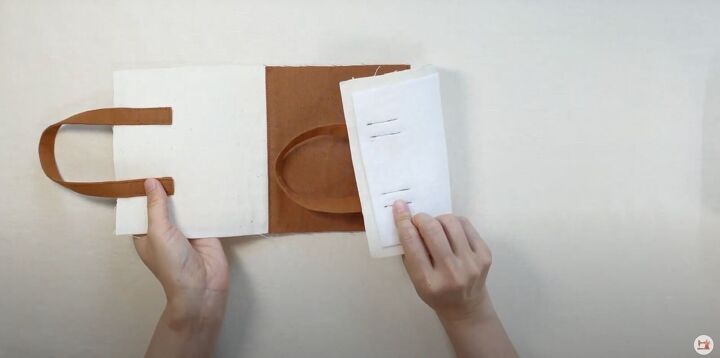
8. Attach the lining
Pin the straps down flat onto the body of the mini bag on both sides.
Clip the lining in place and align the edges to match perfectly.
Sew both short ends.
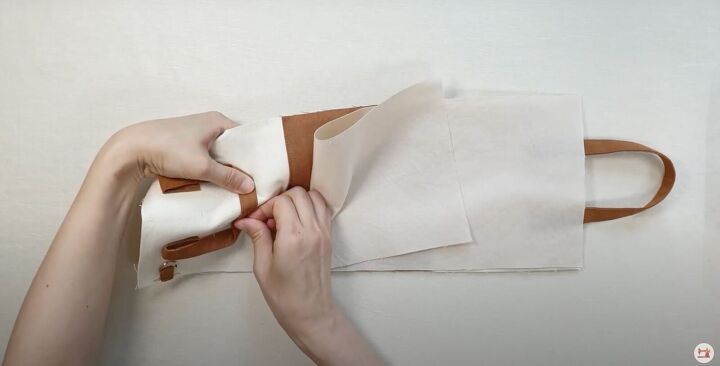
9. Finish sewing the bag
Pull the lining away. Flatten the seam allowance on both sides. Clip in place on the seam allowances, on the sewn seam connecting the bottom of the bag, and one side of the lining.
Leave a 2-inch space unsewn on the lining near the folded edge.
Sew both long ends, except for the 2-inch gap.

10. Turn the fabric & topstitch
Use this gap to turn the bag inside out.

Sharpen the corners with a pen or the awl. Clip the ends of the lining to the top of the bag. Stitch the 2-inch opening closed. Tuck the lining back in.
Topstitch all the way around the top.
How to make a mini purse
You’re done! I hope I showed you how to make a mini bag that is perfect for taking your phone without needing to carry it in your hand. If you want to make a shoulder strap for your mini purse, see my bonus tutorial on making a DIY crossbody strap.
Please let me know in the comments if you made this or better yet, share your photos of your DIY mini purse!
The author may collect a small share of sales from the links on this page.


Comments
Join the conversation