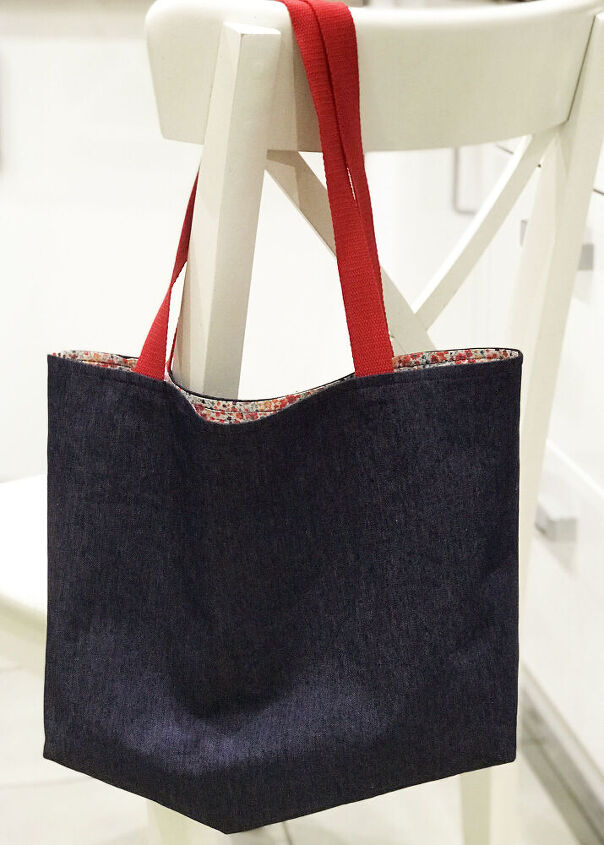
Make a Lined Tote Bag

The Lined Tote Bag is a classic lined bag pattern, perfect for keeping your essentials in! Suitable for complete beginners.
You will need:
- A copy of the pattern
- 0.5m main fabric (plus iron-on interfacing if lightweight)
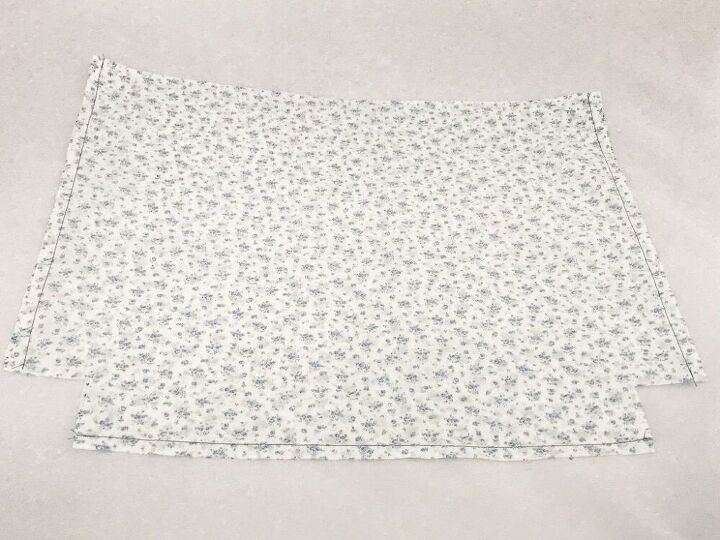
- 0.5m lining fabric
- 1m cotton canvas webbing strap (25mm wide)
- Co-ordinating thread
Step 1
Print out your A4 pattern pieces and stick them together.
Step 2
Use pattern template to cut two pieces from main fabric and two pieces from lining fabric. If main fabric is lightweight, apply iron-on interfacing.
Step 3
Pin the two main fabric pieces right sides together (RST). Sew side seams and bottom seam using a 1cm seam allowance. Leave the corners unsewn.
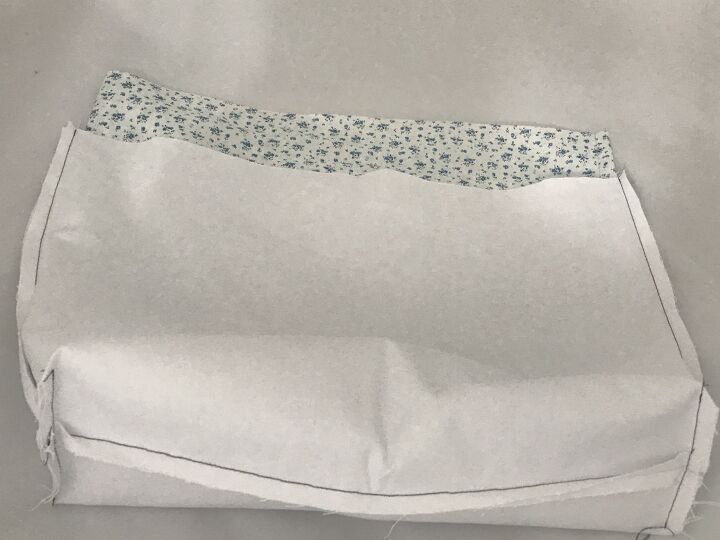
Step 4
Pinch together the gaps to create the bottom of the bag. Sew across each side using a 1cm seam allowance. Press seams.
Step 5
Repeat for lining pieces.
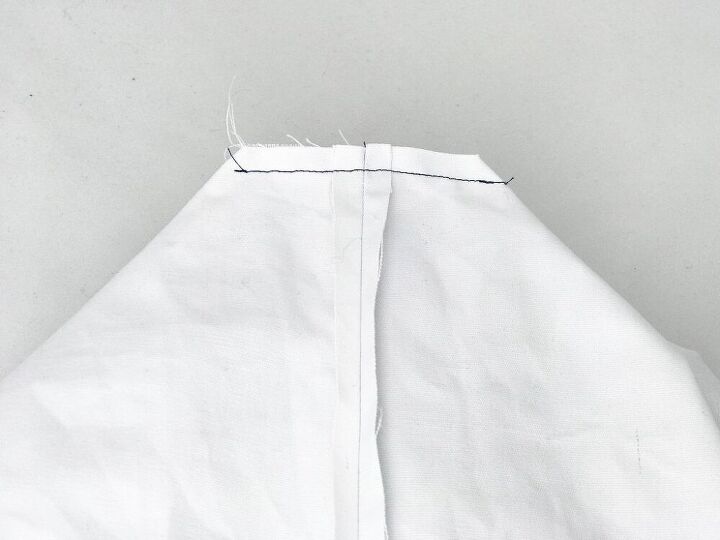
Step 6
You should now have two pieces - one in main fabric and one in lining. Turn lining right side out and place inside the main fabric RST.
Step 7
Pin the straps in the gap between the main fabric and lining, each 10cm from the side seams. Be careful not to twist them.
Step 8
Sew a straight line around the top of the bag, using a 1cm seam allowance. Leave a gap of 10cm, making sure all the straps have been sewn in. You can use pins to remind you where to leave the gap.
Step 9
Turn the bag the right way out through the gap.
Step 10
Press the bag.
Enjoy your lovely new bag!
The author may collect a small share of sales from the links on this page.


Comments
Join the conversation
This is great! Thanks for sharing!
Your sewing machine is amazing!!!!!