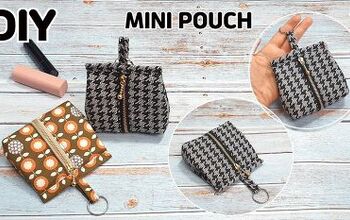
How to Make a Mini Pouch With a Zipper

This adorable DIY mini pouch can serve as a coin purse, storage for hair accessories, or any other small items that you might need on the go. For step-by-step instructions on how to sew a mini pouch, keep reading.
Tools and materials:
- Outer fabric
- Inner fabric
- Interfacing
- 6-inch zipper
- Scissors
- Pins
- Ruler
- Iron
- Sewing machine
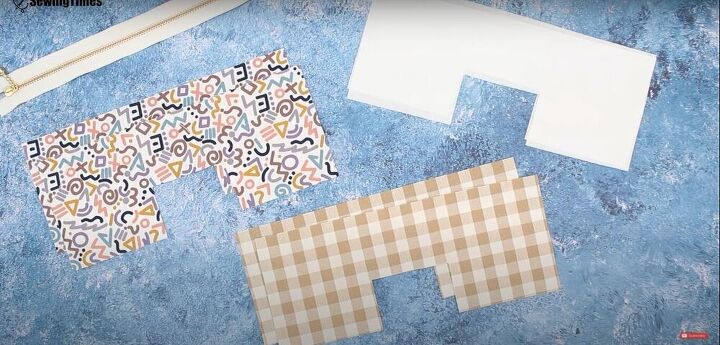
Prepare fabric
Cut the fabric and attach the interfacing as shown in the video from 0:53-1:53.
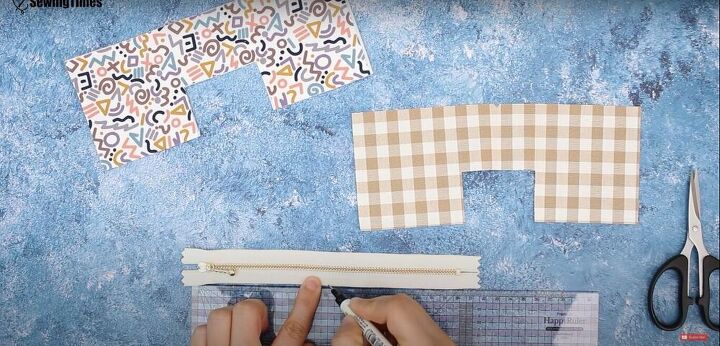
Mark the centers
Mark the centers of the fabric pieces by folding them in half and making a small snip on the fold. Mark the center of the zipper by measuring its length, and marking the halfway points on both sides of the zipper.
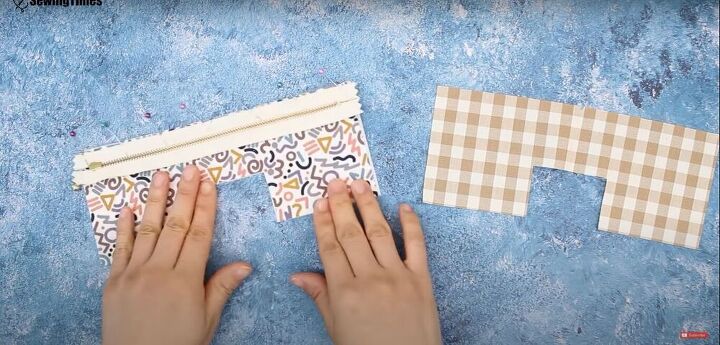
Pin
Pin the zipper to the long edge of the outer fabric, with right sides together.
Pin and sew
Pin the inner fabric on top of the zipper and outer fabric, with the right sides of the fabric facing each other. Then sew across the top edge.

Flip and pin
Flip the fabric so the outer fabric is on top and the inner fabric is underneath and pin the bottom edges of the fabric together.
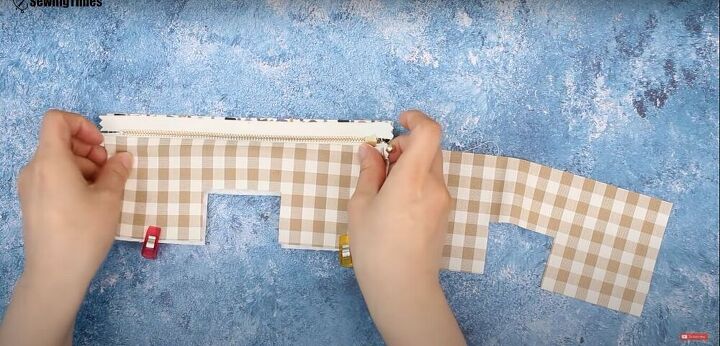
Pin and sew
With right sides facing each other, place the two outer fabric pieces together, with the top edge of the zipper aligned with the top edge of the outer fabric.
Then place the second piece of inner fabric on top of all the layers, also with the top edge of the fabric aligned with the edge of the zipper, and pin all the layers together. Then sew.
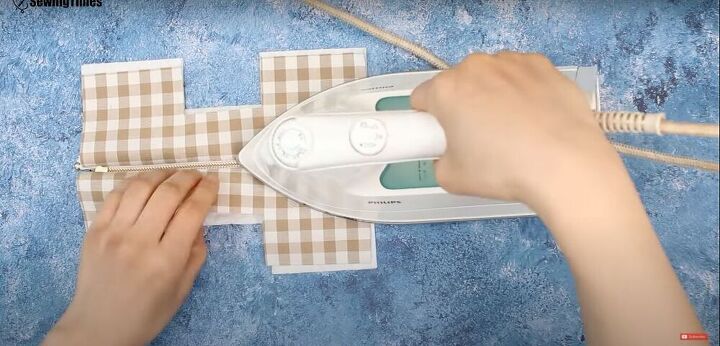
Iron
Iron all the layers flat.

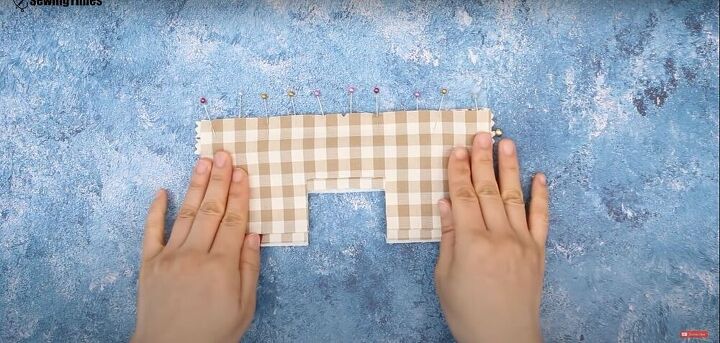
Pin and sew
Pin all the layers together, and make a line of topstitching along either side of the zipper.
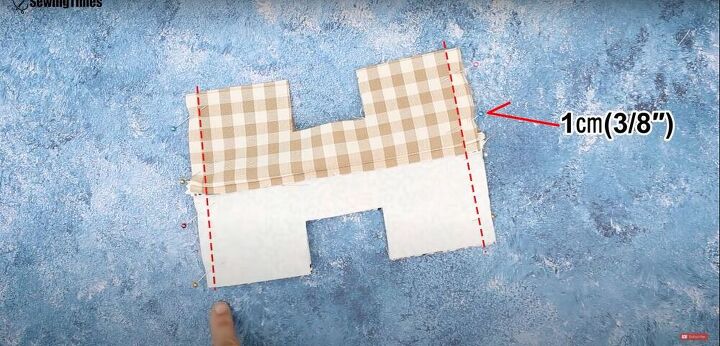
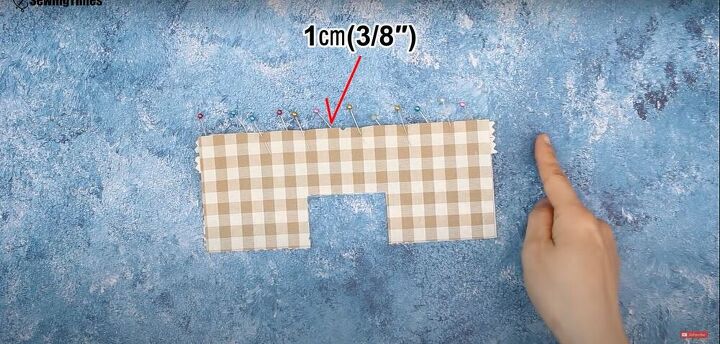
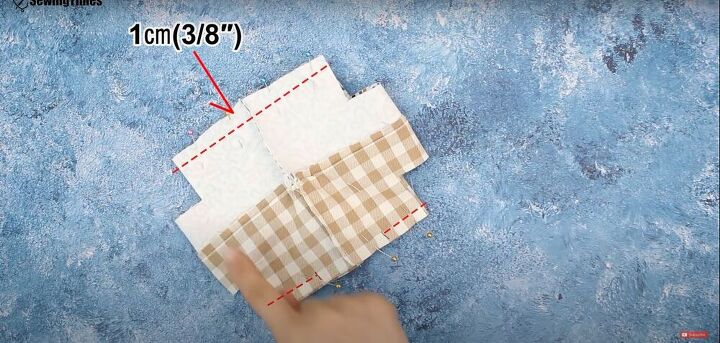
Flip, pin, and sew
Flip the fabric so the two inner pieces are together and the two outer pieces are together, right sides facing. Pin along both sides and sew, leaving a 1 centimeter (⅜ of an inch) seam allowance.
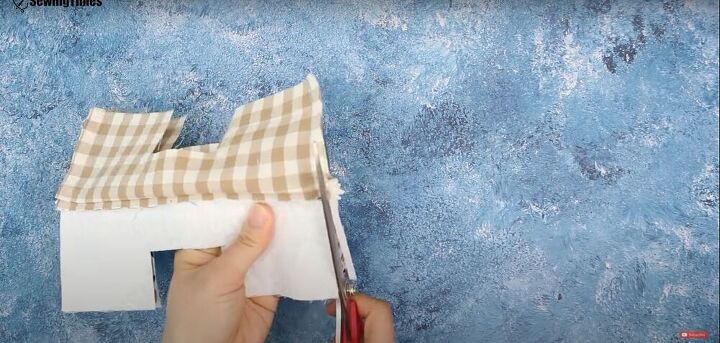
Trim
Trim the seam allowance as close to the stitching as possible, as well as any extra fabric on the zipper.
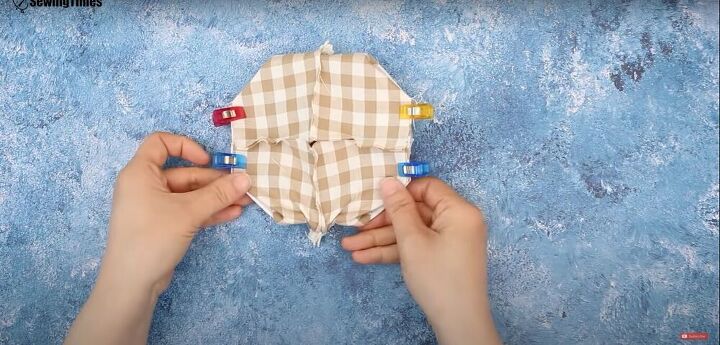
Flip, pin, and sew
Open the zipper all the way. Flip the fabric so the side seams are in the center. Pin and sew the long edges, leaving a 1 centimeter (⅜ of an inch) seam allowance. Leave a gap in the stitching on one of the edges.
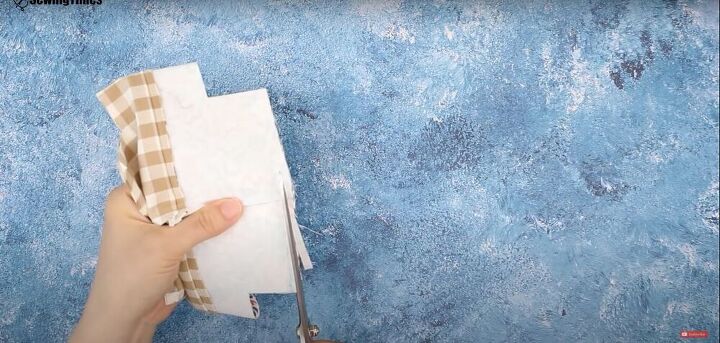
Trim
Trim the seam allowances as close to the stitching as possible.
Flip, pin, and sew
Flip the fabric so the open edges of the inner and outer fabric are aligned, and the gap in the stitching is in the center. Pin the open edges together, and sew them down. Then trim the seam allowances.
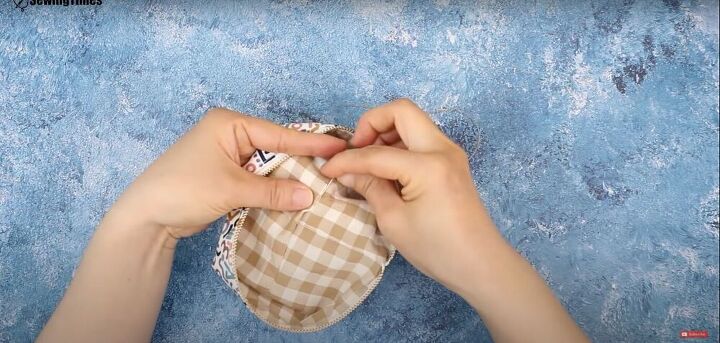
Turn and sew
Turn the pouch right side out, and sew the gap in the stitching closed with a needle and thread.
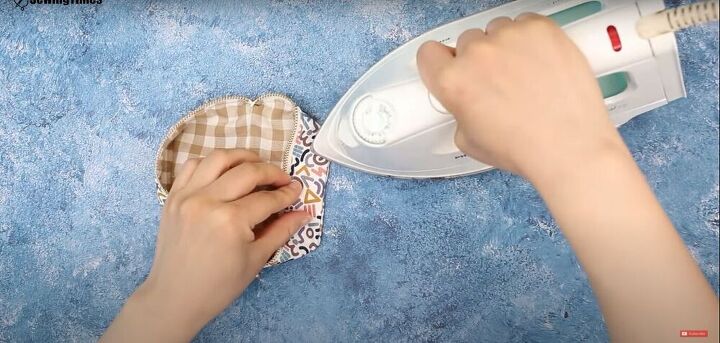
Iron
Iron the side seams flat for a nice, clean finish.

Your pouch is complete! What will you be keeping in your mini pouch bag?
The author may collect a small share of sales from the links on this page.


Comments
Join the conversation