DIY Mini Zipper Pouch: A Cute Little Pouch to Hold All the Essentials

Do you hate lagging a big bag around for no reason? I have the perfect answer for you. Make your very own DIY mini zipper pouch! In this tutorial, I’ll show you how to make a zipper pouch the easy way.
You can then fit essential items such as your credit card, house key, and some lip balm with ease. Like this, you can pop out to run errands without taking too much with you. Let’s start!
Tools and materials:
- Interfacing
- Lining
- Fabric
- Scissors
- Measuring tape
- Pins
- Sewing machine
- Thread
- Marker
- Ruler
- Ring
- Iron
1. Make the pattern
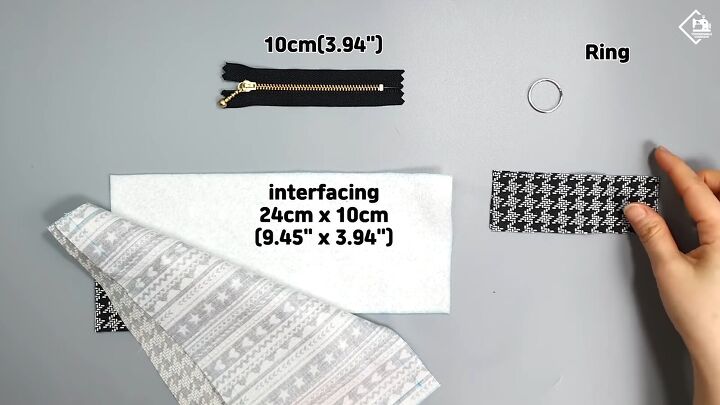
Ok, let’s make the DIY zipper pouch pattern. You’ll need;
- 2 Rectangular fabric pieces measuring 10.24” x 4.72”
- 2 Interfacing pieces measuring 9.45” x 3.94”
- Zipper measuring 3.94” in length
- 2 Smaller fabric pieces measuring 4.72” x 1.57”
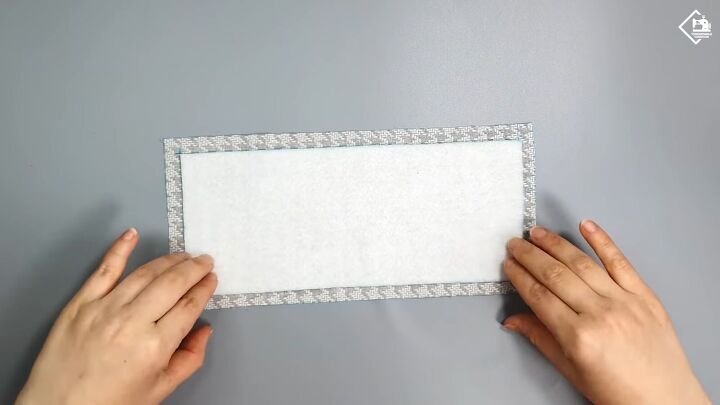
2. Iron on the interfacing
Let’s start with the interfacing. Center the interfacing on the large fabric piece, on the wrong side. Then, iron the right side of the fabric piece, so it sticks on.
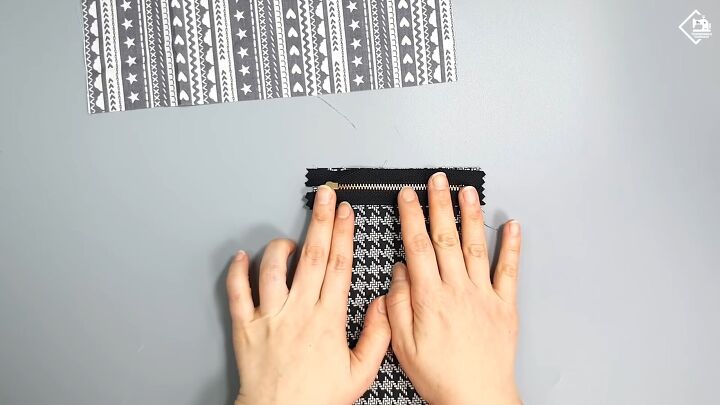
3. Attach the zipper
Attach the edge of the zipper to the fabric piece, right sides facing.
Then, pin the other fabric piece to the edge, as well. Re-pin all three layers so that the zipper is sandwiched inside. Stitch to secure 0.39” from the edge.

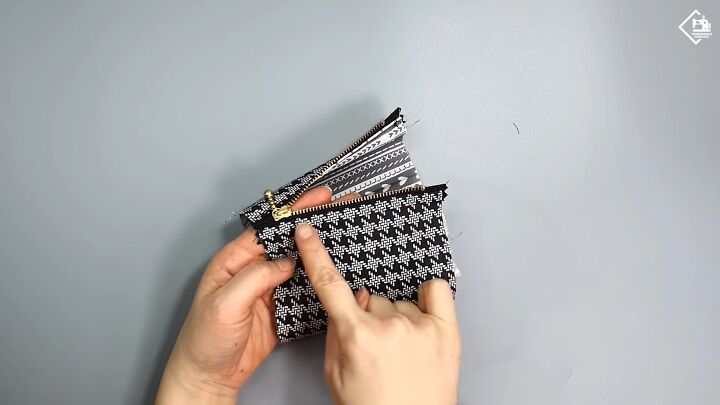
Flip it over and topstitch the edge of the zipper from over the fabric at 0.08” from the edge.
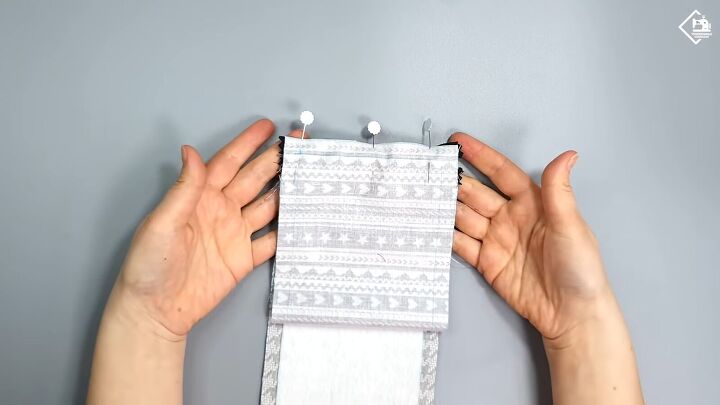
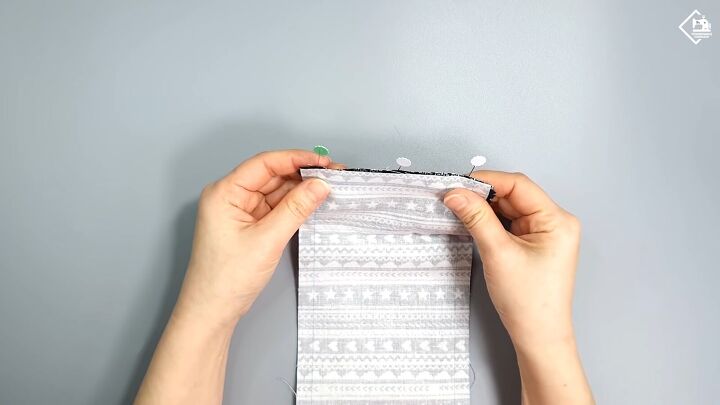
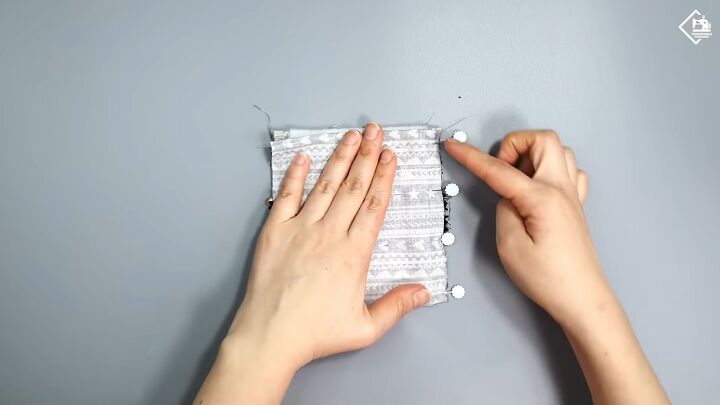
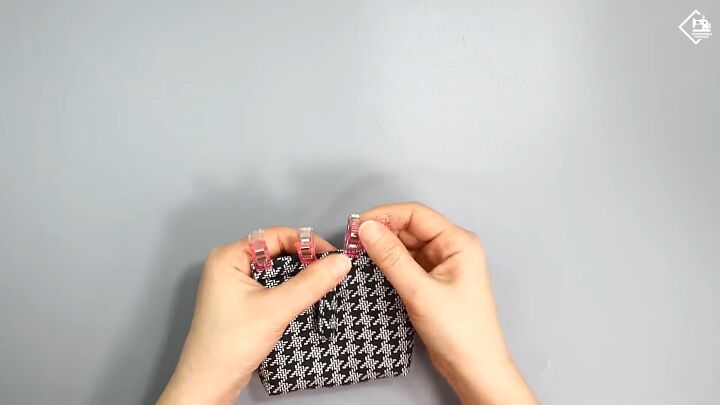
4. Fold and pin
Fold the fabric piece (the one without the interfacing) so that the edge meets the other edge of the zipper.
Then, the fabric with the interfacing should be folded backward, on the other side, as shown—pin to secure all layers.
Stitch the layers with a 0.39” seam allowance. You should have two flaps.
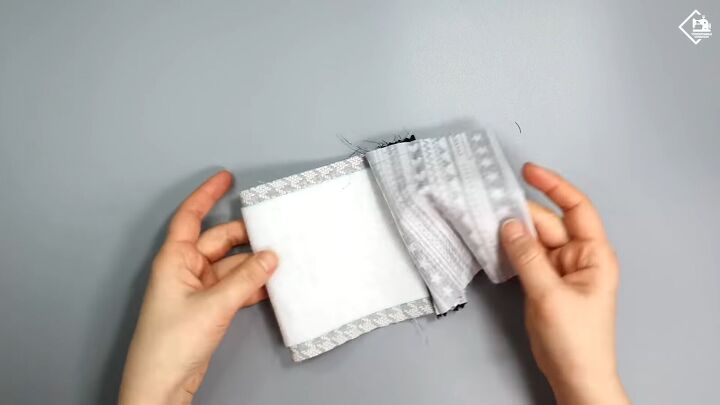
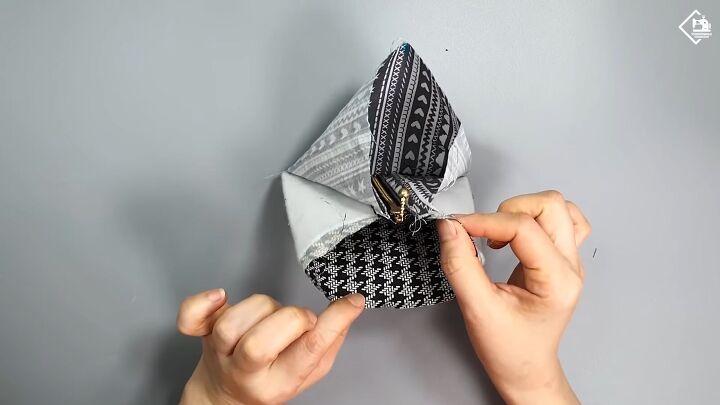
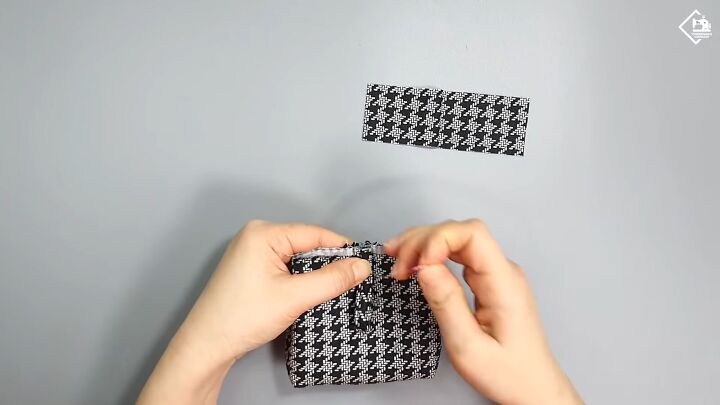
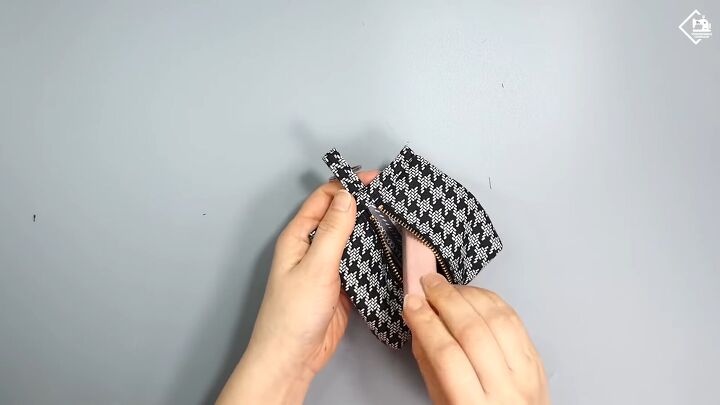
5. Attach the lining fabric
Open the zipper and place the lining on the fabric with the interfacing by pushing it down.
Topstitch the other side of the zipper with a 0.08” seam allowance.
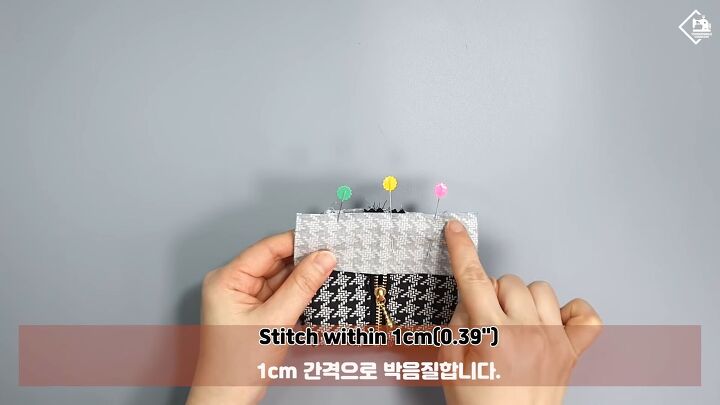
6. Sew the bottom closed
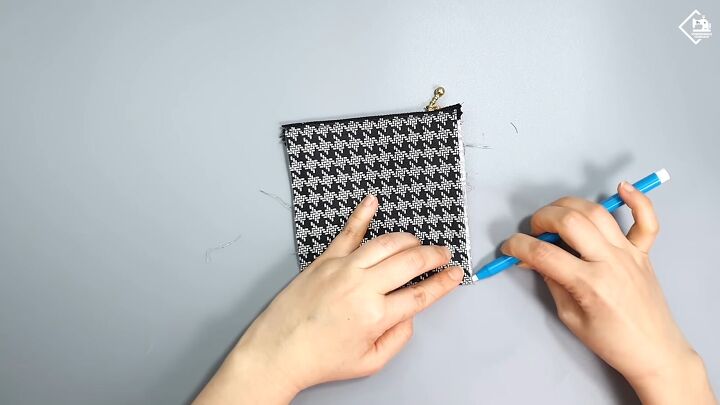
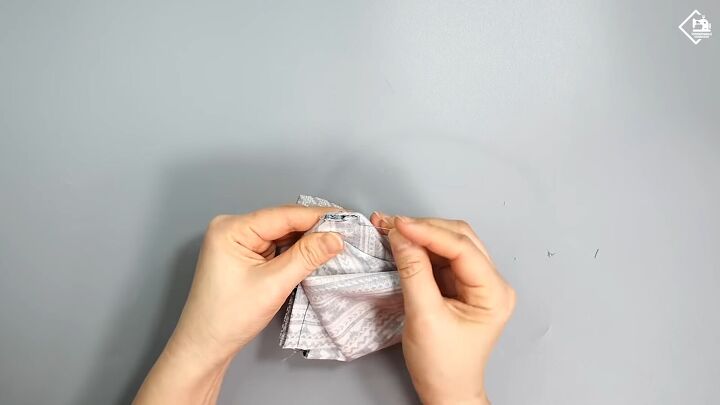
Smooth out the DIY small zipper pouch and mark the fold at the bottom with a marker.
Turn the pouch inside out and align the markings to the center of the zipper.
On the other side, do the same with the lining. Be sure to smooth the fabric while you do this. See how I do this from 4:21 seconds on my video.
Pin the bottom and stitch across with a 0.39” seam allowance.
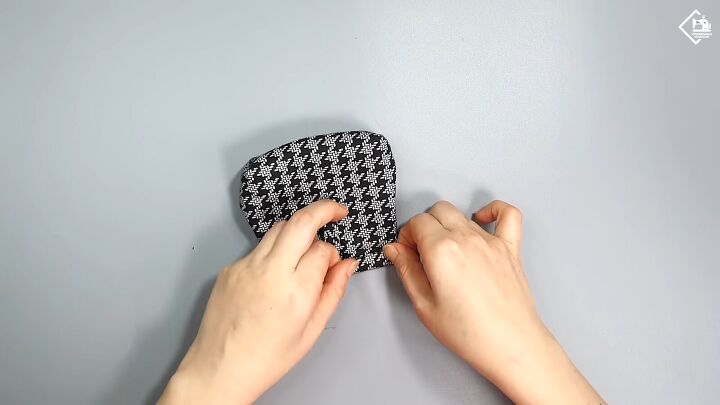
This is what it should look like.
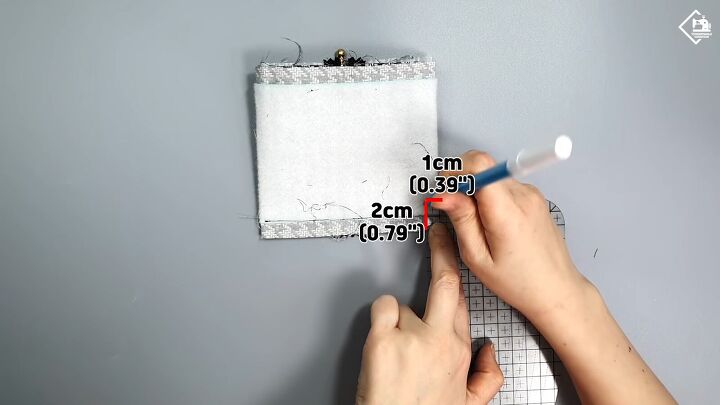
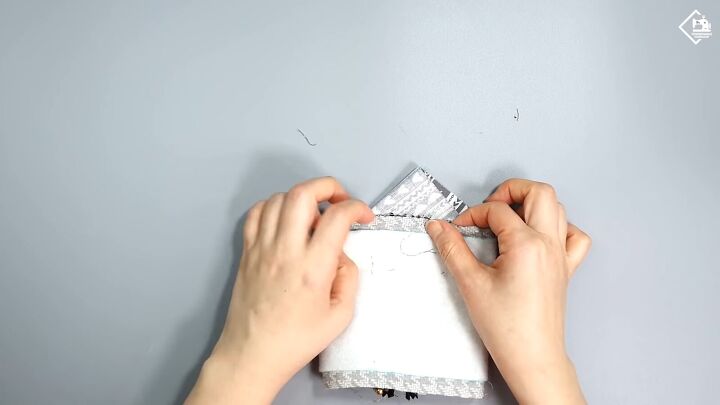
7. Sew the corners
Mark the corners at a width of 0.39” and a height of 0.79”.
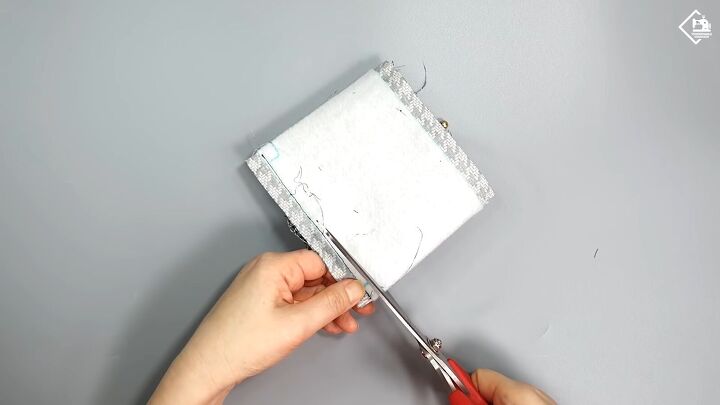
Cut off these squares through both layers.
Flatten the layers by the opening and secure with a pin. Repeat on the other side. Stitch across with a 0.39” seam allowance.
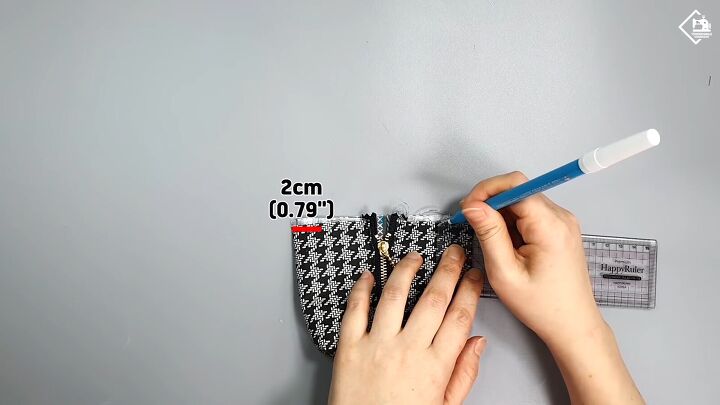
8. Sew the top
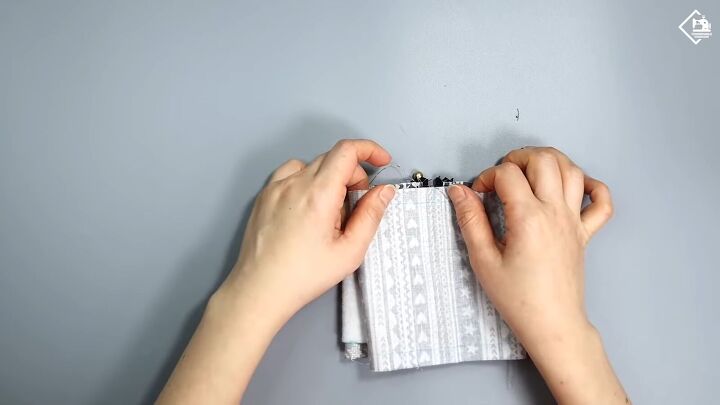
Turn the pouch right sides out and mark 0.79” from each side at the top.

Put a pin on each corner and the center inward to make a pleat. The pin should align with the 0.79” mark.
Pin the fold and stitch all the way around the front of the pouch with a 0.2” seam allowance.
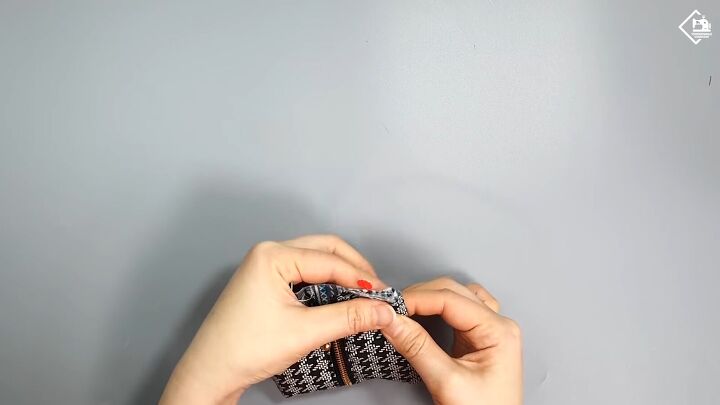
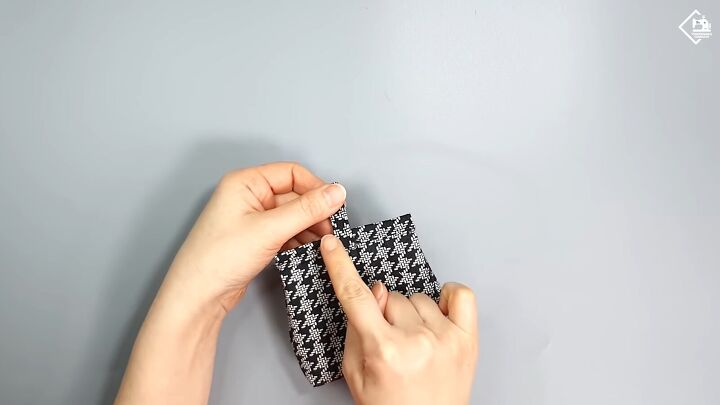
9. Make the strap
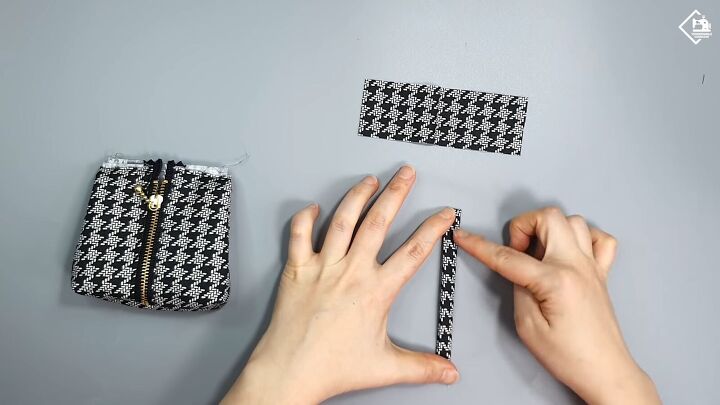
Fold the long edges of the small rectangular fabric piece toward the center, and then fold the whole piece in half. Topstitch 0.08” from the raw edge on both sides.
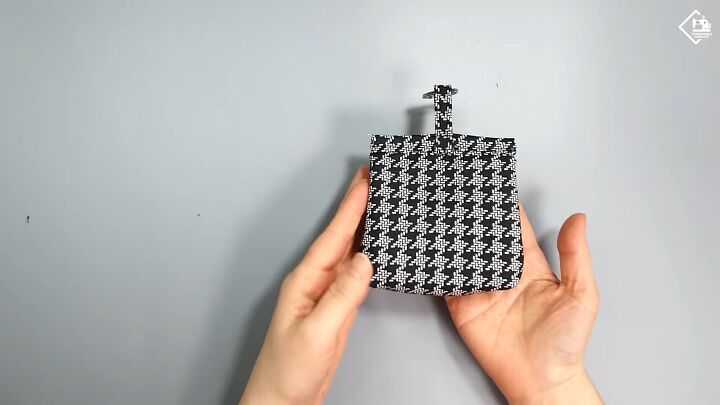
Fold the stitch in half to create a loop and pin the short ends to the backside of the pouch.
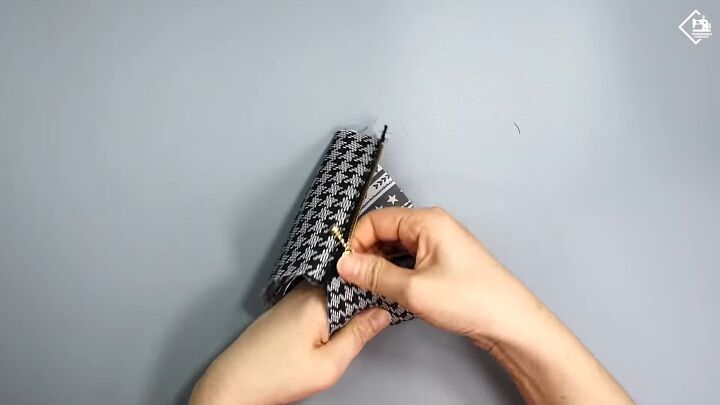
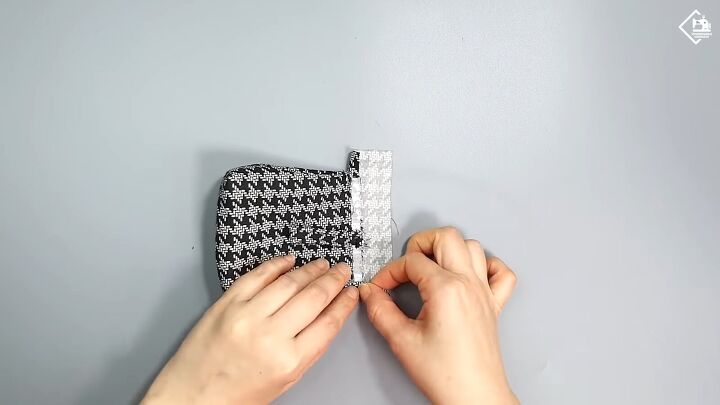
10. Add the bias tape
The second rectangle will serve as the bias tape. This will hide the raw edges on top of the DIY zipper pouch. Pin it right sides facing the pouch and stitch 0.39” from the edge.
Turn the piece upright and fold the corners.
Then, double fold the fabric and flip it over to the other side.
Pin and stitch across to secure. Make sure to stitch 0.31” from the edge.
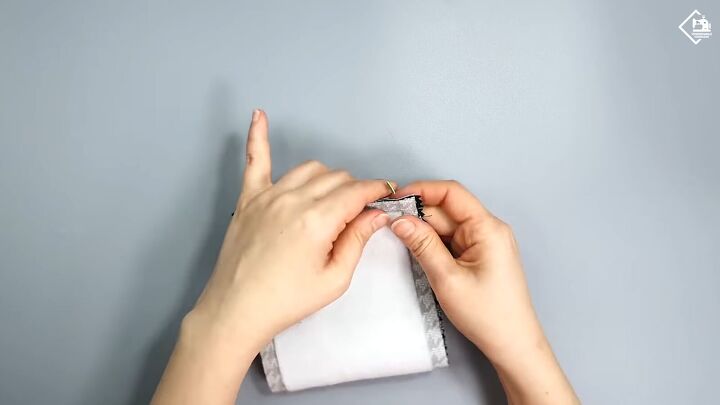
Flip the loop upright and sew in place. Then, feed the ring through the loop.
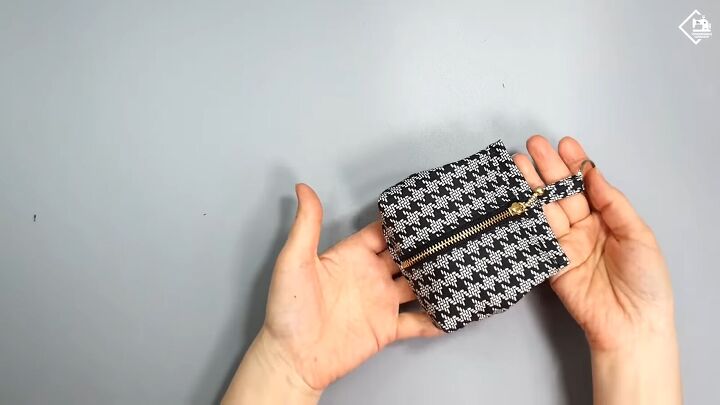
DIY mini zipper pouch tutorial
That’s how to make a zipper pouch! What do you think? It’s a super fun DIY project, and this DIY mini zipper pouch will sure come in handy for those days where you need nothing more than three items.
I hope you enjoyed this tutorial and good luck!
The author may collect a small share of sales from the links on this page.


Comments
Join the conversation
So sweet!
Great job. They are super cute!