My #1 Shopping Bag: A DIY Tote
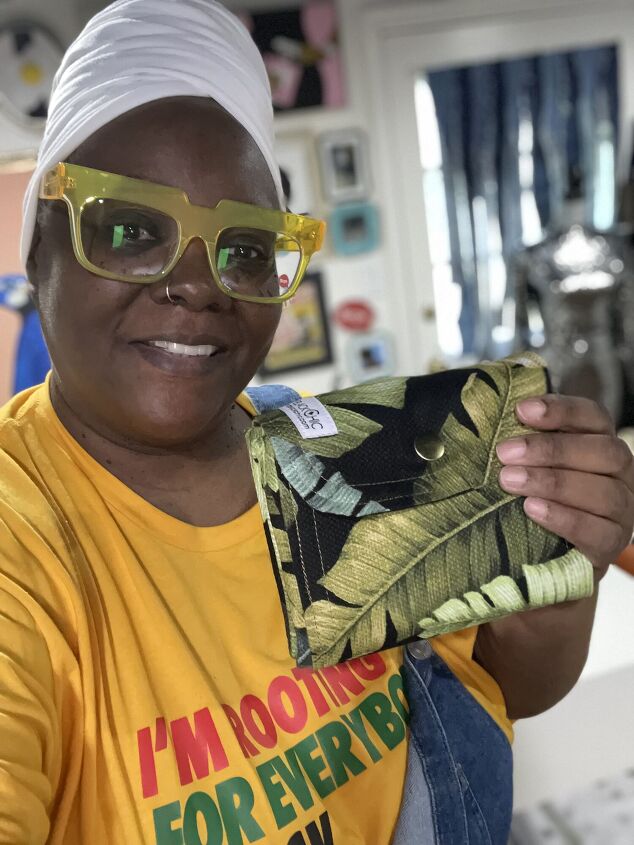
I love this new shopping tote! Let me tell you how this new tote came to be. My local fabric store decided that they were going green, which meant that they were no longer using plastic bags. They started selling shopping bags and large paper bags to those of us that didn't bring our own bags and didn't want to carry the fabric in our hands. Now I don't go to this store that often but I have gone there 2 other times and each time I had forgotten to bring my own bags. Well after this last time I said I need to get a tote to keep in my car, just for my random trips to this store. I searched for a few tote bags and I came across a few fold-up totes and decided that I could create my own tutorial for my version of a fold-up tote. So here it is.
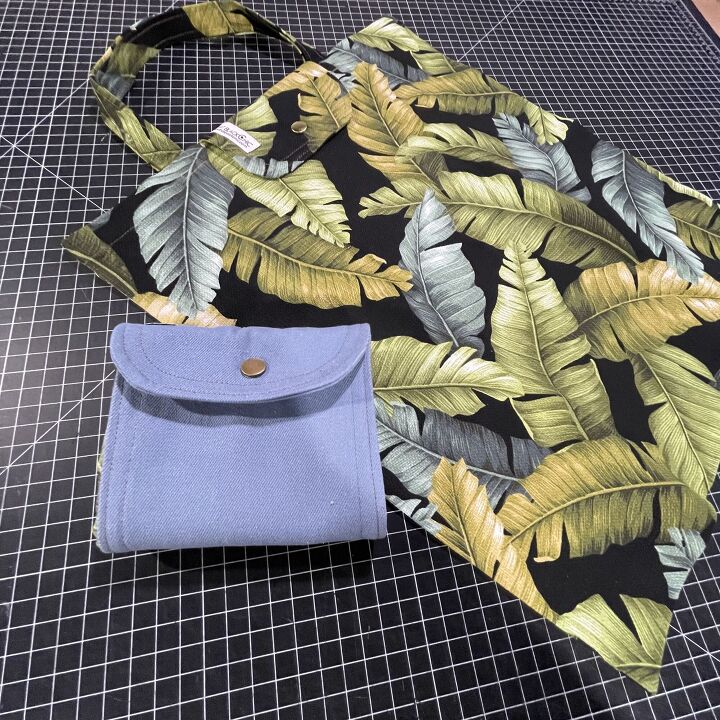
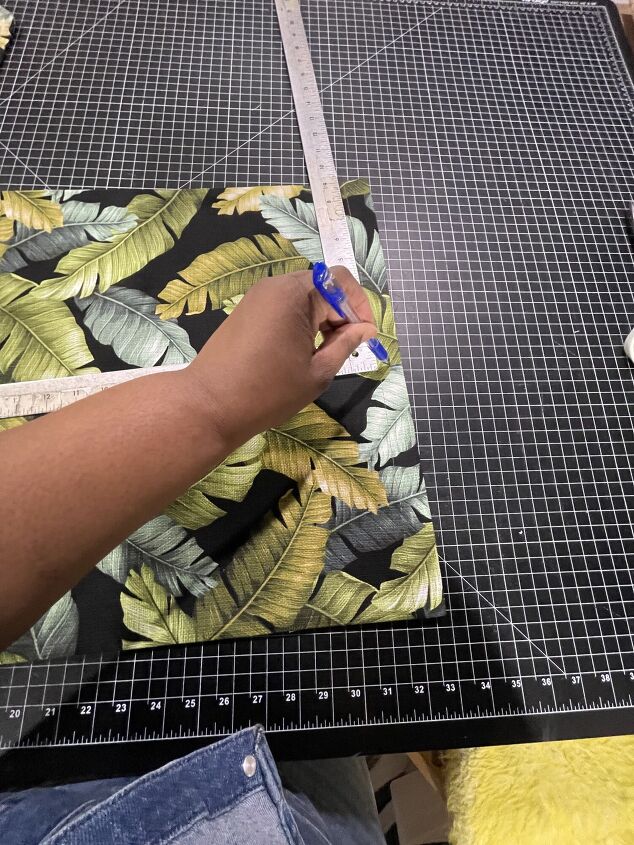
The Clutch Tote Supplies:1 Yard of fabric [If you want the clutch/closure panel in a different fabric than the tote you’ll need about 1/4 yd for this piece]1 Snap closureThreadFabric marking toolDouble-sided tapeRotary/scissorsLarge ruler
Cut clutch/closure panel 14 ½” tall X 6 ½” wide [Cut 2]
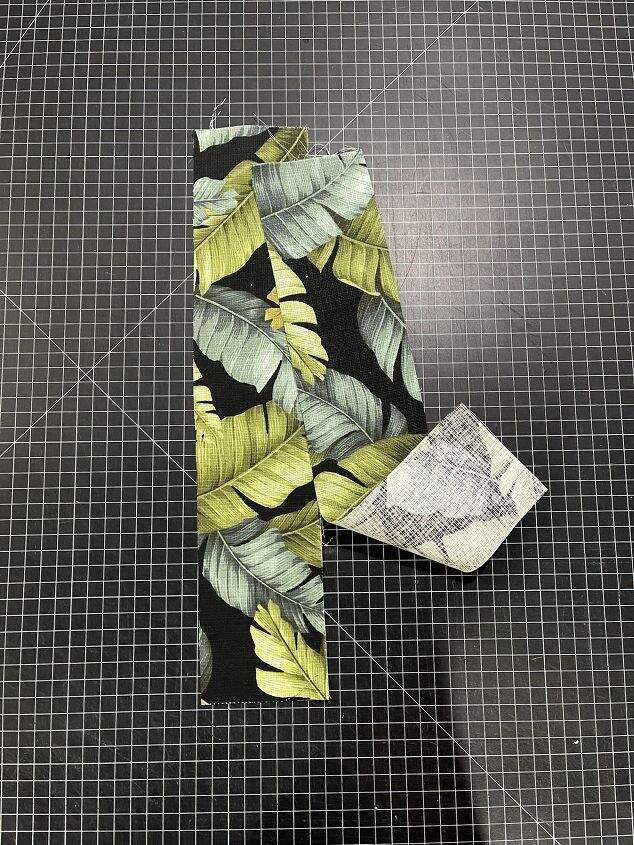
Cut 2 pieces 19” X 3” for the handles [Cut 2]
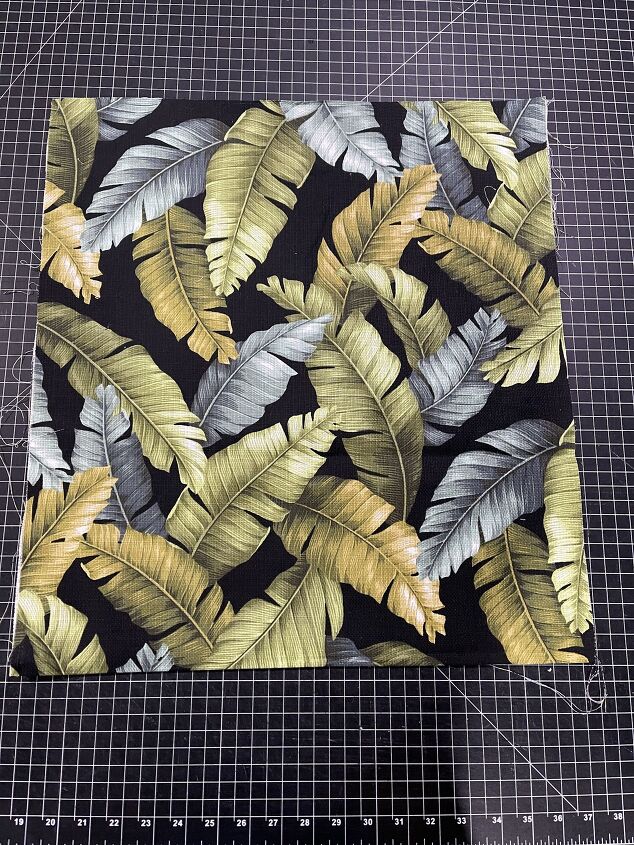
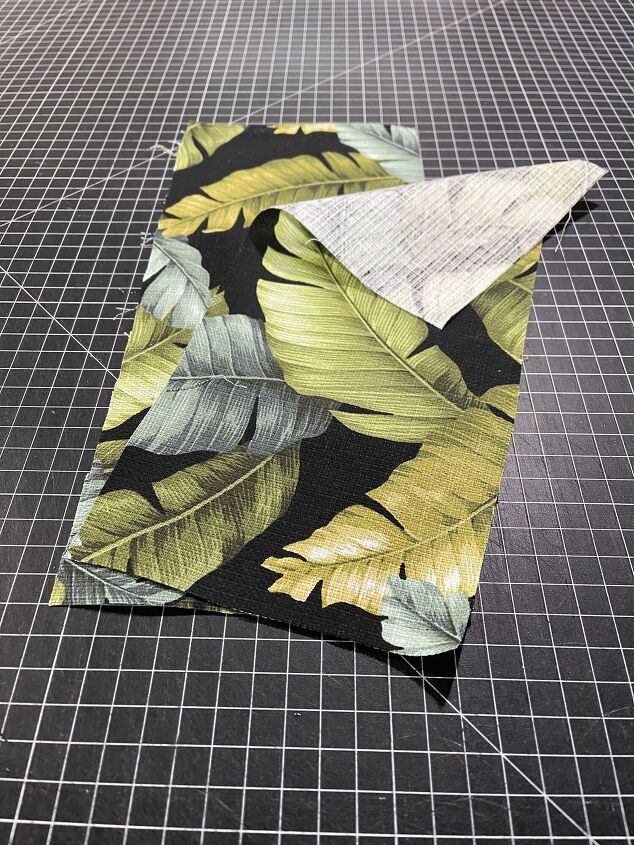
Cut bag fabric on the fold 21” tall X 19” wide [Cut 1]
We
are going to fold the fabric like double-folded bias tape. Lengthwise fold the
raw edges towards the middle and press. Now fold inwards again and press.

Now add topstitching along both sides of each
handle.
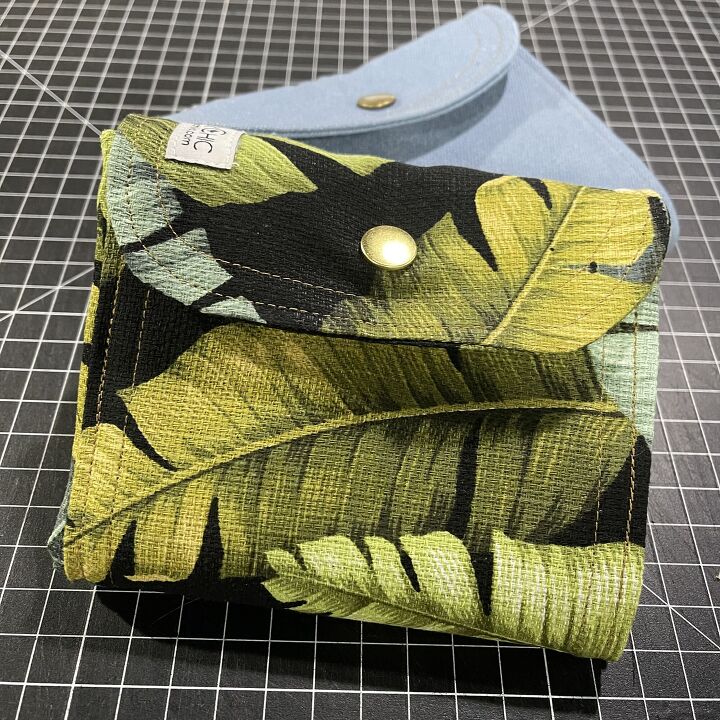
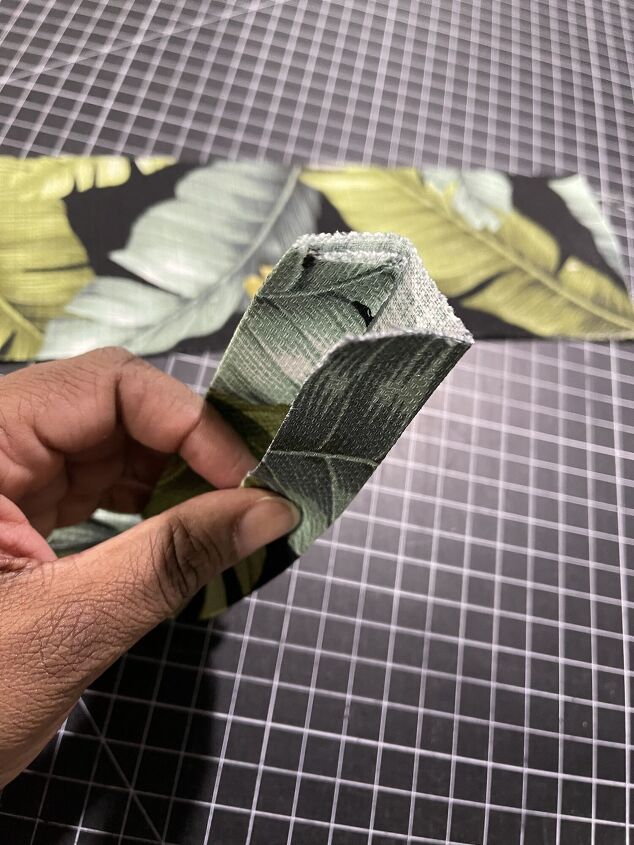
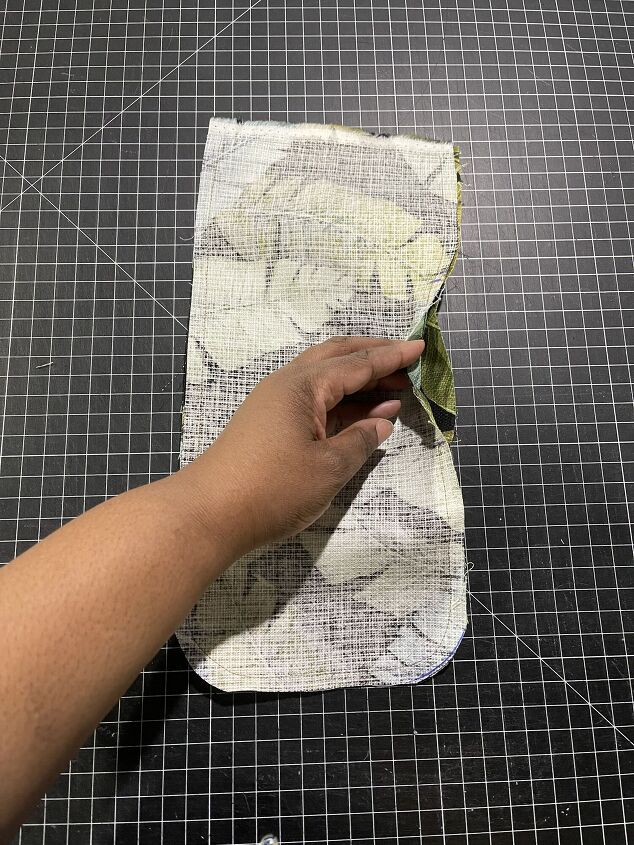
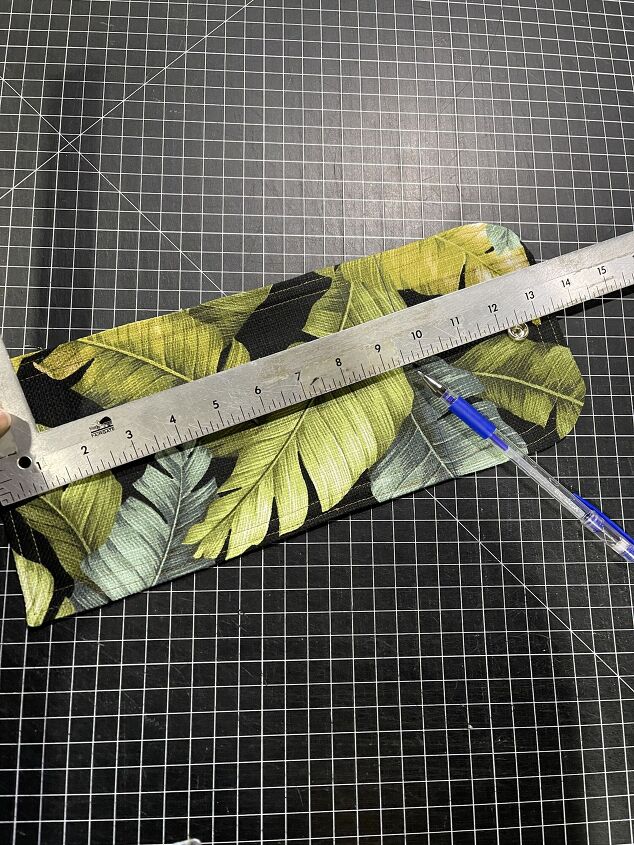
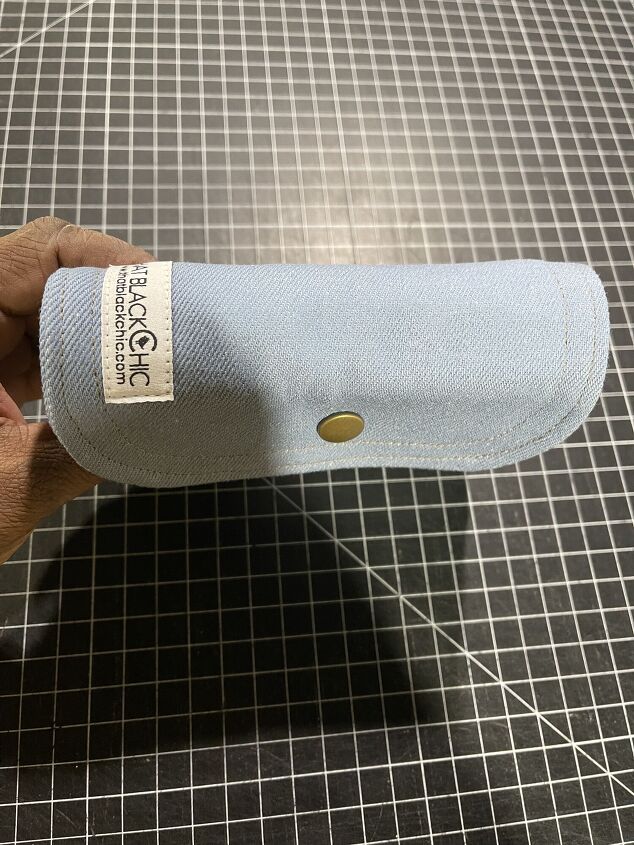
Clutch closure:: Fold
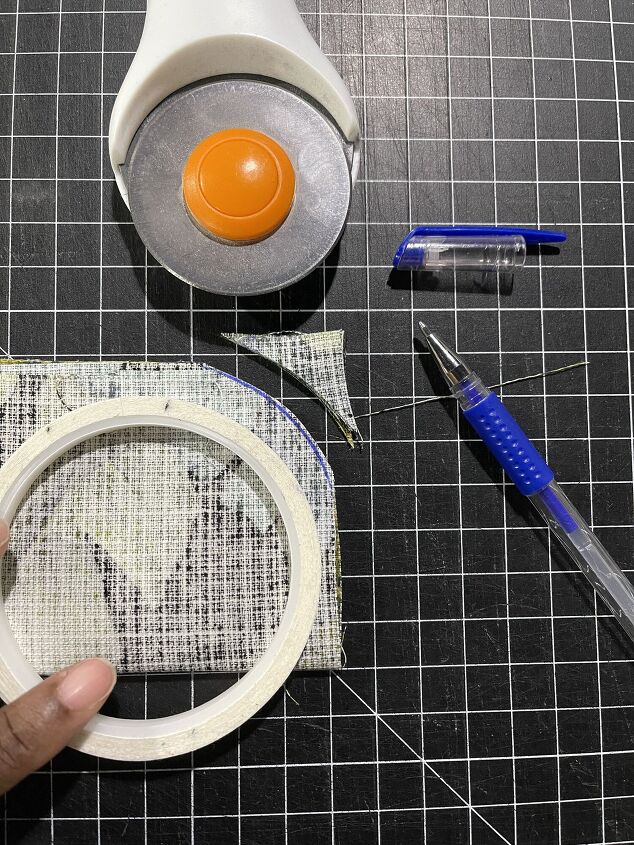
the strips in half lengthwise. Using something round, place it on the raw edge
corner. Trace the round item to create the rounded corners. Cut off the excess
fabric. Make sure you do this to both pieces.
Place
these two pieces with the right sides together and stitch all the way around leaving an
opening on one side wide enough to turn the piece to the right side.
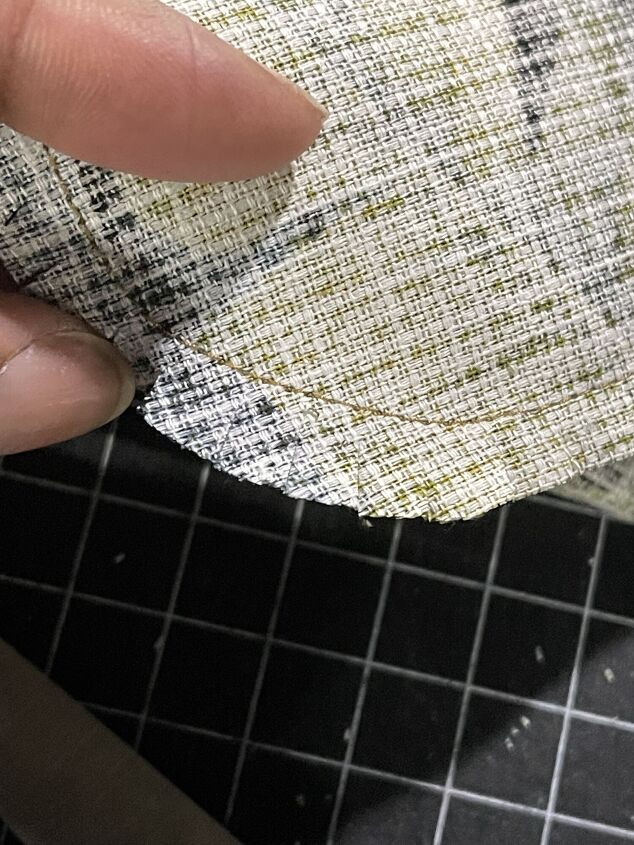
Clip
into the rounded seams.

Turn
to the right side and press.
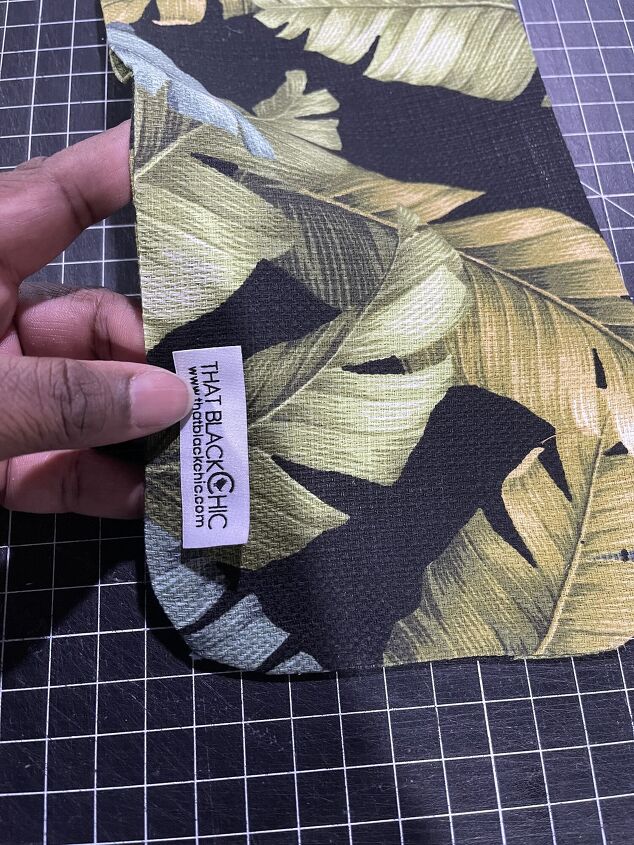
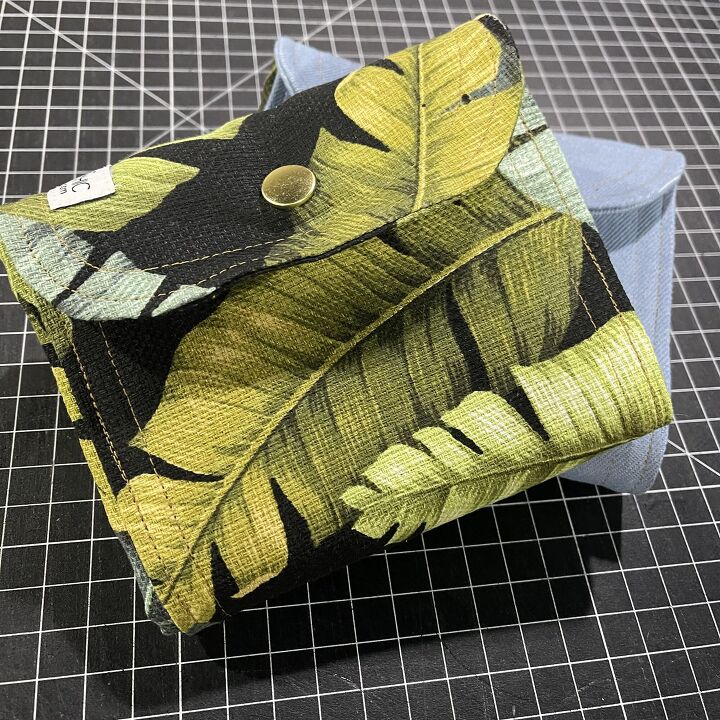
If
you want to add your label to the clutch piece add it now.

Add two rows of topstitching all the way around
the piece & press.
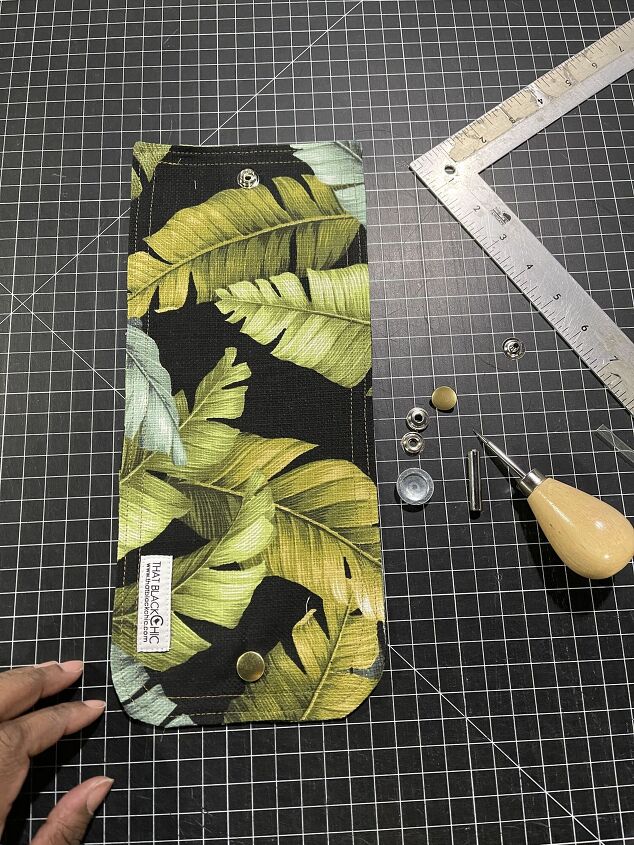
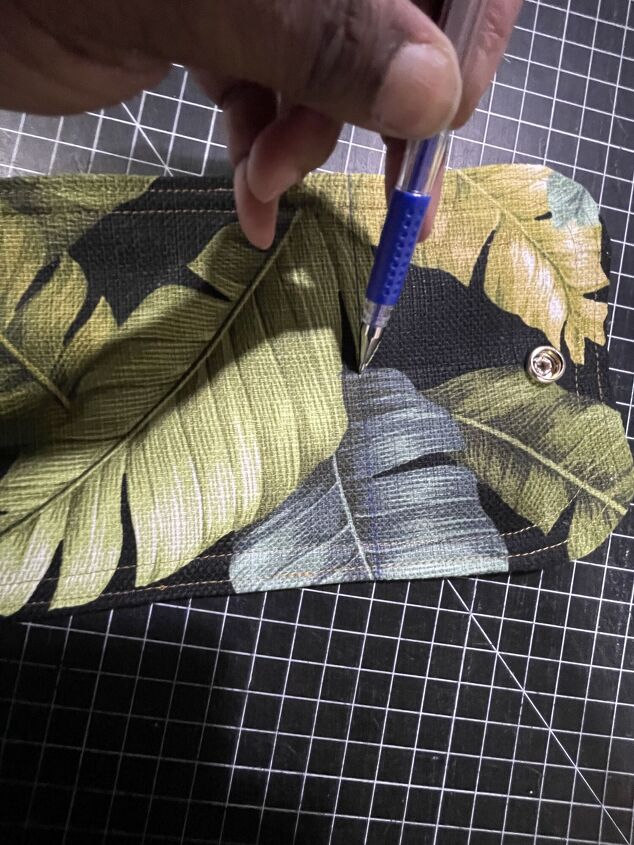
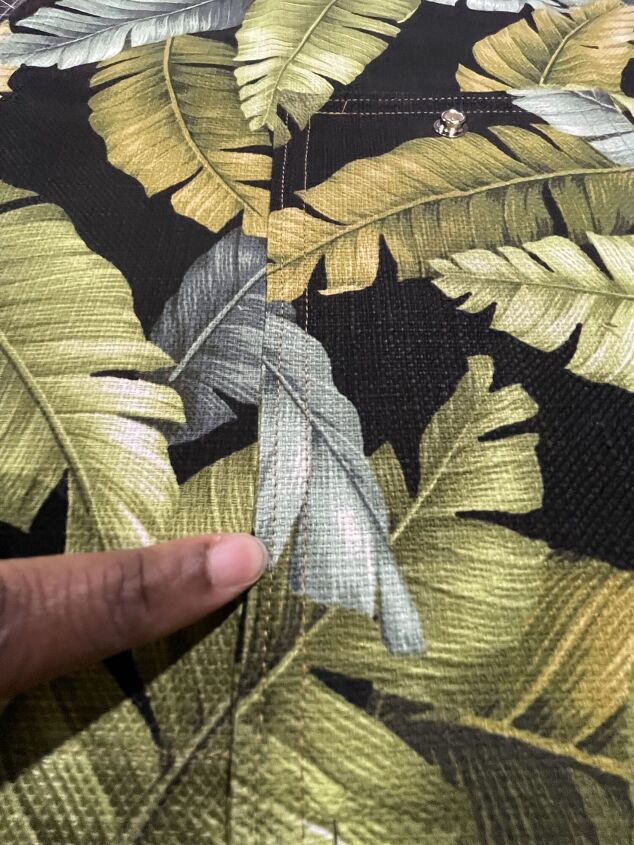
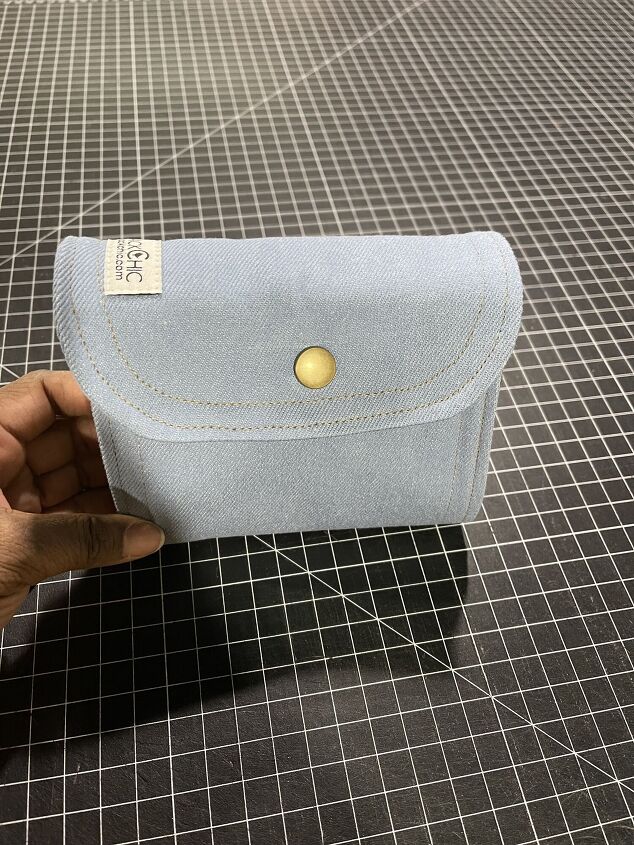
Add
the snap.
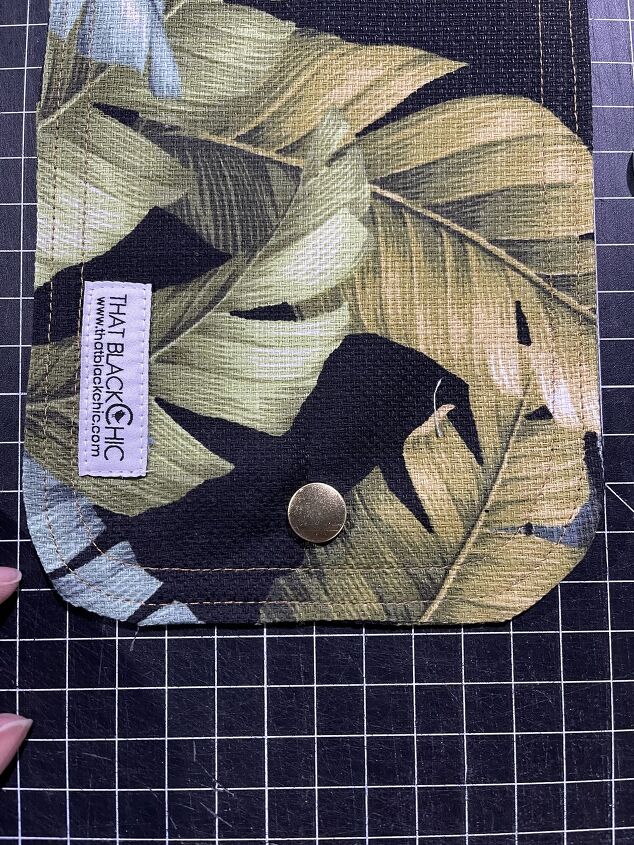
The
head/female of the snap should be on the outside [right side] of the rounded end 1”
from the edge in the center.
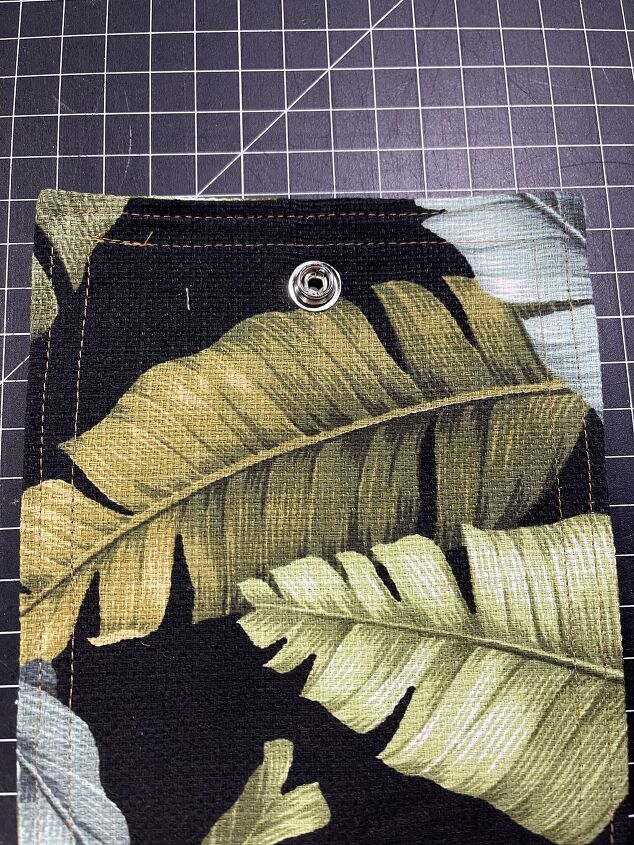
The male end of the snap should be on the straight end 1” from the edge in the
center. Make sure that the male snap is on the outside [right side].
Test
the placement to make sure the snaps are facing the right direction to be able
to close.
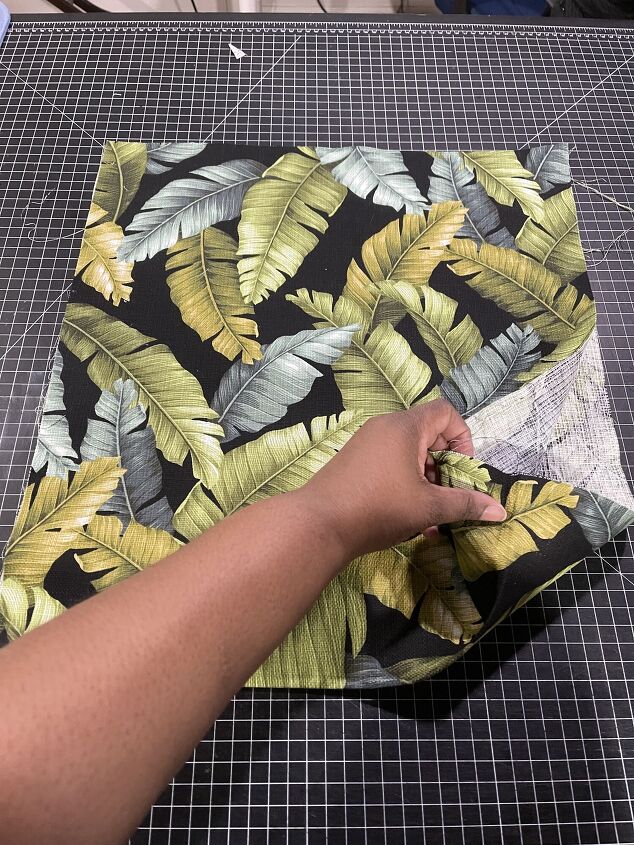
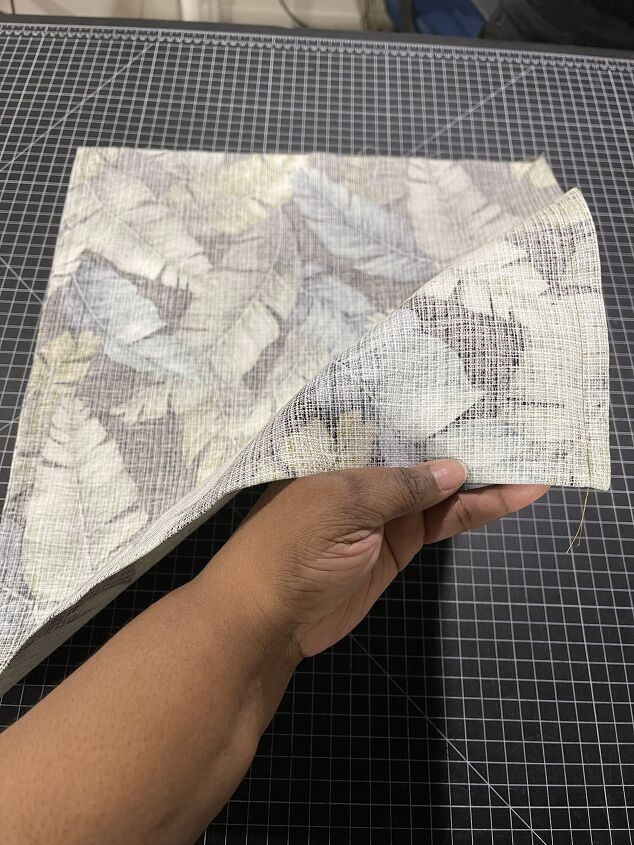
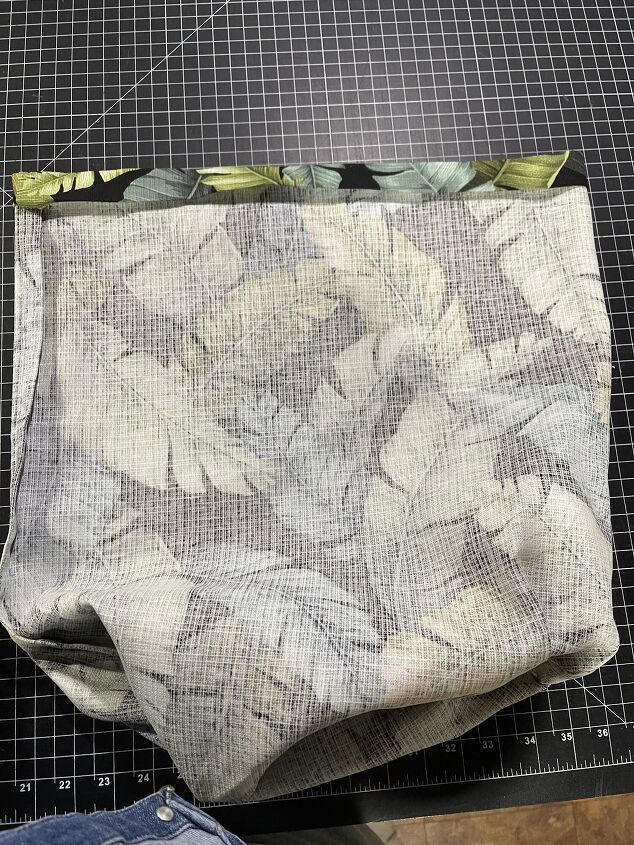
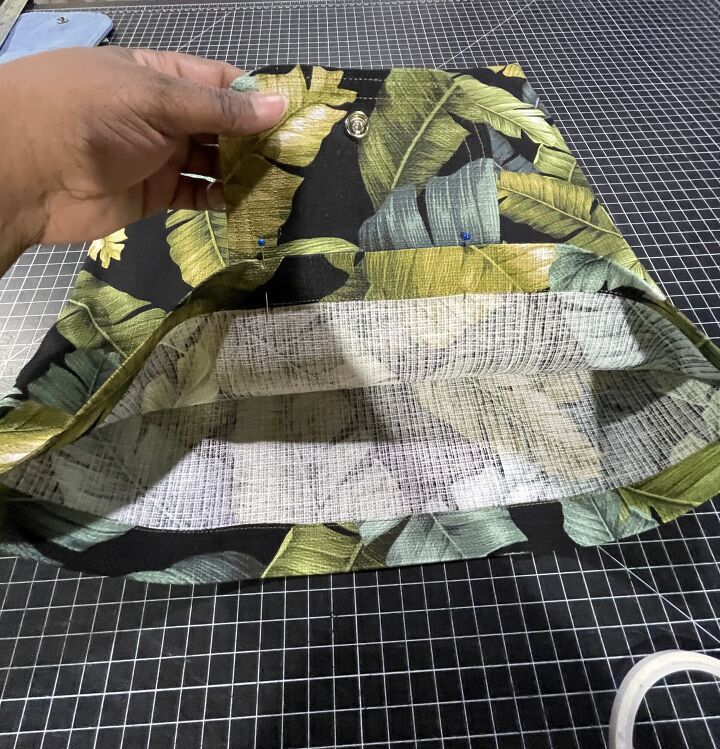
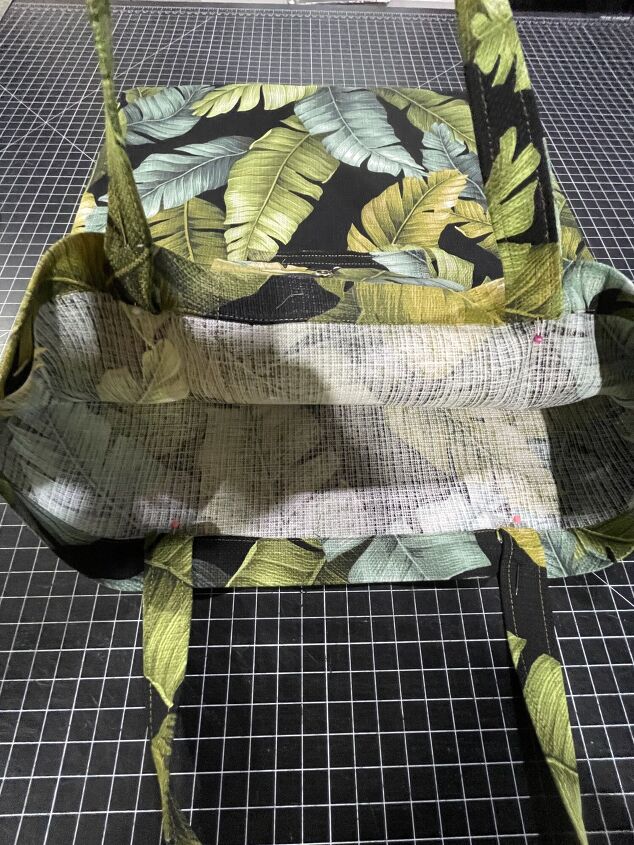
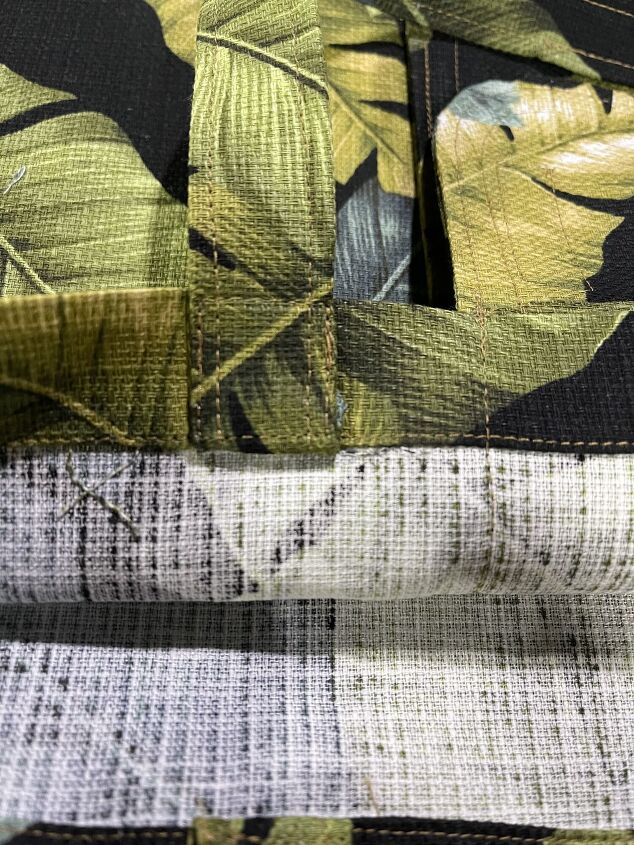
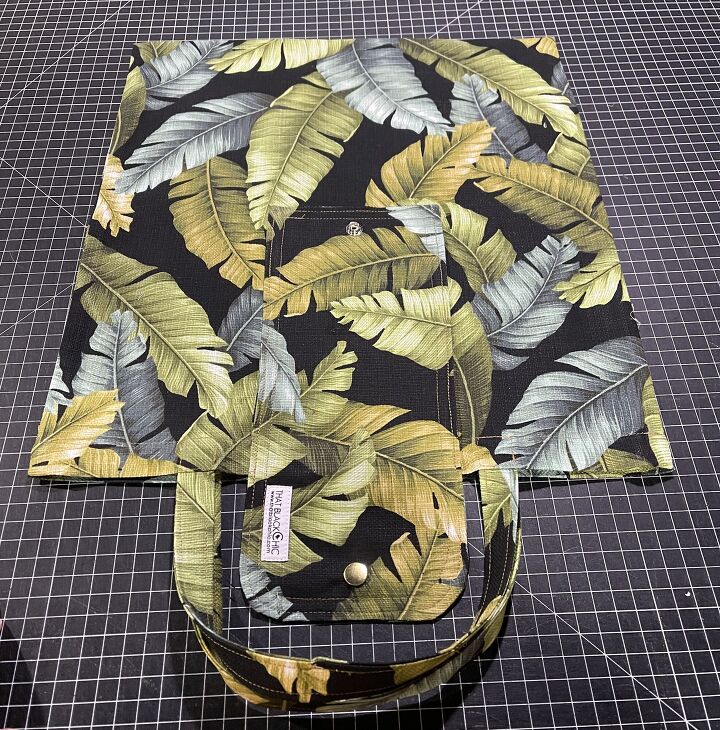
Tote bag:: This piece should be cut on the fold.
We
are adding French seams to this unlined tote. With the right side facing out
and the wrong side facing each other. Stitch the sides closed with a ¼” seam and
press.
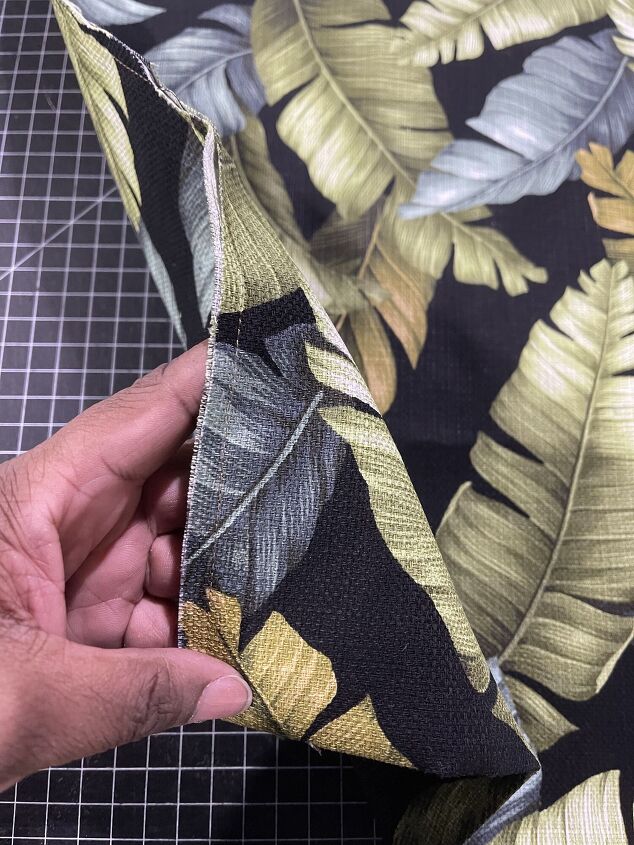
Turn
the bag inside out, the wrong side facing you, and stitch with a ½” seam.
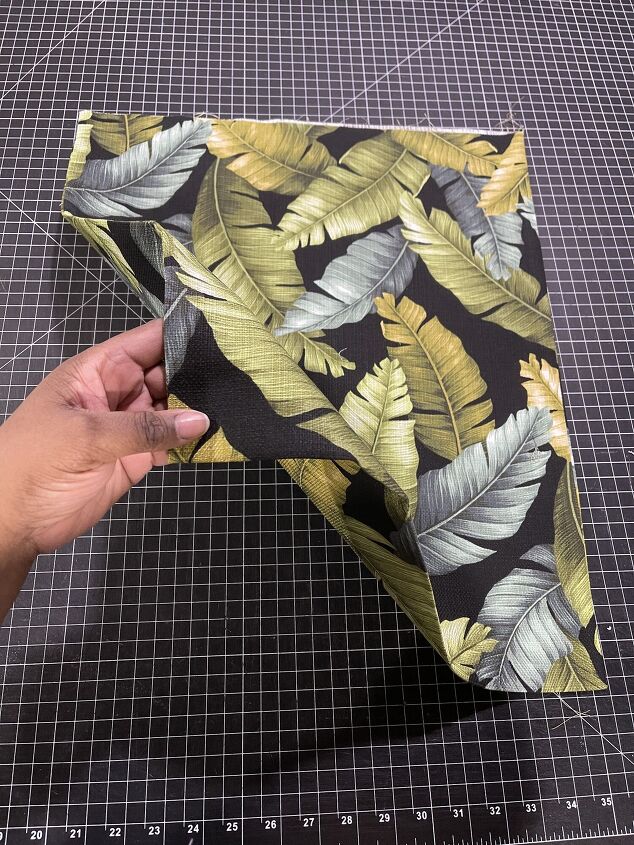
Now turn the bag to the right side and press.
Make sure the corners are nice and pointy.
Now we need to hem the top. Fold it down ¼”
press and then fold down 1” and press. Stitch the hem.
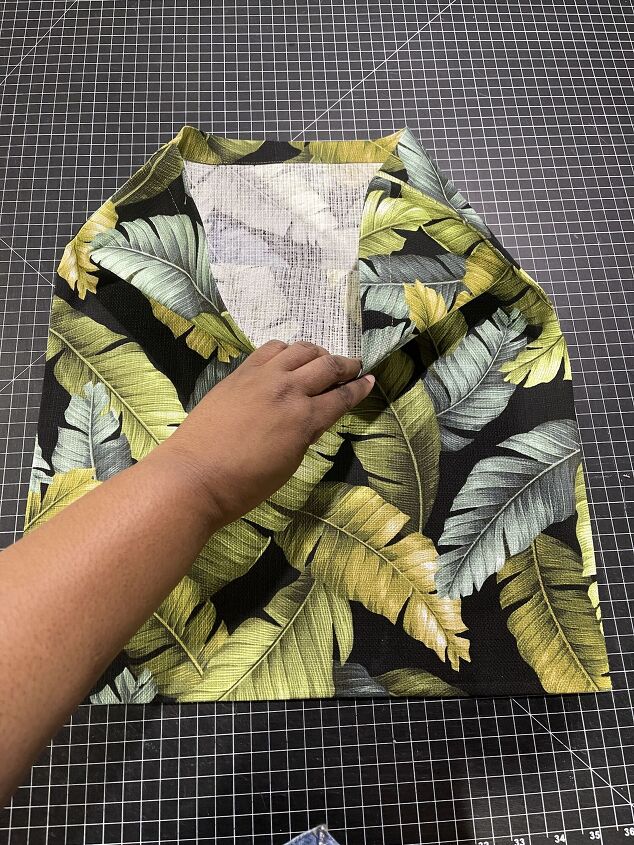
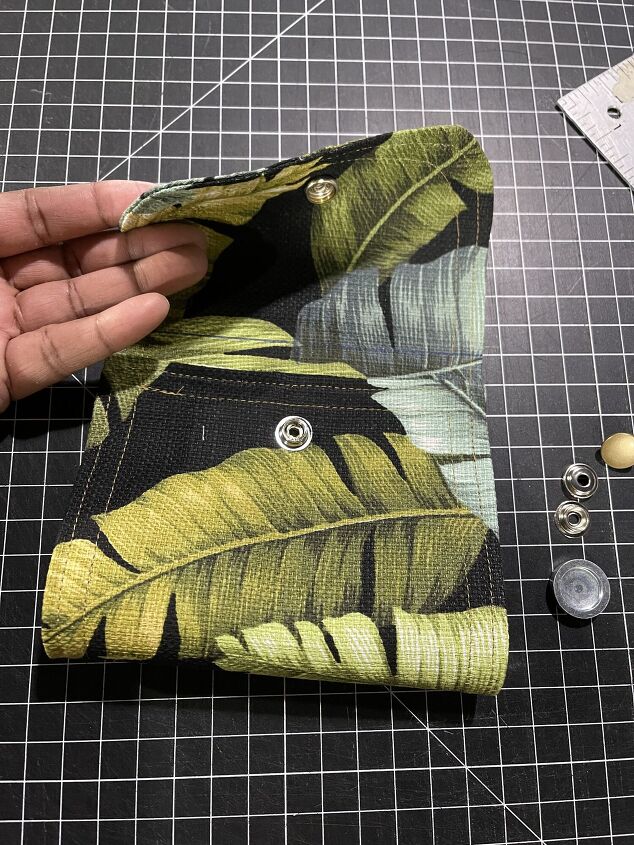
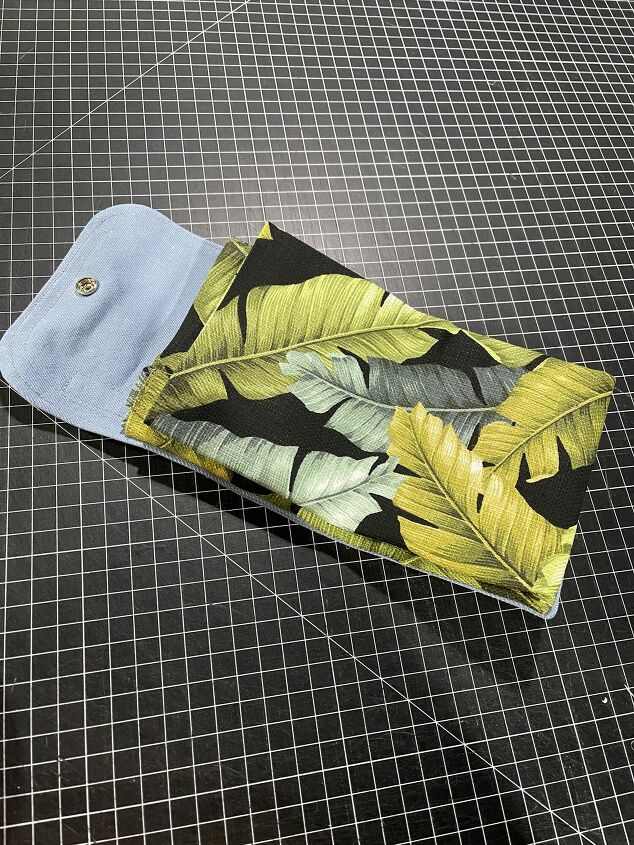
Attaching the clutch to the tote:: Measure
up 10” from the bottom of the clutch piece and draw a line across the width.
Find the center and mark it for placement on the bag.
Now locate the center of the bag and mark it at the top.
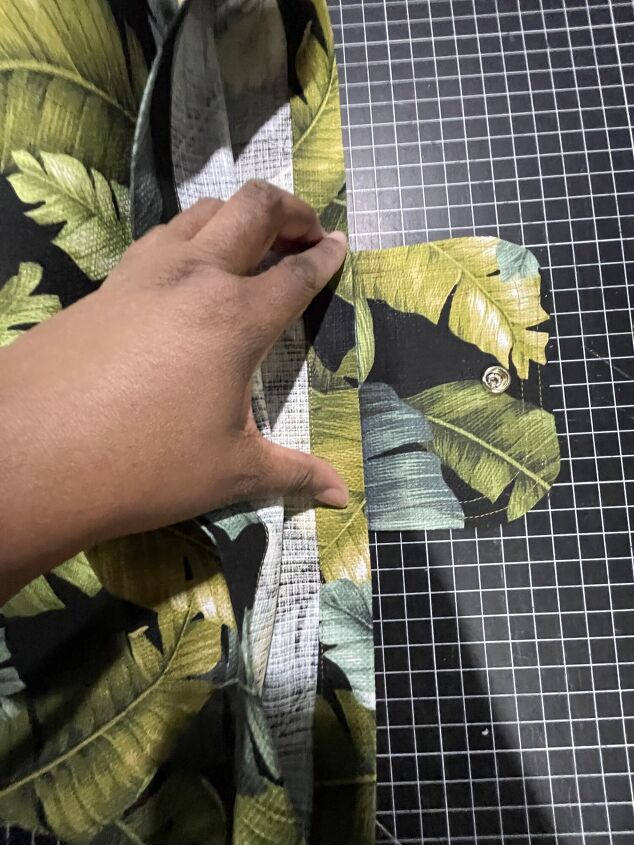
Place one side of the bag on the clutch piece, matching the center marks.
Pin the clutch piece to the bag along the hemmed top.
Flip the bag over so the clutch piece is on the top. Now peel back the clutch piece so you can add the double-sided tape to the underside. Once you have added the tape to all sides, flip it back on the bag and press down with your hands to make sure the tape has fused the clutch to the bag. This will allow you to stitch this piece to the bag without having to use pins.
Make sure you stitch on top of the first row of topstitching that is already on the clutch piece.
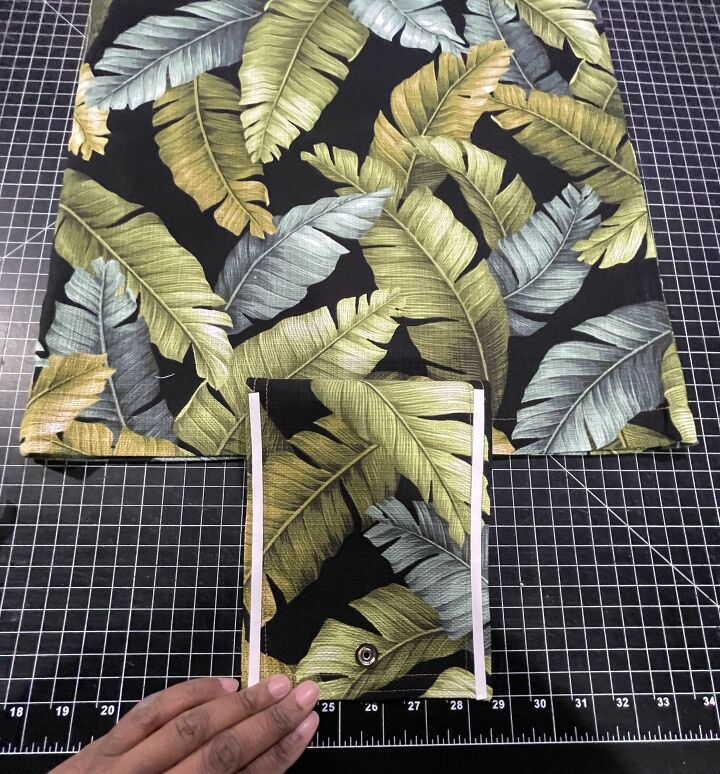
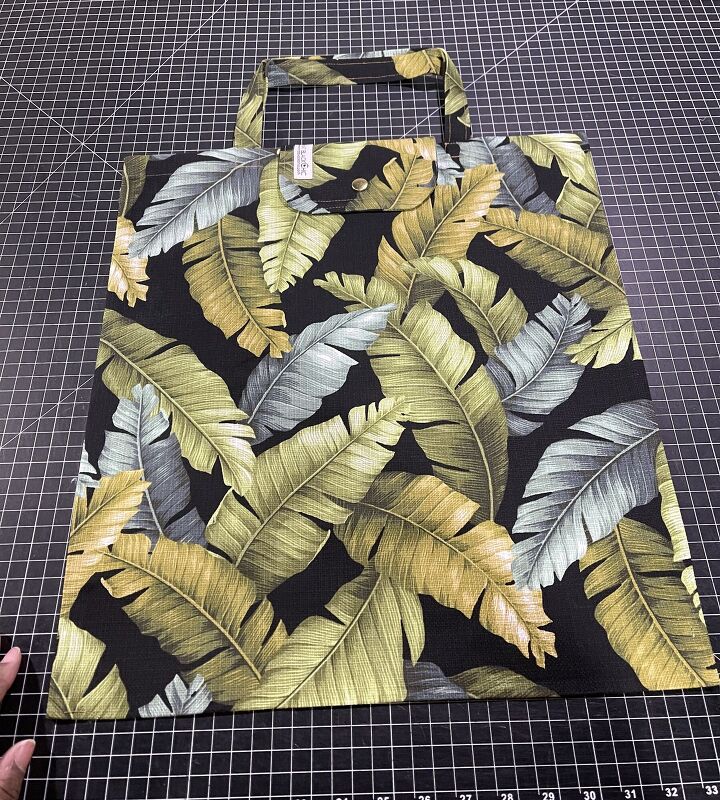
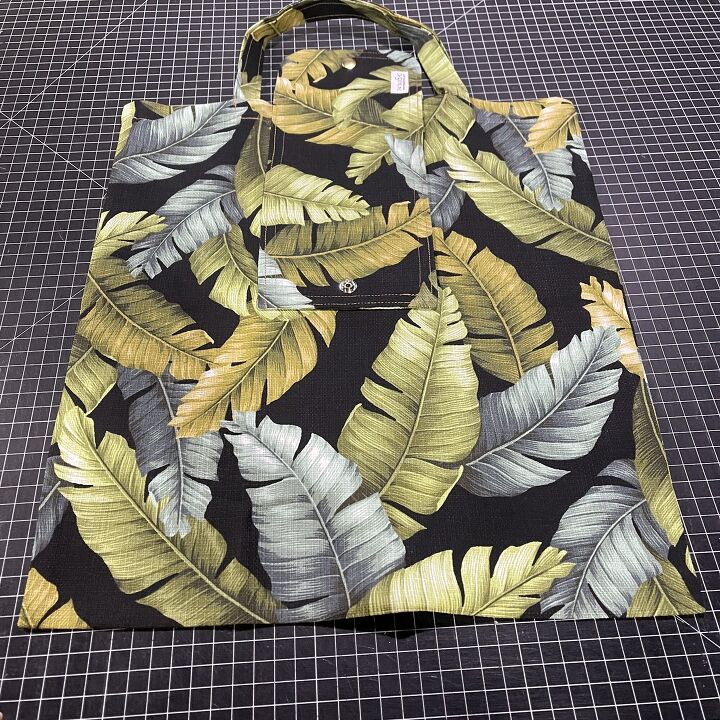
Attaching the handles:: Fold the ends under about ¼” and place on the bag and pin in place about 1” from the clutch piece on each side.
Secure the ends of the handles to the bag. I just made squares.
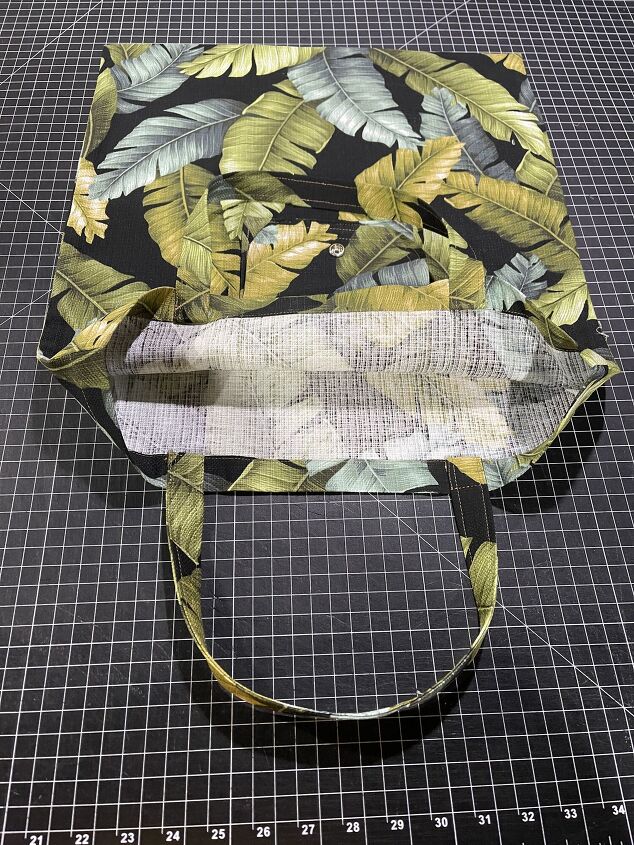
Press the bag and you are done sewing.
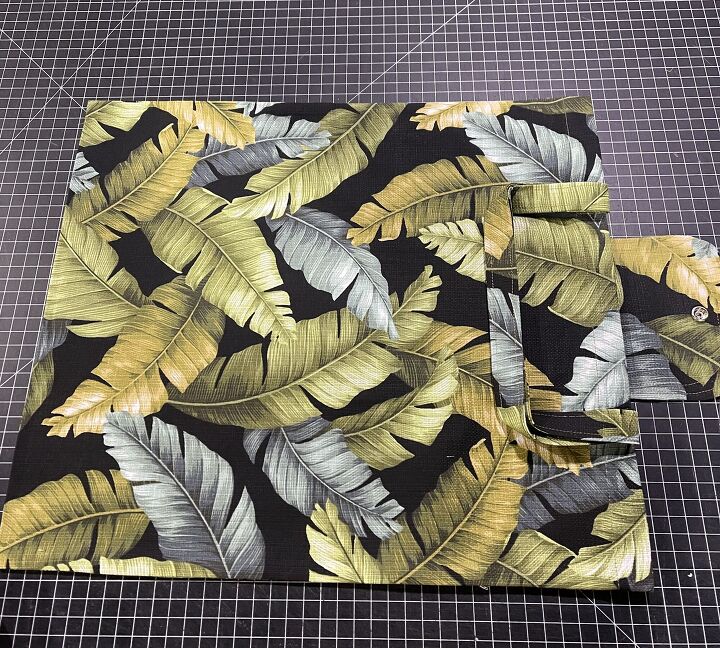
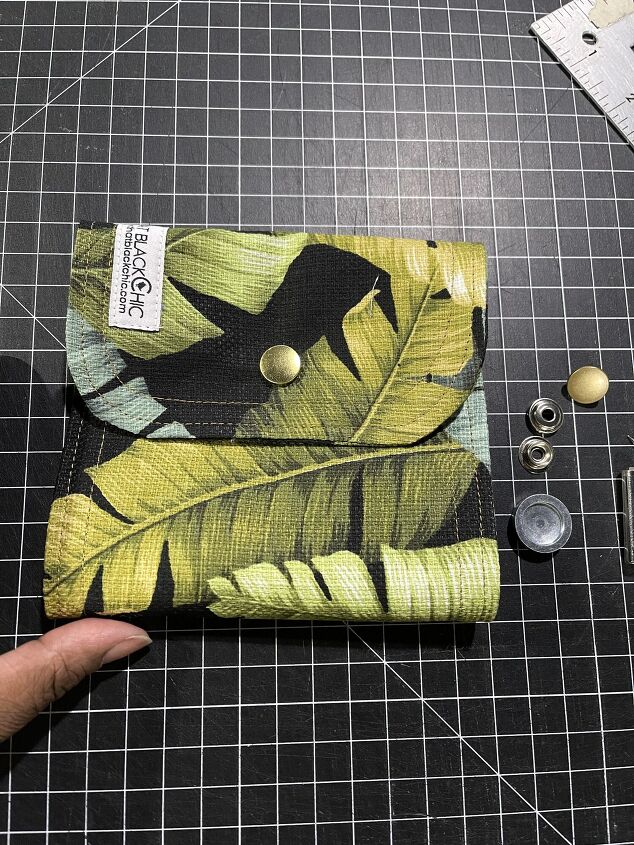
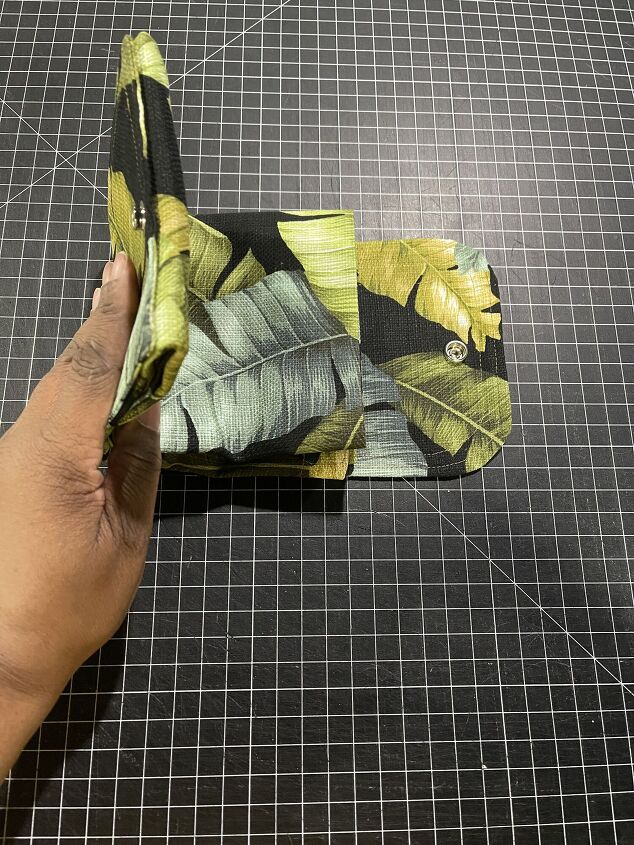
Folding the finished bag 1. Lay the bag flat with the clutch side on the bottom.
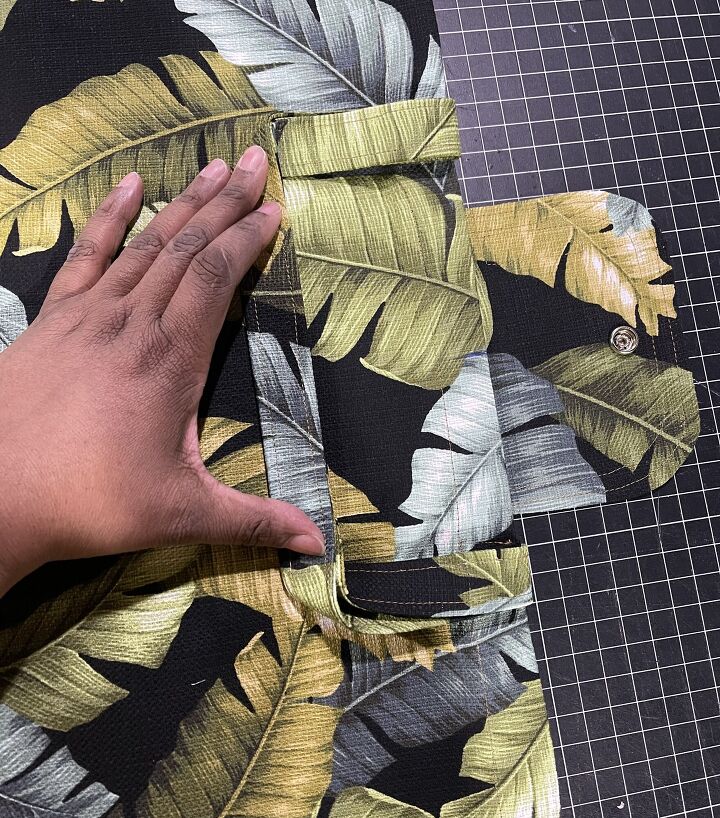
2. Lay
the handles flat.
3. Fold
one side inward, the folded edge should meet with the clutch edge.
4. Fold
the other side inward over the side.
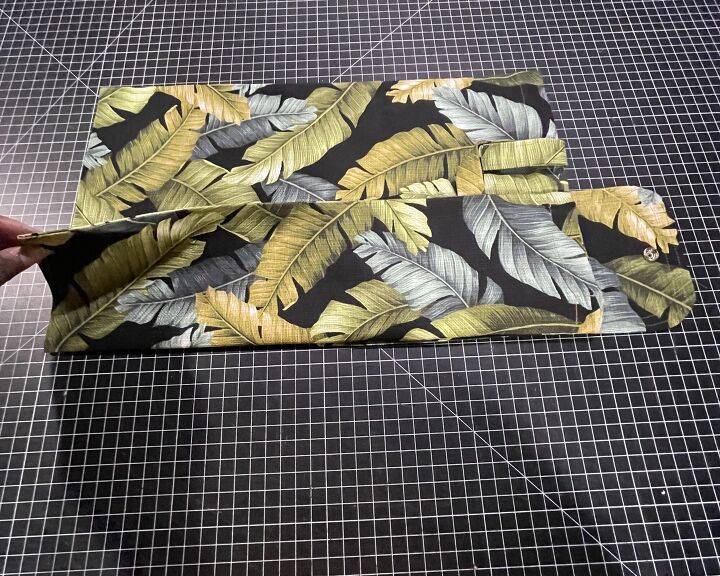
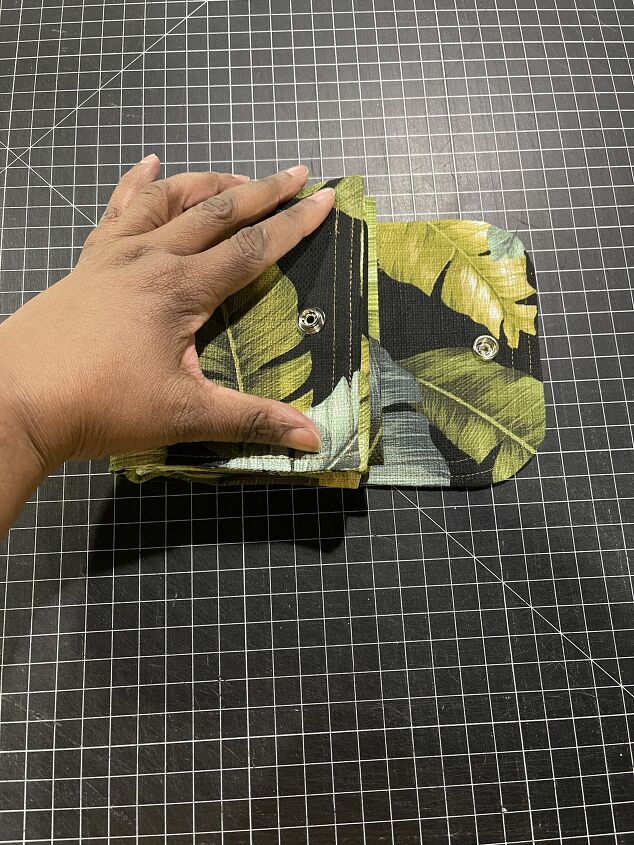
5. Fold
the tote in half.
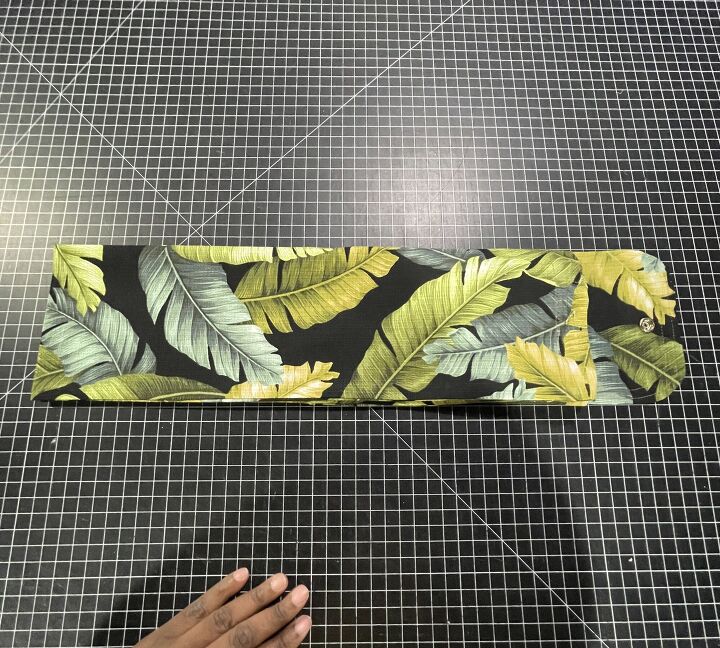
6. Fold
it in half again.
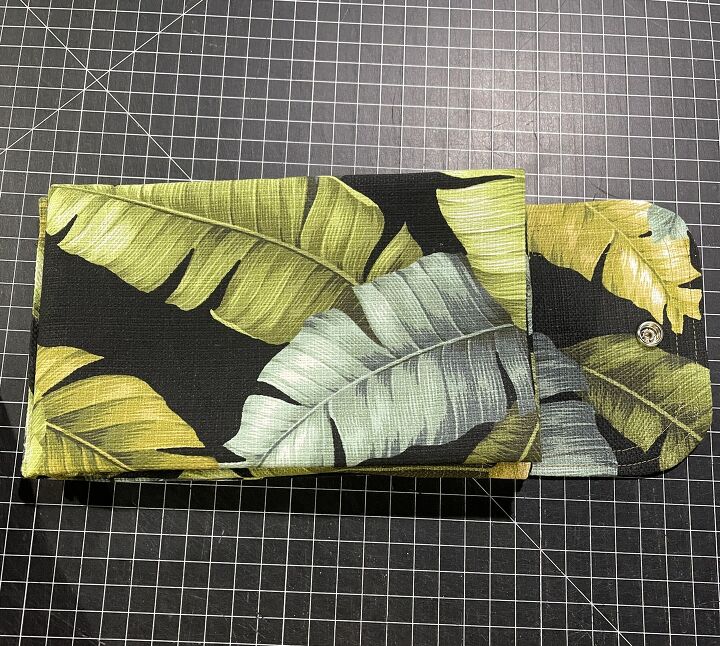
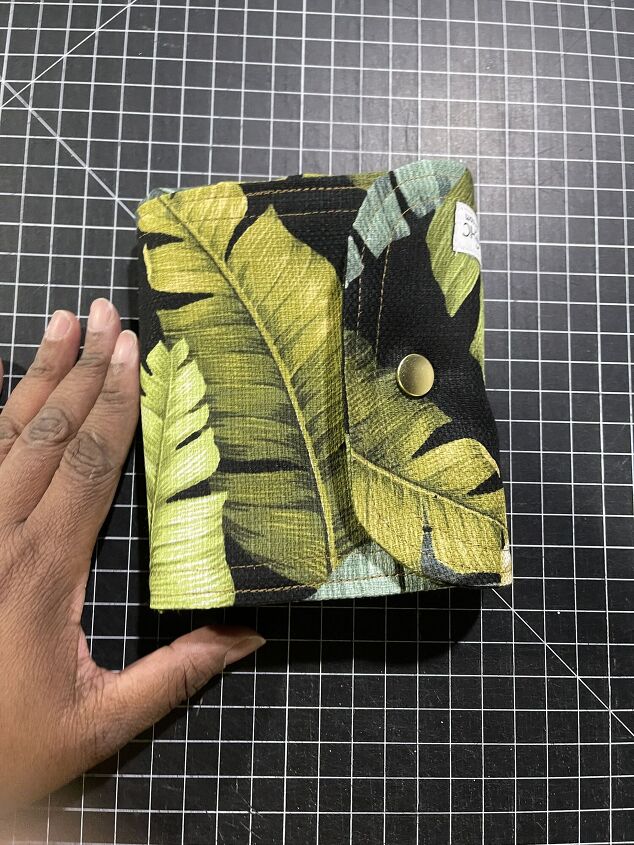
7. Fold
down the top & snap closed.

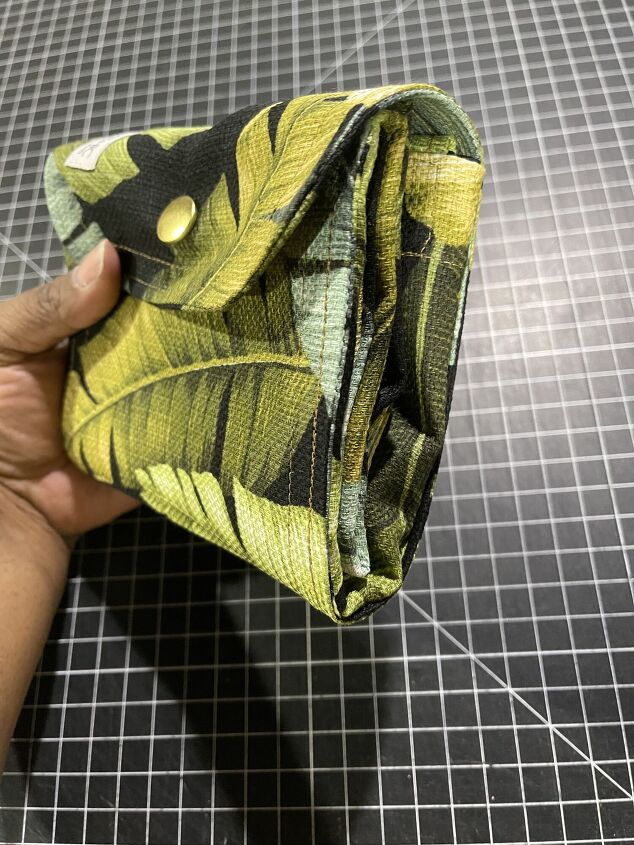


Thanks for stopping by and if you make a clutch tote be sure to tag me!!

The author may collect a small share of sales from the links on this page.


Comments
Join the conversation
There are loads of tote bag patterns on the internet, but this is by far the nicest one out there!! this one is very stylish, doesn't look "homemade", and is made very well. Michelle rocks!