Sew a Beach Bag You'll Love

I originally created this Spring Beachy Bag just to use as an accessory when staging a Summery Styled Porch I put together when helping my son with his First Condo Flip.
But I fell in love with the cute bag and use it all the time now and thought I'd put together a tutorial in case you'd like to make one too!
I love home renovation, crafts, and decor (who doesn't love an amazing themed room?!). Please feel free to view my projects and home flipping at MarciaSocas.com and connect with me on Instagram @marciasocas

Here's the bag hanging on the porch of my son's condo flip -- he was 19 and home from college and it was so much fun helping him learn to flip a property and he let me have fun staging it, so I created a Spring inspired porch with some bright material and the sewing machine.

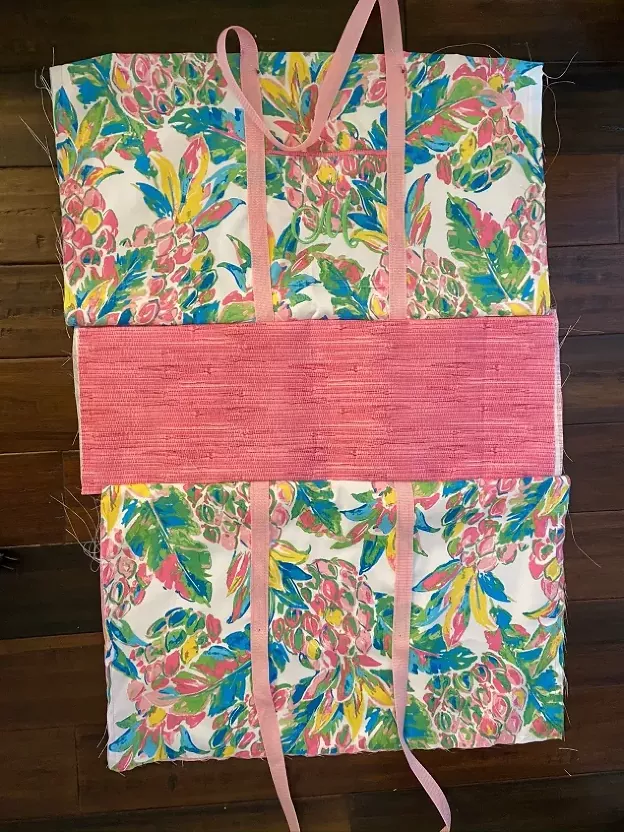
Here it is, packed and ready to head to the beach!
Learn how to sew one of your own below.
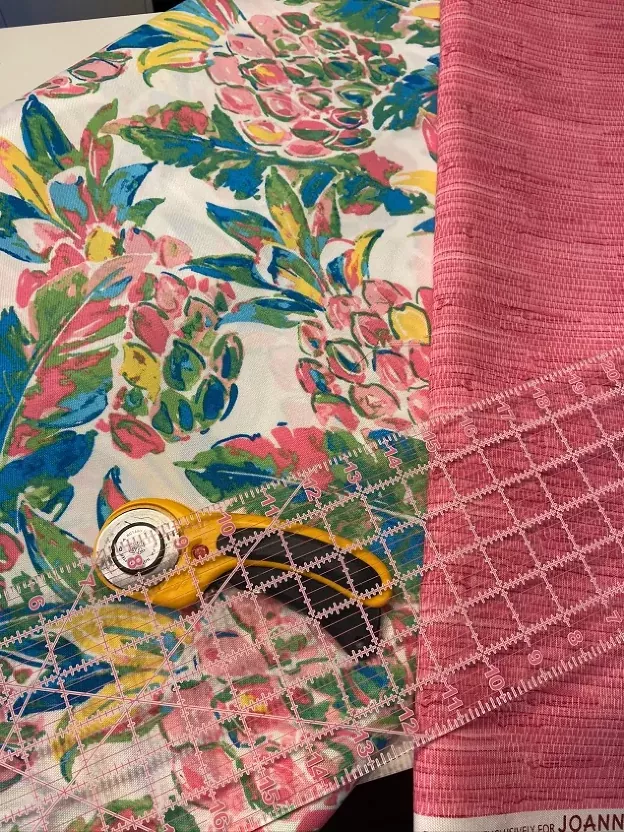
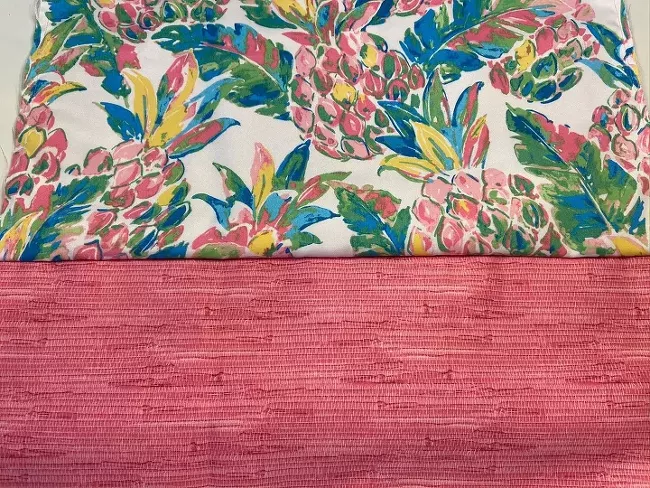
Gather your favorite fabrics. I love this pink multicolored pineapple pattern. It's bright and tropical and has just the feel I want in my bag. Pair your bag fabric with an accent color, I choose the pink color you see above. Get your sewing machine, scissors, and ruler.
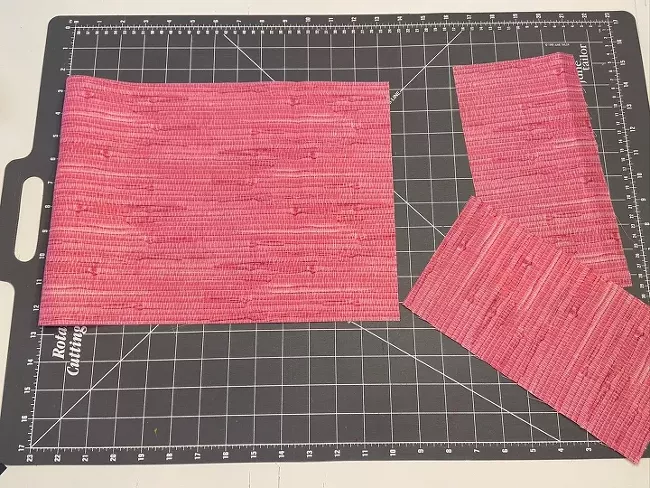
Cut your fabrics.
Here's what you'll need to replicate the big bag I made:
- Main fabric for bag, 2 pieces cut 22" wide x 16" high
*Make sure the "center" of your fabric piece has a part of the pattern you'd like centered on your bag)
- Accent fabric for bottom of bag, 2 pieces cut 27" x 10"
- Interfacing to give stiffness to the bottom of your bag, 1 piece 27" x 10"
- Main fabric for pocket, 1 piece 8" x 8"
(*When you cut this fabric piece for your pocket, keep in mind that you'll want it to line up with the fabric pattern on the main part of your bag)
- Accent fabric for pocket, 1 piece 8" x 8"
- Straps of your choosing, length cut to your liking
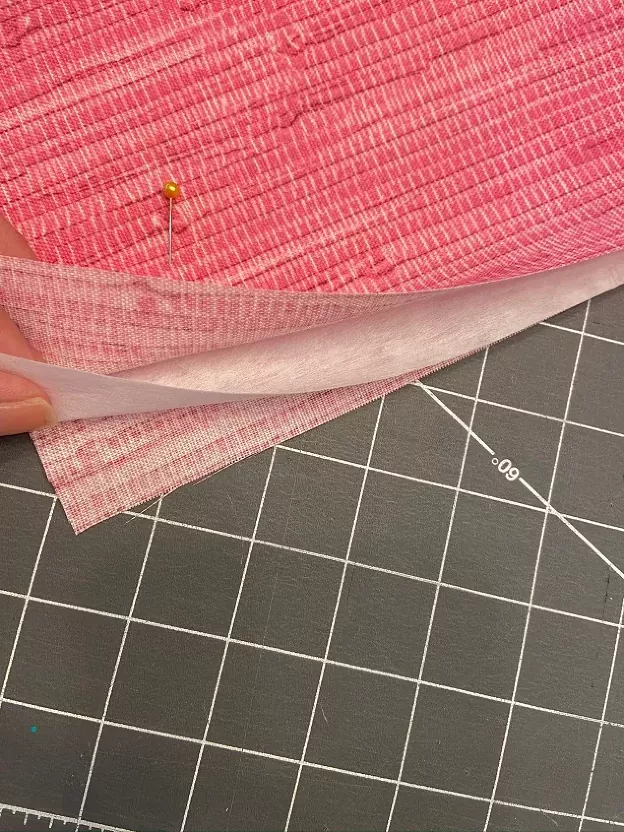
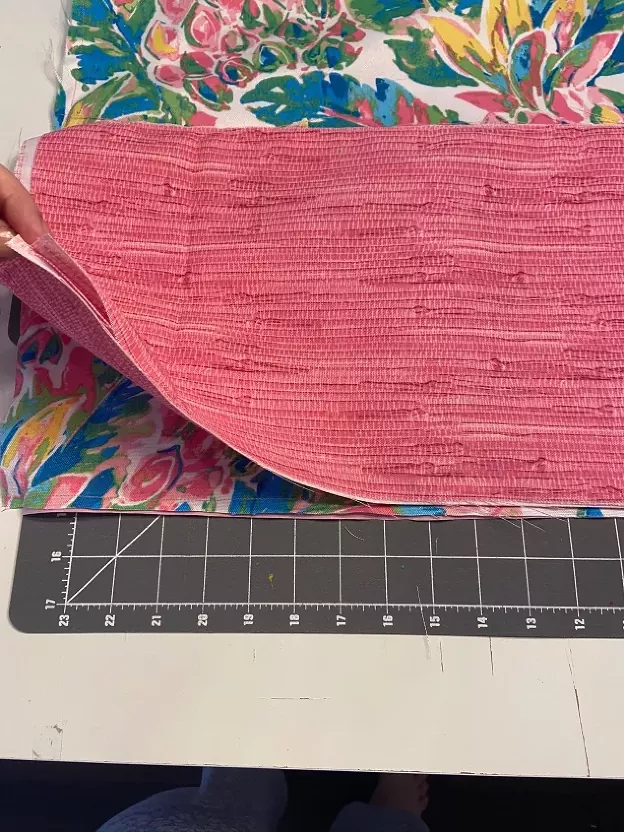
My first step was to put together the bottom of the bag. (These are the 27" x 10" pieces.) I used two pieces of fabric with some relatively stiff interfacing in between them because I wanted the bottom of the bag to be a bit stiff and sturdy.
To do this, place one piece of fabric face down, then on top of that add your interfacing, and on top of that add your fabric face up. This way the "pretty side" of the fabric is on both sides of your interfacing sandwich.
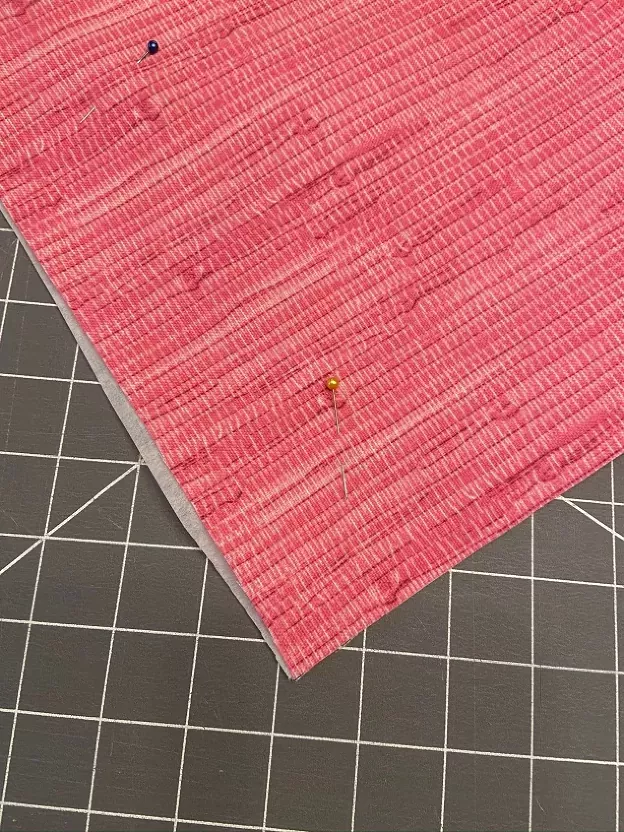
Take your interfacing sandwich and either pin it (like I did), iron it (if you have iron on interfacing), or if you feel more comfortable go ahead and stitch all around it (if you have sew in interfacing).
I chose to just pin it for now.
Once you have this piece ready, set it aside, you won't need it until later.
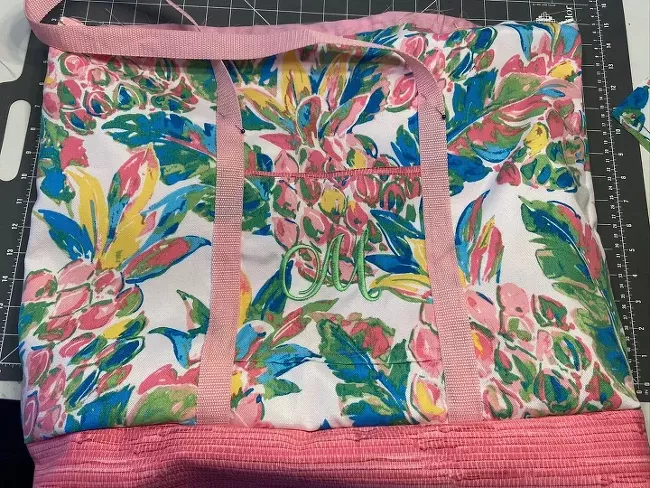
Personalize your pocket.
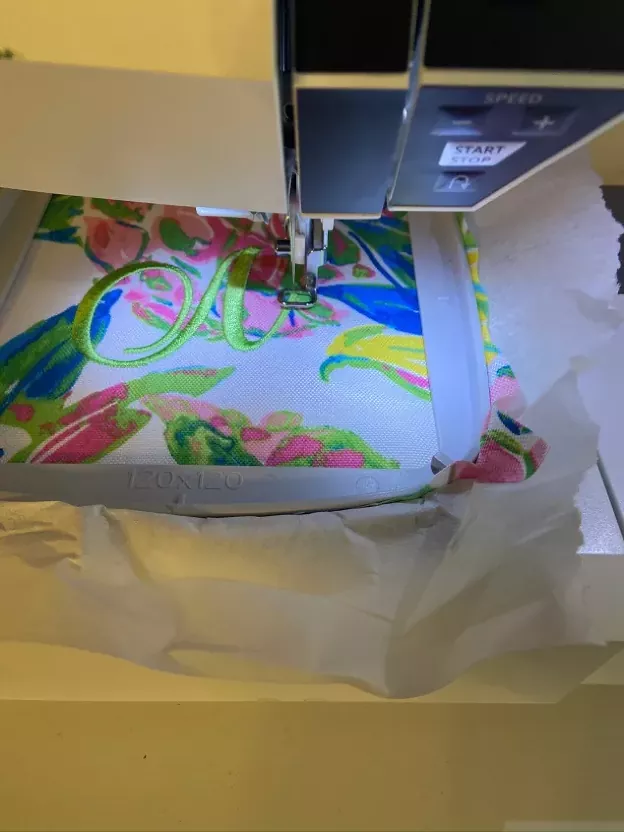
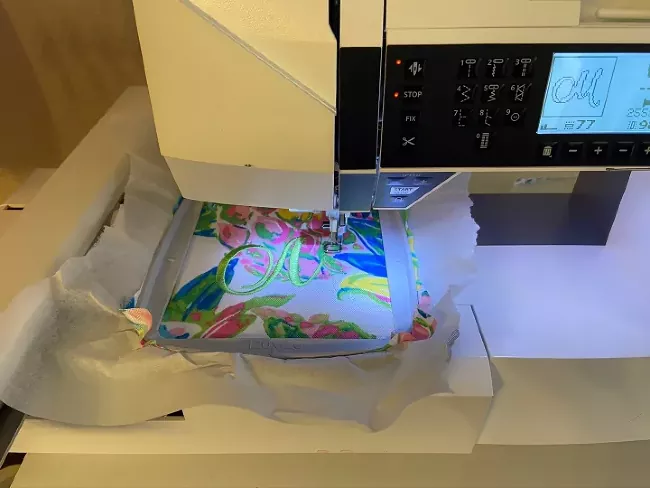
If you'd like to, you can personalize your pocket now with a monogram or any other symbol or logo if you have an embroidery machine or a Cricut machine.
Here I am monogramming my pocket with an embroidery machine.
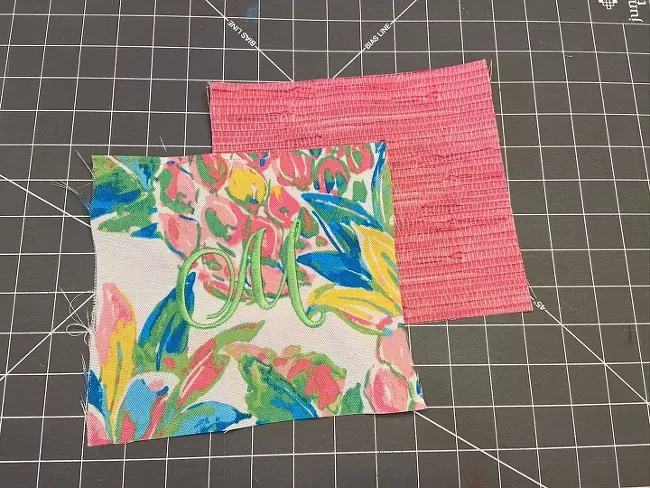
I'd like for my pocket to have a little bit of the accent color along the top. This identifies the area as a pocket once the bag is finished, I think it looks really cute, and just having this little decorative edge gives me a little more of a buffer when it comes to lining up my pattern on the finished bag. The accent trim breaks your visual attention just enough to make the pattern matching up process a bit easier.
TIP: You can see that I cut both pieces about the same size. What I learned in doing this project is that you should actually cut the back accent piece 1 inch longer than the front pattern piece. I'll explain why as we go along through the next two photos.
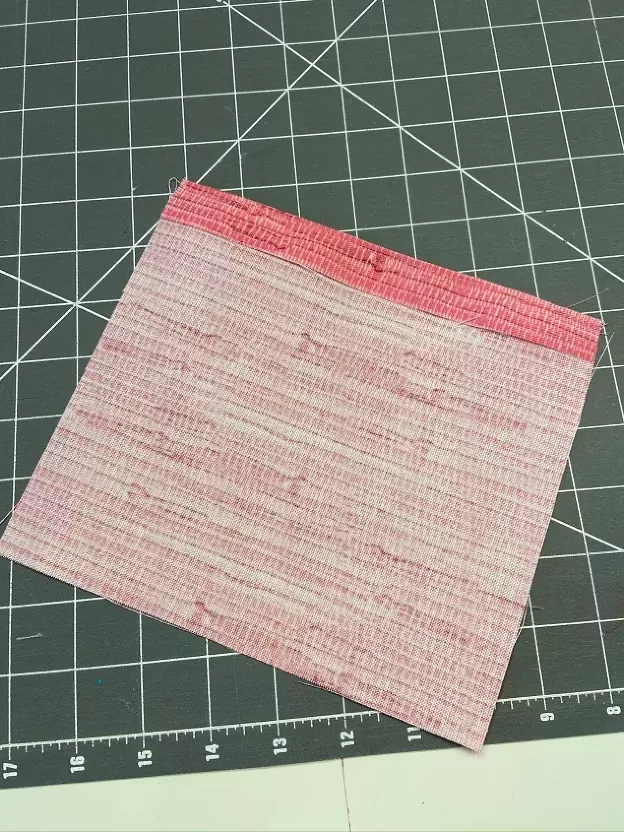
Fold over the accent piece and iron it if you'd like to. This will give the top part of it a finished smooth edge. (I ironed it and gave it a quick stich across)
TIP: I would fold this over 1/2 in
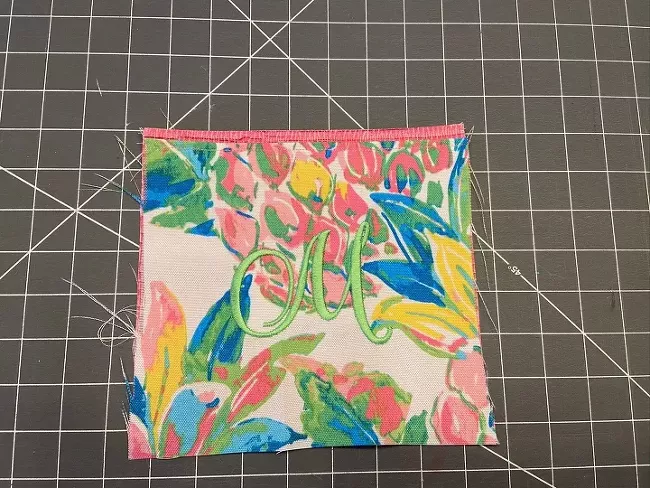
Here you can see the accent piece placed behind the monogrammed pocket fabric. It's placed higher so that the accent color will be visible.
TIP: Here is where you can see the importance of cutting that back piece about an inch longer than the front piece. You've folded over 1/2 inch and now you raise it about 1/2 inch and your bottom edges should line up.
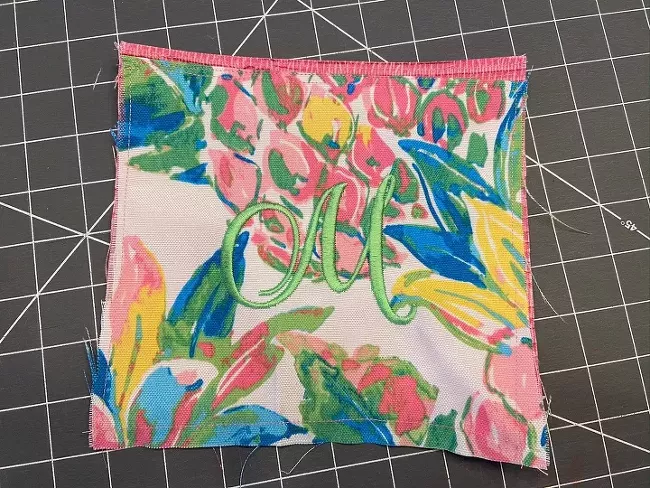
Here it is with the pink accent and my main fabric sewn together. If you zoom in you can see where it was simply straight stitched all around and then I cut off the loose threads with my scissors.
Lay your pocket piece onto your bag fabric and line up the pattern to your liking. I was so happy with the way this pattern lined up.
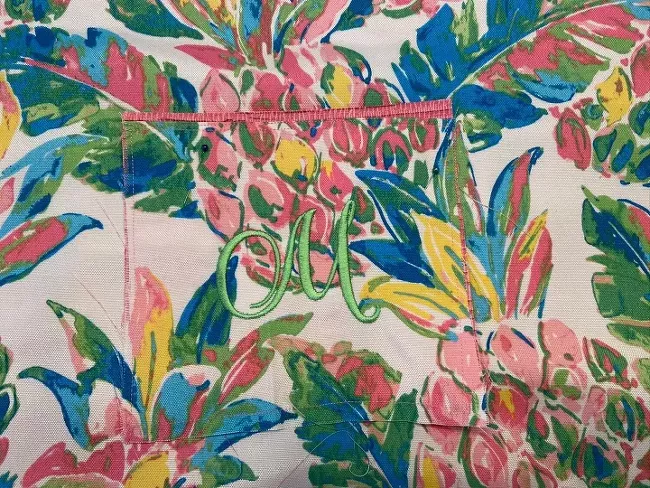
You can stitch the sides and bottom of your pocket onto the front of your bag if you'd like to at this point.
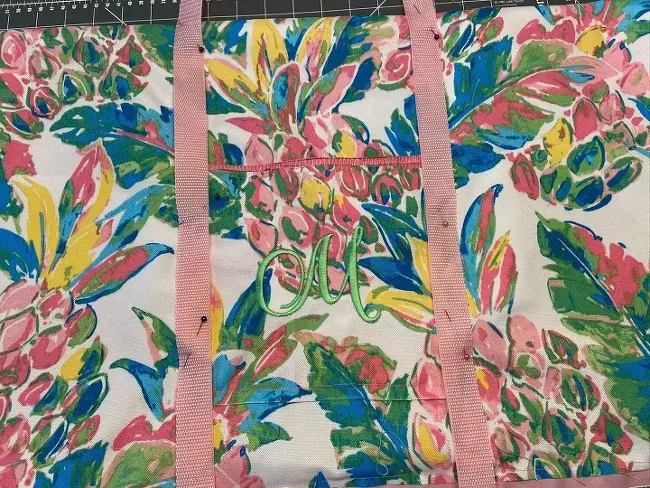
Plan your straps.
This is where it's a matter of personal preference, depending on how long you'd like your straps to be. Let your straps hang just about 1/2" below your bag fabric (better photo of this is coming up).
Stitch the straps in place, and make sure you cover up the sides of your pocket. You'll stitch the pocket into place under the straps, so make sure the pocket is under those straps and that you'll be sewing over it when you stitch the strap in place.
I sewed up from the bottom of the bag, to the top of the pocket area, and then back down again.
The handles will still be loose hanging at the top of the bag so just keep those pinned in place.
Now, lay your bottom piece from back in step one onto the front of your bag.
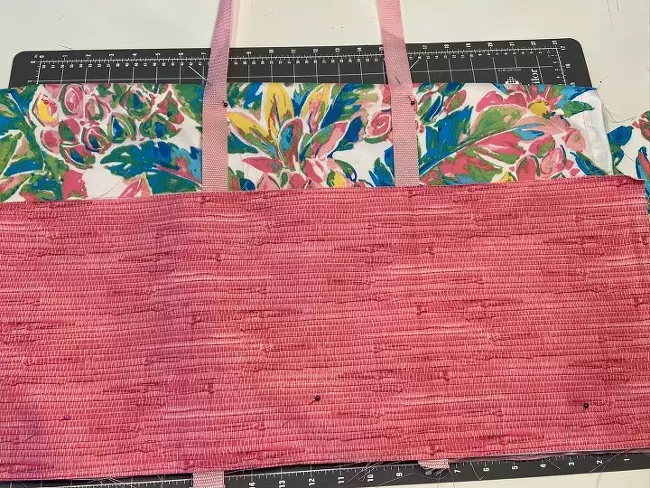
This is how it should look now. You have the front part of your bag facing up, with the pocket and straps pinned in place. Your accent fabric with interfacing sandwich is laid over and secured. The bottom part of the straps are peeking out from underneath because now we're going to sew across the bottom and these straps will be secured at the bottom.
(notice how the top part of the handles are still pinned and not stitched in place)
Once you stitch across the bottom and then open it up, you get a nice looking edge something like this.
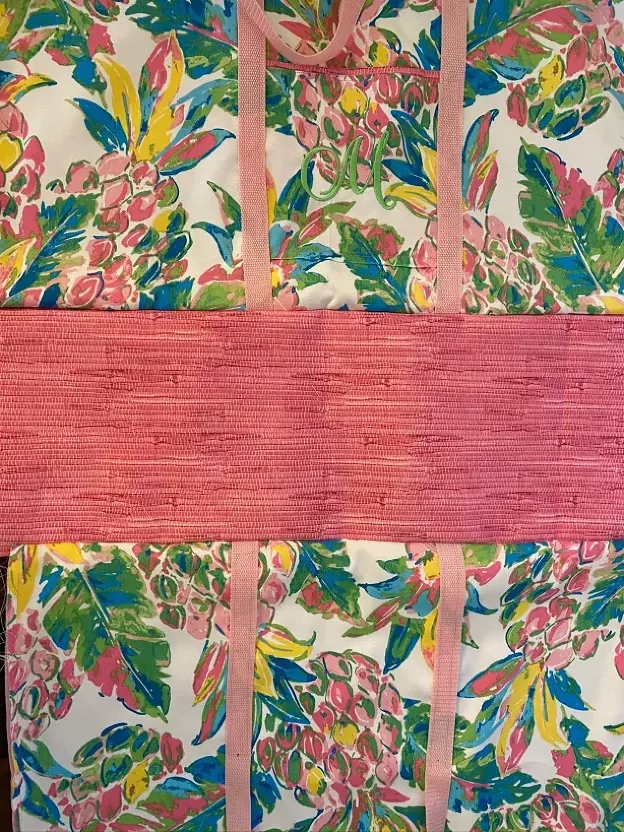
You'll do the same on the other side of your bag, so that you'll end up with the front of your bag and the back of your bag sewn to the bottom piece like this.
Ok, true confession... Here's a photo a little more zoomed out. It shows that I am absolutely not perfect when it comes to getting these fabrics perfectly straight. So don't worry if you aren't either!
Concentrate on making sure your straps line up and then you can trim the sides of your bag a bit to square it off if you need to in the next step.
Fold your bag together so that the "wrong sides" are out. Make sure the bottom piece of your bag is folded in the center so that both front and back sides are even. It'll look like this.
(Now you can trim the sides a little if you need to get it a little more squared off and even.)

Stitch up the sides all the way from the bottom to the top.
At this time, you can fold over the top of your bag and run a straight stitch all along the outside and stitch the handles into place as you sew around the bag. This finishes your bag as an open bag.
I'm working on a separate tutorial for adding a zipper to the top of the bag so follow me on Hometalk if you'd like to see that when I get it uploaded in a few weeks.
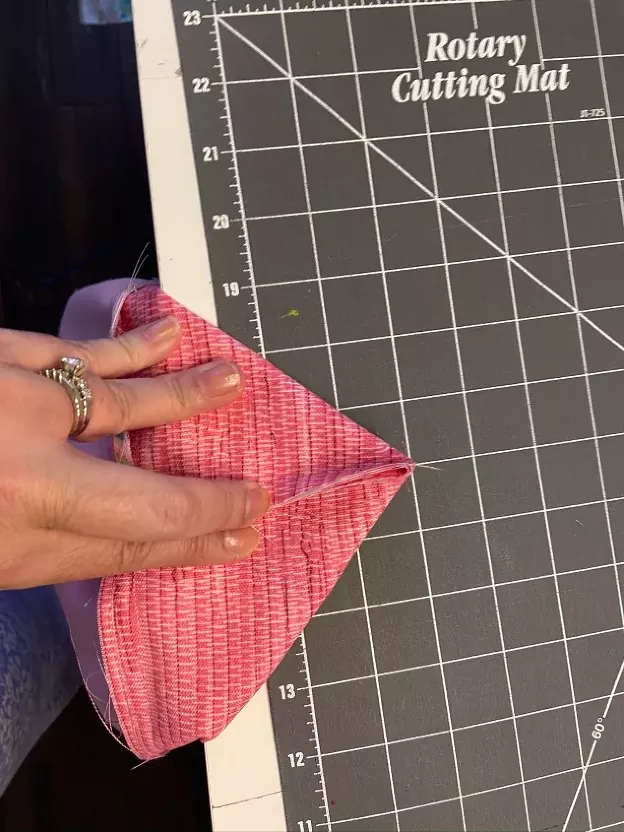
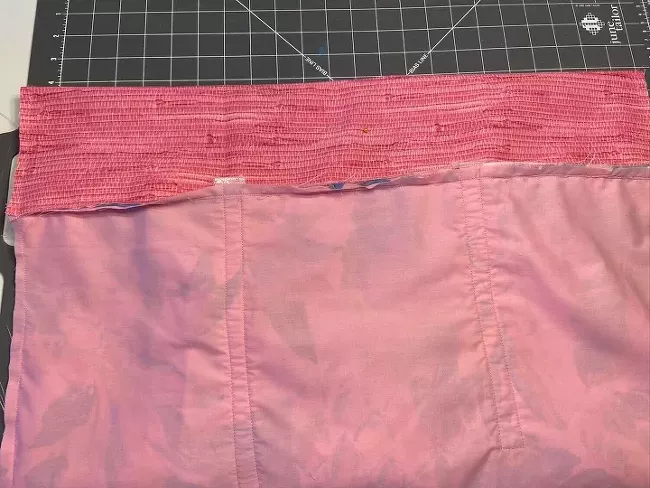
Now to finish the bottom. Fold down the bottom corner of the inside of your bag. Then you'll stitch across it, approximately 1" down from the tip of the triangle.
Once it's stitched, you'll cut off the section above the stitching. This will provide for a squared off bottom to your bag.
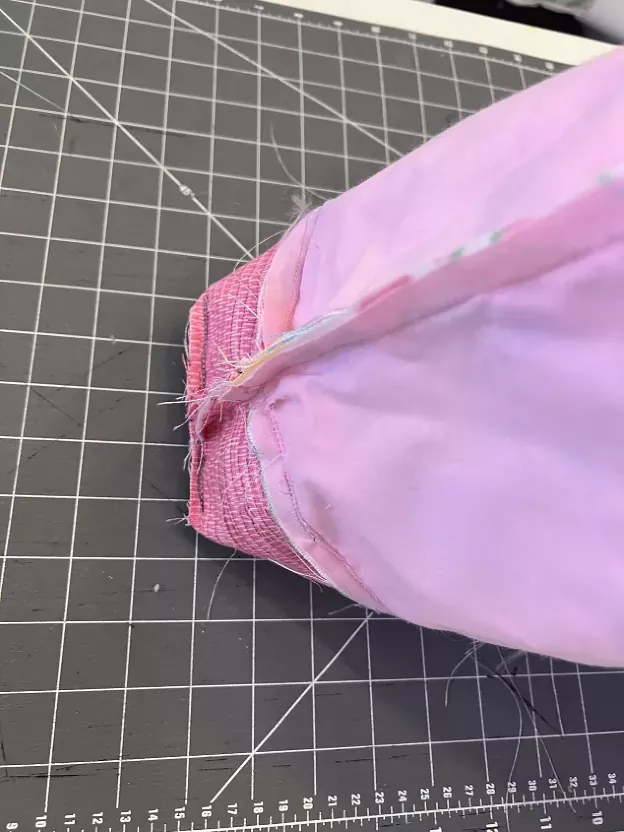
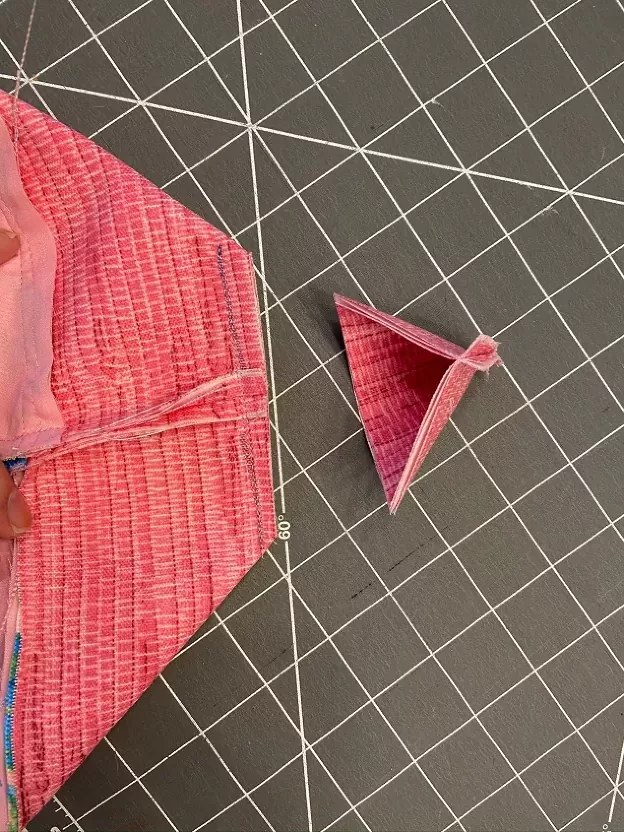
I realize it's kind of hard to understand how that corner stitch and cut comes together so here's a photo showing what it looks like when cut. It gives a squared off finish to the bottom which looks great when the bag is finished and turned right side out.
Trim the threads. Turn it inside out, and it should look something like this.
The author may collect a small share of sales from the links on this page.


Comments
Join the conversation
Like the colors! Thanks for sharing a simple way to construct a bag. With the pocket construction this way, will the bottom of the pocket fray?
Thanks! I had forgotten you had said it was initially made for ‘staging’. Just had a thought….Fray Check could possibly stop the fraying, if it should…..