Easy At-Home Manicure: How to Cure Gel Nail Polish With an LED Light

Today I want to give you a tutorial on how to cure gel nail polish with an LED light. If you are getting your first LED light and don’t know what wattage lamp you need for gel nails, the one I use in this tutorial is from Ellement Co. and is 9 watts.
You can get more expensive LED lights for gel nails with a higher wattage, but if you follow this step-by-step tutorial and cure your nails as instructed, the lower wattage should be fine.
Tools and materials:
- Gel nail polish
- LED light
- Water
- Fresh lemon or lime
- Cuticle pusher
- Cuticle cutter
- Nail buffer
- Soft bristle brush
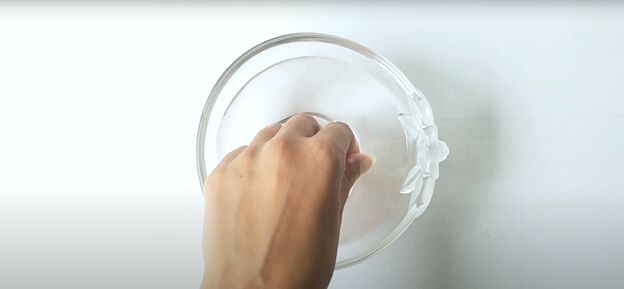
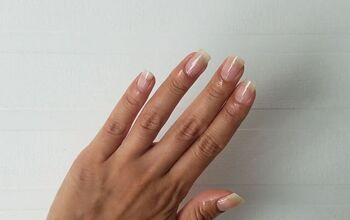
1. Prepare your cuticles
Start by soaking your fingers in lukewarm water.
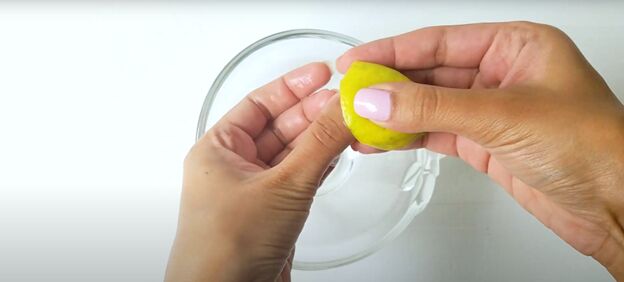
Slice open a fresh lemon or lime and rub the fruit all over your nails. This will remove any excess oil from your nail beds and makes your nails stronger. Leave the juice on your nails for a few minutes.
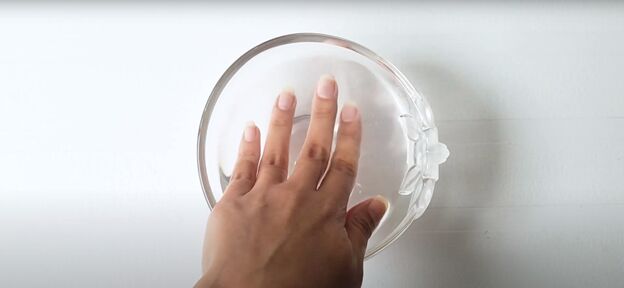
Then, soak your nails in warm water again. This second soak will soften your cuticles.
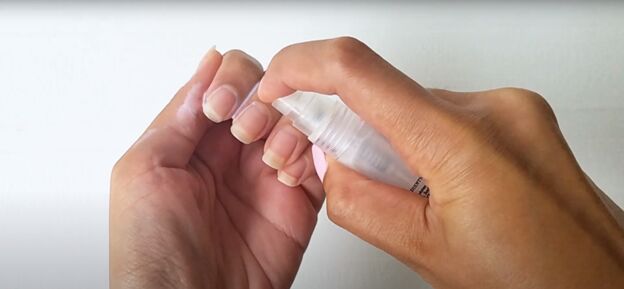
Now, spray your cuticles with a commercial cuticle remover and rub it into your cuticles.
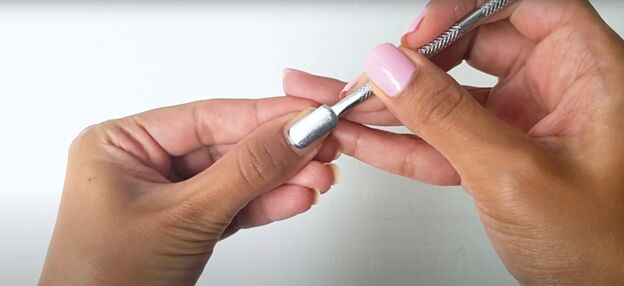
Next, use a cuticle pusher to push back the cuticles that are still stuck to your nail. This will help your nails grow out faster and stronger.
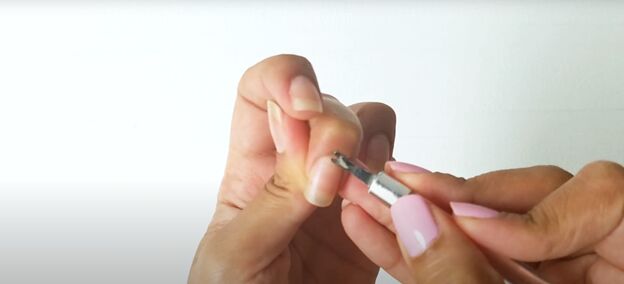
Finally, use a cuticle cutter to remove any dead skin from around your nail bed. Be really careful when you’re doing this last step because you don’t want to break any skin and cause an infection.
2. Prepare your nail tips
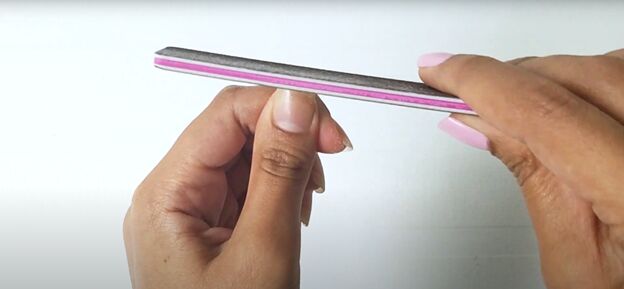
File your nails with a nail file, only drawing the nail file in one direction. If you go back and forth with your nail file, you can damage your nails.
My preferred nail shape is a square tip with rounded corners, but you can shape your nails however you like.
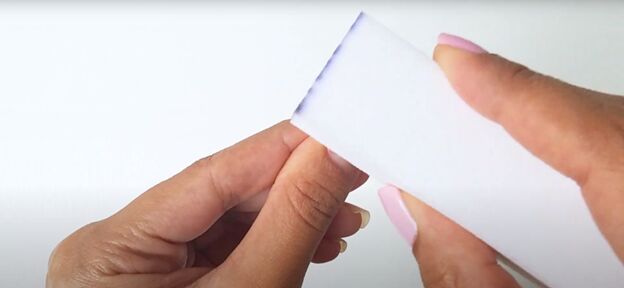
Rub a nail buffer all over the surface of your nails to get an even texture. Buffing also helps to remove ridges on your nails and gives your nails a natural shine.
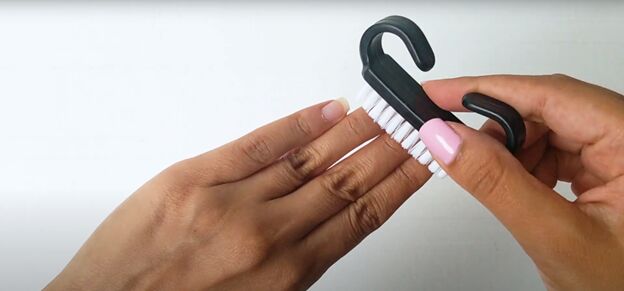
Use a soft bristle brush over your nails to remove any nail dust and then clean your nails with nail polish remover. This will help your gel nail polish glide on smoothly.
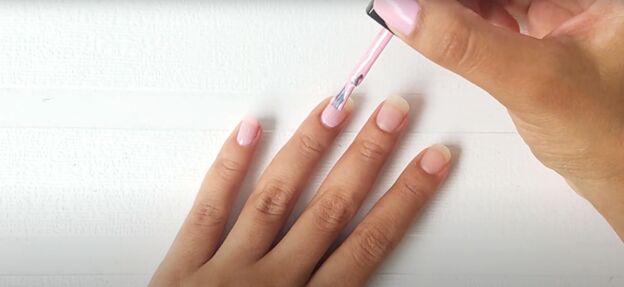
3. Apply gel nail polish
Apply one thin layer of gel polish on your nails. Keeping this layer as thin as possible will help the polish dry quickly.
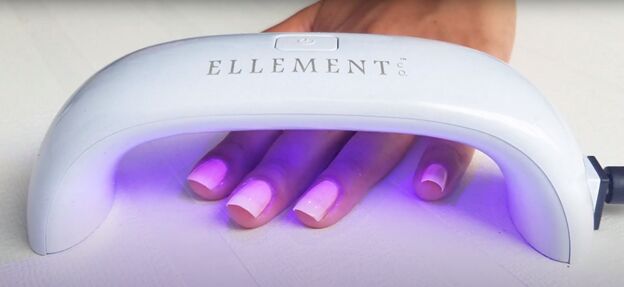
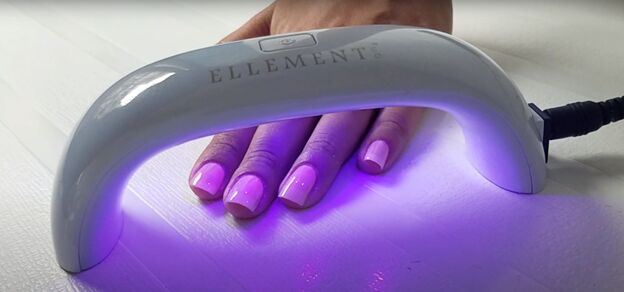
4. Cure your gel nails with an LED light
Put your nails under an LED lamp for 60 seconds.
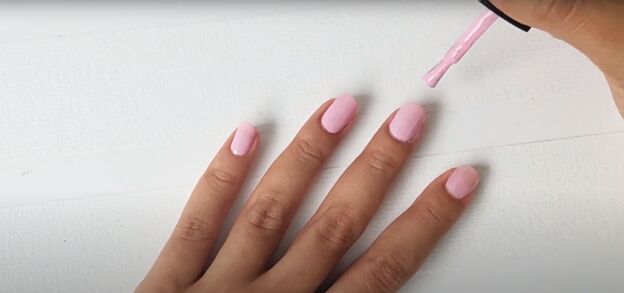
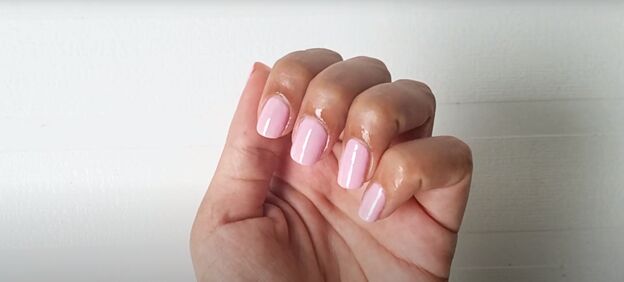
5. Apply a second coat of gel nail polish
Apply a second thin coat of gel polish on top of the first coat.
6. Cure again under the LED light
Dry the gel nail polish under the LED light for 2 minutes this time.
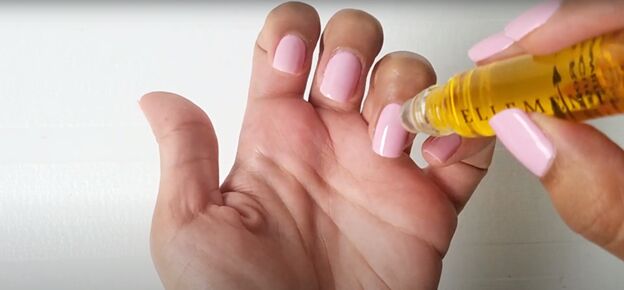
7. Moisturize your cuticles
The light from an LED lamp can dry out your cuticles, so now apply some cuticle oil around the nail beds.
How to cure gel nail polish with an LED light
Now that you’ve given yourself a gel manicure at home and mastered how to use gel nail polish with an LED light, you are ready to go back to your daily tasks without worry that your nail polish will get smeared or smudged.
Leave a comment to let me know how your gel nails turned out!
How to remove gel nails
If you want to learn how to remove gel nails at home, read my tutorial on The Best Way to Remove Gel Nail Polish Without Damaging Nails.
The author may collect a small share of sales from the links on this page.


Comments
Join the conversation