How to DIY Cute Red Polka Dot Nails

Do you want to do nail art but find gels difficult to use? Guess what - I have a solution for you.
Today, we are doing some super fun nail art using acrylic paint pens. I wanted something really bright, so I went for a red polka dot nail design.
I also want to show you in this tutorial how acrylic paint can be top coated with clear dip powder and activated, and it won't mess up the acrylic paints or make them bleed.
Tools and materials:
- Acrylic paint pens
- Dip powder
- Builder gel
- Gel base
- Gel top coat
- Peel base
- Activator
- Isopropyl alcohol
- Toothpick

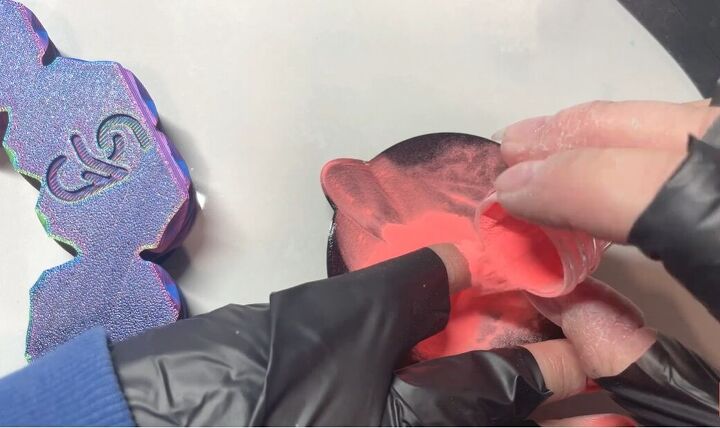
1. Prepare nails
First, paint your nails with builder gel, gel base, and gel top and a peel base over that.
2. Apply dip powder
Then go in with two layers of dip powder.
This will make your nails really saturated. Make sure the powder goes all the way to the back of your cuticles.
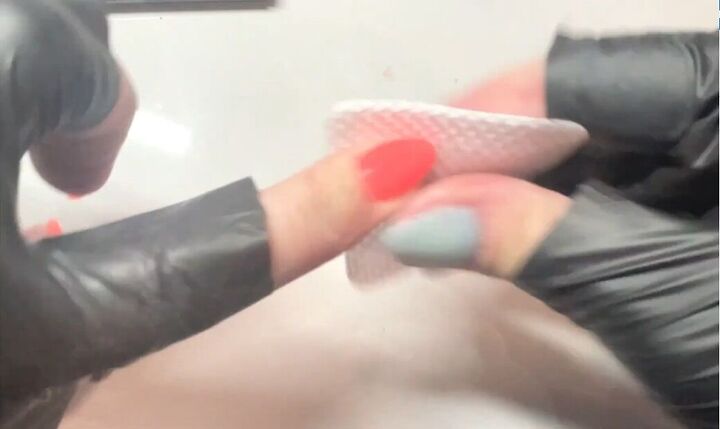
3. Apply activator
Apply the activator and then file and shape your nails.
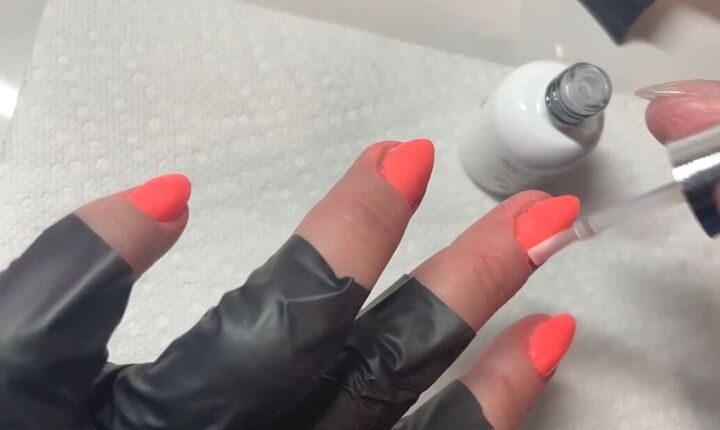
4. Wipe nails with isopropyl alcohol
Wipe all of your nails with isopropyl alcohol to make sure you don’t have anything on them.
This is important as you’re going to top your nails with a layer of clear dip powder and dip base.
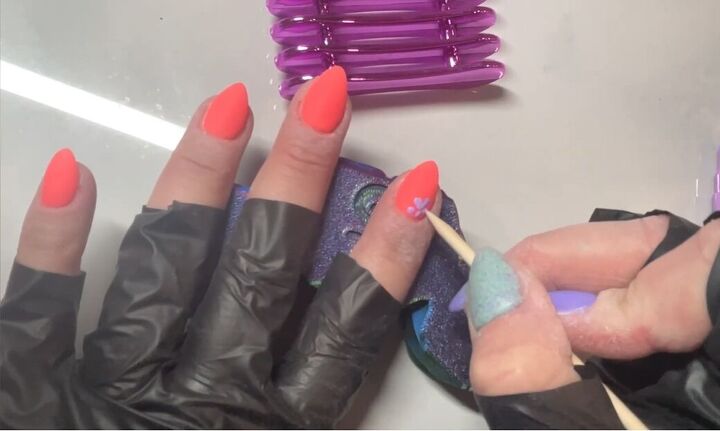
5. Draw on nail art
Now time for the nail art. I’m drawing flowers with my acrylic pens. If you make any mistakes, you can wipe them off quickly with alcohol, and that won't mess up the dip powder.
You have to make sure not to press on the pens too hard but also not hard enough on them. You can also use a toothpick to help spread the color around and help your design.
After doing the petals, I added little white dots in the middle.
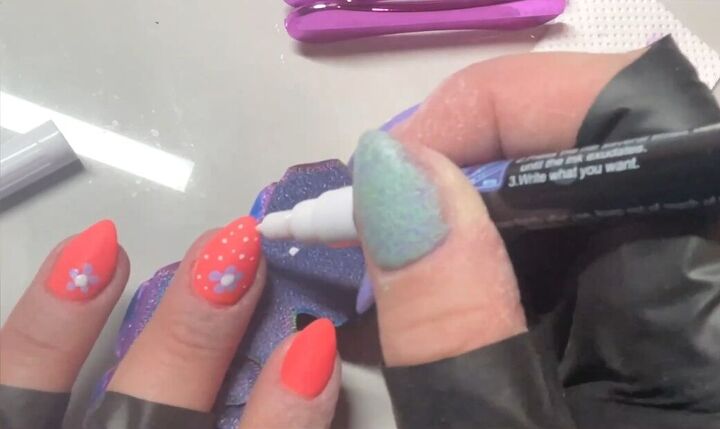
I then made little white dots in the background. Once done, let them dry completely before moving on to the next step.

6. Apply powder
Now put the dip base and clear dip powder over the design. You don’t want to push down hard with the dip base but rather float it over.
What that means is rather than pushing the brush into your nail as you would when you're doing a layer before your dip powder, you want to gently float it over your nail so that you are barely touching the nail.
Then pour over the dip powder, enough to totally encapsulate the nail.
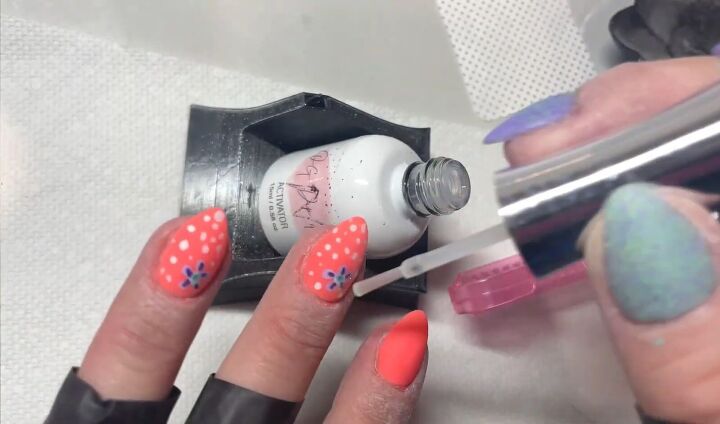
7. Activate nails
Finally, activate your nails. Then gently buff and finish top coating.
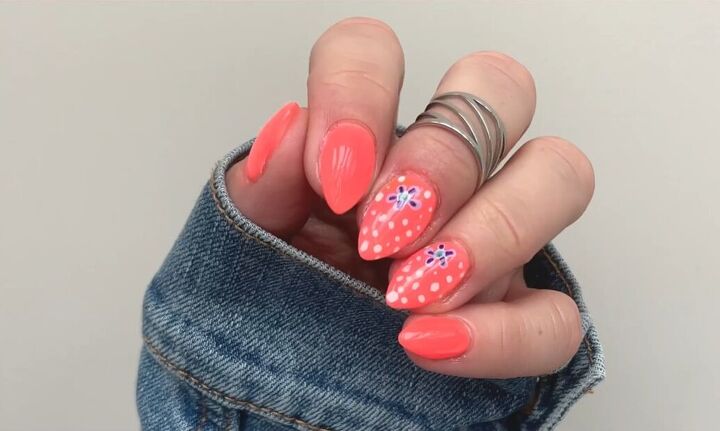
Red polka dot nails
Here are the finished nails. I love the vibrant color, the cute flowers, and the white polka dot design.
If you find the acrylic pens a little tricky the first time you try using them, just remember that practice makes perfect, and no one ever becomes an expert at anything overnight.
Just keep trying, and eventually, you’ll perfect your technique.
For another nail art technique, check out Nail Stamping Tutorial: How to Do Easy Flower Nail Art.
The author may collect a small share of sales from the links on this page.


Comments
Join the conversation