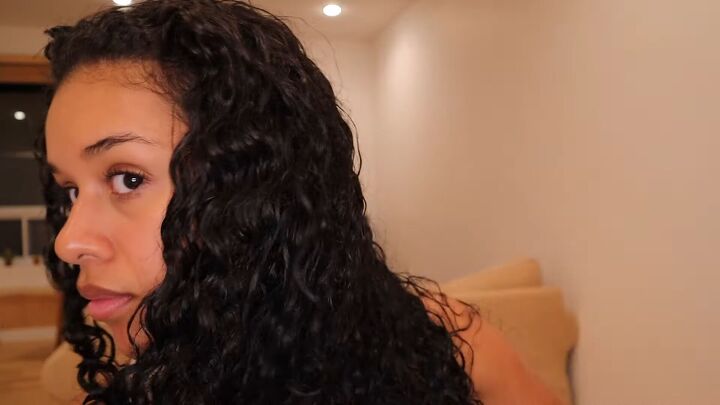
How to Do a Silk Press at Home Easily & Safety For Type 3 Curly Hair

In this tutorial, I'll be showing you how to do a silk press at home. For all the curly and wavy ladies out there - sometimes it’s great to have a different look and what better way to do so than a DIY silk press!
Straightening curly hair can be daunting, I think we can all agree on that. But, some methods and applications help make the process faster and for the results to last longer. In this DIY silk press tutorial, I will show you how to do a silk press that feels amazing and leaves you with luscious, straight hair.
What is a silk press?
A silk press is a hairstyling technique that combines a blow-dryer and flat iron to straighten natural curly hair. There is actually no silk involved! The silk press gets its name from the silky look of the hair that's created, and a pressing comb.
Tools and materials:
- Heat protectant
- Hairdryer
- 2-in-1 round brush and dryer
- Straightening iron
- Pins or scrunchie
- Round brush or pressing comb
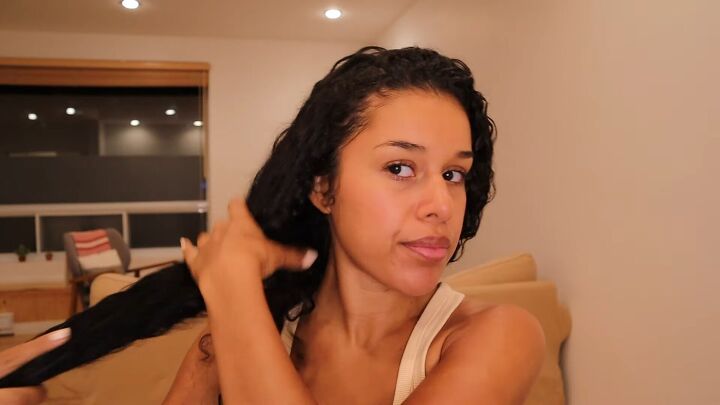
1. Wash your hair
Go ahead and wash your hair with your favorite products. It's best to start with damp hair.
2. Apply a heat protectant
Before anything, apply your favorite heat protectant. Add a good amount to your hands, then apply it to your hair, focusing more on the roots than anything else.
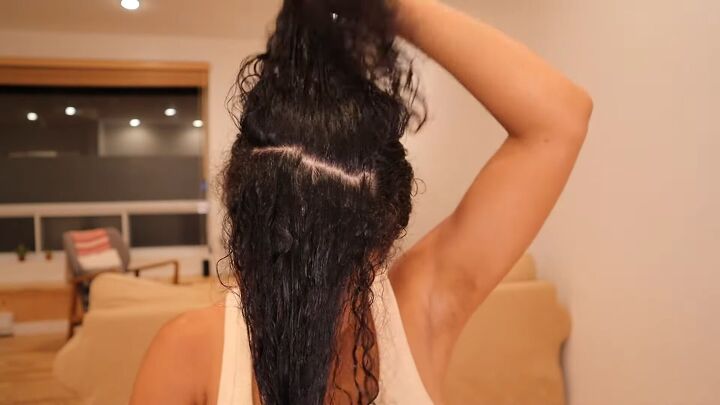
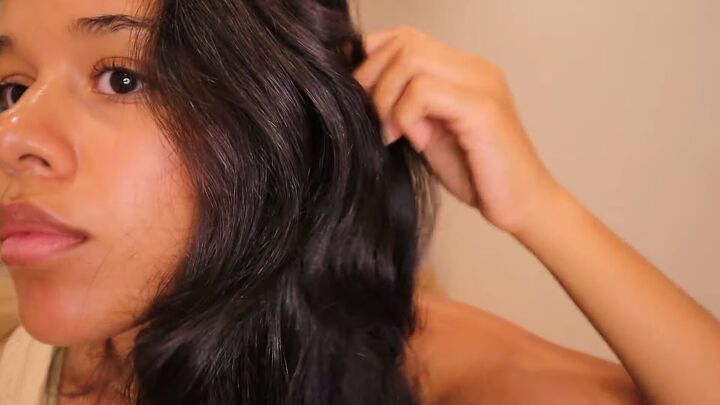
3. Part your hair
Some of you may be wondering why I start from the top of my head, but this is what I’m used to. Of course, if you usually begin styling and straightening the bottom of your hair, Then go for it! Whatever you choose, make sure you part it evenly.
I like to work with smaller sections since my type 3b/3c curls are pretty tight and need more TLC.
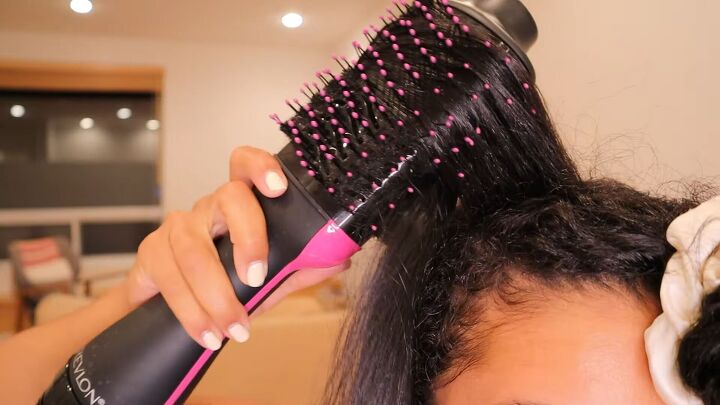
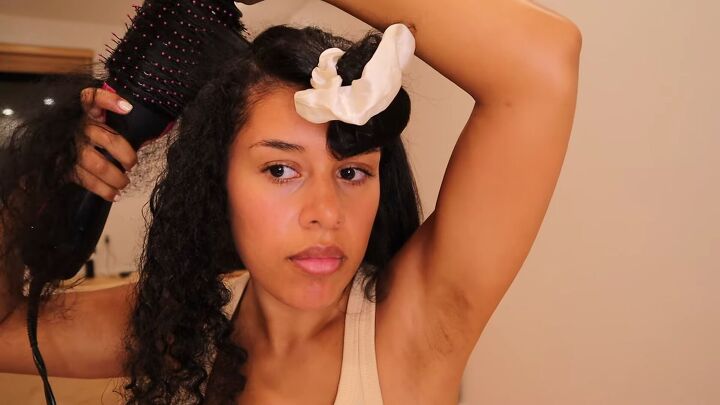
4. Blowdry your hair
This handy little gadget is pretty amazing; it’s a 2-in-1 round brush and hairdryer. So, As I’m gently brushing and pulling my hair, it dries it for me.
What’s more, it dries it straight! If you don’t own one, simply use your blow dryer for this step, and try straightening your hair while doing so.
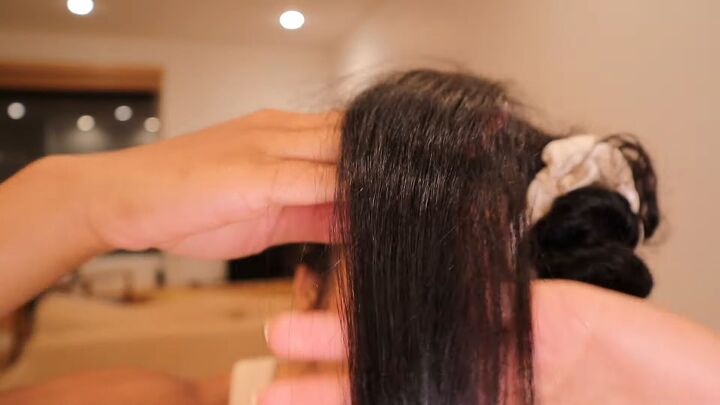
Here’s the result; it cuts the drying time in half and is perfect for when you don’t have time to blowdry your hair.
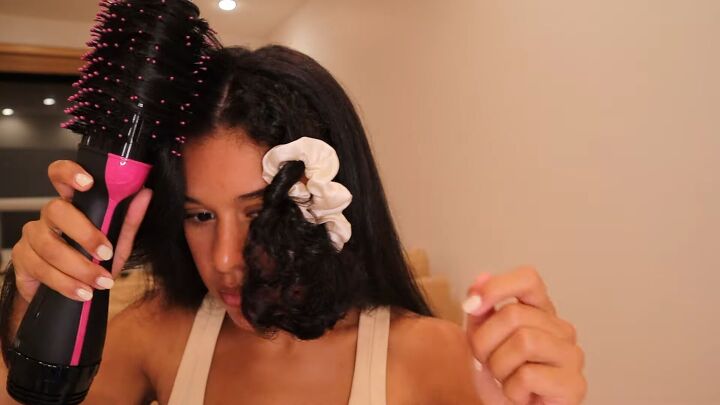
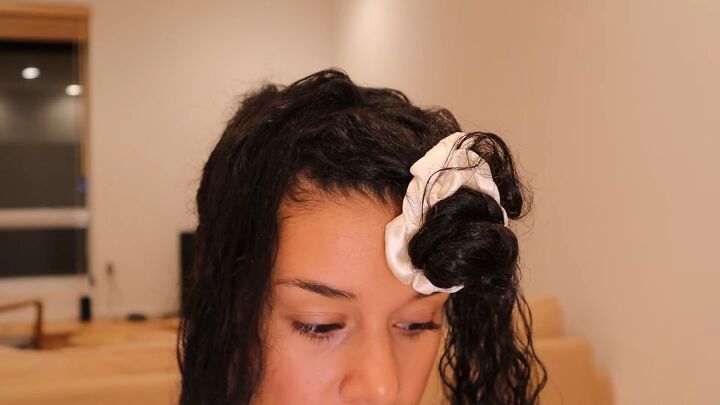
Continue this process by working in sections. Do this slowly and carefully. Also, if you want some shape and volume, twist your hair with your fingers right after brushing or blow-drying each section.
Pin or clip your hair every time you complete each section. I put mine in a bun, but you can choose whatever is more comfortable for you.
This is what my hair looks like after blow drying! There’s some lovely shine and bounce to it. You could actually stop here if you like!

5. Straight iron your hair
It’s time to do the DIY silk press! First off, since you’ll be using more heat on your hair, go ahead and apply a tiny bit of heat protectant again.
Tip: Apply the heat protectant from the middle of your hair shaft to the ends. Don’t apply it to the roots, as it will make your hair look oily.
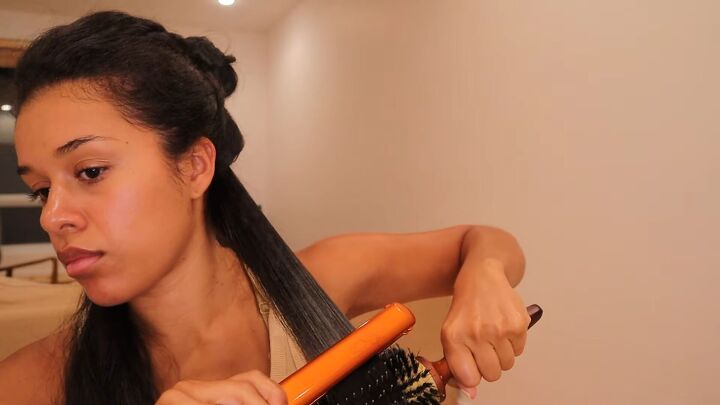
Now, to “seal in” the style, go ahead and straighten your hair with a hair straightener. It’s best to use the chase method, where you use a flat iron to chase either a comb or a round brush.

Go ahead and repeat the process on all the sections of your hair.

How to do a silk press tutorial
There you have it, and now you know how to do a silk press at home! How chic and elegant does my hair look?
How long does the silk press last?
If you’re wondering how long does silk press last, it really depends on many factors, like how often you need to wash your hair, how thick or thin your hair is, and of course, how well you did the DIY silk press. It’s best to learn your hair and how it deals with new styles, as such.
Thanks for joining me, and I hope you enjoyed this tutorial!
Products used
The author may collect a small share of sales from the links on this page.


Comments
Join the conversation
Is that how Meghan Markle does her hair. Looks great!