How to Easily Make a Cute DIY Bow Hairband - Quick & Simple Tutorial

Hair accessories are a major trend. Maybe you just shoved a headband on when your hair was frizzy but this year, headbands are all the rage! Here’s how to make a DIY bow hairband that looks gorgeous. They are so easy and simple to make that you can make them for yourself or as gifts.
Let me show you how to make a bow headband...
All-in-one video creator I use: Click for an editor, converter, screen recorder and more.
Tools and materials:
- Fabric
- 1-inch-wide elastic
- Pen
- Measuring tape
- Sewing machine
- Scissors
- Safety pin
- Pins
1. Make the headband ties
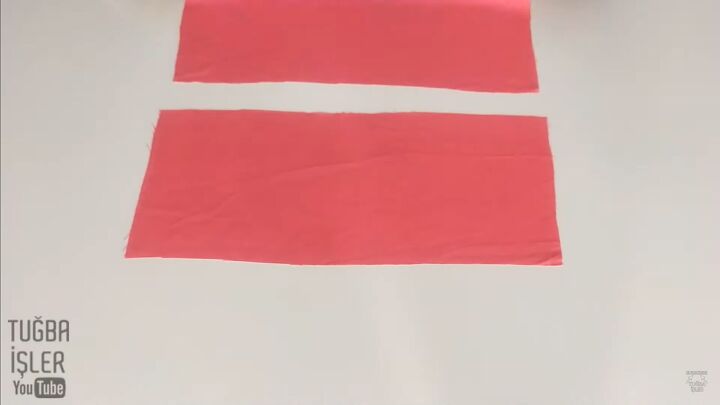
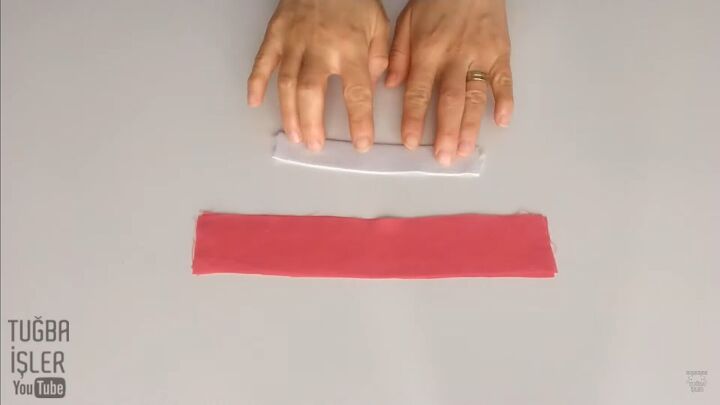
This headband has two ties in the front and an elastic in the back for comfort. You’ll need to measure and cut the fabric into 2 pieces that are 5 inches wide and 11 inches long.
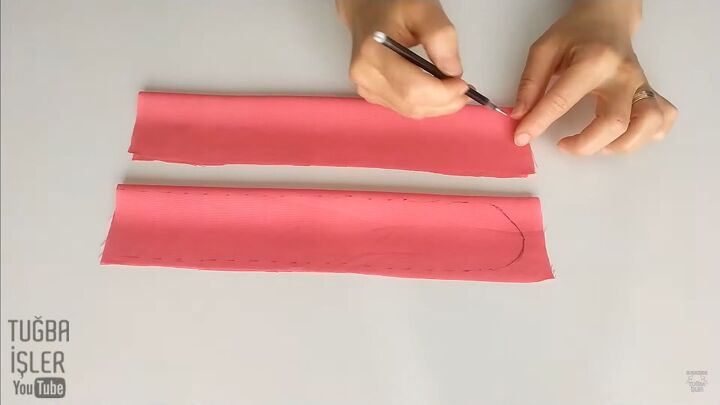
Fold each piece in half. Freehand draw half of an oval top on both folded pieces.
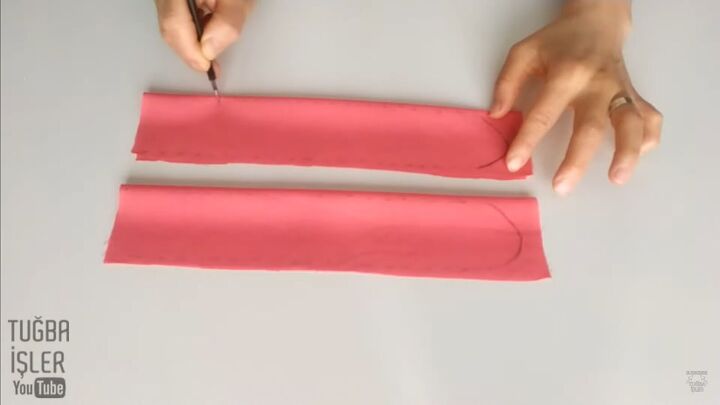
Make small dashes down either side, connecting to the oval.
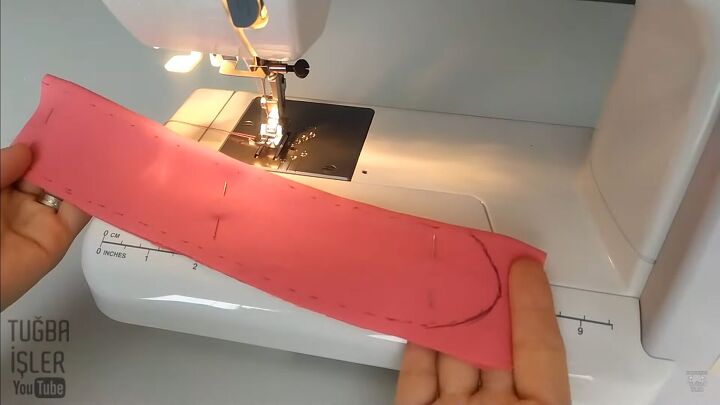
Pin the fabric and sew down the marked areas, leaving the bottom open. Sew both pieces.
Trim the excess seam allowance and cut tiny snips in the remaining seam allowance to reduce bulking and allow it to lie flat. Then turn the “bunny ears” inside out. You can use a closed pair of scissors to help you. Set aside.
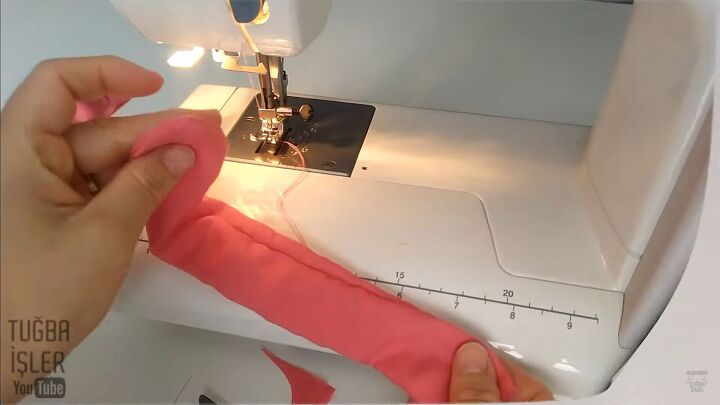
2. Make the elastic piece
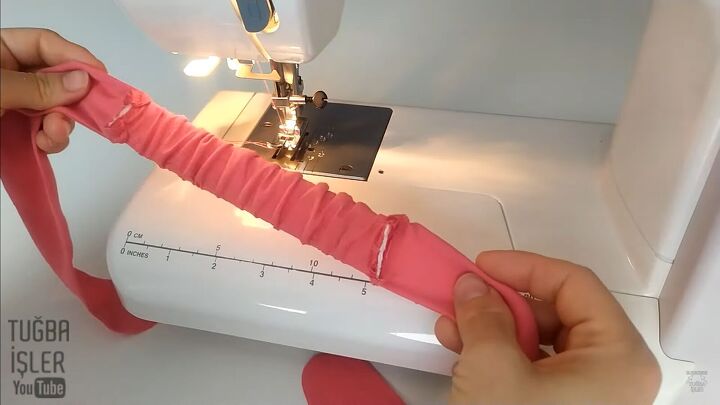
Cut a 5½-inch piece of 1-inch-wide elastic. Cut 2 pieces of matching fabric measuring 9 inches long and 1.8 inches wide.
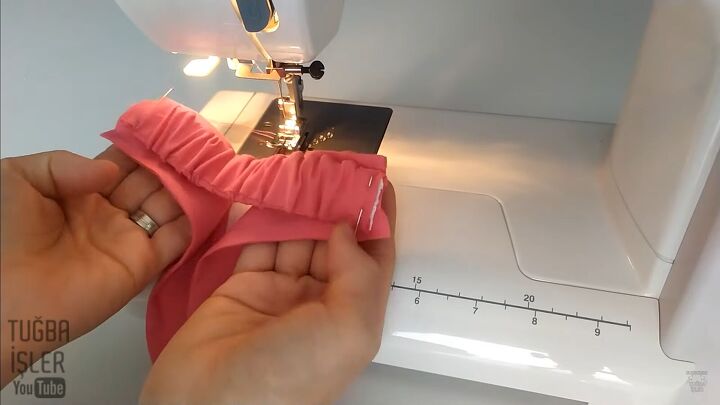
Sew the two pieces of fabric together leaving both short sides open. Use a safety pin to flip the tube inside out.
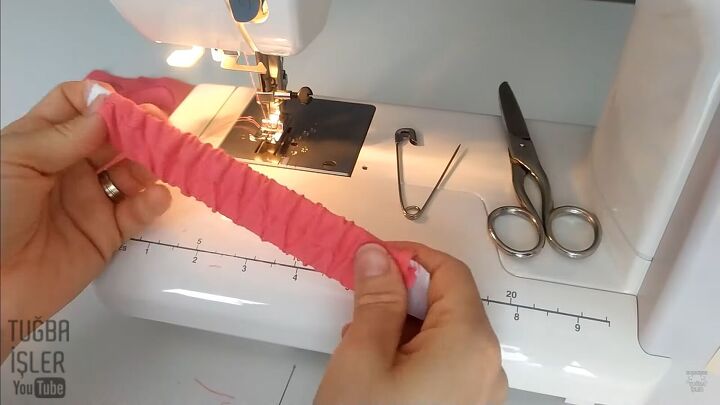
Use the same safety pin to pull the elastic through the tube. The fabric will ruche around the elastic.
Sew the short ends closed with a straight and backstitch to secure the elastic inside.
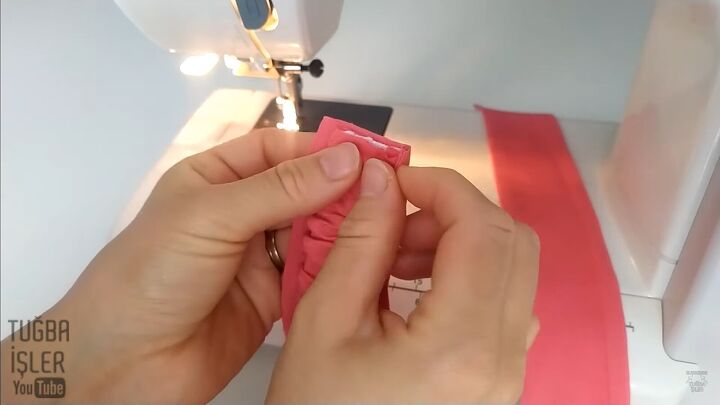
3. Assemble the headband
Hold the inside edge of one of the “bunny” pieces with the rounded piece outward and the flat edge meeting the edge of the elastic piece. Pin it in place. Then, attach the other elastic edge to the other flat edge of the other “bunny” piece and pin it in place.
Sew each side and fold over the fabric from the “bunny” piece around the elastic. Use a straight stitch and backstitch to secure the elastic piece.
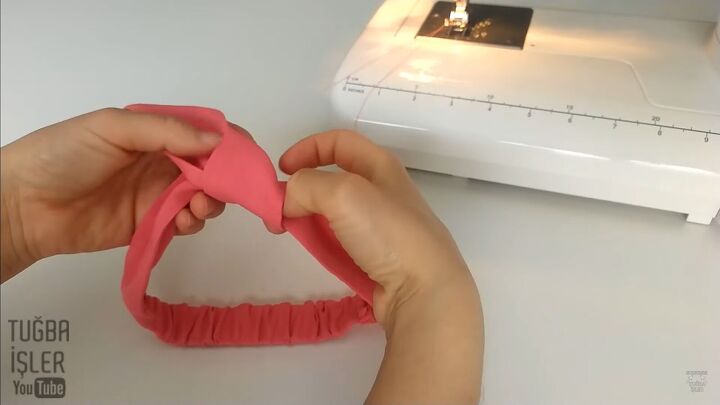
Tie the bow in the front with either a single or double knot.
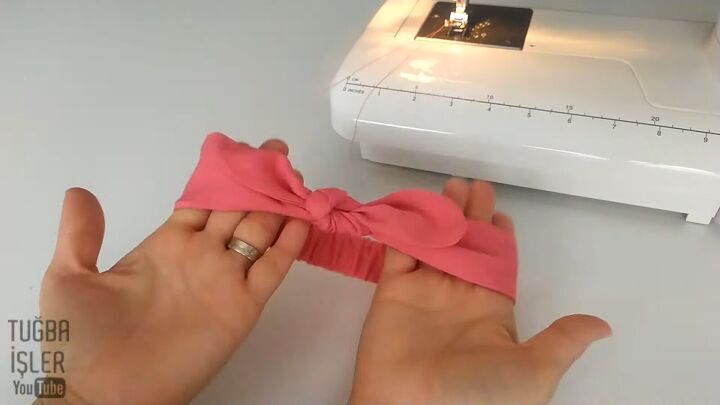
How to make a DIY bow hairband
There you have it! An easy way to make a beautiful bow headband that you can customize with fabric and even embellish if you like. Please let me know if you’ve made these bow headbands and what you think of this tutorial in the comments below.
To see more of my DIY sewing tutorials, follow me on TikTok @tugbaisler.
The author may collect a small share of sales from the links on this page.


Comments
Join the conversation