How to Make a Super Elegant Fedora Hat

In this sewing tutorial, I’m going to show you how to make a fedora hat. If you’re experienced at sewing and are looking for your next challenge, this project is for you!
Instead of buckram, which is traditionally used in hat making, I used ultra-firm sew-in interfacing.
Tools and materials:
- Interfacing
- Thick millinery wires
- Thin millinery wire
- Scissors
- Pencil
- Corduroy outer fabric
- Lining fabric
- Pliers
- Safety glasses
- Needle
- Button thread
- Multi-purpose glue
- Paintbrush
- Petersham ribbon
- Iron
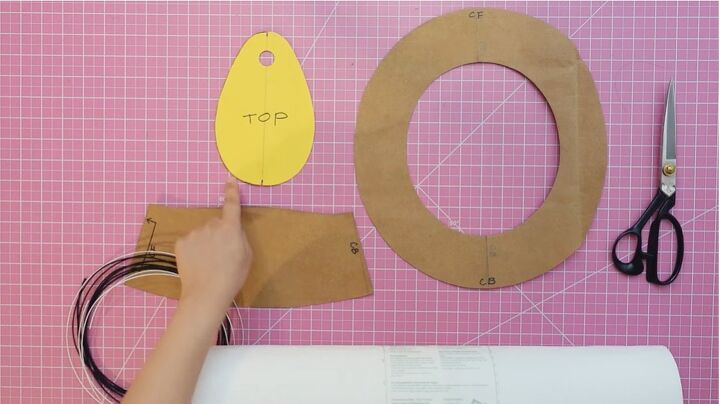
1. Make the pattern
Check out how to make the pattern for this DIY hat.
Then, cut off all the seam allowances from the pattern as we don't want thick interfacing to be in the seam allowance as it would be too bulky.
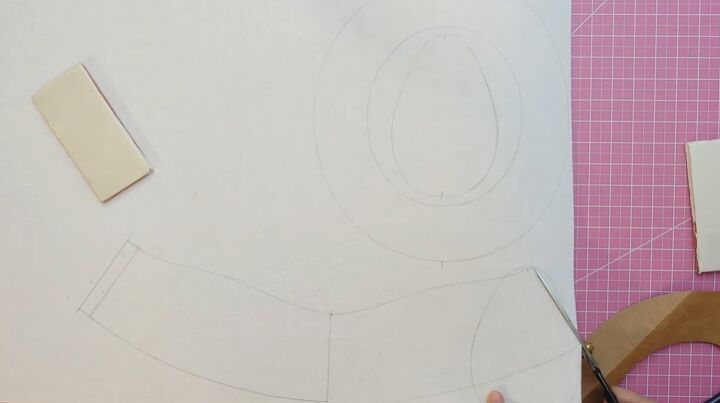
2. Cut out the pieces
Trace around the pattern with a pencil onto the interfacing, making sure to mark the center front and center back.
You can save some interfacing by placing the top inside the brim.
You cannot erase the markings from this material, but we’re going to cover them with corduroy.
Add some seam allowance on one short end of the side crown piece so you can overlap the two sides to make a circle.
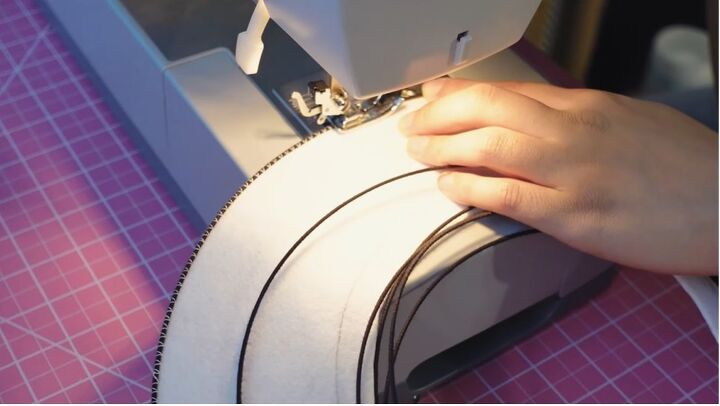
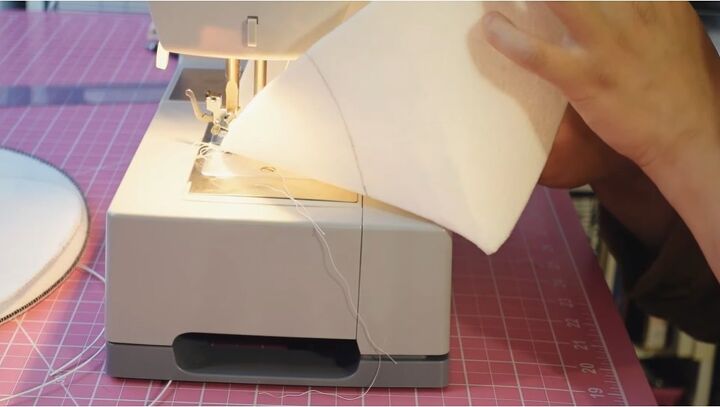
3. Sew the wire
Sew the thicker wire to the outside edges of the hat pieces.
Fold the beginning of the wire, so it's not pokey. Place the wire under the sewing machine foot, but before you start sewing, put on the safety glasses to protect you in case you hit the wire with a needle and break the needle.
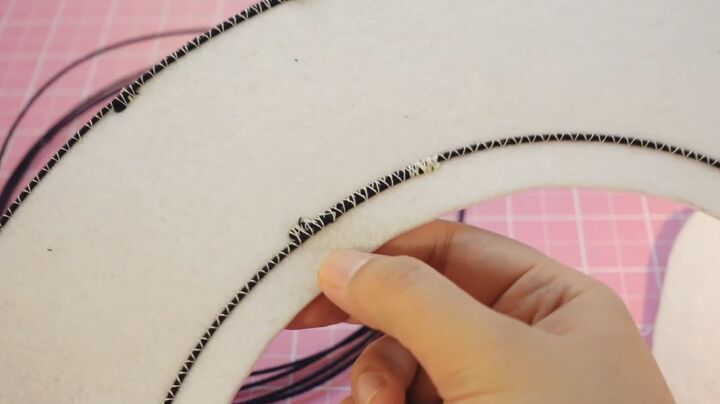
Start slowly by moving the machine with the hand wheel. Go slowly to make sure the width of the zigzag stitches is just right and hits the fabric right next to the wire but not the wire itself.
When you pass the folded part of the wire, you need to adjust the width of the zigzag stitch to sew over the bulky part. Overlap a couple inches to finish the round. Then sew over the ends many times to cover the ends with thread.
4. Sew wire to the inner curve
Sew the wire on the inner curve of the brim. This is optional, but it helps make the brim stay extra flat.
5. Sew the crown
Align the center back lines of the side crown and sew with zigzag stitches.

6. Sew wire to the crown
Use the thinner wire for the bottom of the crown sides. Use a blanket stitch and button thread to attach the wire. Then sew the wire around the crown top.
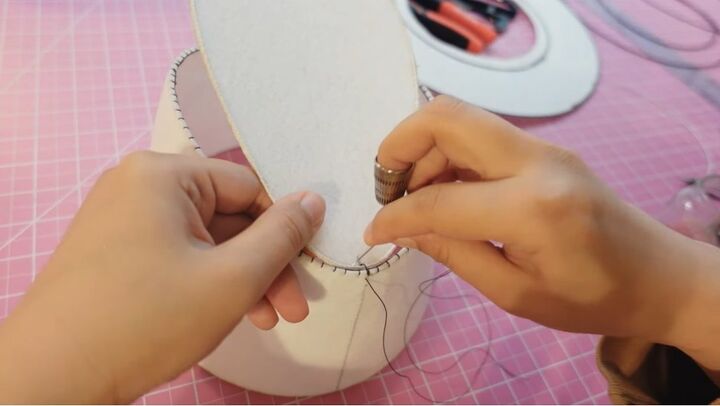
7. Attach the crown top to the crown side
Hand stitch the crown top to the crown side.
You can cover the separate pieces with fabric first and then assemble the covered pieces, but I decided to assemble the crown base together first.
Use button thread and sew right under the wire on the two pieces. It's like you're wrapping the wires together.
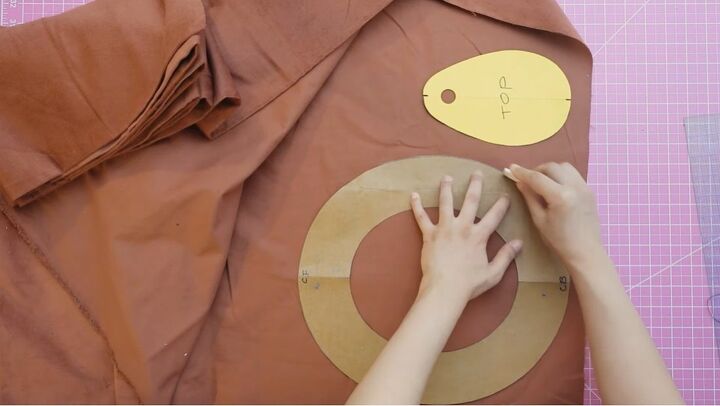
8. Cut the fabric
For the outer fabric, I’m using corduroy, but wool or velvet would also work.
Trace around the pattern on the fabric and add seam allowances.
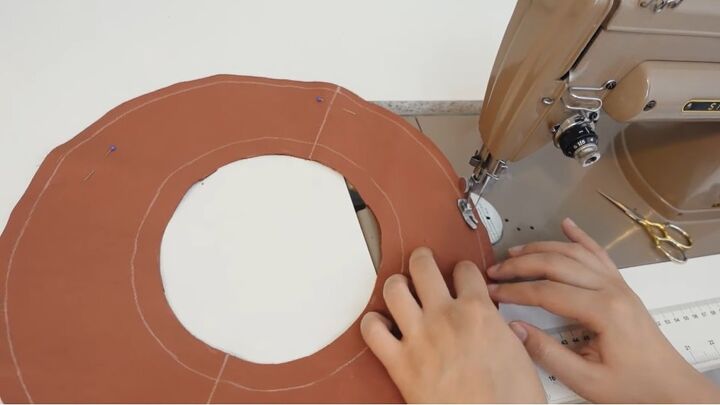
9. Sew the fabric
Sew the outside edge of the brim and sew the crown together.
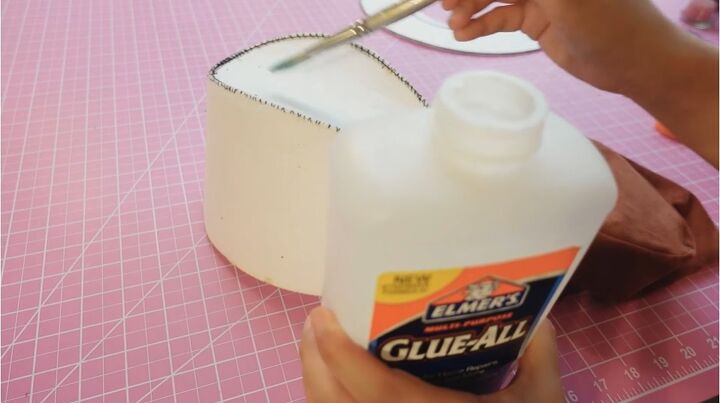
10. Add glue to the crown
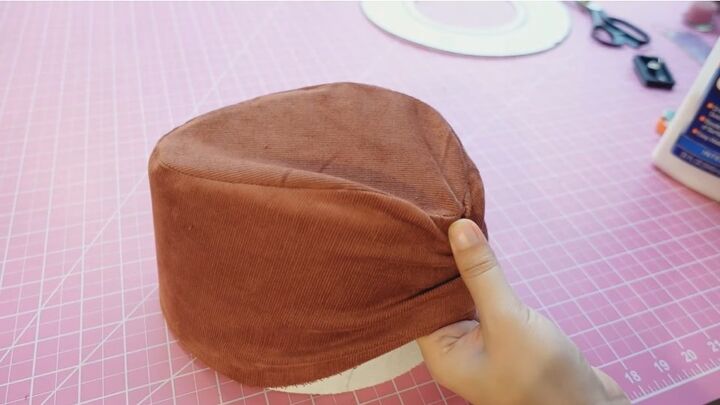
11. Cover the crown with fabric
Once you arrange the fabric nicely over the base, fold the bottom seam allowance inside the crown and hand stitch it in place.
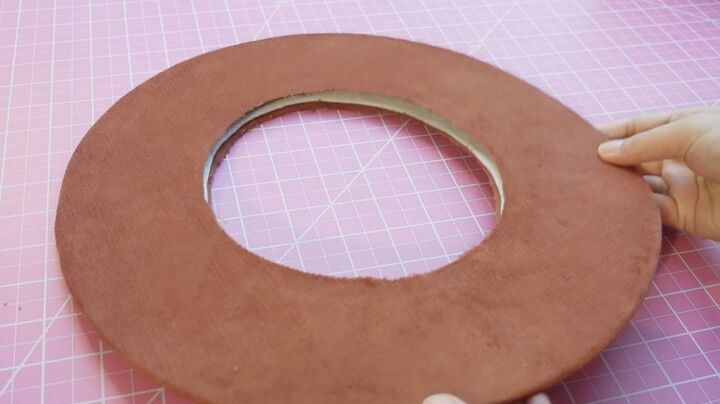
12. Cover the base with fabric
Flip the brim fabric right side out and slide the brim base between the fabric (having stretchy fabric will really help with this).
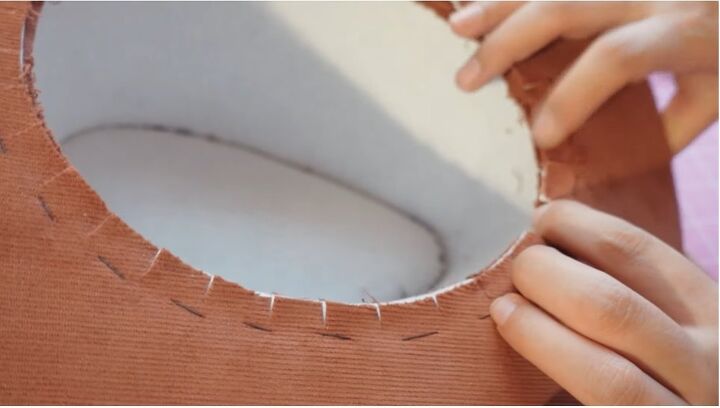
13. Attach the brim to the crown
Push all the seam allowances to one side, which is the side that's going to be on the bottom.
Adjust the wire inside with a running stitch to keep the fabric in place.
Clip the seam allowances and attach the brim to the crown by folding up the seam allowance on the inside of the crown and hand-stitching it down.
I realized that the seam allowance was too bulky, so I decided to cut off the seam allowances only from the interfacing.
14. Iron the ribbon
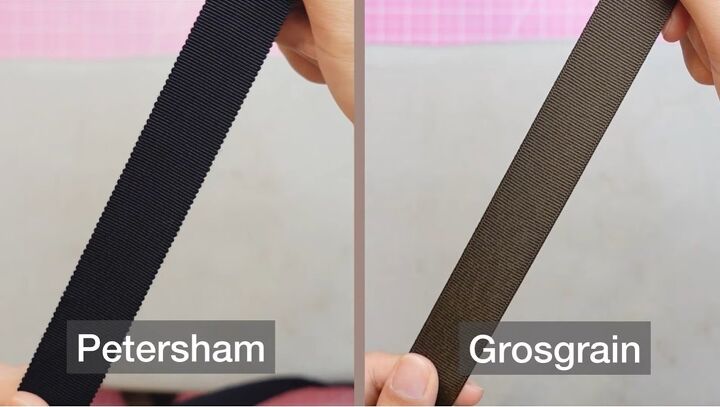
Hand stitches are visible from the outside but use a Petersham ribbon band to cover them up.
If you just put the ribbon around the hat, there are going to be some gaps at the top. The difference between the Petersham ribbon and the regular Grosgrain ribbon is that the Petersham has ridges that are flexible, so you can mold this ribbon with a steam iron.
After reshaping it into a curved shape, the ribbon will fit around the head perfectly.
15. Attach the ribbon
Hand tack at the bottom of the ribbon in a couple of places.

16. Make and attach the lining
For the lining, I used a brushed cotton fabric.
Cut out the crown pieces and sew them together. Then pin the lining to the inside of the hat and sew it down.
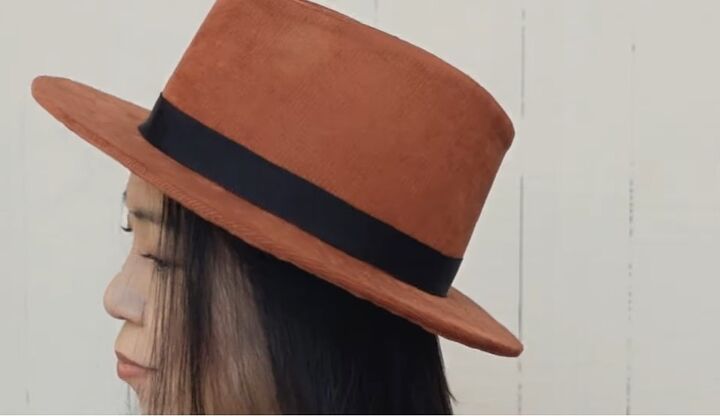
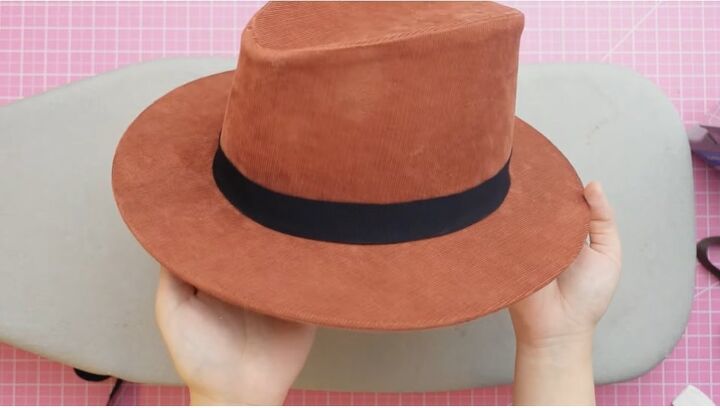
How to make a fedora hat
Here is the finished hat. The hat-making process was quite complex at times, but it was 100% worth it for this gorgeous, seamless hat.
If you enjoyed this tutorial, leave a comment down below!
The author may collect a small share of sales from the links on this page.


Comments
Join the conversation
Beautiful job thank you for sharing your process.