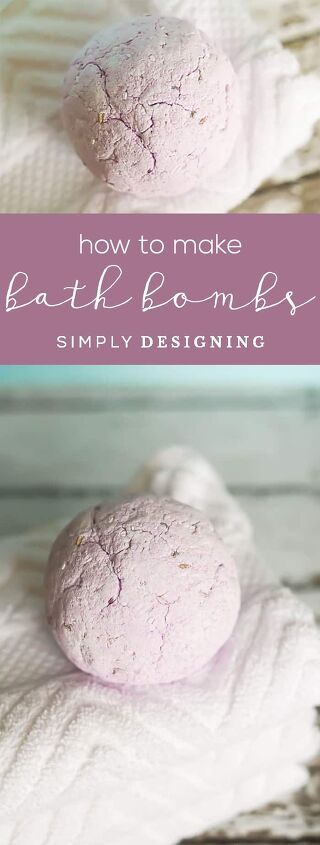
How to Make Bath Bombs
One of my favorite things to do is to show people how to make bath bombs! My Citrus Scented Homemade Bath Bombs are one of my popular posts and it is no secret why...everyone loves bath bombs! But everyone does not love paying a huge price tag for store-bought bath bombs made with unknown ingredients. Even those bath bombs that claim to be "natural" are often full of things like chemical-laden fragrances and preservatives that just aren't good for your body. So making your own bath bombs ensures that you know what ingredients you are using and that you will save money! Woot woot! So keep reading to snag my Bath Bomb Recipe and for a few other homemade body product ideas.
How to Make Bath Bombs
There is a lot of confusion about how to make bath bombs. They are not hard to make, but if you aren't careful, they can easily not work. There is a fine line between adding enough moisture to this recipe to be able to form the ingredients into a ball versus adding too much moisture and risk the bath bomb "fizzing" too early and not holding a shape. But don't know, I will walk you through this bath bomb recipe step by step so that you can make your own DIY bath bombs in no time.
Affiliate links included or your convenience. But purchasing items through the included links, you are helping to support my blog. You never pay a penny more.
Bath Bomb Recipe
makes (4) 2.75" diameter bath bombs
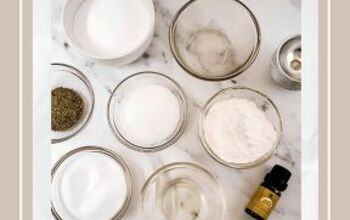
Ingredients:
- 1 cup Cornstarch
- 1 cup Baking Soda
- ¼ cup Epsom Salt
- 1 cup Citric Acid
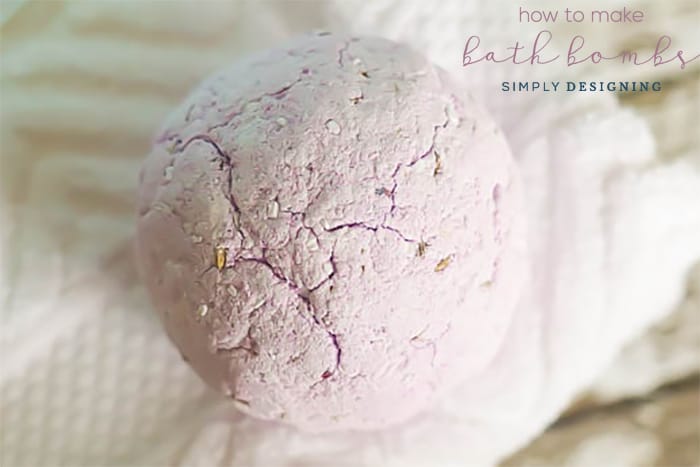
- Dried Lavender Flowers (optional)
- 16 drops Young Living Lavender Essential Oil (or other Young Living essential oil of your choice)
- 20 drops Purple Food Coloring (optional)
- Water in a Spray Bottle
Directions:
- Combine all dry ingredients in a bowl and mix.
- Add essential oil and food coloring (optional) and mix well. Note that your mixture will not appear colored just yet, so don't worry and don't add more food coloring. It will show up soon, I promise!
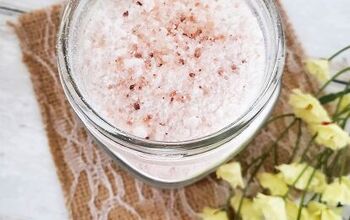
- Spray dry mixture with water and stir until barely moist. At this point, your food coloring will start to show in your mixture! You want to slowly add water and mix until this mixture is BARELY wet enough to hold together when you press it together. It should still be quite dry. If you put too much water in this mixture, it will foam and expand and it won't hold a ball shape. If that happens, don't worry, just let it dry and then you can crumple it up into bath fizzies! And then remember next time to add less water!
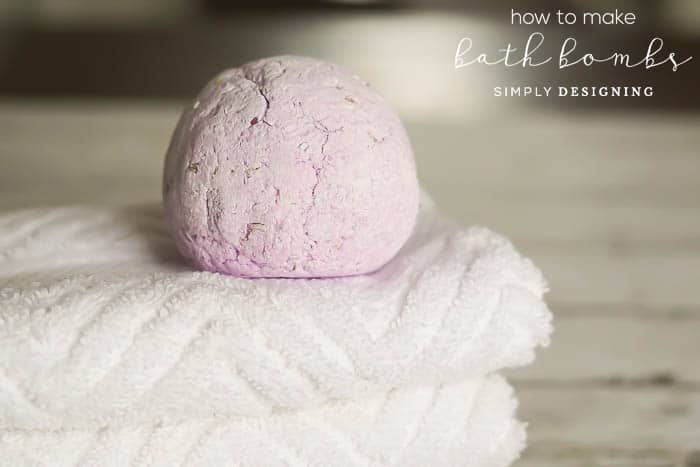
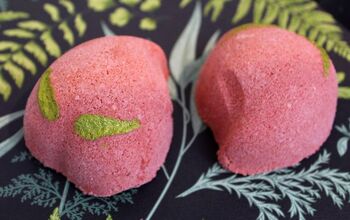
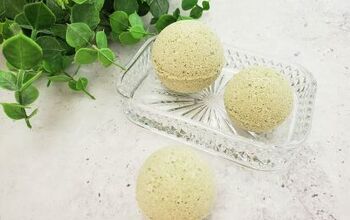
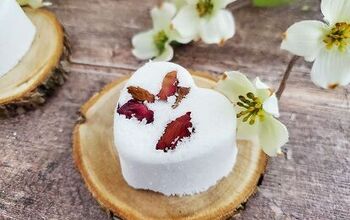
- Press the mixture firmly together until you have a ball shape. Place the ball on a piece of foil or wax paper and allow it to dry completely. If you do a large size ball, it could take overnight to fully dry. If you make them smaller, they may dry in a few hours.
- Store in a cool, dry place until ready to use! Then drop in a hot bath and watch it fizz away while you enjoy a relaxing bath.

For a project like this, especially where you are using essential oils in a bath so they will be next to your skin, I think it is important to use only the best essential oils out there. Through my research, I have found that Young Living is the only company that I trust to use in my home and on my family. You can learn more about Essential Oils and also how to get your hands on some HERE.
Be careful using store bought essential oils. Many of them say on the label not to use them topically. That is because that bottle is not completely full of pure essential oil. A bottle only needs to be 5% essential oil to be able to be labelled as pure. So just do your research and be careful in what you use. That's why I now only recommend using Young Living essential oils. (In the past, I too have used other fragrance oils because I didn't know better. But I know better now and so I no longer use them!)
I used lavender essential oil for these bath bombs, but I also love making these with Stress Away, Orange or so many more options of amazing essential oils that Young Living offers. Really, there are so many good options!
The author may collect a small share of sales from the links on this page.


Comments
Join the conversation