How to Make Huge Fabric Roses That Take Your Outfits to the Next Level

Have you seen this new fabric rose sleeve trend? You can seriously spruce up your dress or top with this stunning statement fabric roses DIY sleeve. If you want to know how to make fabric roses, then you've come to the right place!
In this fabric rose flower tutorial, you’ll learn how to make this beauty easily, and you don’t need complicated materials either. Let’s get to it.
Tools and materials:
- Fabric
- Sturdy fabric
- Chalk
- Measuring tape
- Sewing machine
- Scissors
- Thread
- Pins
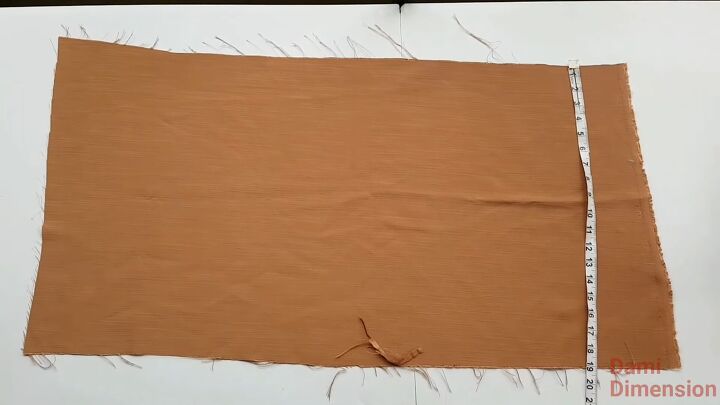
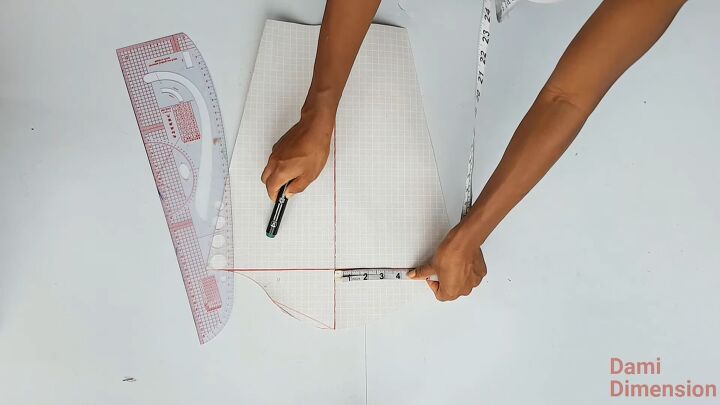
1. Cut fabric pieces
Fabric roses can really be heavy on fabric usage, so in this fabric rose flower tutorial, I’ll show you how to go easy on the fabric but still achieve the same fabulous look. So, go ahead and cut your fabric pieces to 19 inches x 36 inches.

2. Make the strip
Now, divide the fabric into three equal parts. Although the length measures 19 inches, each equal part should be just over 6 inches.
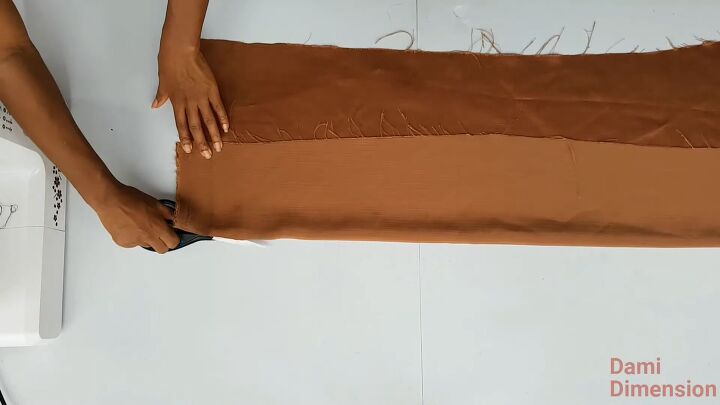
Now, cut each strip, as shown.
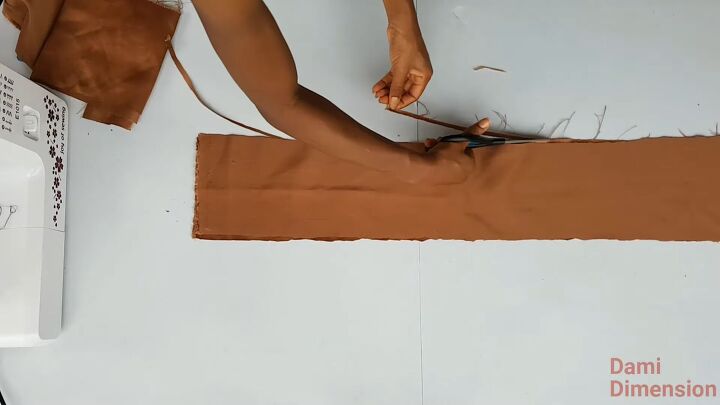
Cut the excess fabric where necessary.
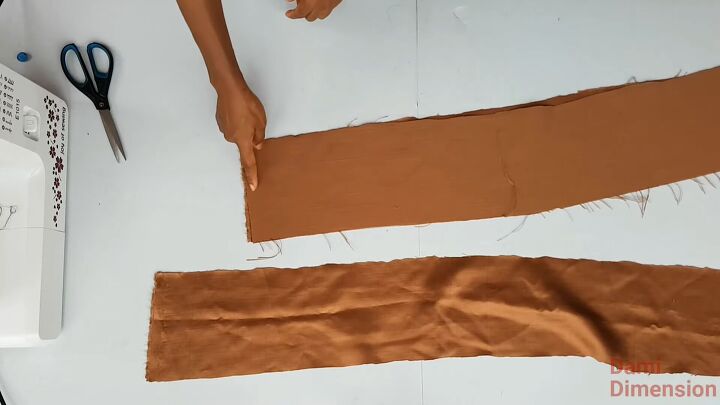
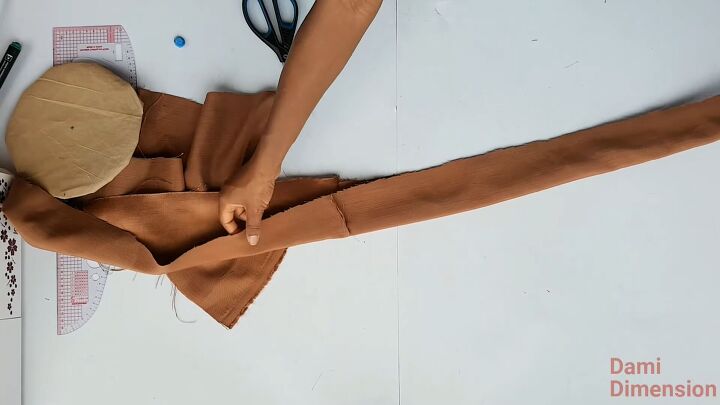
Now, place one strip on the other and join them by the short ends with your sewing machine. Then, do the same for the third strip. The aim is to have one long strip.
Tip: When joining the strips, place them right sides together.
3. Determine the size of the rose
So, depending on where you’ll be putting your fabric rose, you need to determine how big you want it to be. Here, for example, I’m using a cut-out sleeve pattern. Eyeball the size, and then pick your desired radius. In my case, it’s 4 inches.
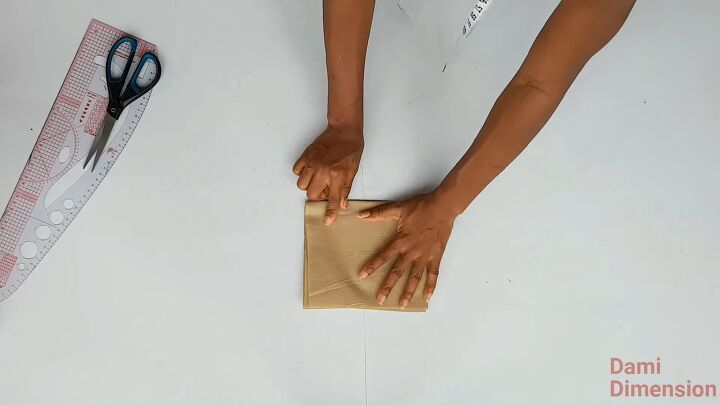
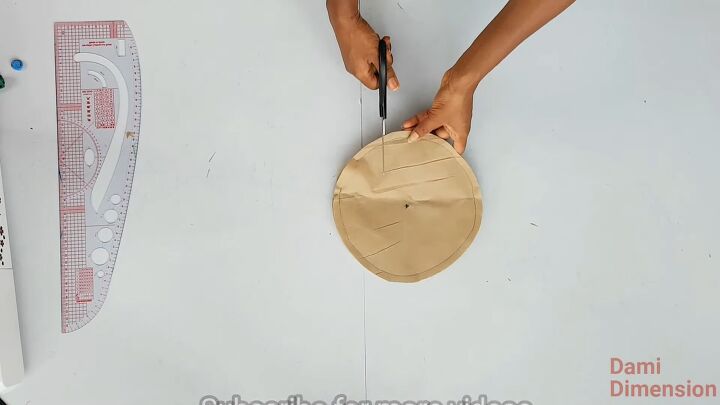
4. Make the base
Now that you've determined the radius grab your thick and sturdy fabric to make the base. Cut a square piece and fold it into four to make a smaller square.
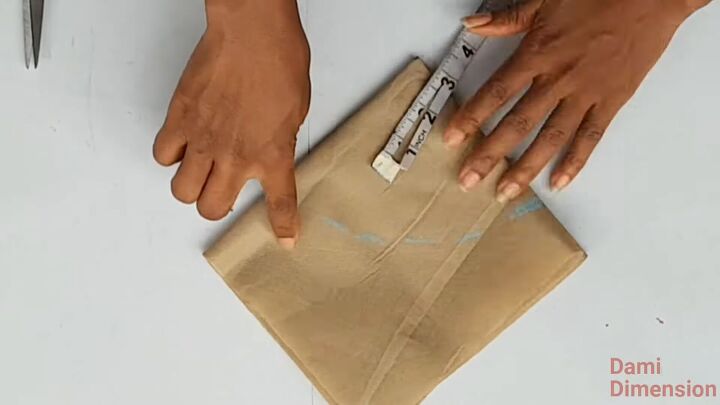
Next, mark the center point with a marker and measure 4 ½ inches all around, as shown. I added another ½ an inch for seam allowance; I'll be joining two circles together. Cut along the lines afterward.

To make another piece, simply place the circle on your fabric, and cut around it.
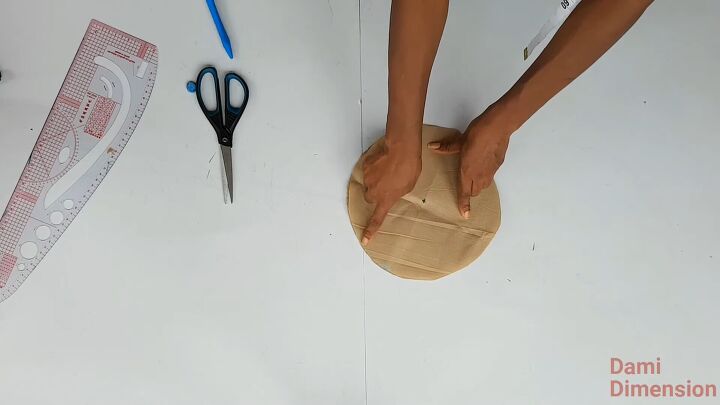
Place both circles on top of each other, and sew all around to secure. Use the ½ inch seam allowance. Also, leave a 2-inch gap so that you can turn it right sides out.
Tip: If your fabric is not sturdy enough, use interfacing.
Snip into the seam allowance all around the circle.
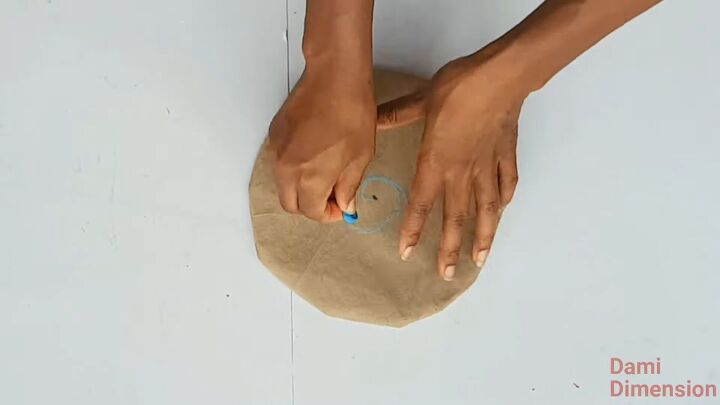
Flip the circle inside out, and draw a spiral, starting from the center point and working your way outward.
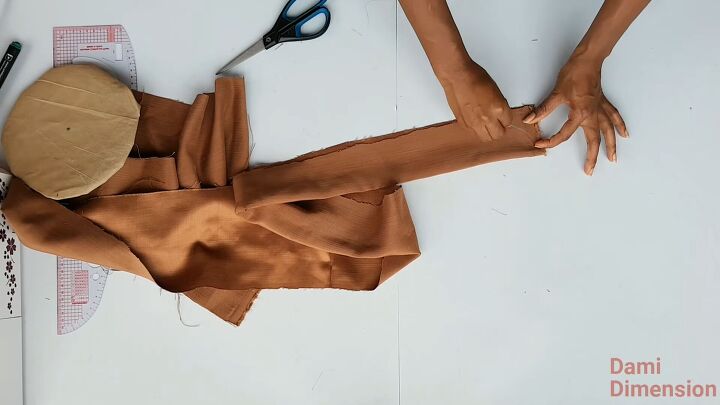
5. Prep the strip
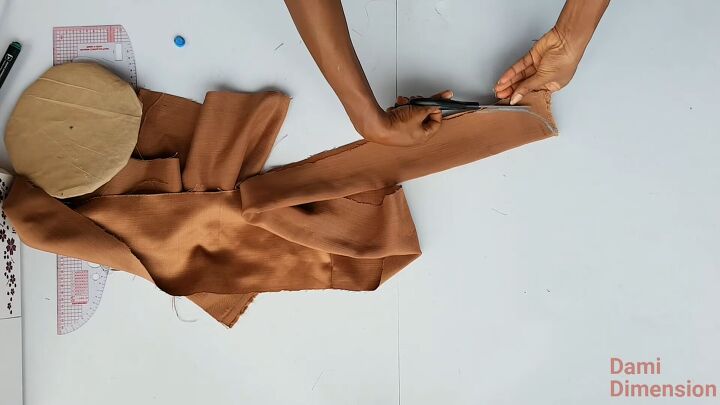
Fold your strip right sides facing and curve the ends. Then, cut it out.
Now, fold the whole strip, right sides facing, and sew the layers together. Like this, you’ll get rid of the raw edges, and leave a small opening, too.
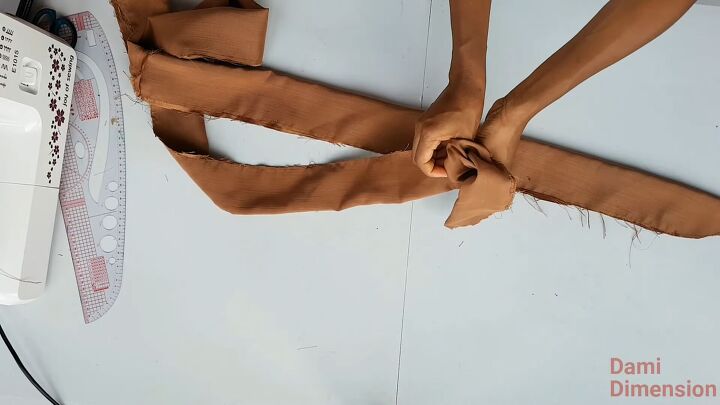
Now, turn it right side out.
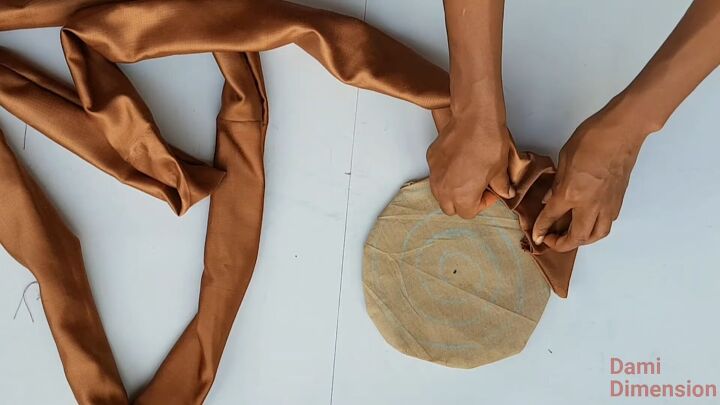
6. Pleat the strip
Now, take your strip, and pleat it along the lines of your spiral. Sew it down all the way around and into the spiral.
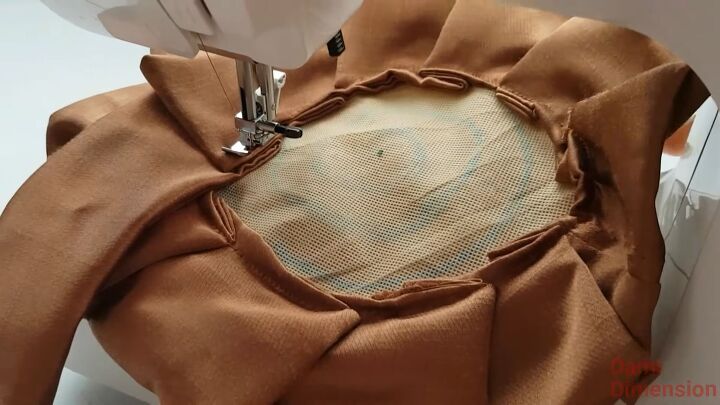
This is what it looks like as you move along.
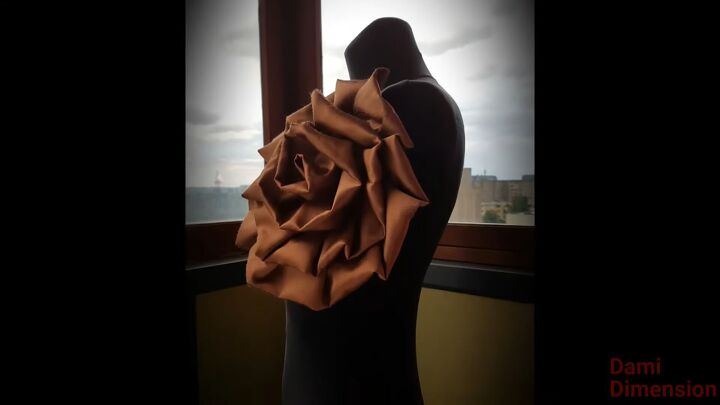
How to make fabric roses tutorial
Here’s the final look! Isn’t that so magical? This is how to make a rose flower with fabric - simple and lovely! Use this as an add-on to your clothing items and take your outfits to the next level. Thanks for joining me, and I hope you enjoyed this fabric rose flower tutorial!
The author may collect a small share of sales from the links on this page.


Comments
Join the conversation